Most Popular Articles


 Lets face it, professional models can take a lot of the burden off us as photographers by bringing their posing expertise to the table. But unfortunately we don't always have the benefit of shooting with a professional model. As a high caliber photographer it is important to have the ability to pose normal people with little to no experience in front of the camera. If posing for modeling is a challenge for you this list of 27 posing ideas along with photos for reference should help. Every photo below was taken by me. Posing Ideas for Men in 2022 While certain genres of photography get to work with models, most genres involve shooting normal people who will have varying degrees of comfort in front of the camera and natural posing ability. Posing was the hardest thing to learn for me personally and it is something I still work on every day. While I am jealous of photographers who have a natural ability to pose people on the fly, I unfortunately have found that I work best by having a list of go-to poses that I know work well for me and can fall back on if I need to. Until now I have kept that list to myself. If you are a model or photographer who struggles with posing I hope this list helps but just remember, posing is only half the battle. Models: The best posing in the world wont matter if your appearance is off. So, show up with 3 or 4 of your best outfits, get your hair cut and your beard trimmed if you have one. Looking your best will boost your confidence on the day of the photoshoot and it will show on camera. Pro Tip. Keep some Beard Balm or Styling Gel-Pomade on hand to keep those fly away hairs in check. | You May Also Like: 27 Posing Ideas for Women Make sure to bookmark this page so you can bring it up at any shoot and go down the list and nail every pose. You do that and you will be guaranteed to leave the shoot with tons of variety. Connect with me on Instagram HERE and let me know if this article helped in the comments below. 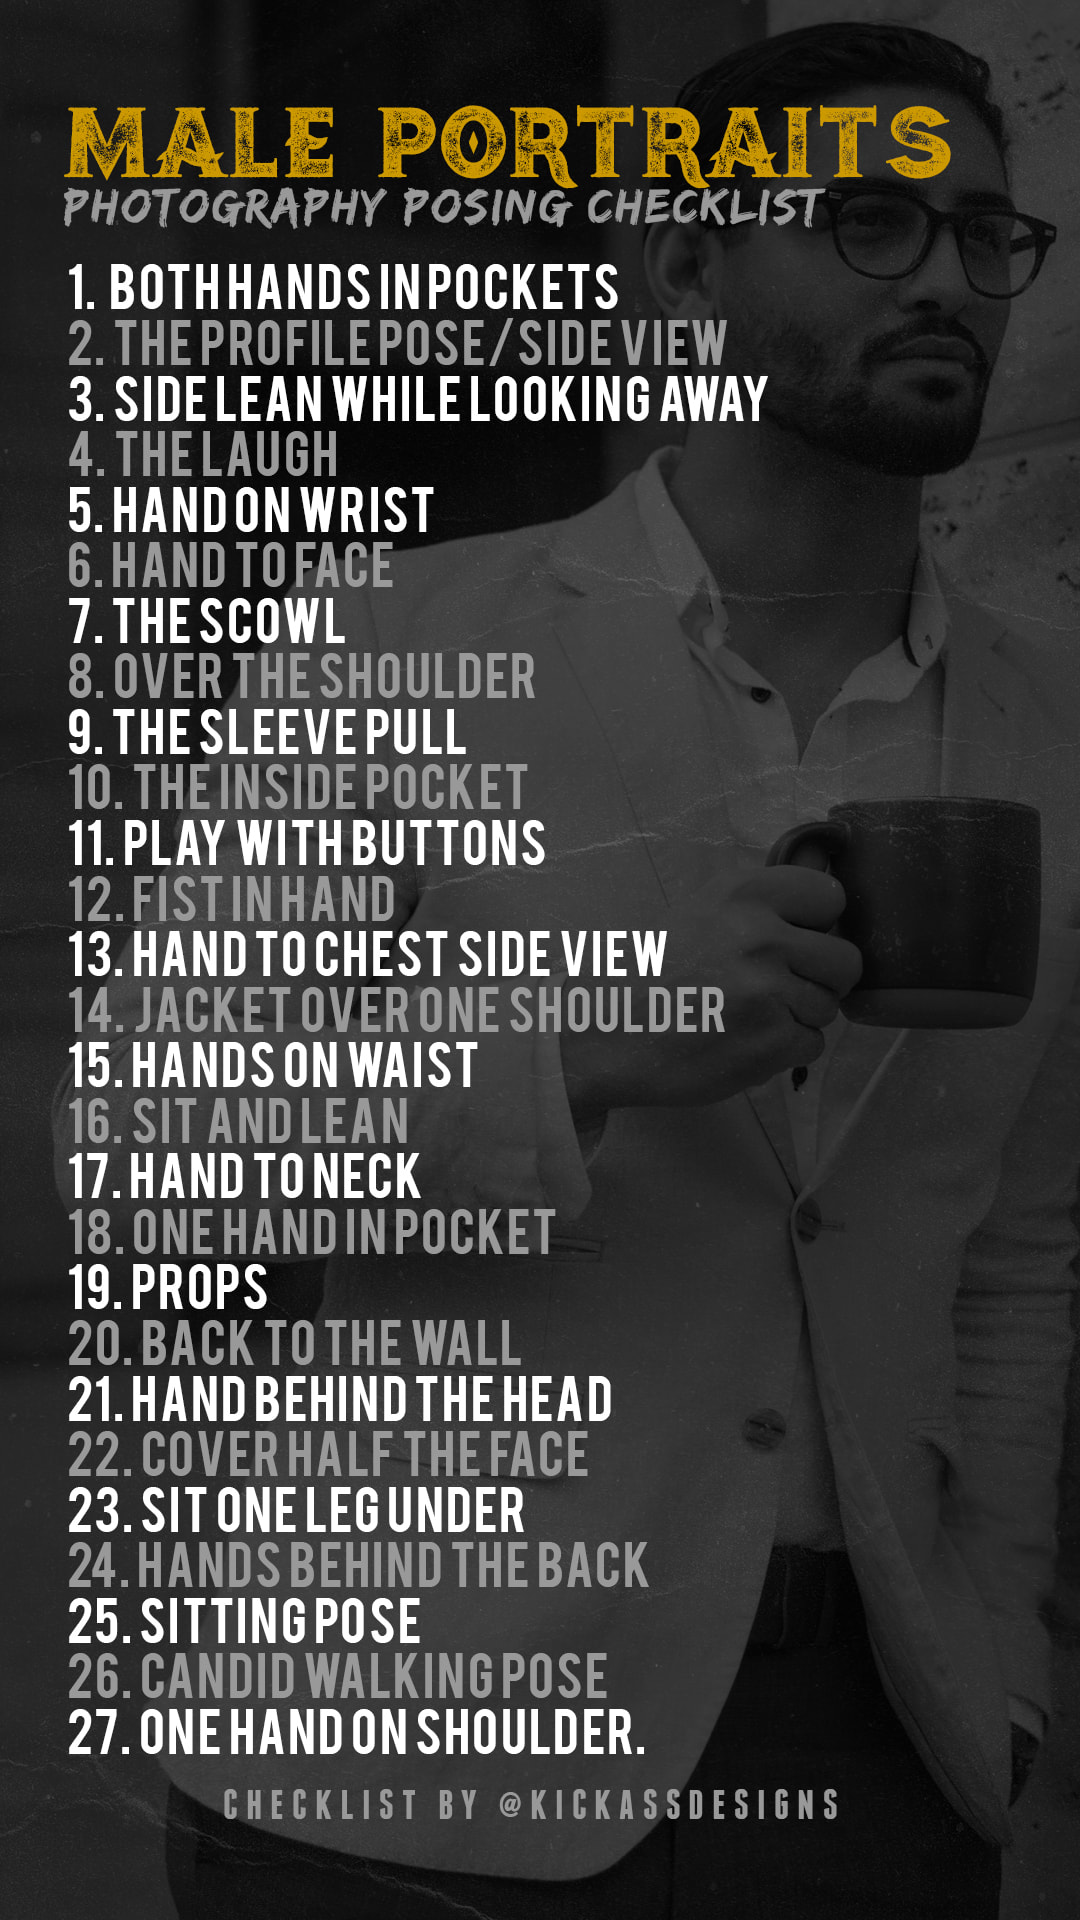 1. Both hands in pockets This pose works just as well with both hands in your subjects pants pockets but if they are wearing a jacket have them place both hands in their jacket pockets. Try full hands in or just thumbs showing. 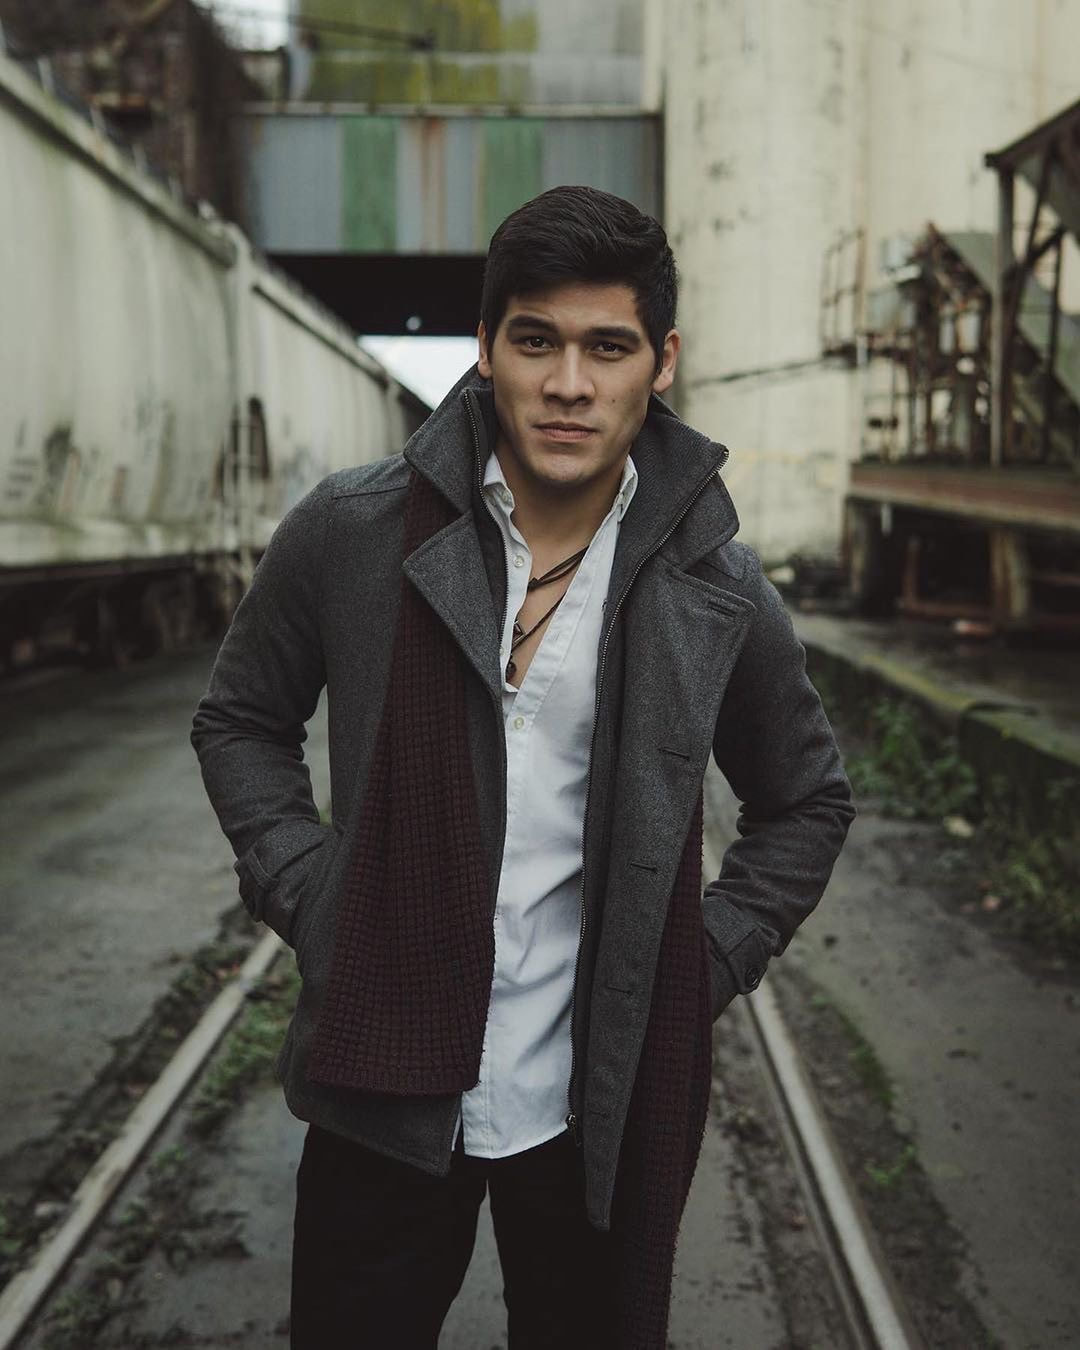 Model: @kaleo_rav3 on IG 2. The profile Pose/Side View Have your subject stand to the side so you can only see one side of their face. Ask your subject if they have a favorite side. Most people do. Make sure to try different angles and perspectives. | You May Also Like: Best Modeling Agencies in Portland 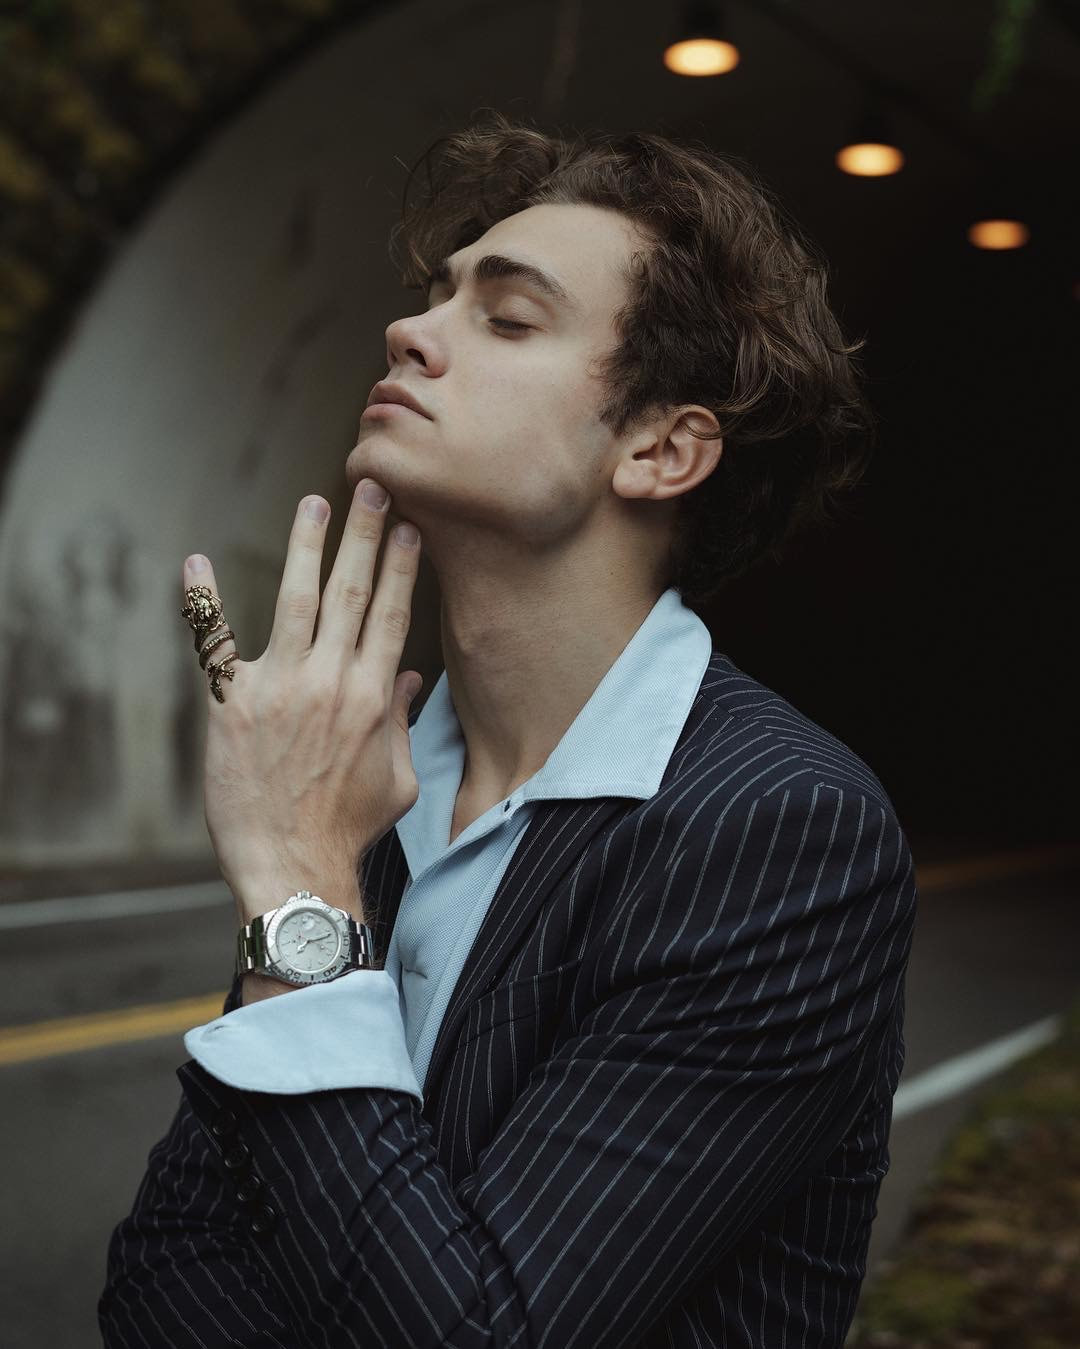 Model: @a_russian_guy on IG 3. Side Lean While Looking Away Have your subject lean against a wall with one shoulder against the wall. Have them look at the camera, up at the sky, turn their head and look down or off into the distance. Make sure they have good posture. Stand tall and straight. Add a prop like coffee for more of a lifestyle feel. 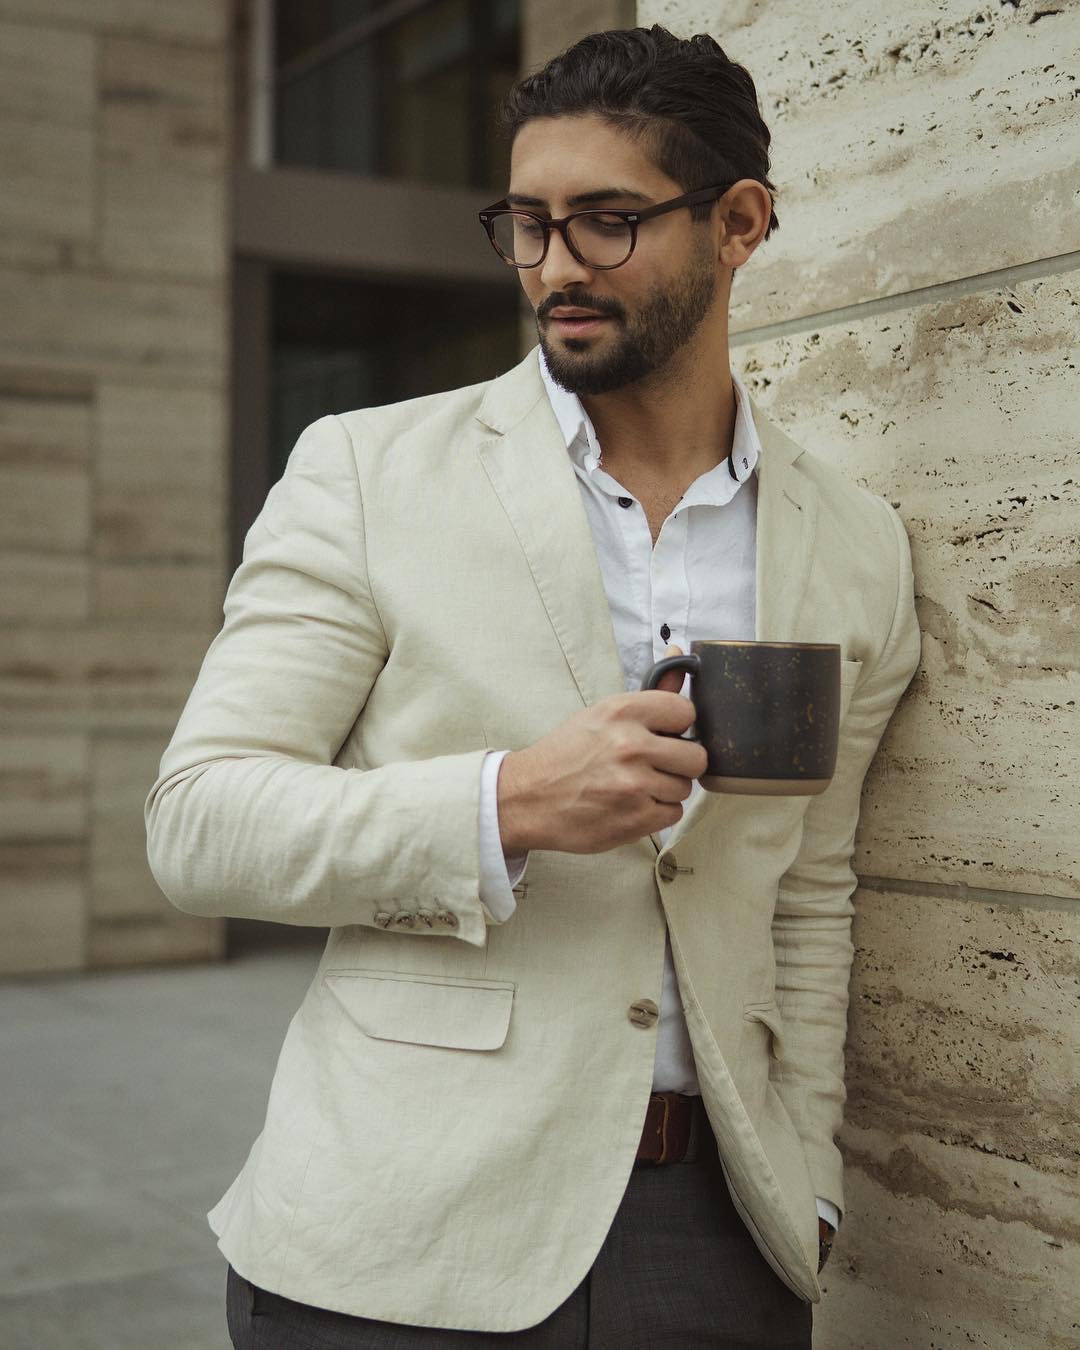 Model: @kamyar_jahan on IG 4. The Laugh Any time you can get your subject to genuinely smile or laugh take the shot. These candid moments are gold. Something I like to do for a laugh is ask my subject their favorite comedian and play that comedian on Spotify for a few minutes until they laugh. Or dad jokes, Really bad dad jokes often do the trick. | You May Also Like: Improve your photography with natural light 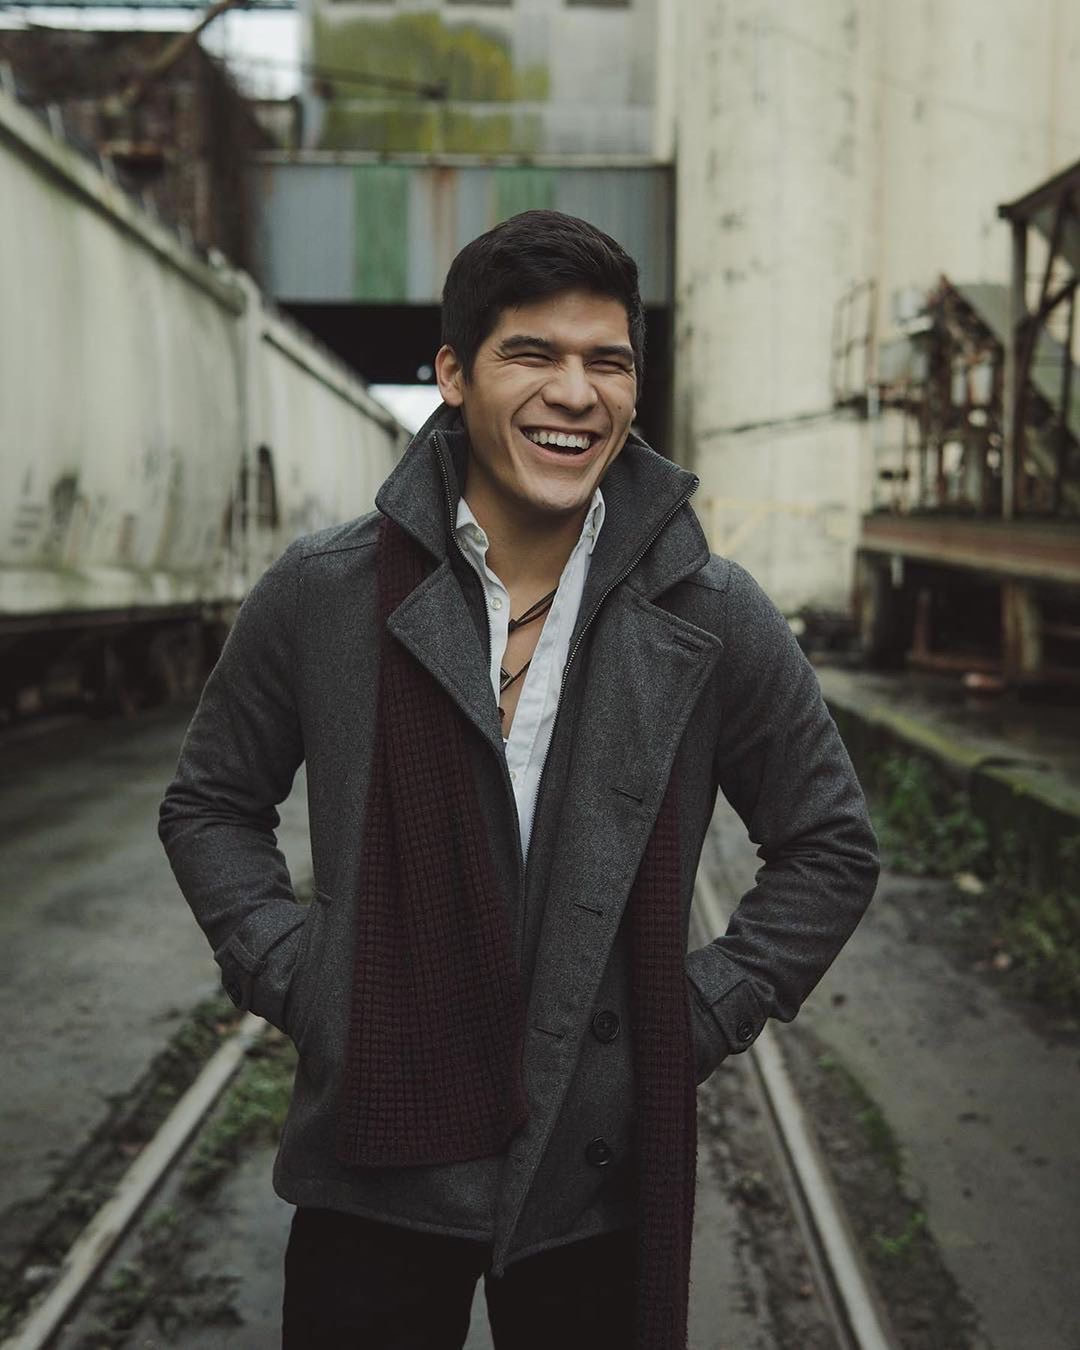 Model: @kaleo_rav3 on IG 5. Hand on Wrist This one only works if your subject is wearing a watch or bracelet. I usually tell my male subjects to wear a watch before hand. This gives them just one more thing to do with their hands. They will appreciate it. 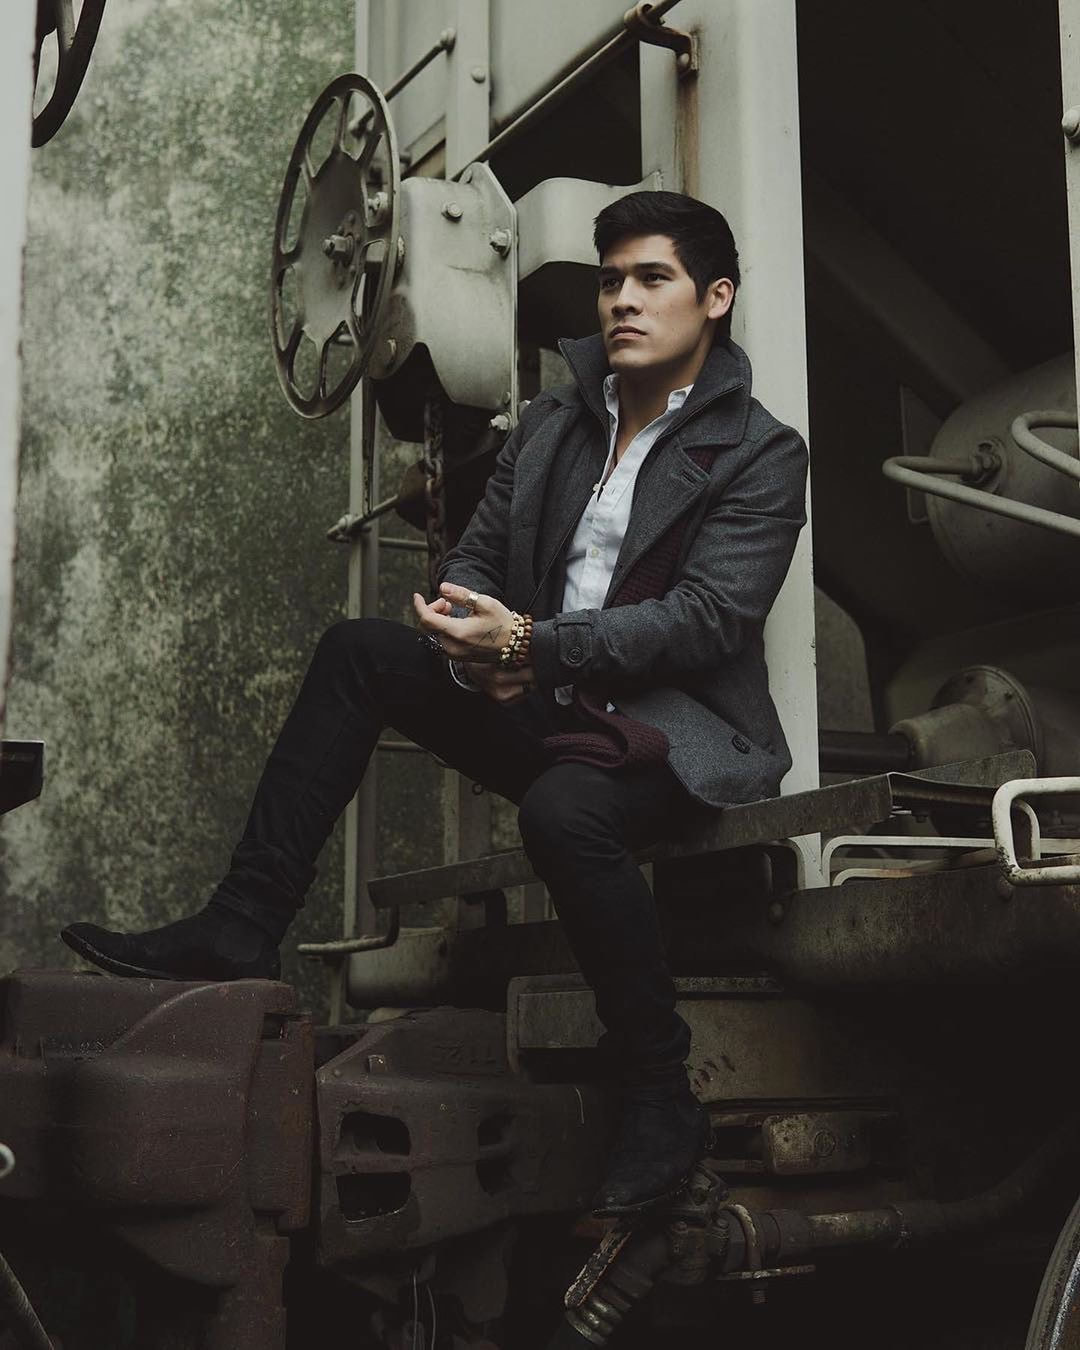 Model: @kaleo_rav3 on IG 6. Hand to Face Have your subject turn to the side, slightly turn their torso/head and rest their head into their hand. Loose fingers and not to much bend in the neck. 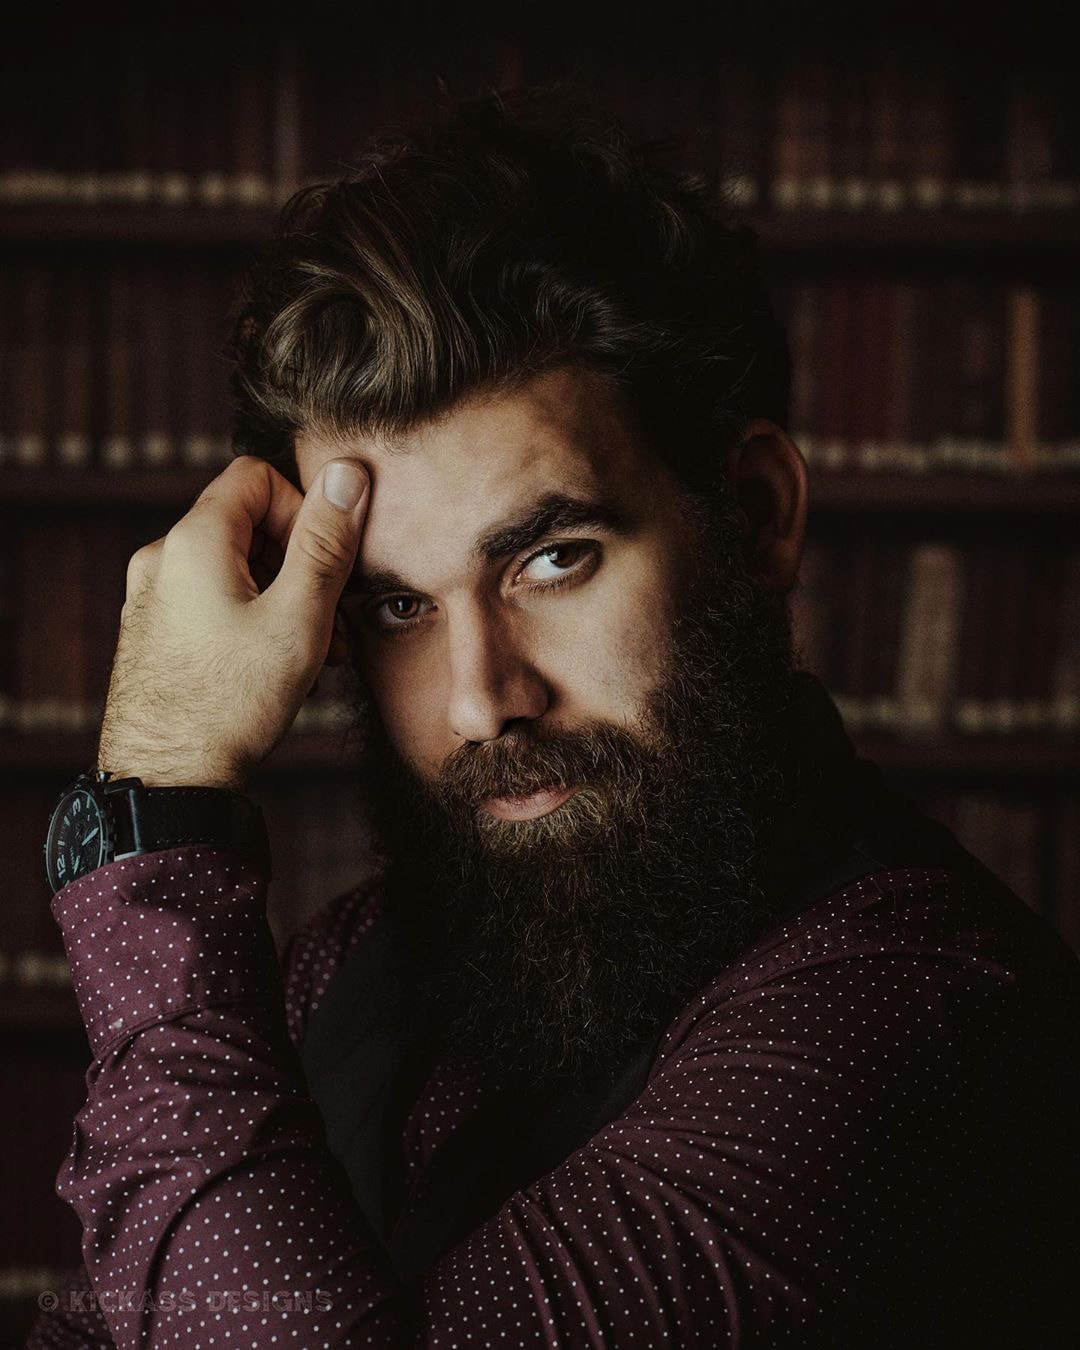 Model: @lifeofdylancruz on IG 7. The Scowl If your subject hasn't done a photo shoot before they most likely assume they should be smiling for every photo. But depending on how they plan on using the photos and what mood and message they are trying to achieve smiling may not be the right choice. Try a slight scowl to change things up. 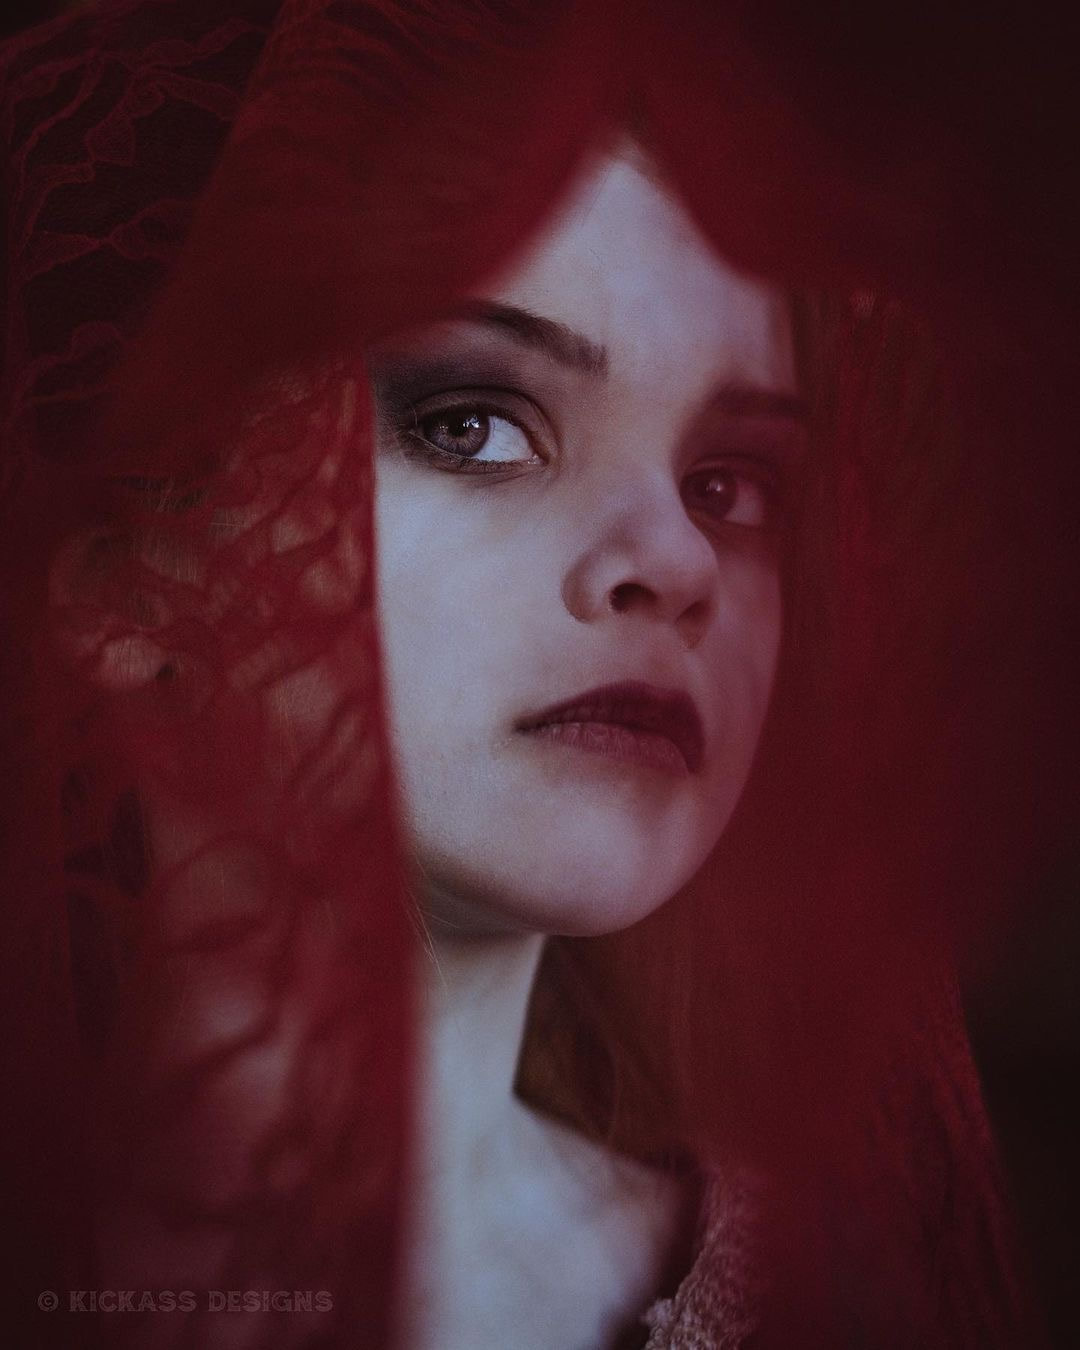 8. Over the Shoulder Have your subject stand or sit to the side and look over their shoulder either at the camera or slightly looking back over their shoulder. A more serious look works best for this pose.  Model: @kaleo_rav3 on IG 9. The Sleeve Pull This pose works great if your subject has on a long sleeve shirt or button up. Have them play with their sleeve by pulling it up. 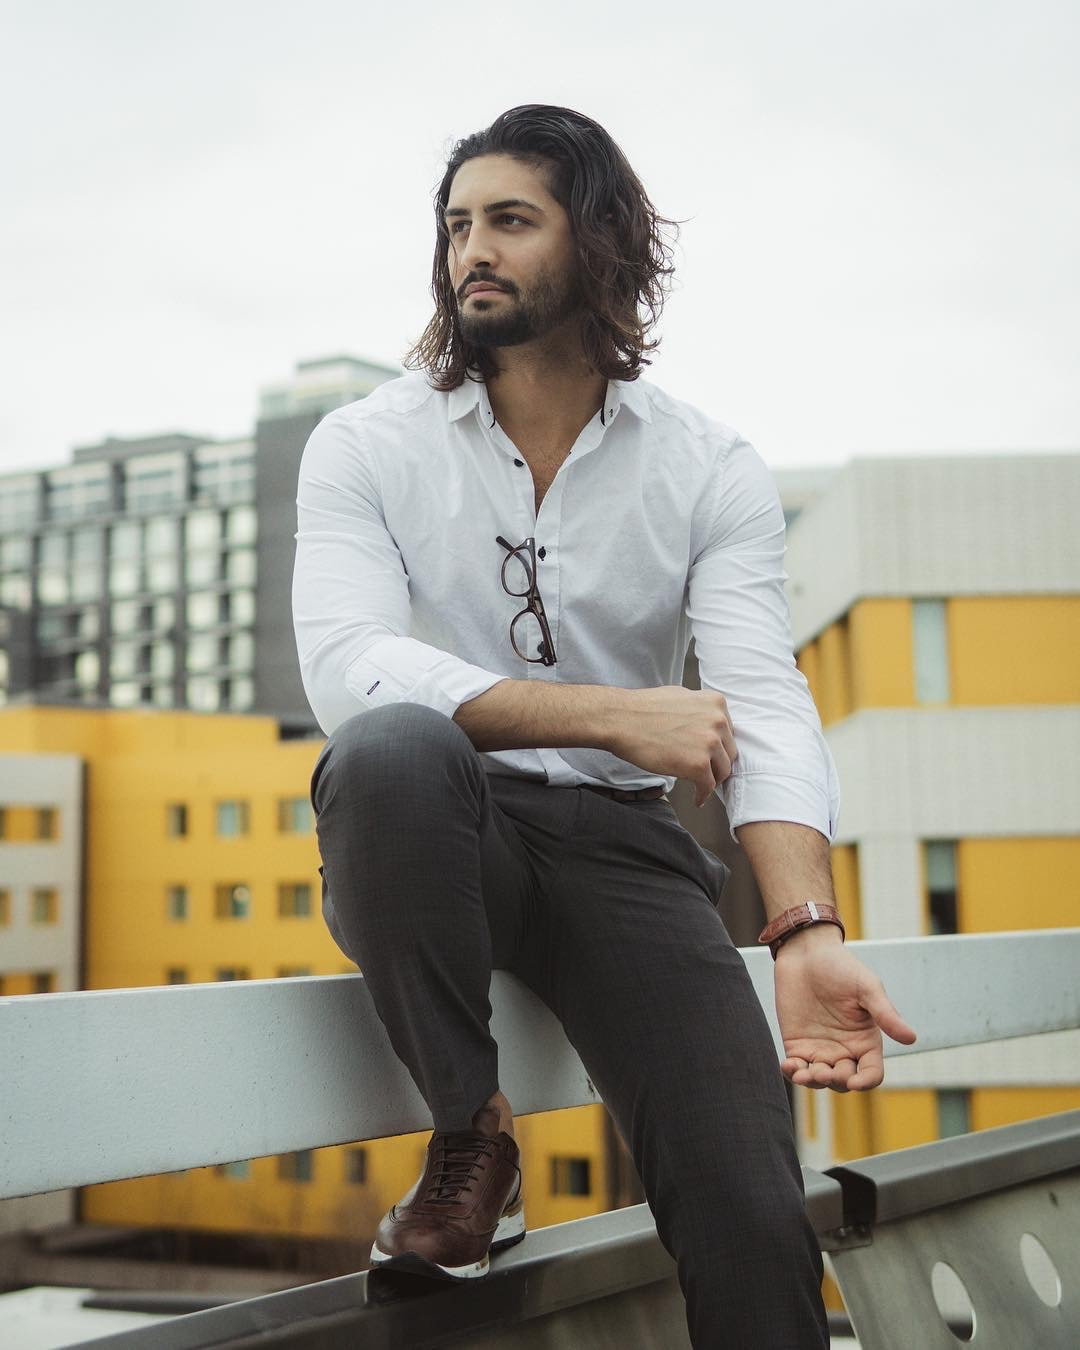 Model: @kamyar_jahan on IG 10. The Inside Pocket If your subject is wearing a blazer or jacket with an inside pocket have them go through the act of putting something in the inside pocket. 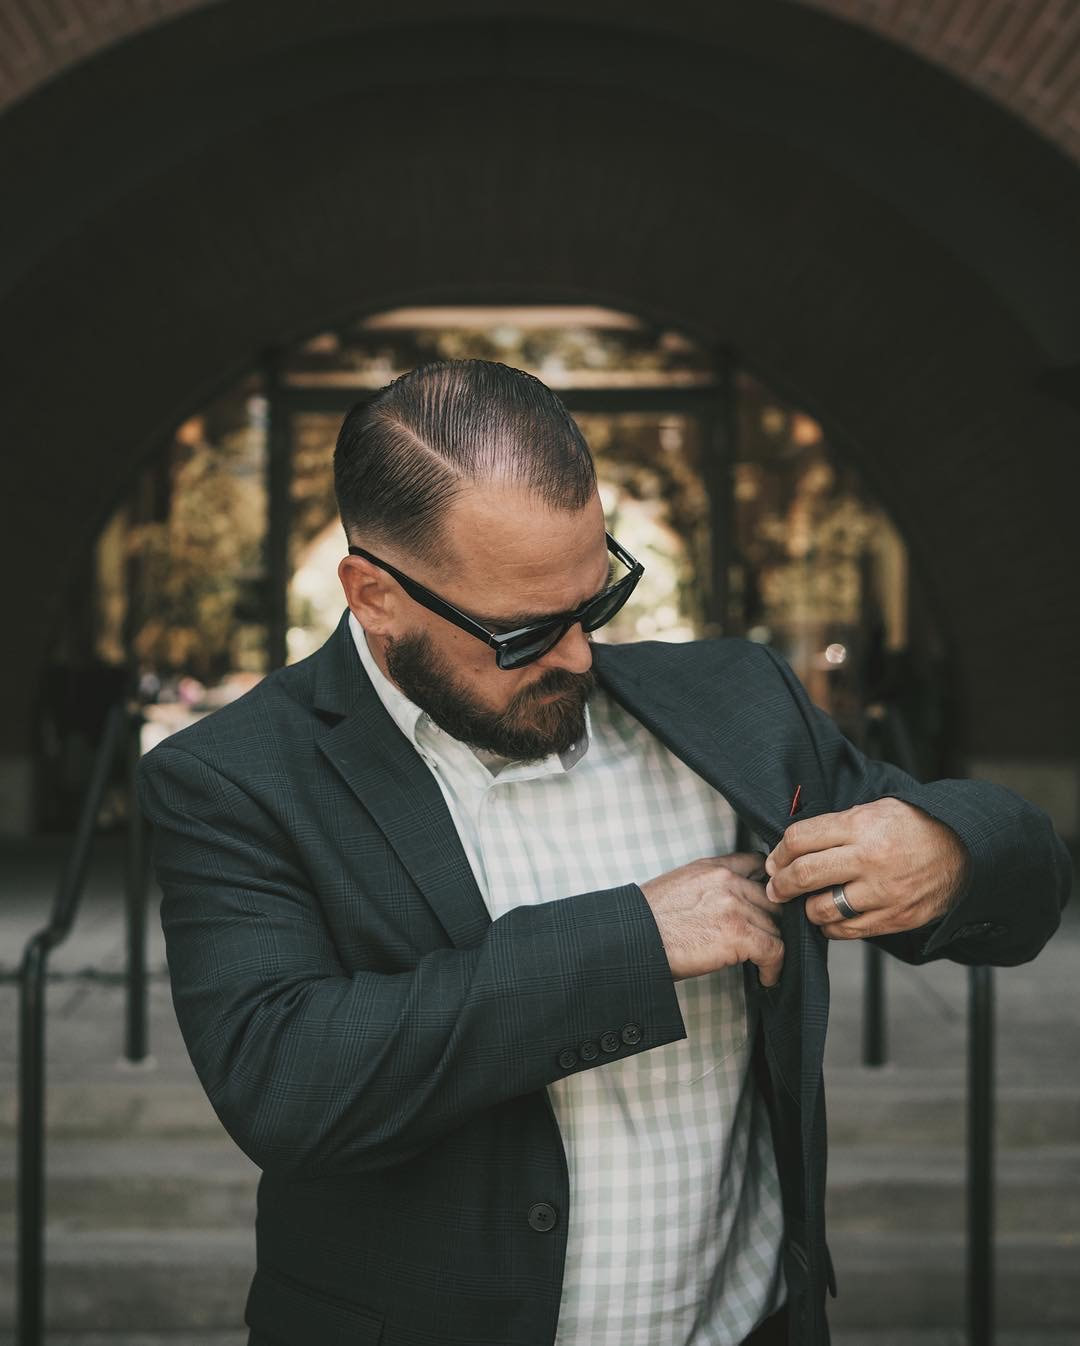 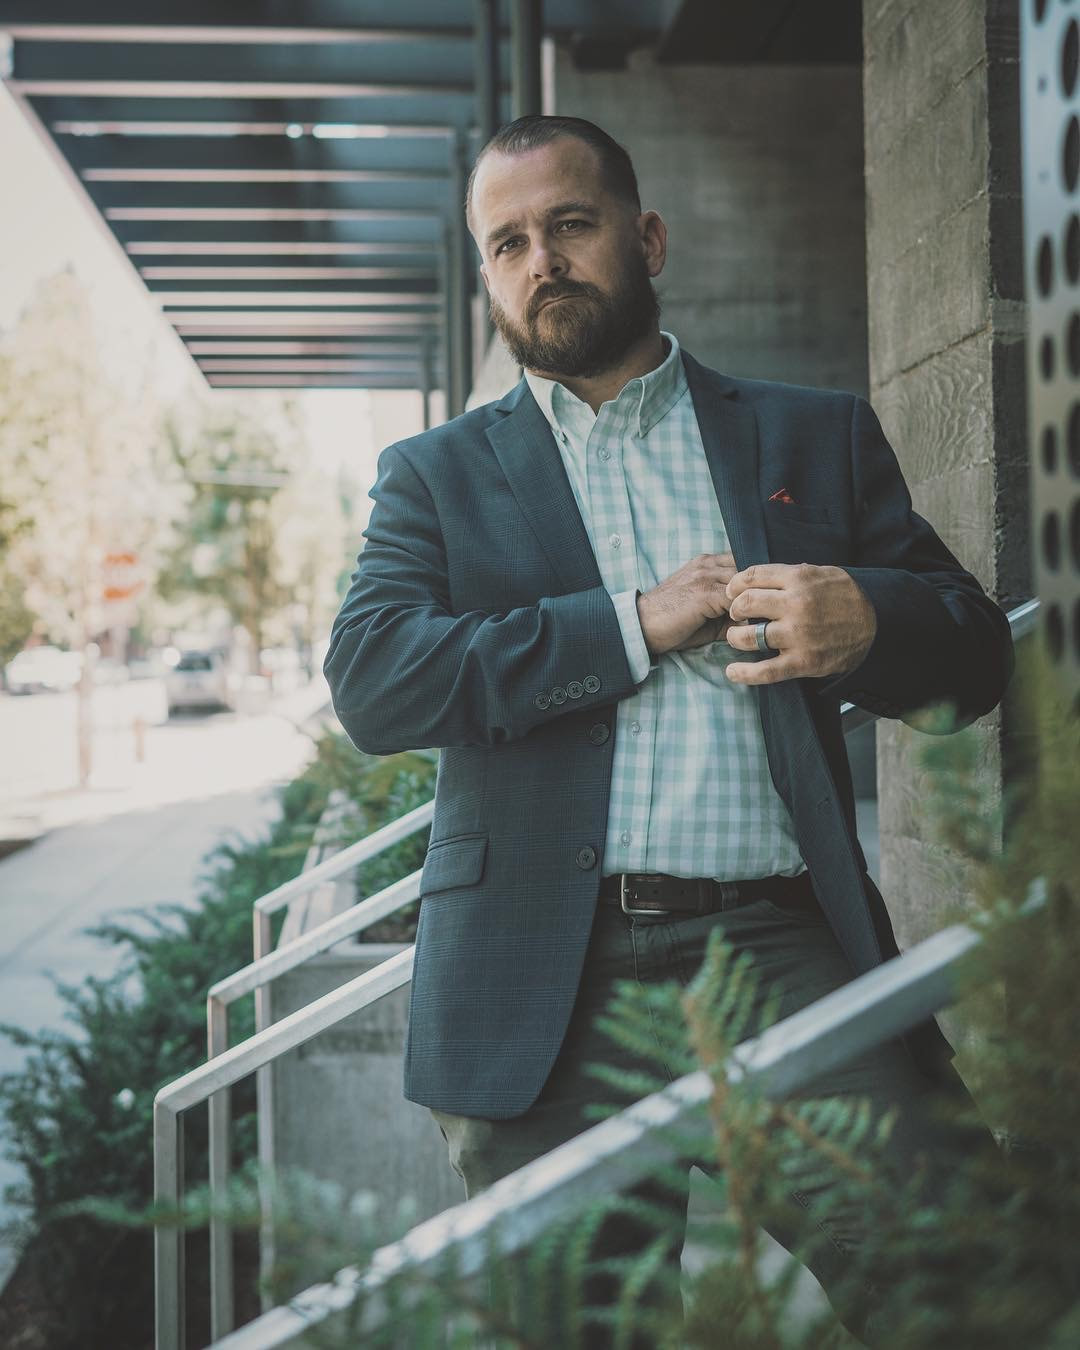 11. Play with Buttons If your subject is wearing a button up have then go through the act of buttoning and unbuttoning their shirt. Have them place one hand over the other as if they are about to unbutton their shirt. 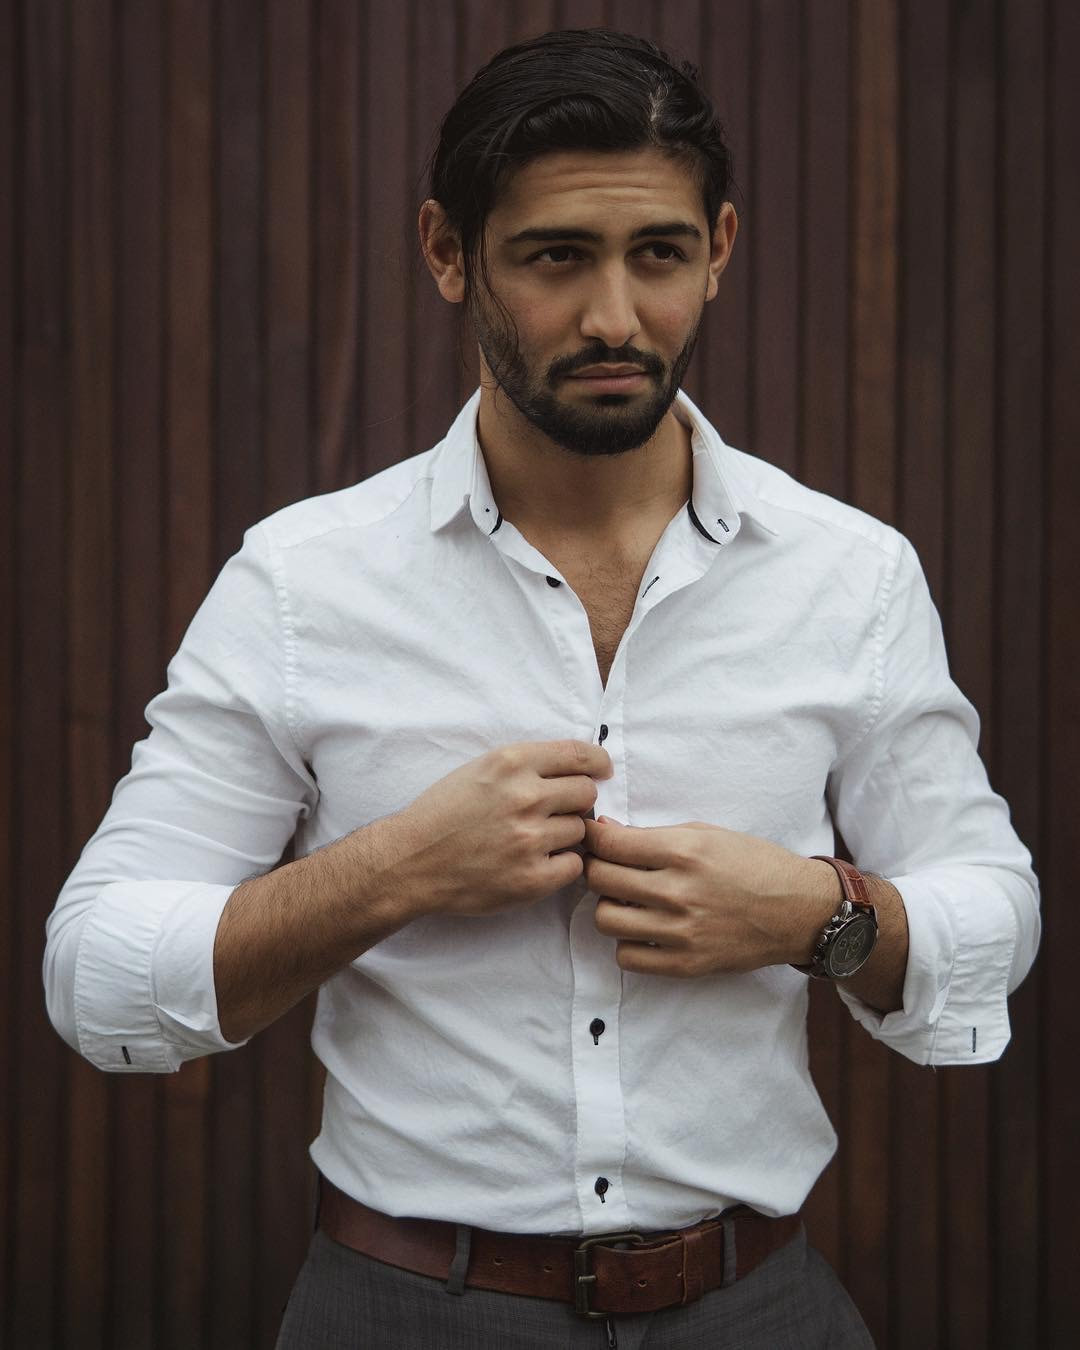 Model: @kamyar_jahan on IG 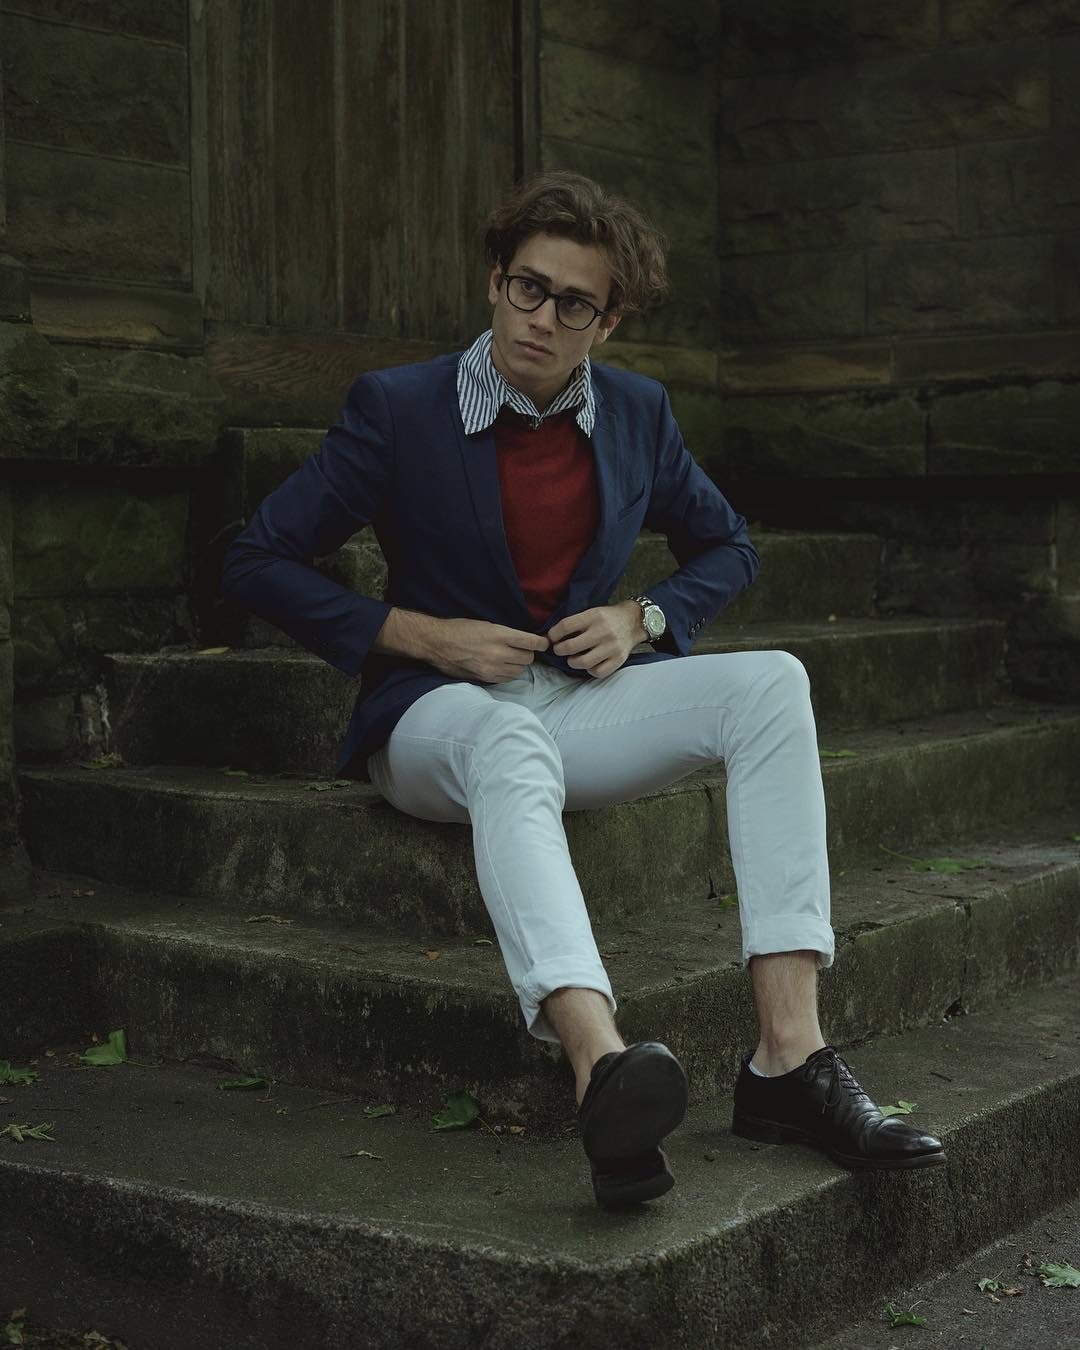 Model: @a_russian_guy on IG 12. Fist in Hand This is a great pose for a more muscular subject who wants to show off those arms. Have them face the camera, stand tall and place a fist in one hand and flex. 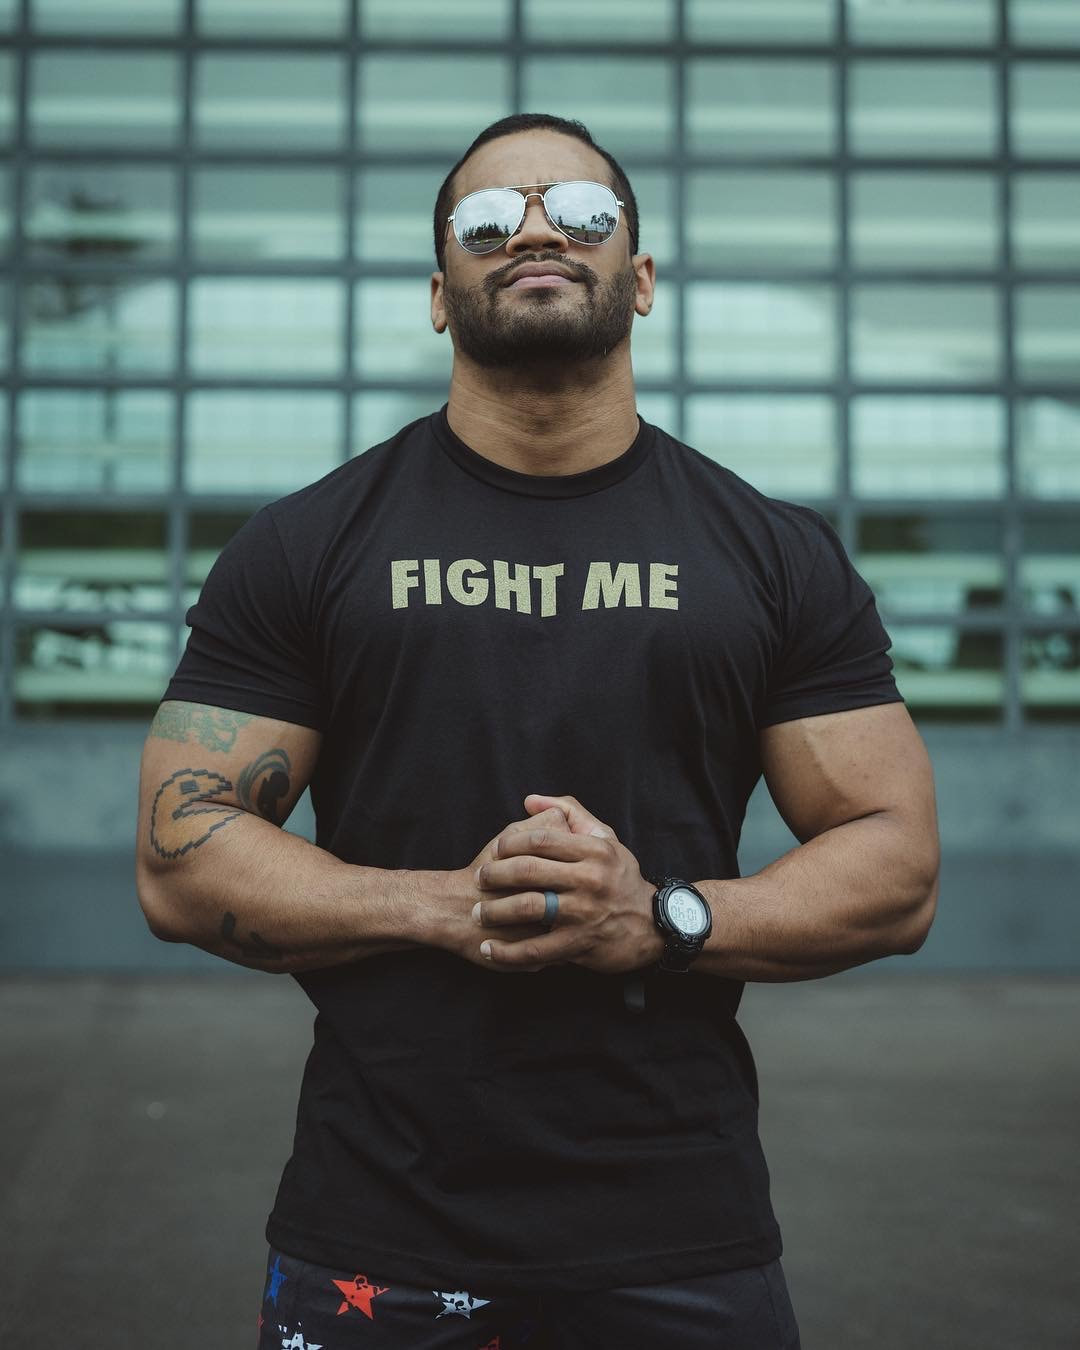 Model: @billyd275th on IG 13. Hand to Chest Side View This is another great one for a subject who wants to show those arms. Have your subject stand tall, to the side, slightly turning their torso to the camera with one hand up by their chest, flexing the bicep, and looking into the camera or into the distance.  Model: @starttheworld on IG 14. Jacket Over One Shoulder If your subject has a jacket or blazer have them throw it over one shoulder. 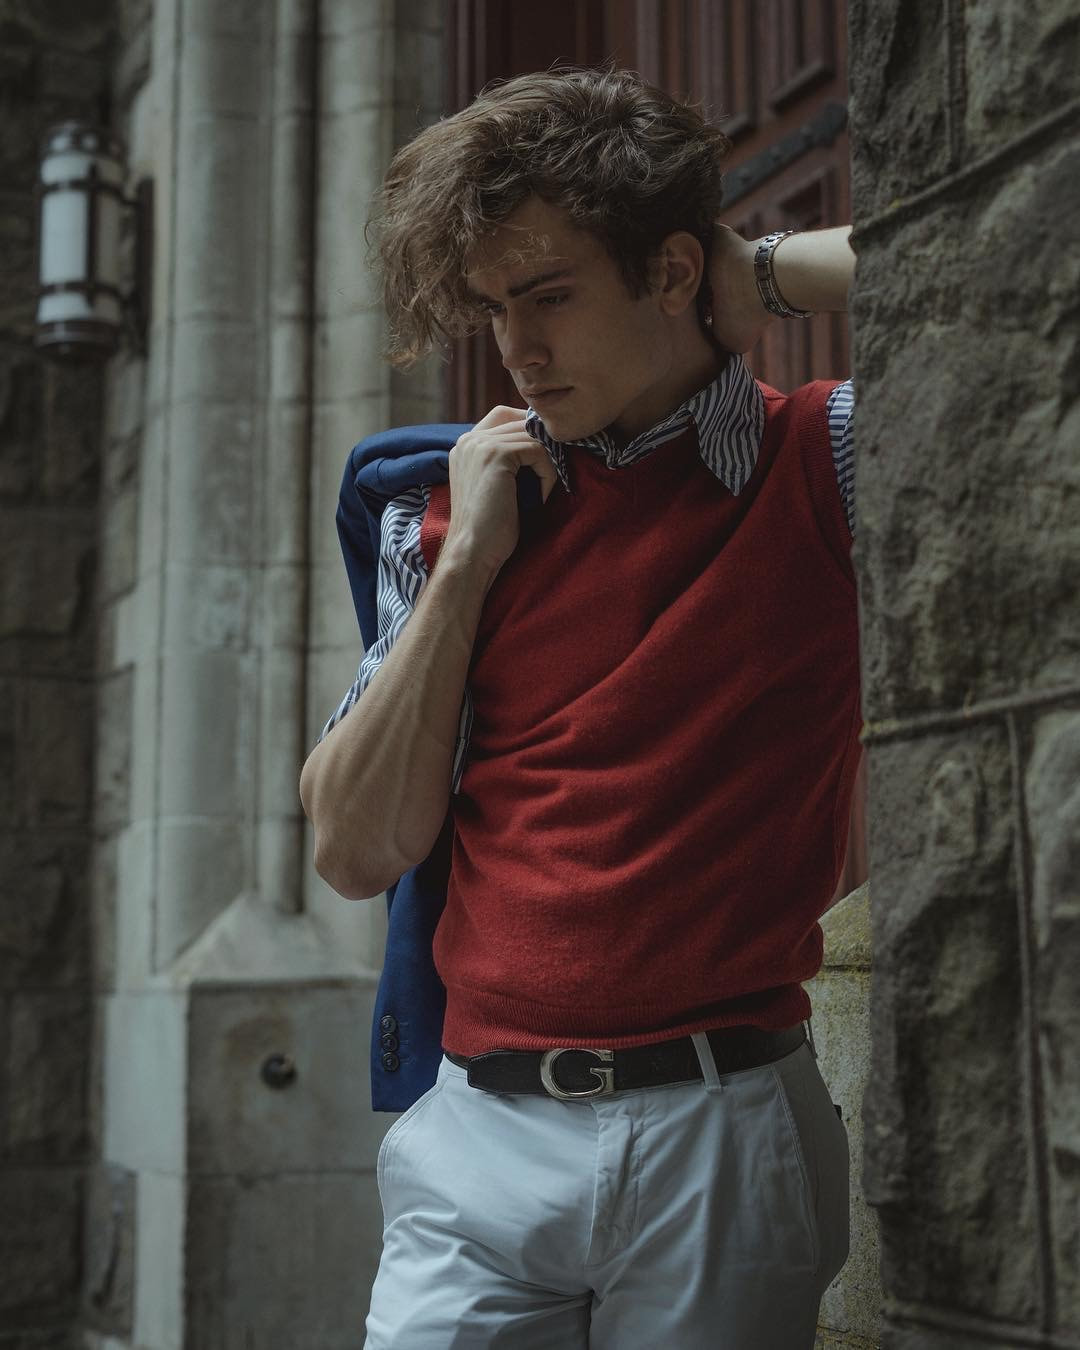 Model: @a_russian_guy on IG 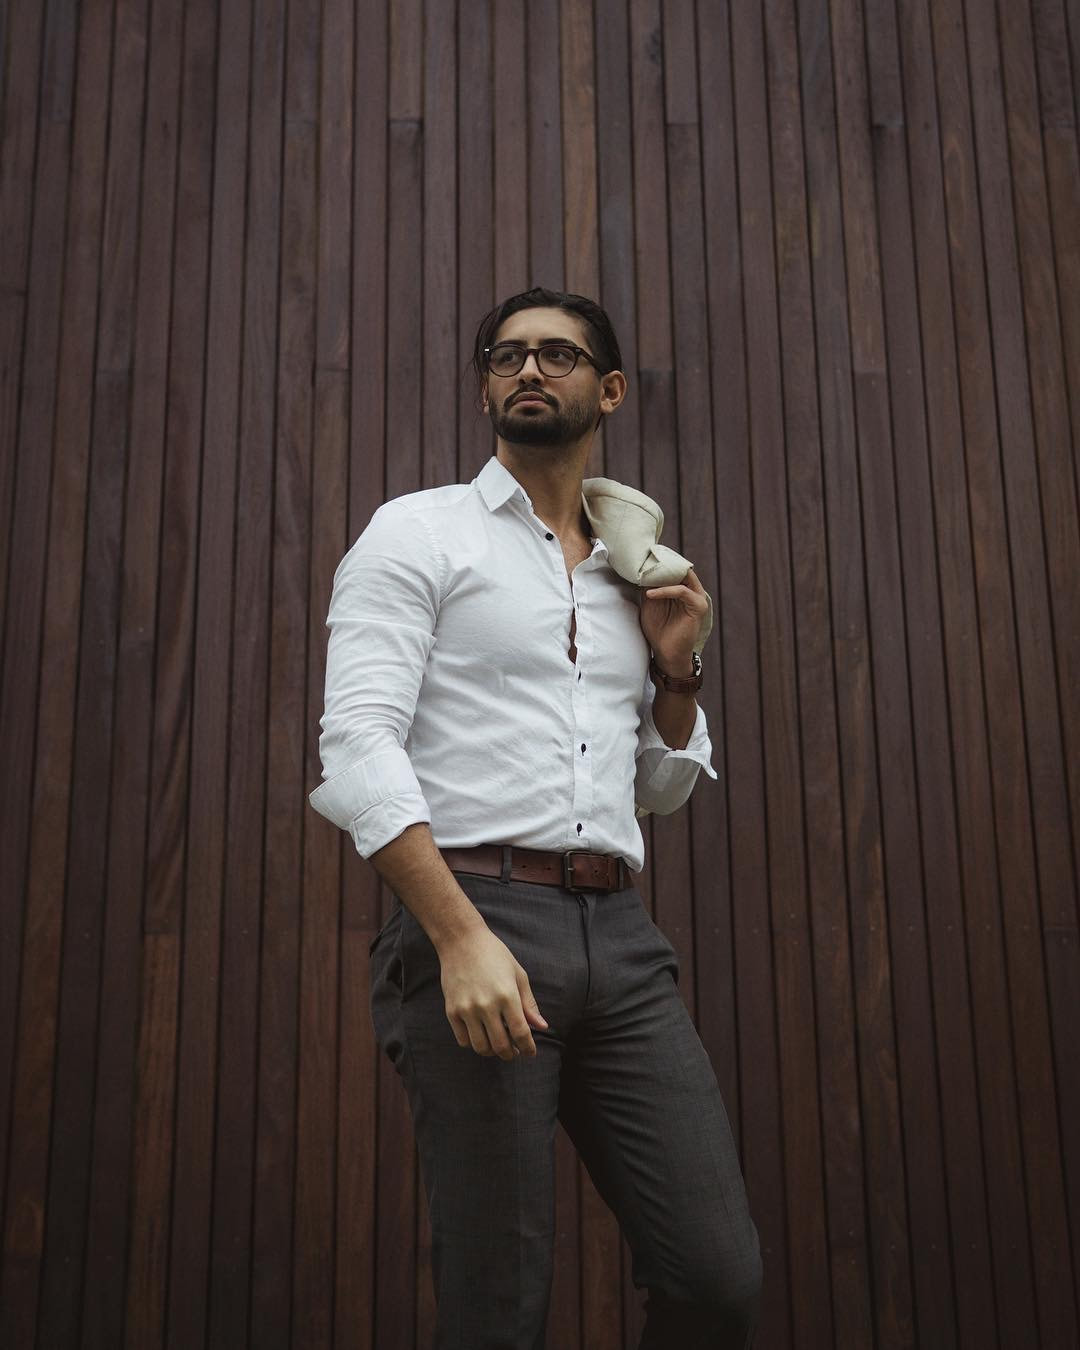 Model: @kamyar_jahan on IG 15. Hands on Waist Have your subject stand tall and place both hands on their hips or waist and flex those arms. Shoot from slightly below at an upward angle for a stronger look.  Model: @billyd275th on IG 16. Sit and Lean Have your subject sit and lean placing an elbow on the knee and hand to face.  Model: @a_russian_guy on IG 17. Hand to Neck Have your subject bring a hand to their neck just below the chin. Keep the hand loose. They aren't choking themselves. 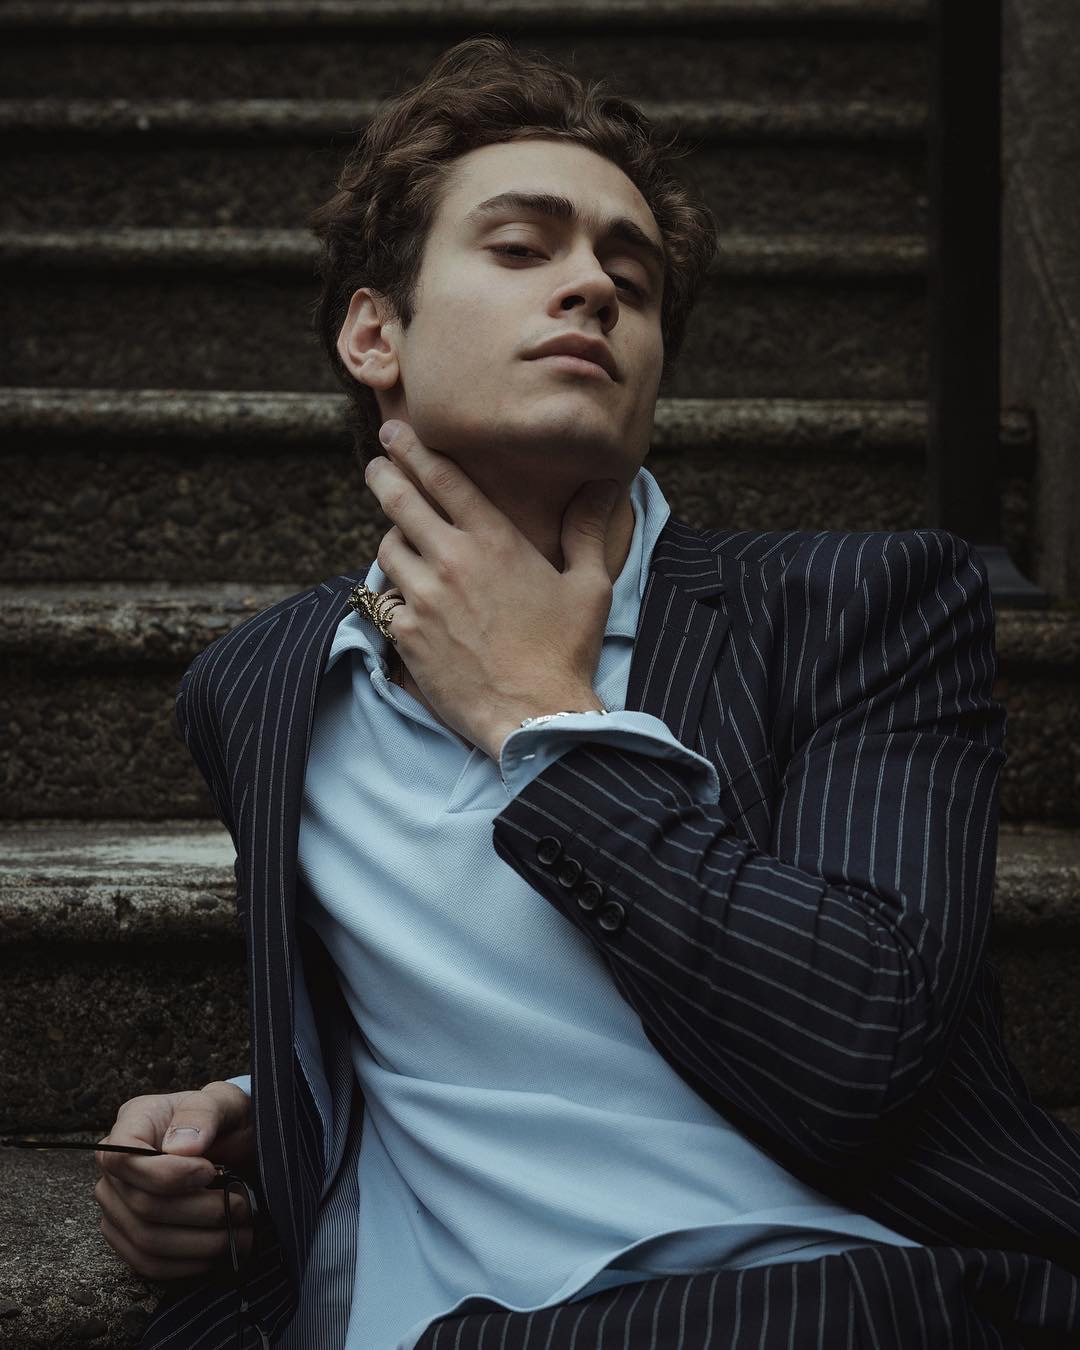 Model: @a_russian_guy on IG 18. One Hand in Pocket Have your subject place just one hand in a pant pocket. 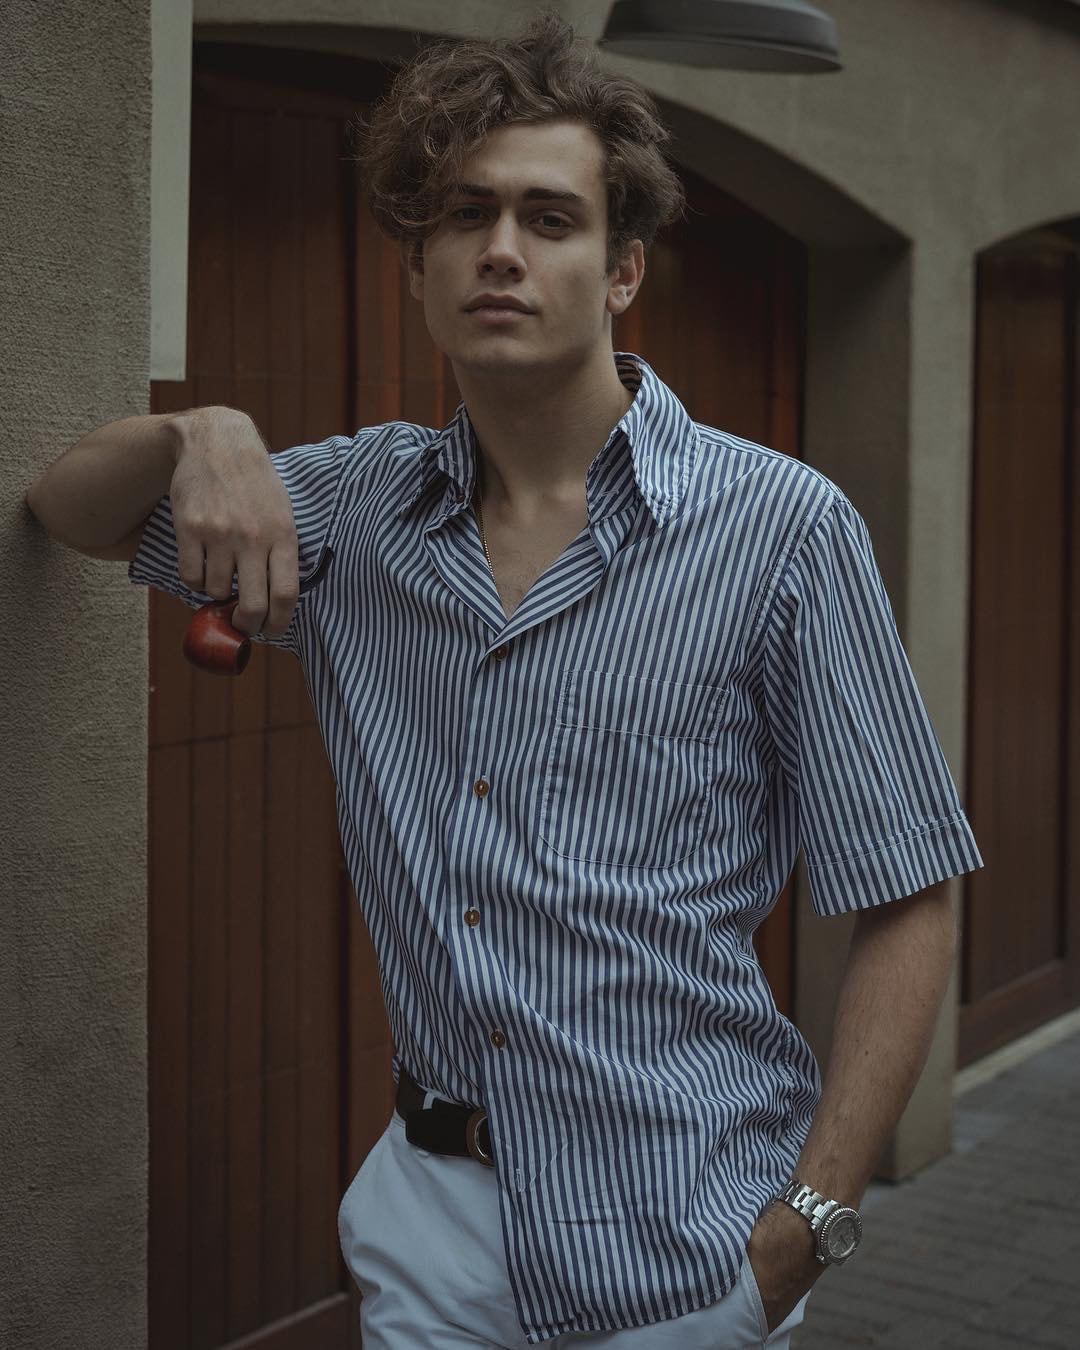 Model: @a_russian_guy on IG 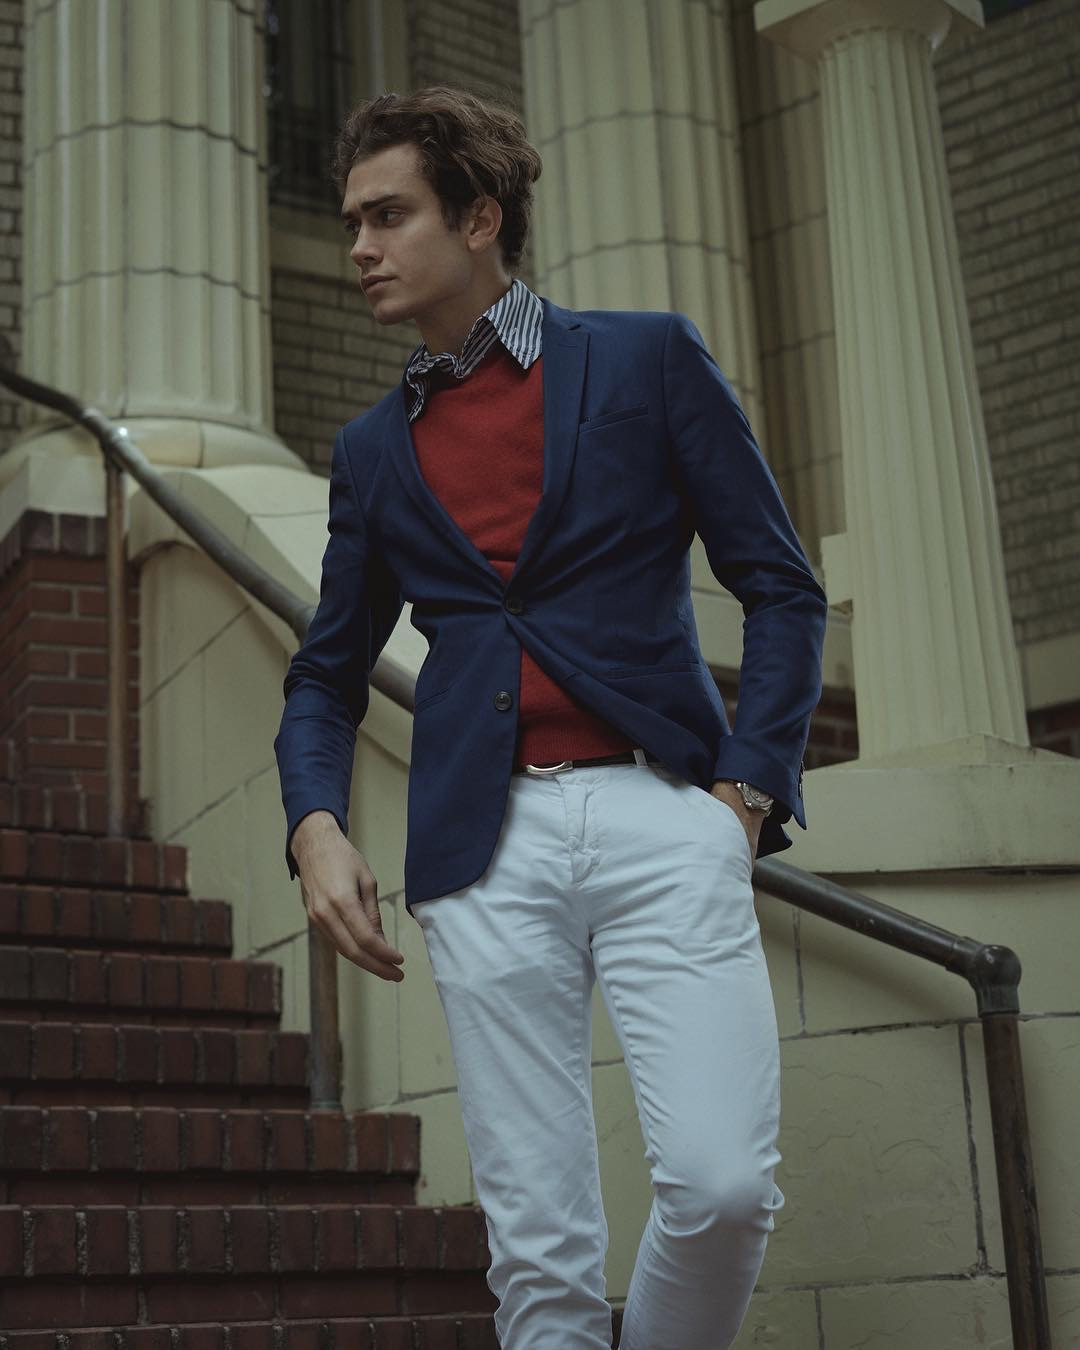 Model: @a_russian_guy on IG 19. Props Depending on the mood and message your subject wants to convey a book is an easy prop to bring with you that can be used in multiple ways shown below. Again your subject will appreciate you giving them something to do with their hands. 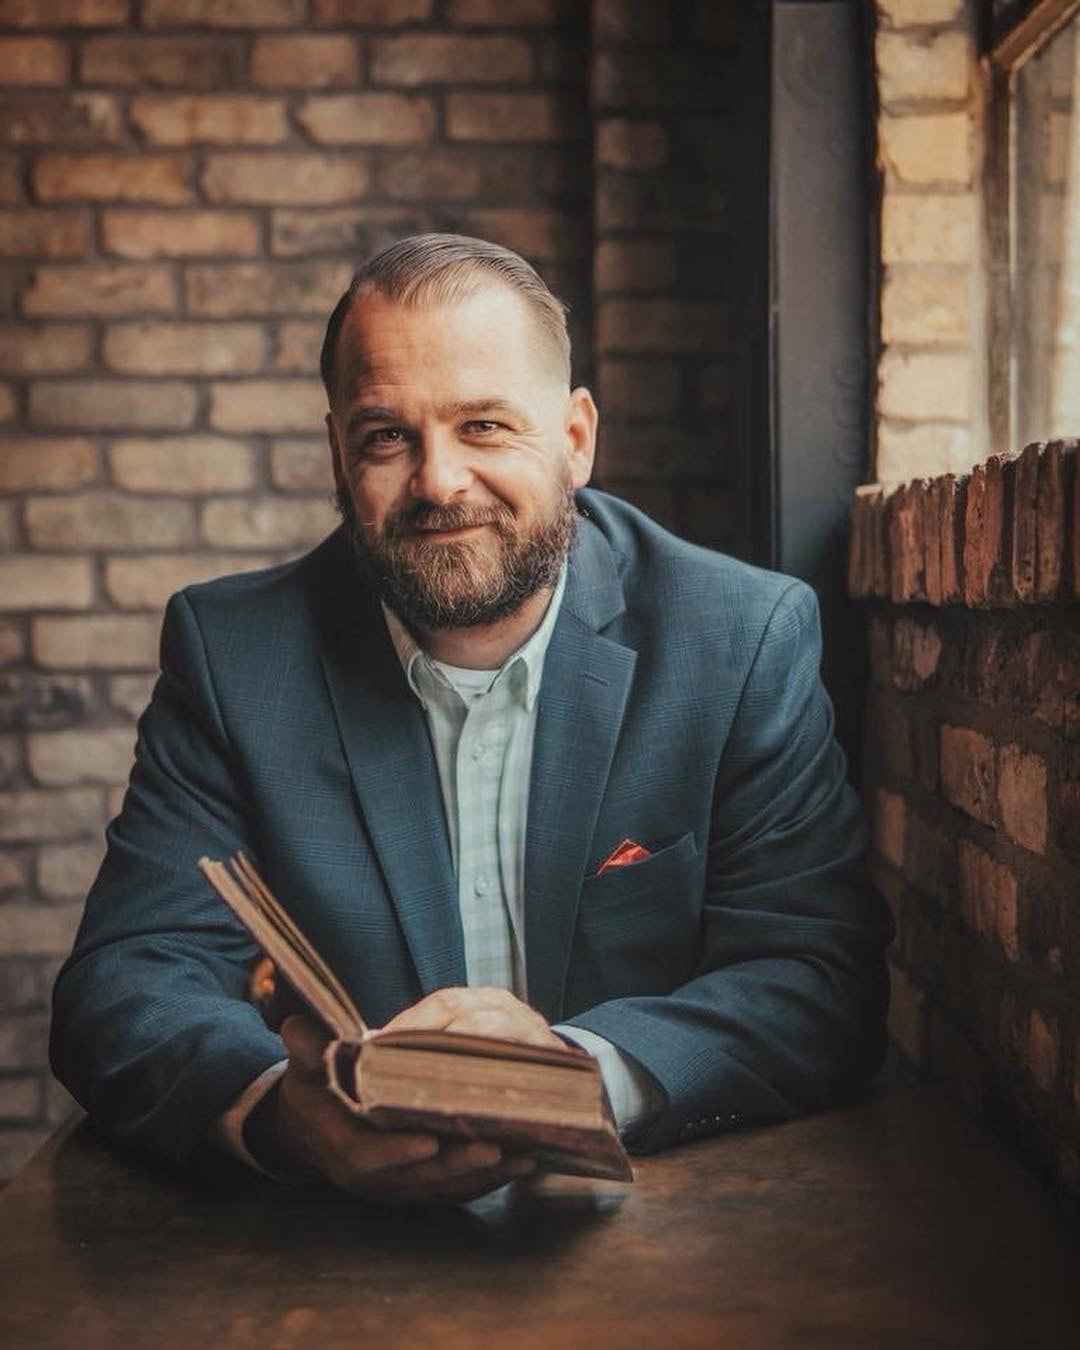 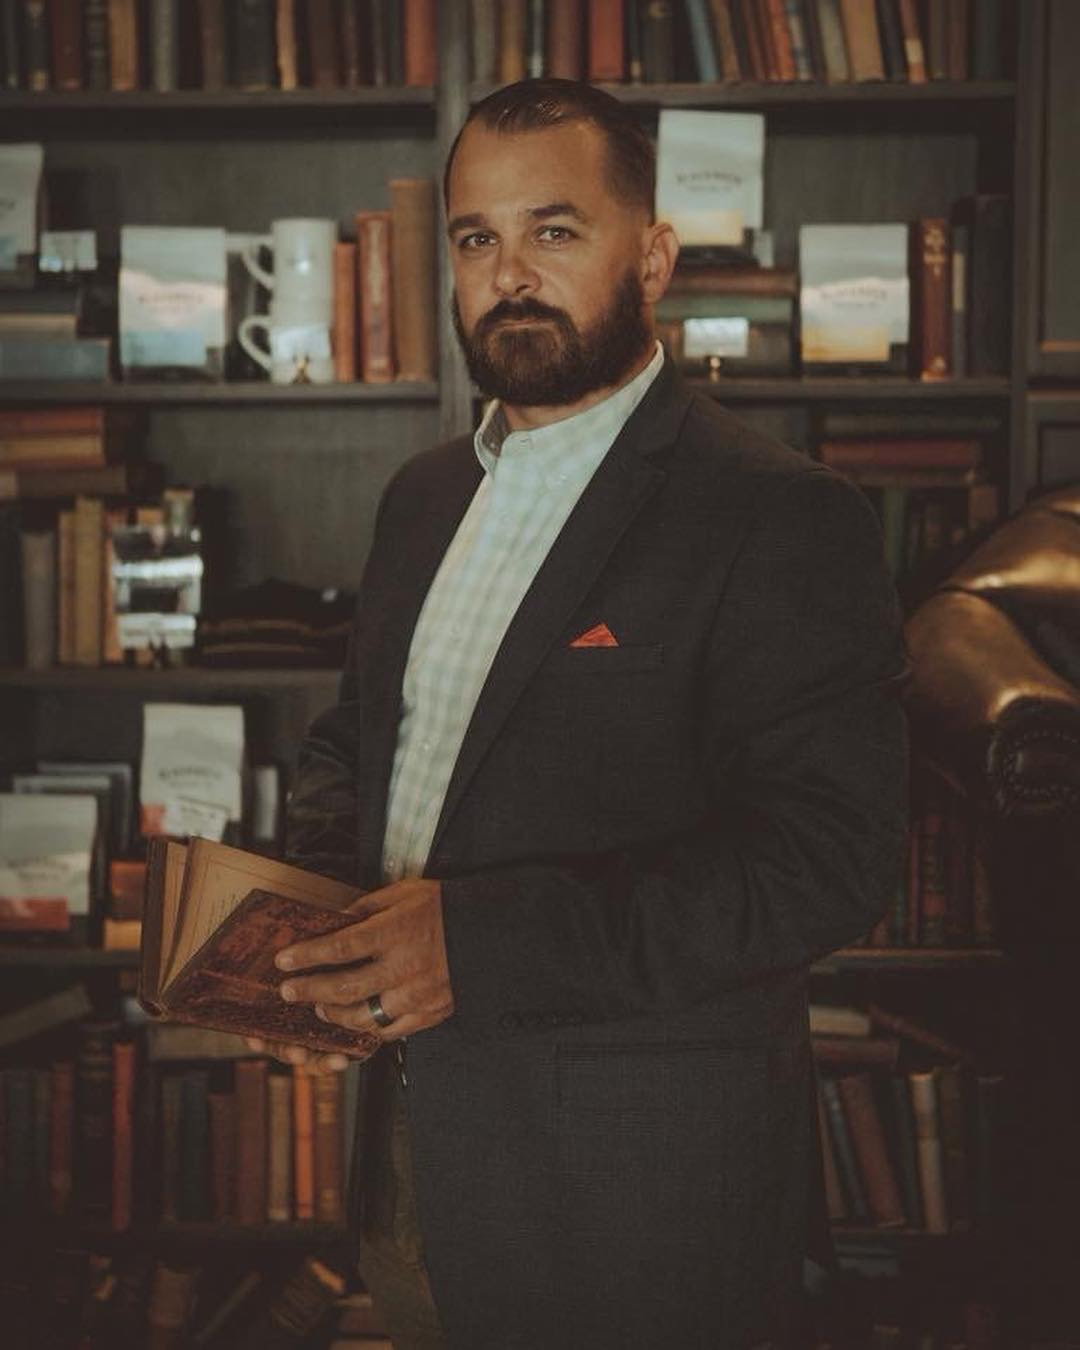 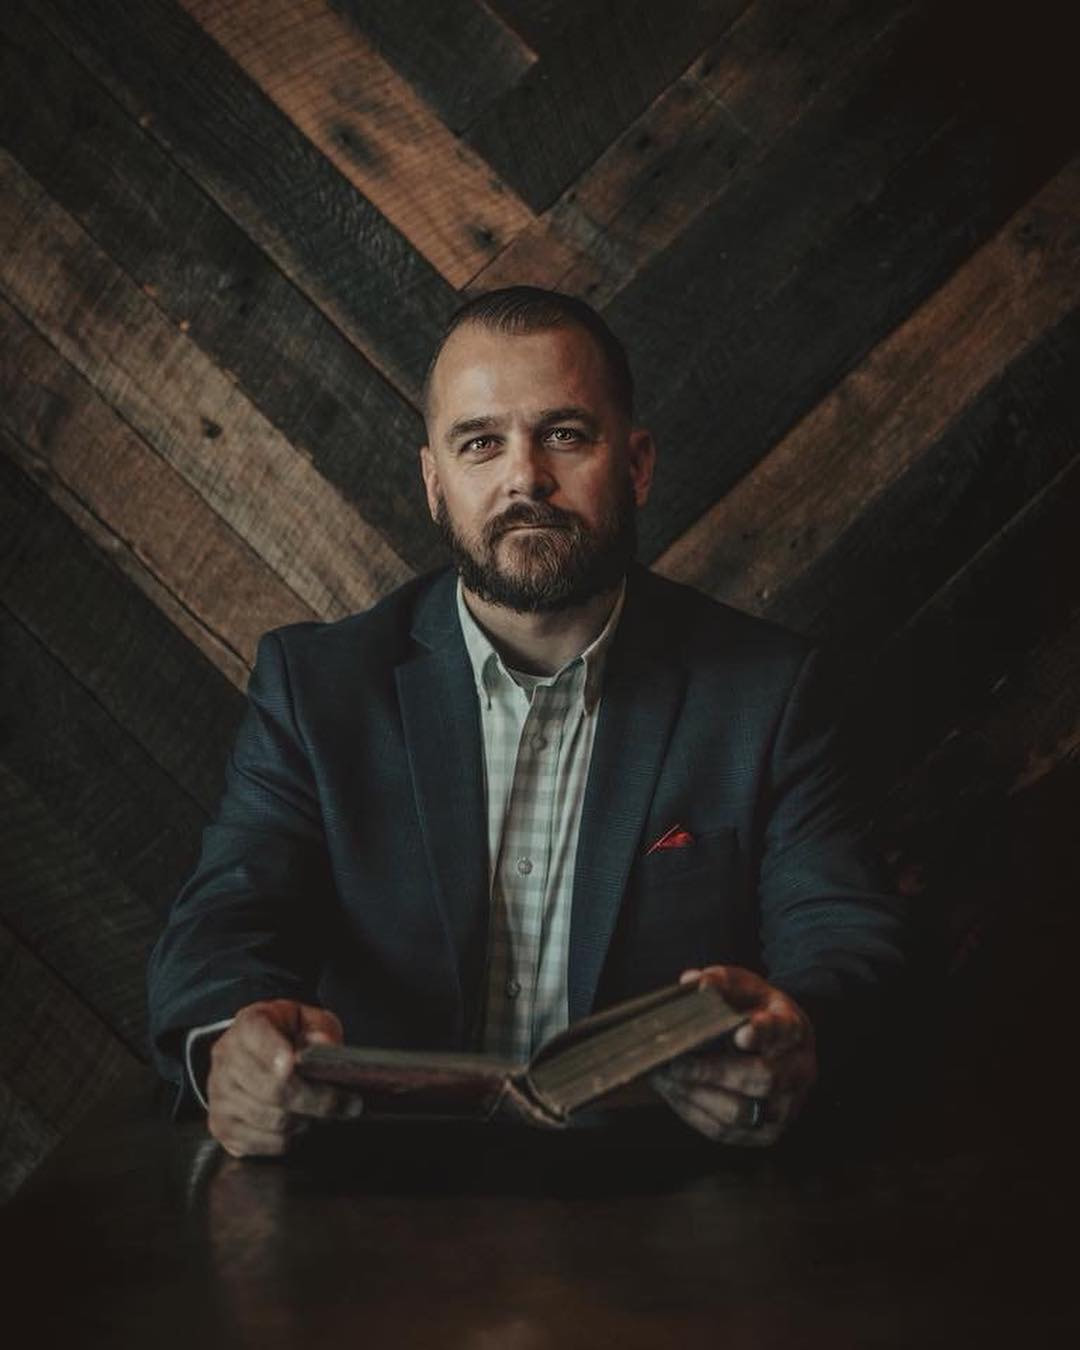 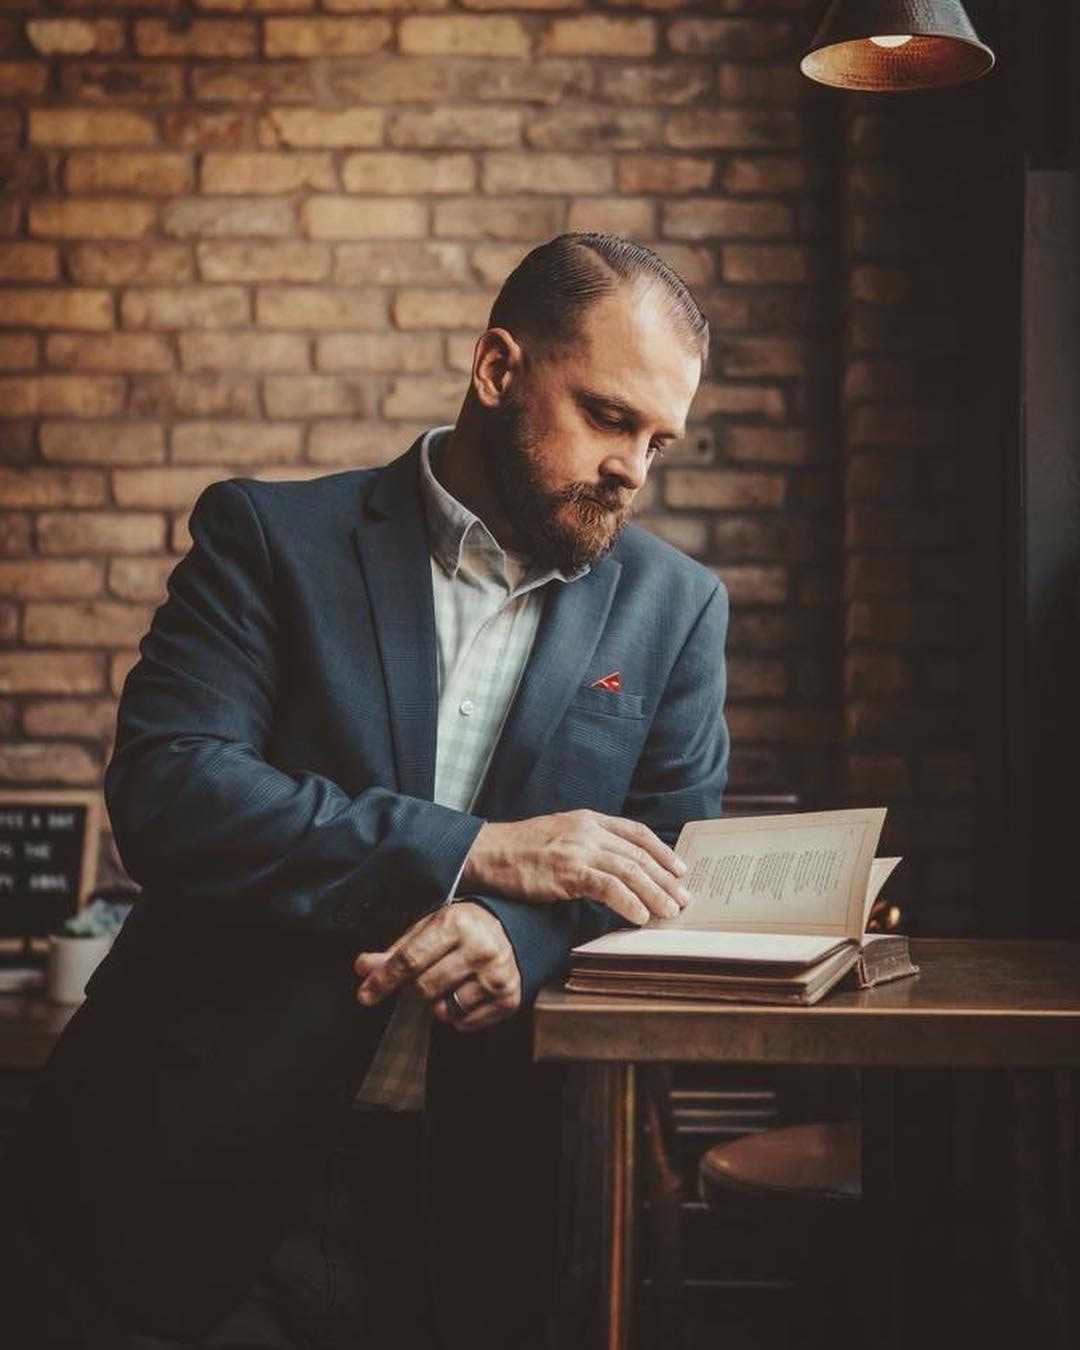 20. Back to the Wall Have your subject put his back to the wall looking into the camera or off into the distance. Try different perspectives. 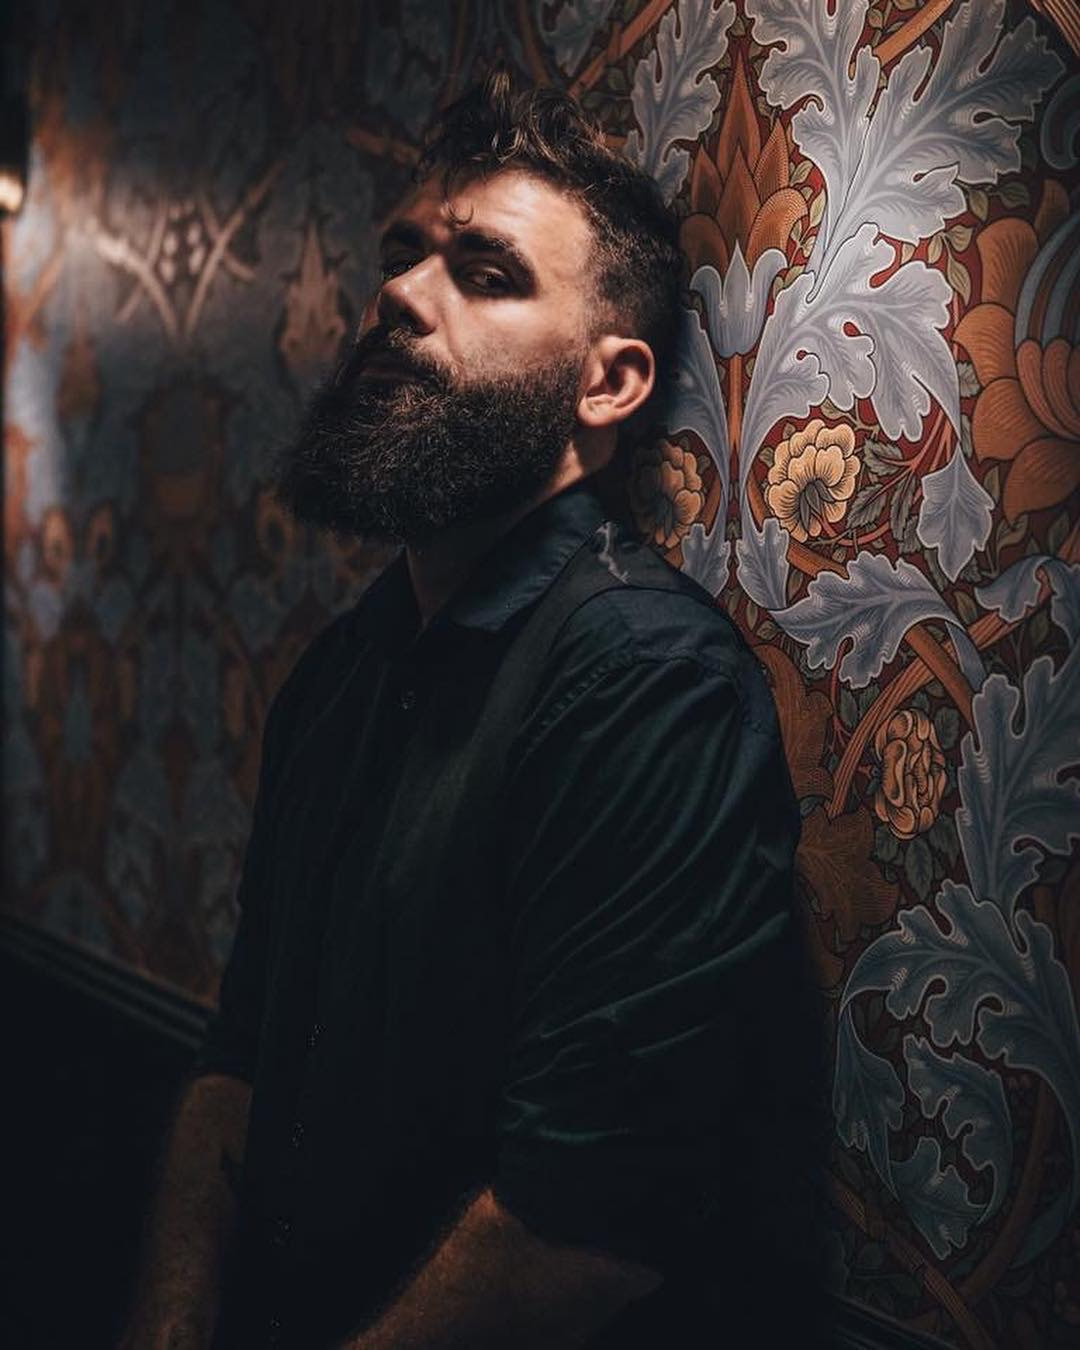 Model: @lifeofdylancruz on IG 21. Hand behind the Head Have your subject place one hand behind his head. Not too much bend in the neck. 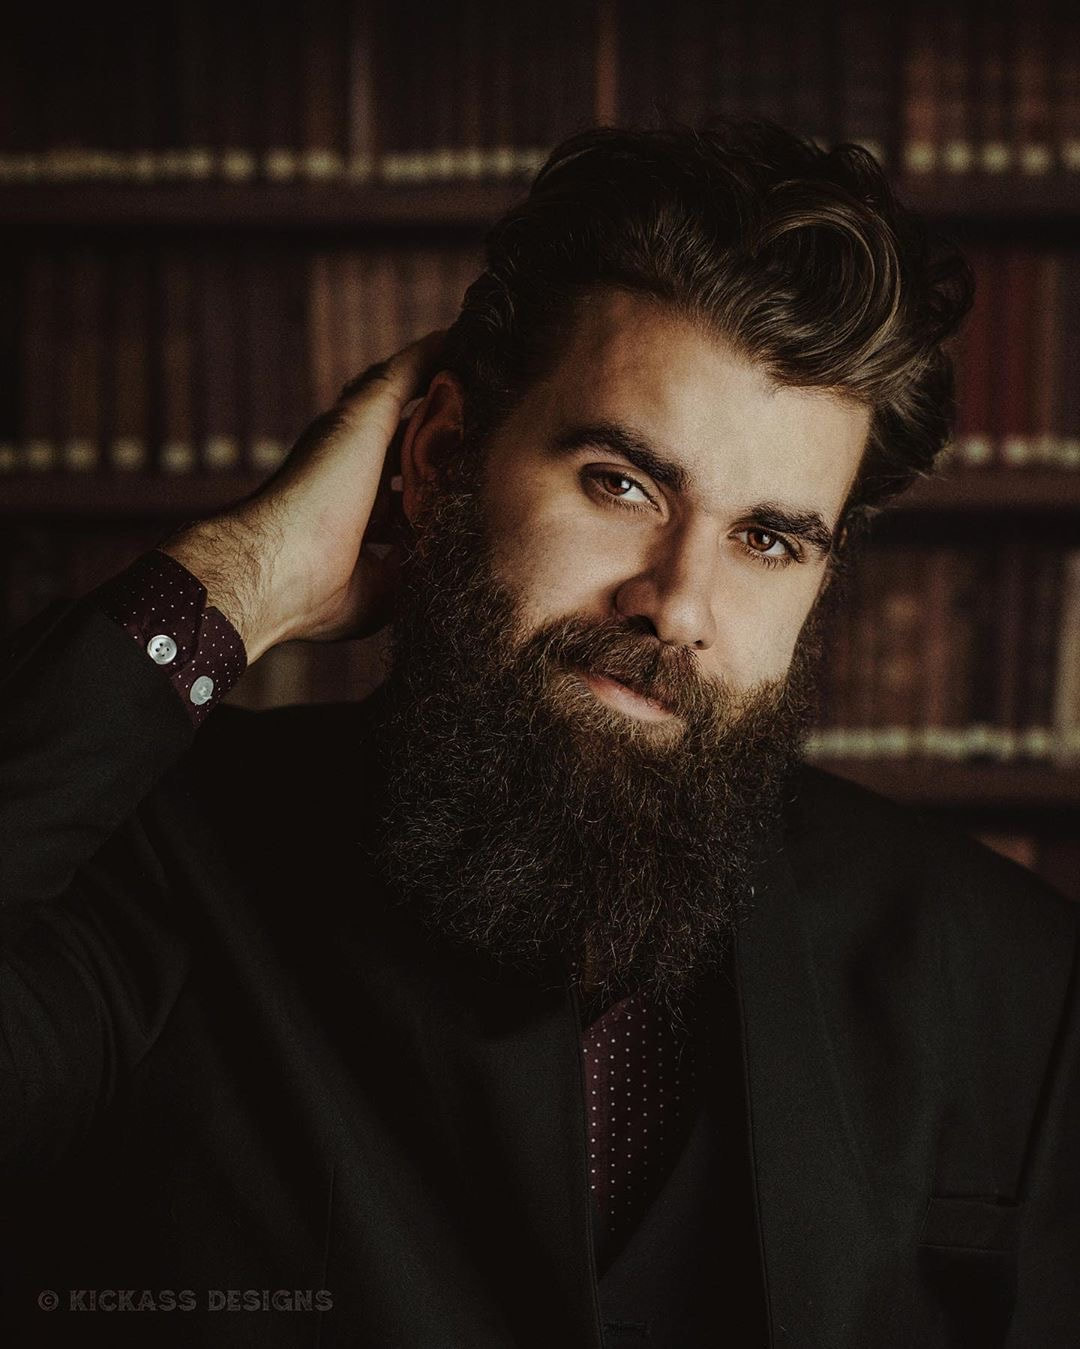 Model: @lifeofdylancruz on IG 22. Cover half the Face Have your model cover half his face with one or both hands. This brings all the focus to one eye. 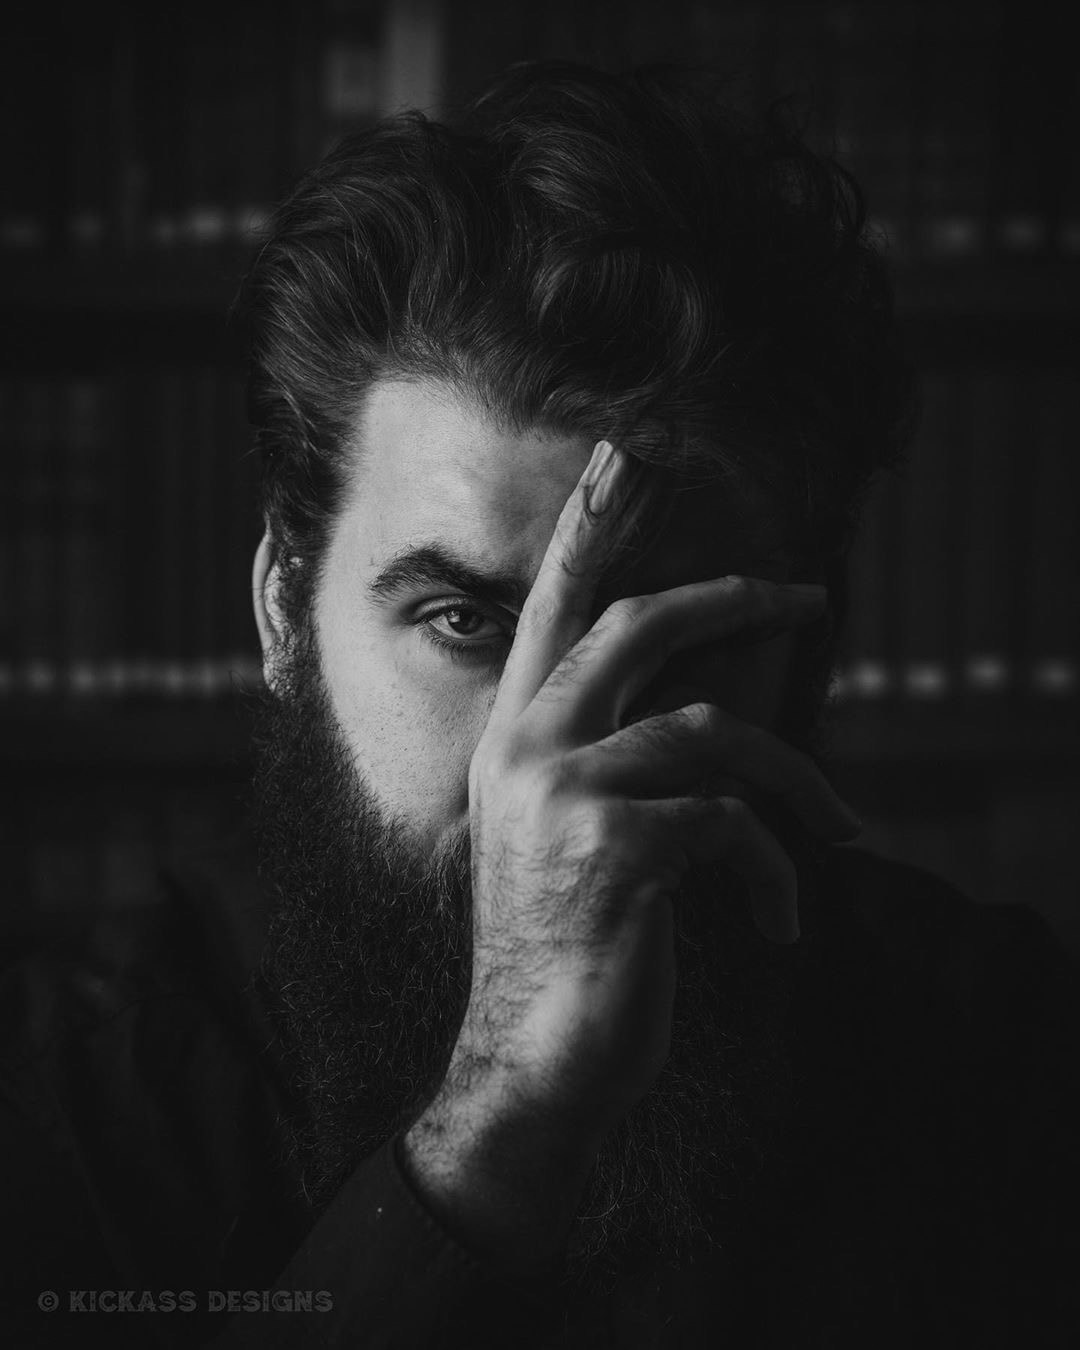 Model: @lifeofdylancruz on IG 23. Sit one leg Under Have your subject sit on the ground with one leg under the other. Resting one elbow on the knee and the forearm on the thigh. 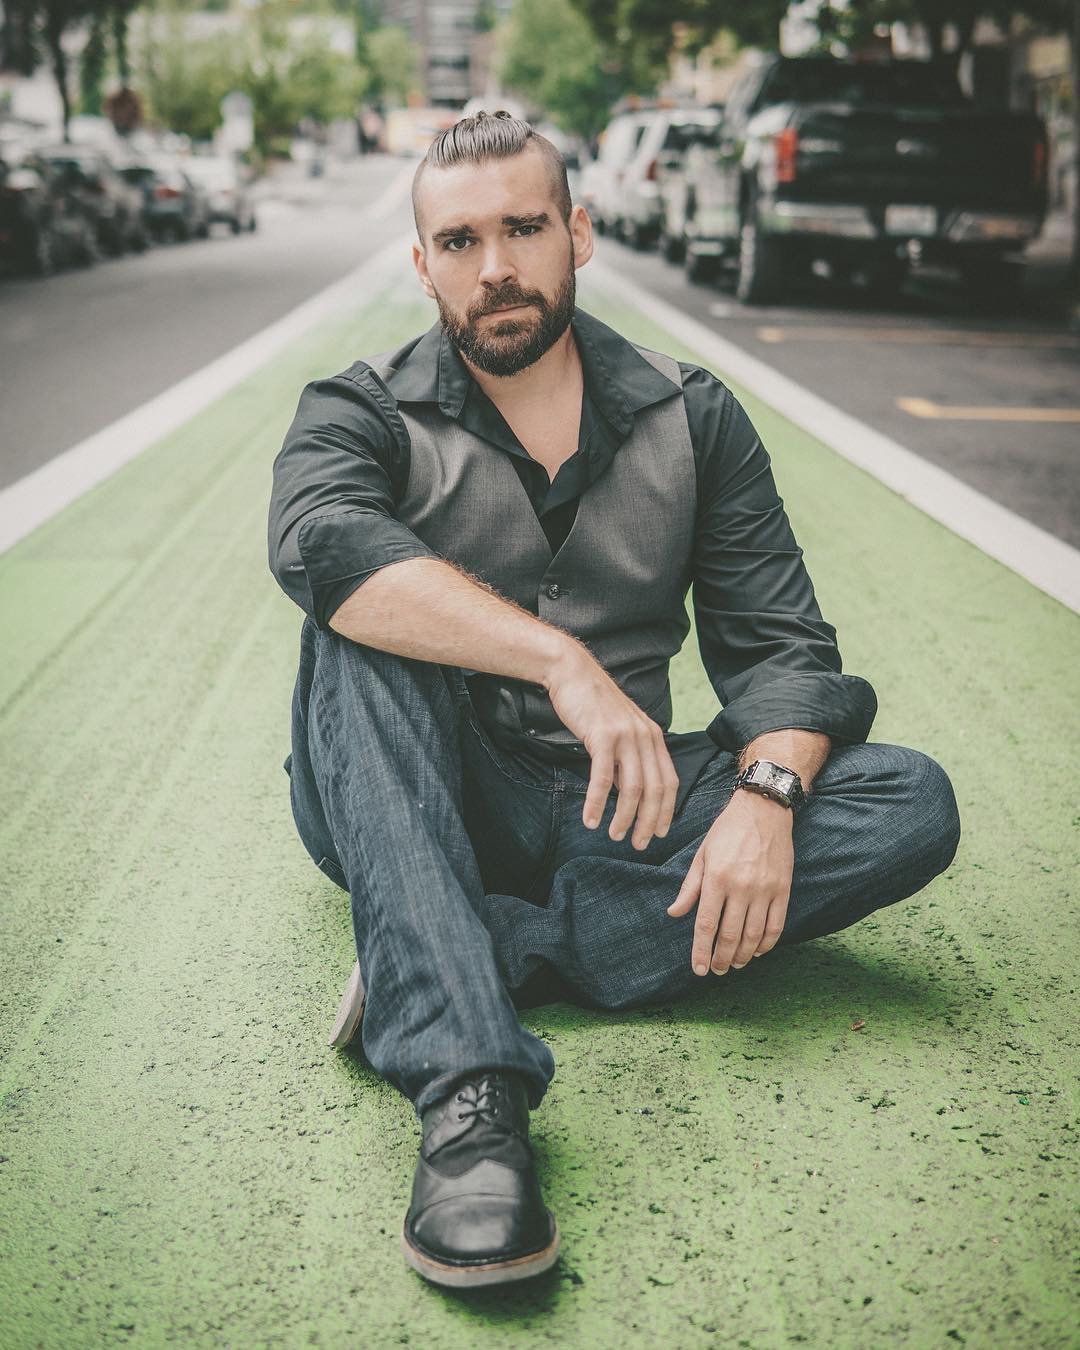 Model: @bearded_ragnarok on IG 24. Hands Behind the Back Have your subject place both hands behind their back, hands in butt pockets. 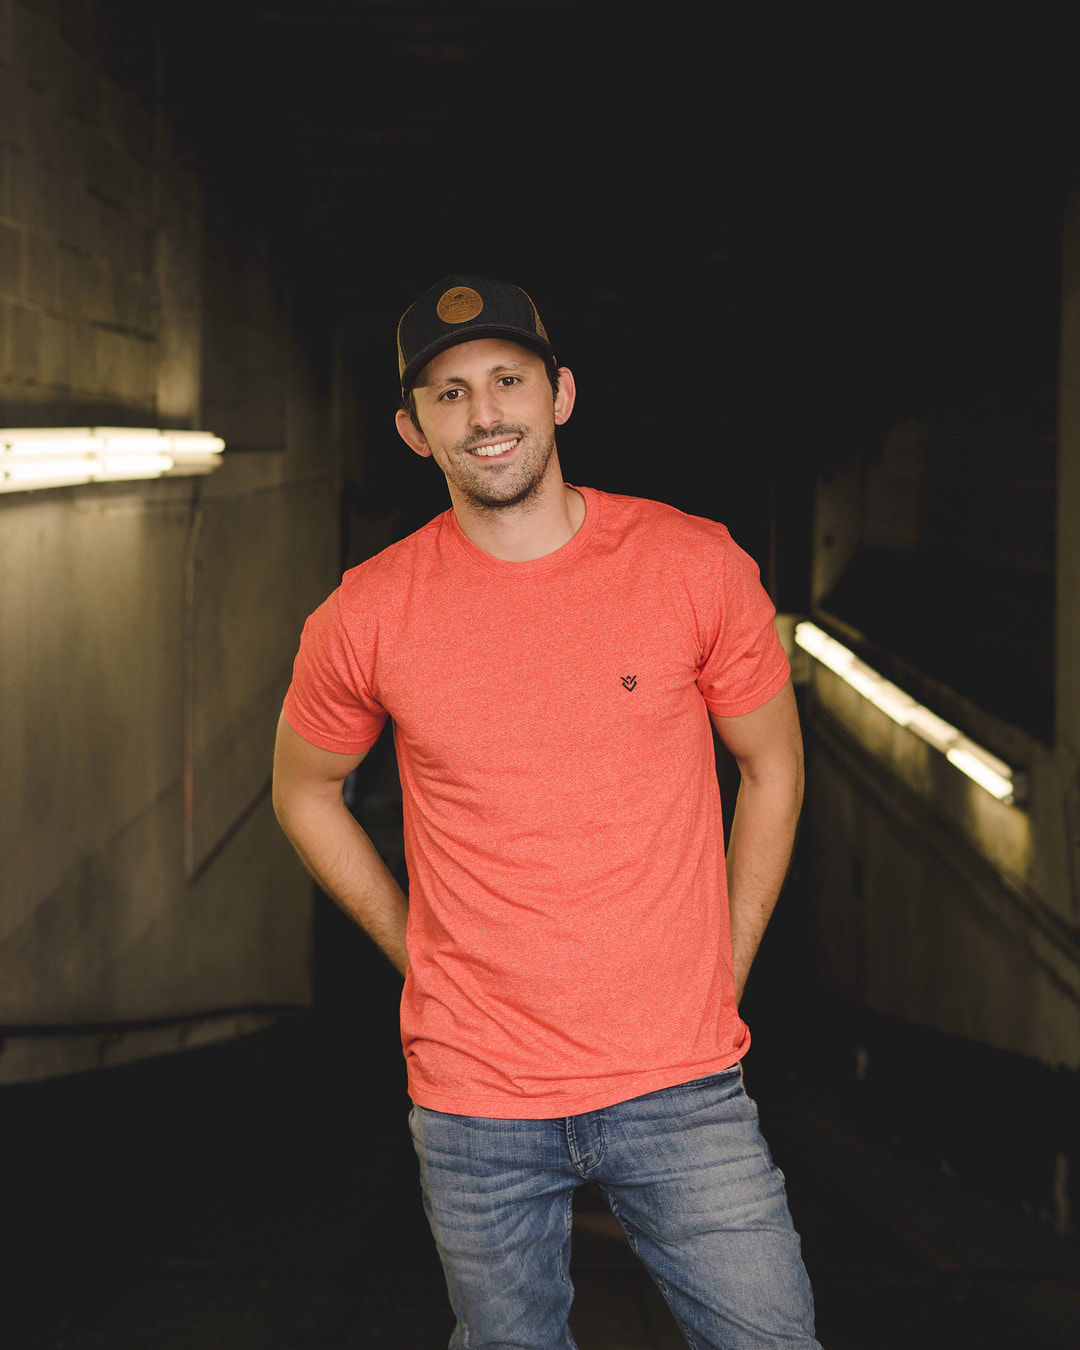 25. Sitting Pose When having your subject sit on steps try different perspectives and have one foot higher than the other rather than both feet on the same step. 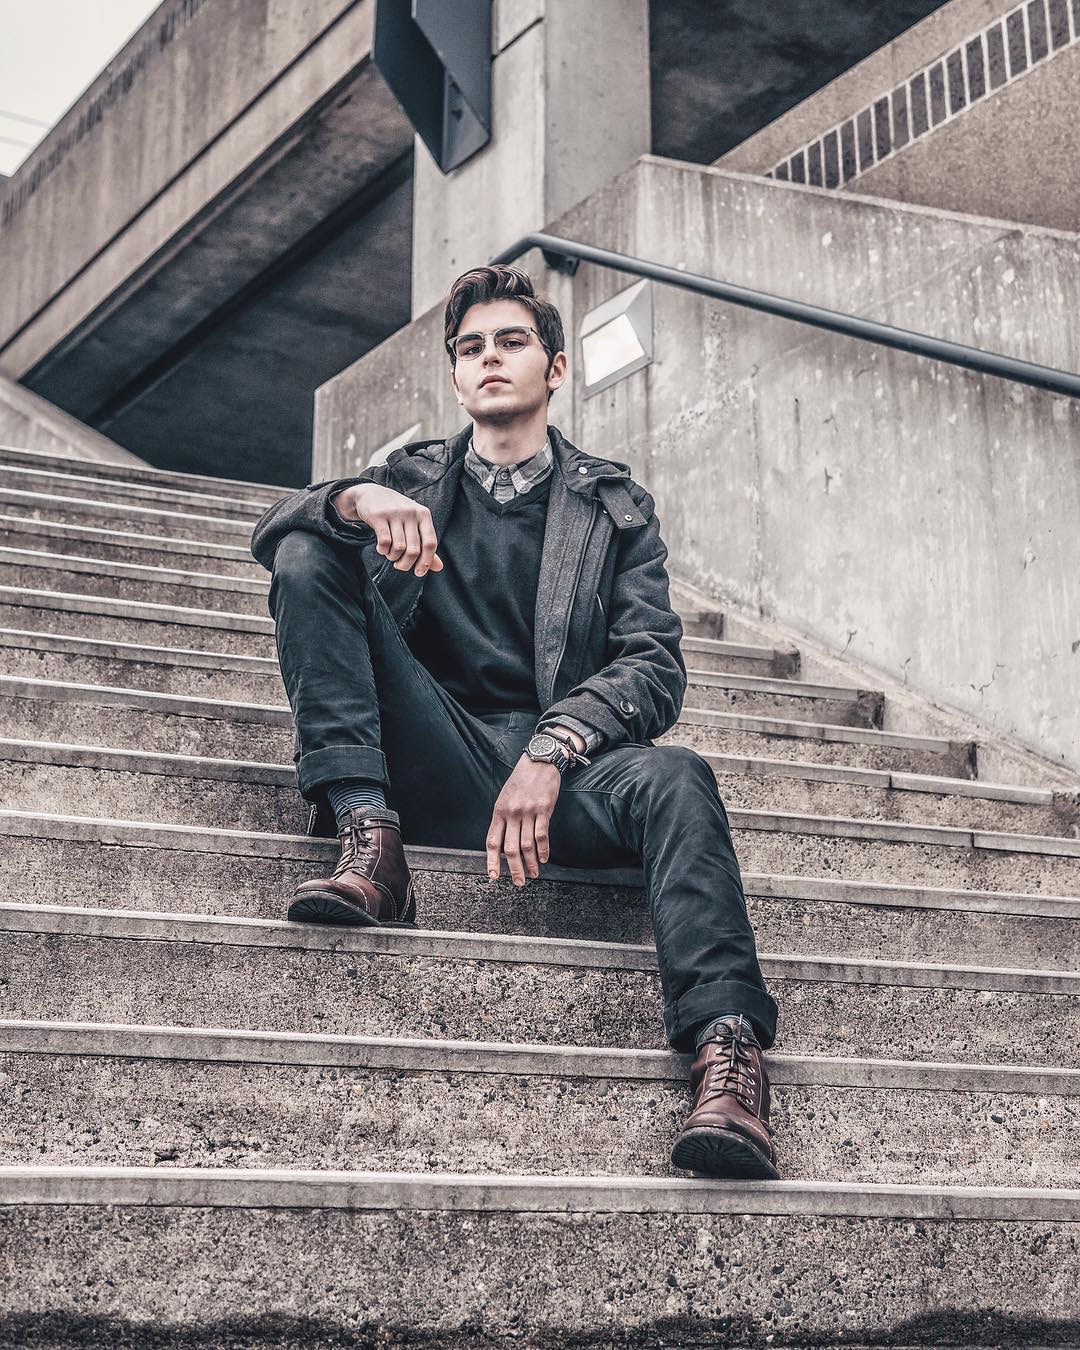 Model: @quinngilronan on IG 26. Candid Walking Pose Have your subject walk a straight line down the side walk. Make sure he is walking casually, naturally and not looking into the camera. Try shooting from the side and slightly up from a lower angle. 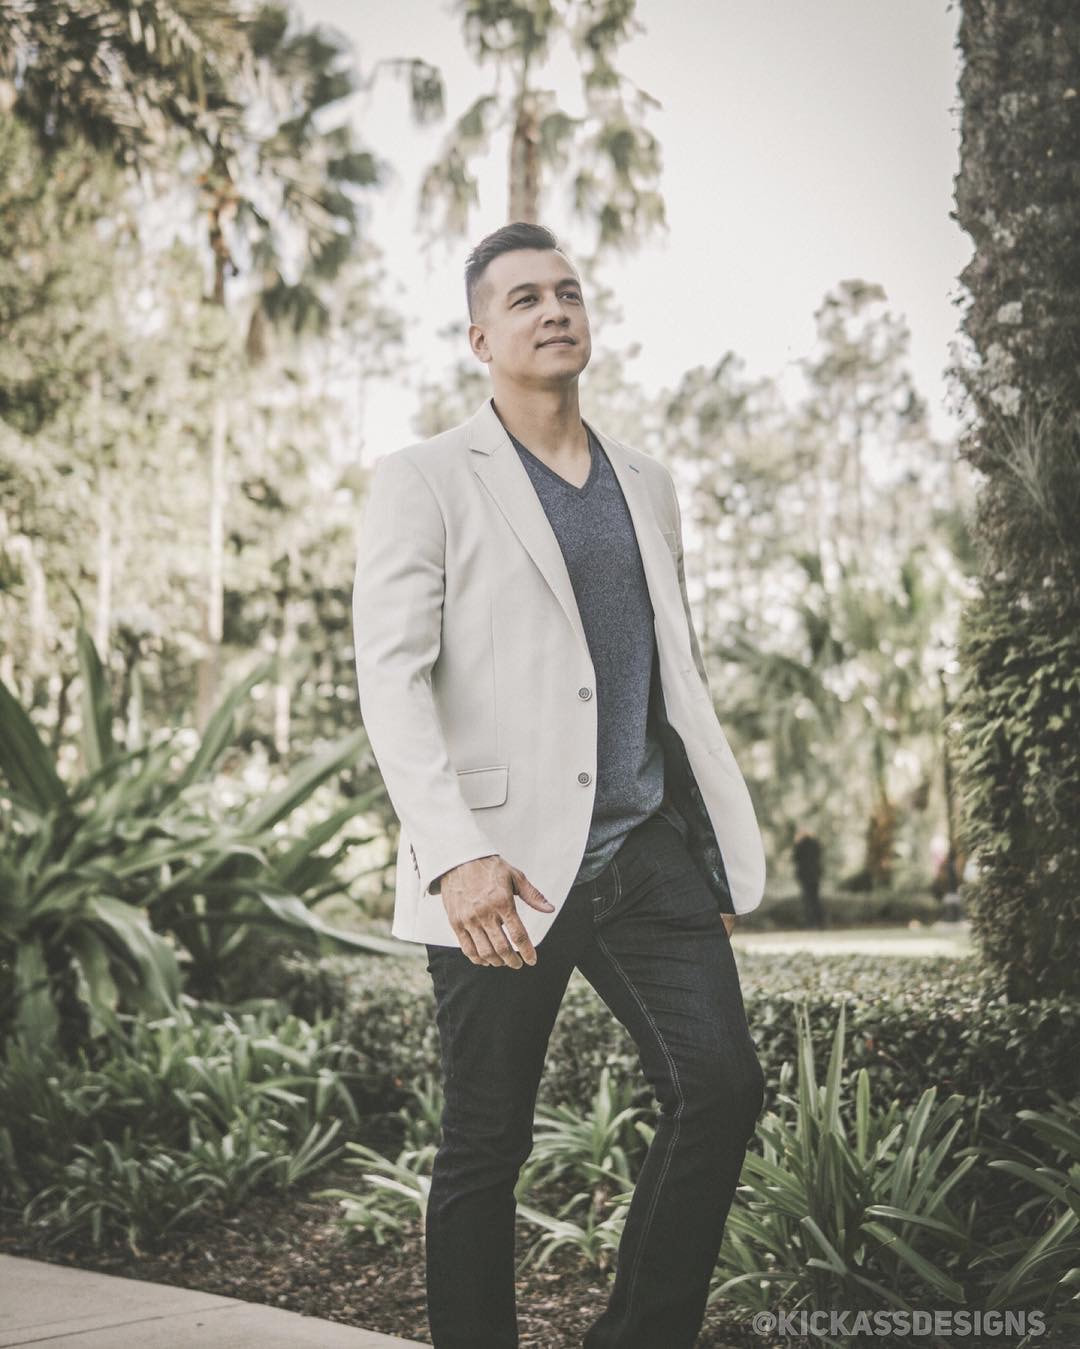 Model: @growwithtim on IG 27. One hand on Shoulder. Have your subject look into the camera while placing one hand on his shoulder. 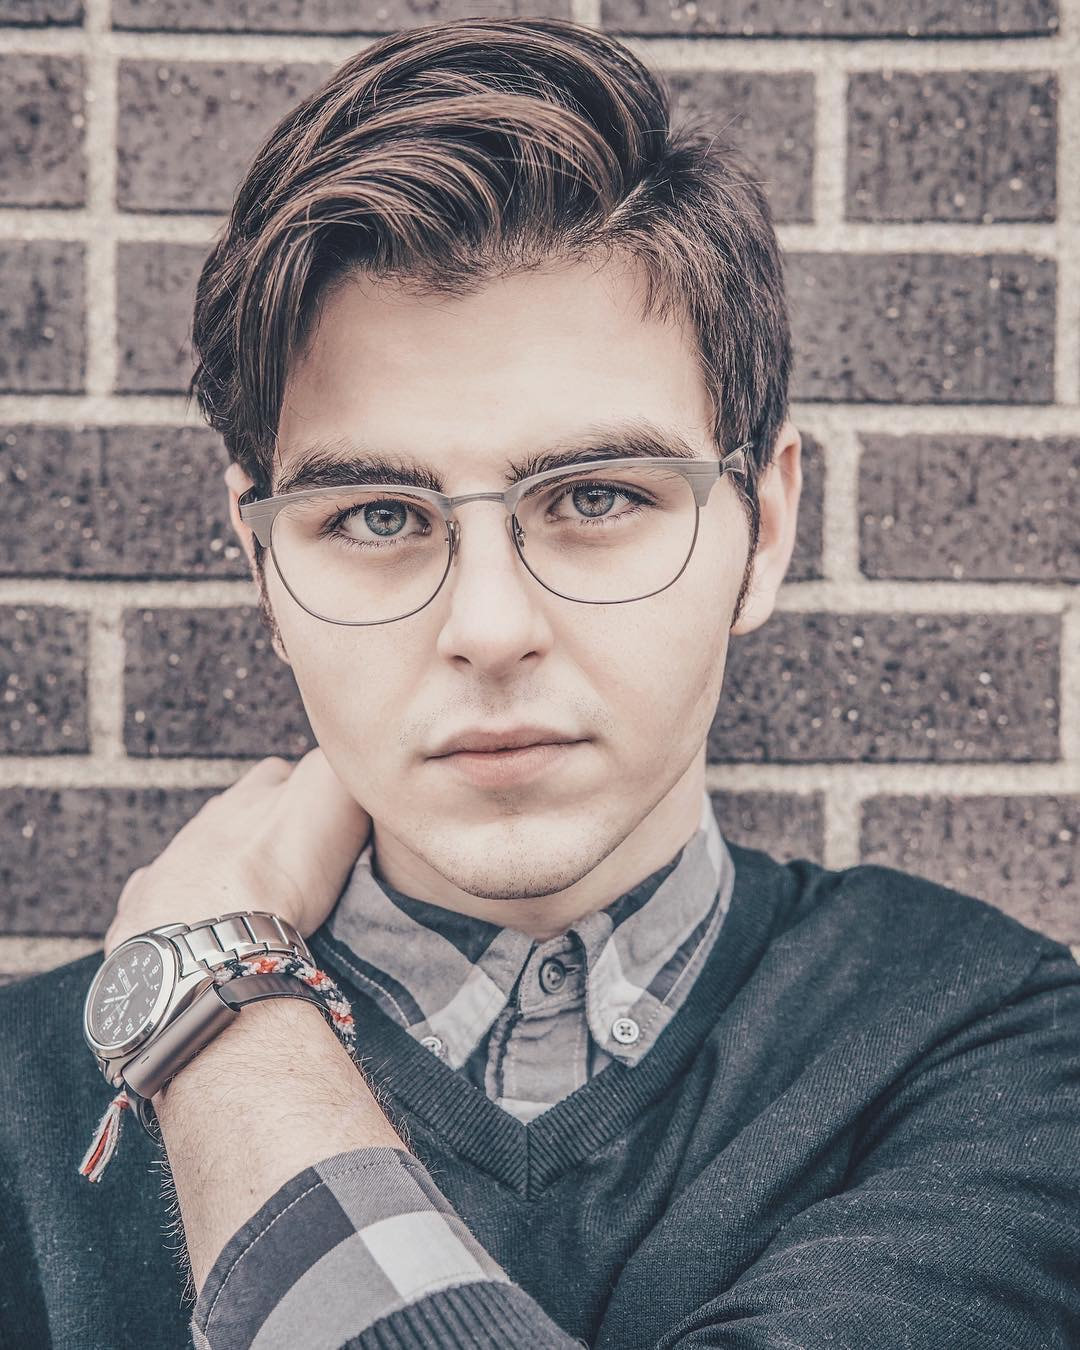 Model: @quinngilronan on IG 
0 Comments
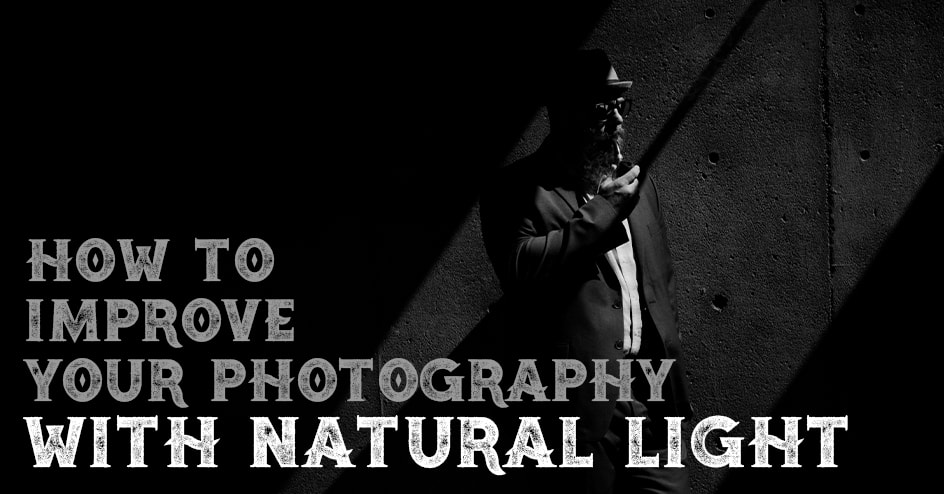
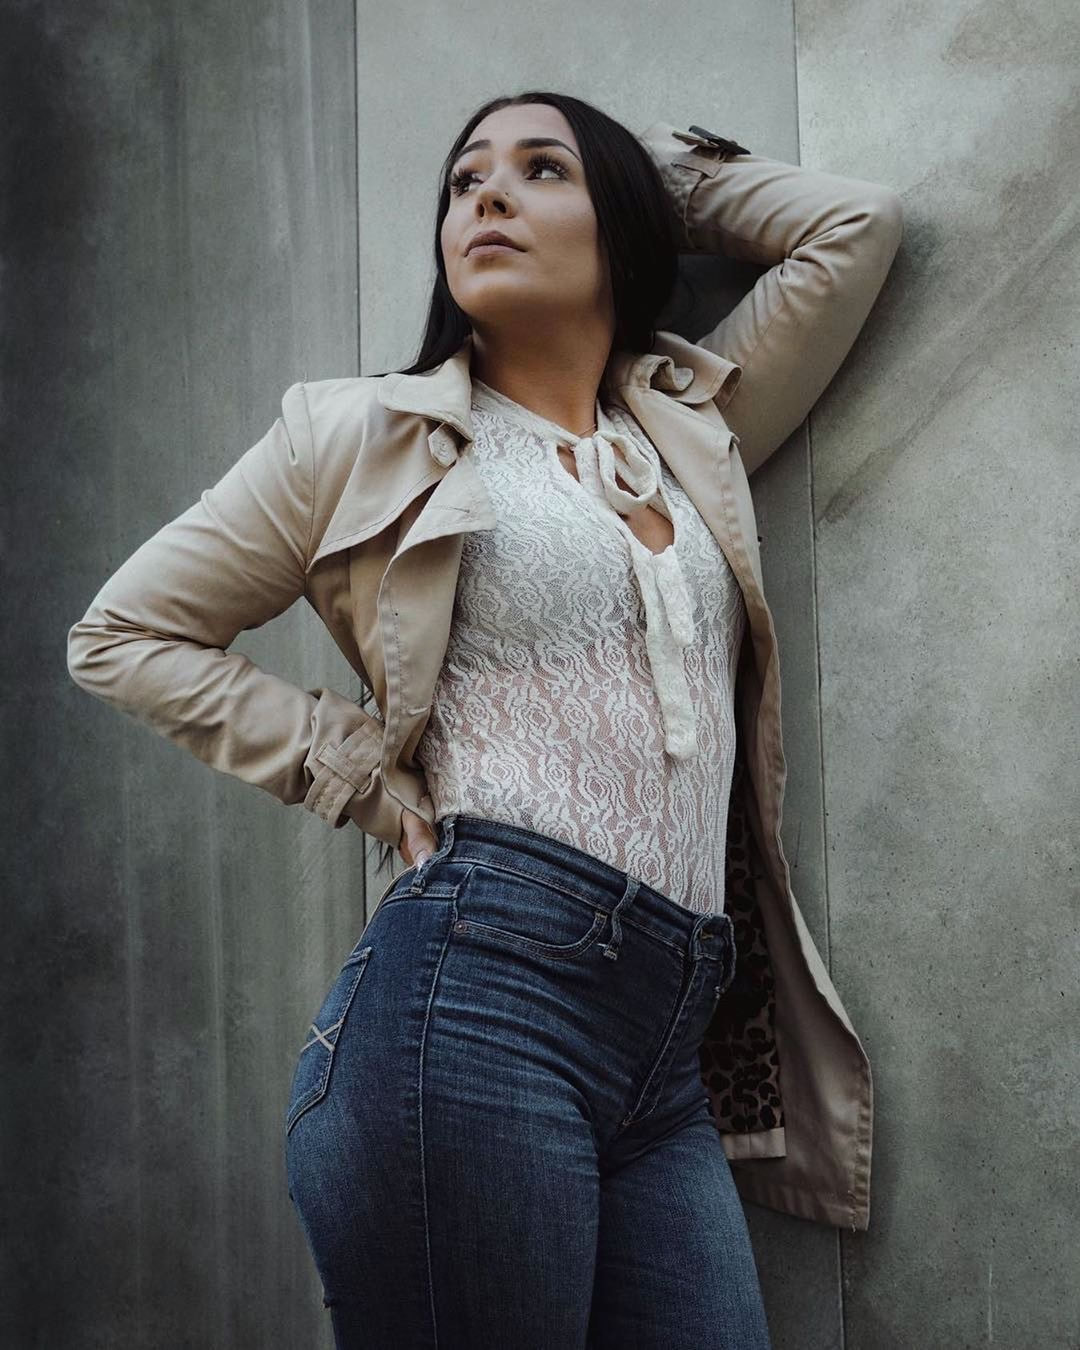
Lighting is one of the most crucial aspects of photography. Good or bad lighting can make or break a shoot. However I believe there is a misconception in our industry that you're a better photographer if you own a great light setup and a studio. That's simply not true. 90% of my photos are done with natural light as in only using the light that is available to me. This could be the sun, fire, street lamp, arcade, or desk lamp in a hotel. No flash, no reflector, no diffuser. I will always prefer natural light and I get asked about lighting constantly so I thought I would share my tips on how you can improve your natural light photography skills.
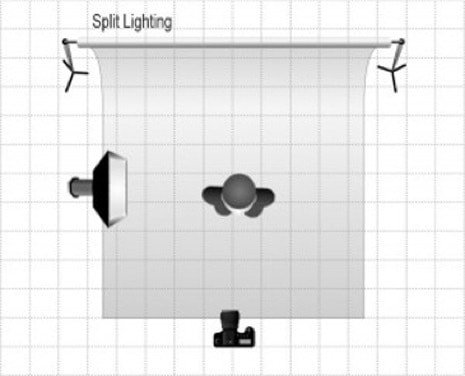
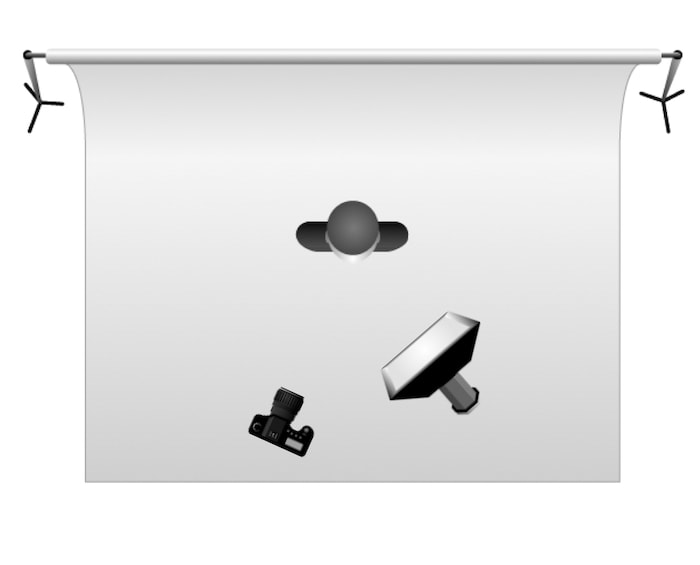
27 Posing Ideas for Women Who Aren't Models Let's start with Studio lighting. This may seem counter-intuitive, but learning the fundamentals of studio lighting has vastly improved my natural light photography skills, specifically for portraiture. Knowing where to position the subject in relation to the light in order to achieve a specific result is key to making excellent portraits no matter what your light source may be. I'll start with 5 examples of the most common studio lighting set-ups and how you can re-create them using natural light and I'll follow that up with some great examples of how I use natural light for different moods and scenarios. All the photos below were taken by me. Make sure to connect with me on Instagram HERE. How to Improve your photography with natural light: 1. Split lighting
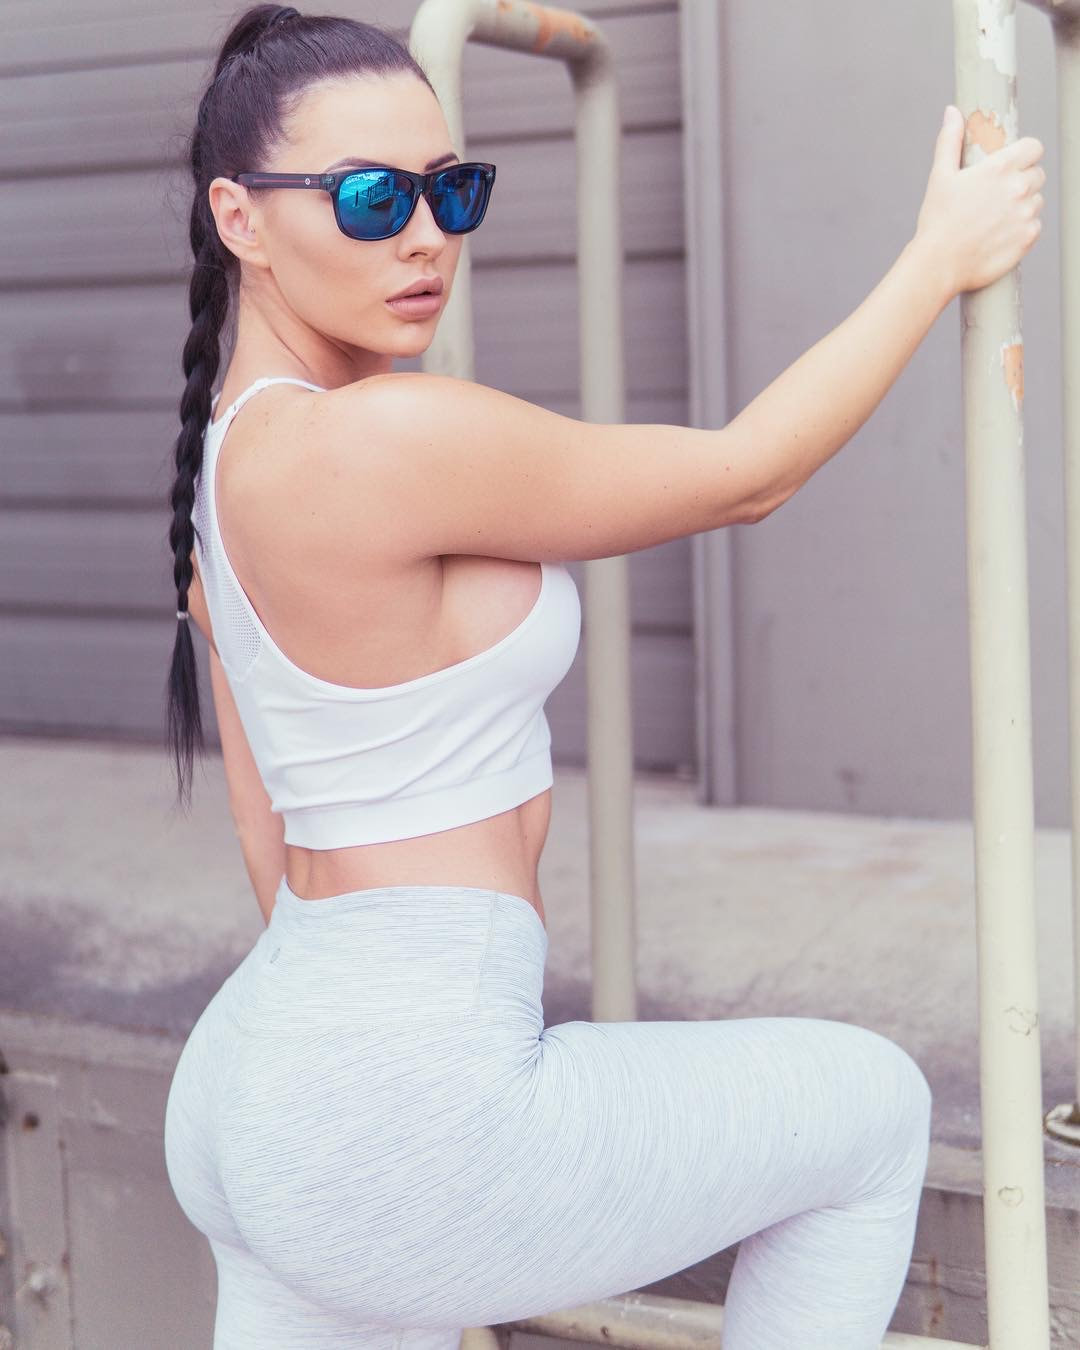
Light is 90 degrees in relation to your model to the side at face-level. One side of the face is highlighted and the other is in shadow, half and half, for a dramatic effect.
Outdoors: Position your model so the sun is directly hitting one side of the face. It should be a sunny day, not too cloudy, and the sun will need to be relatively low in the sky. Indoors: Using natural light coming through a window, make sure your model is positioned parallel to the window with bright, even light directly hitting one side of the face. Example: 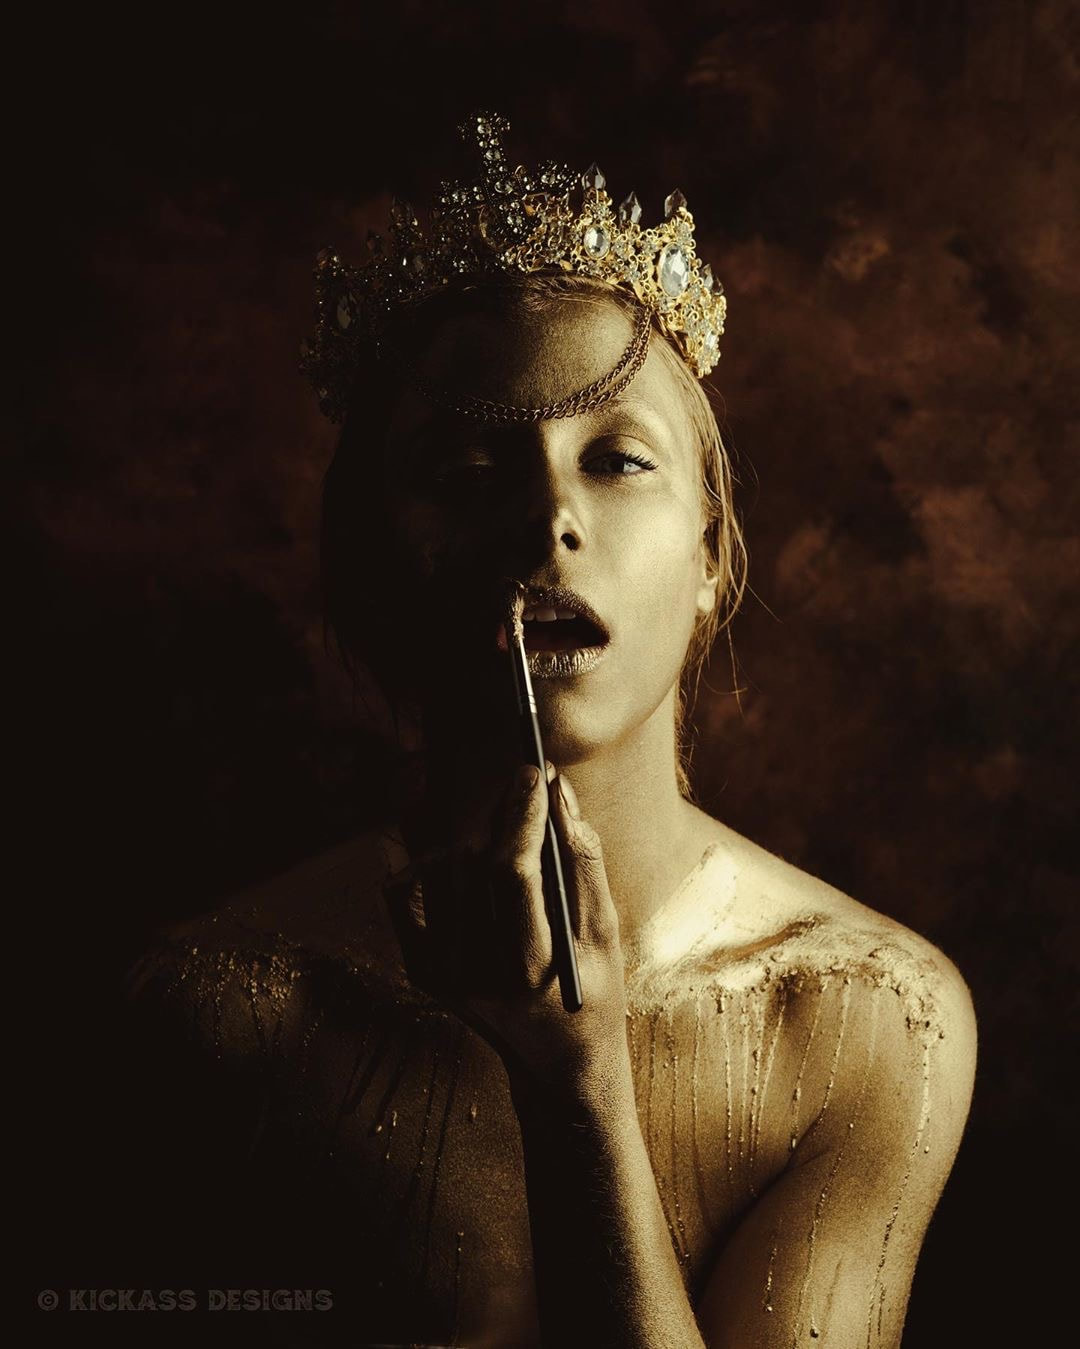
Model: @littylerouge on IG
2. Rembrandt lighting
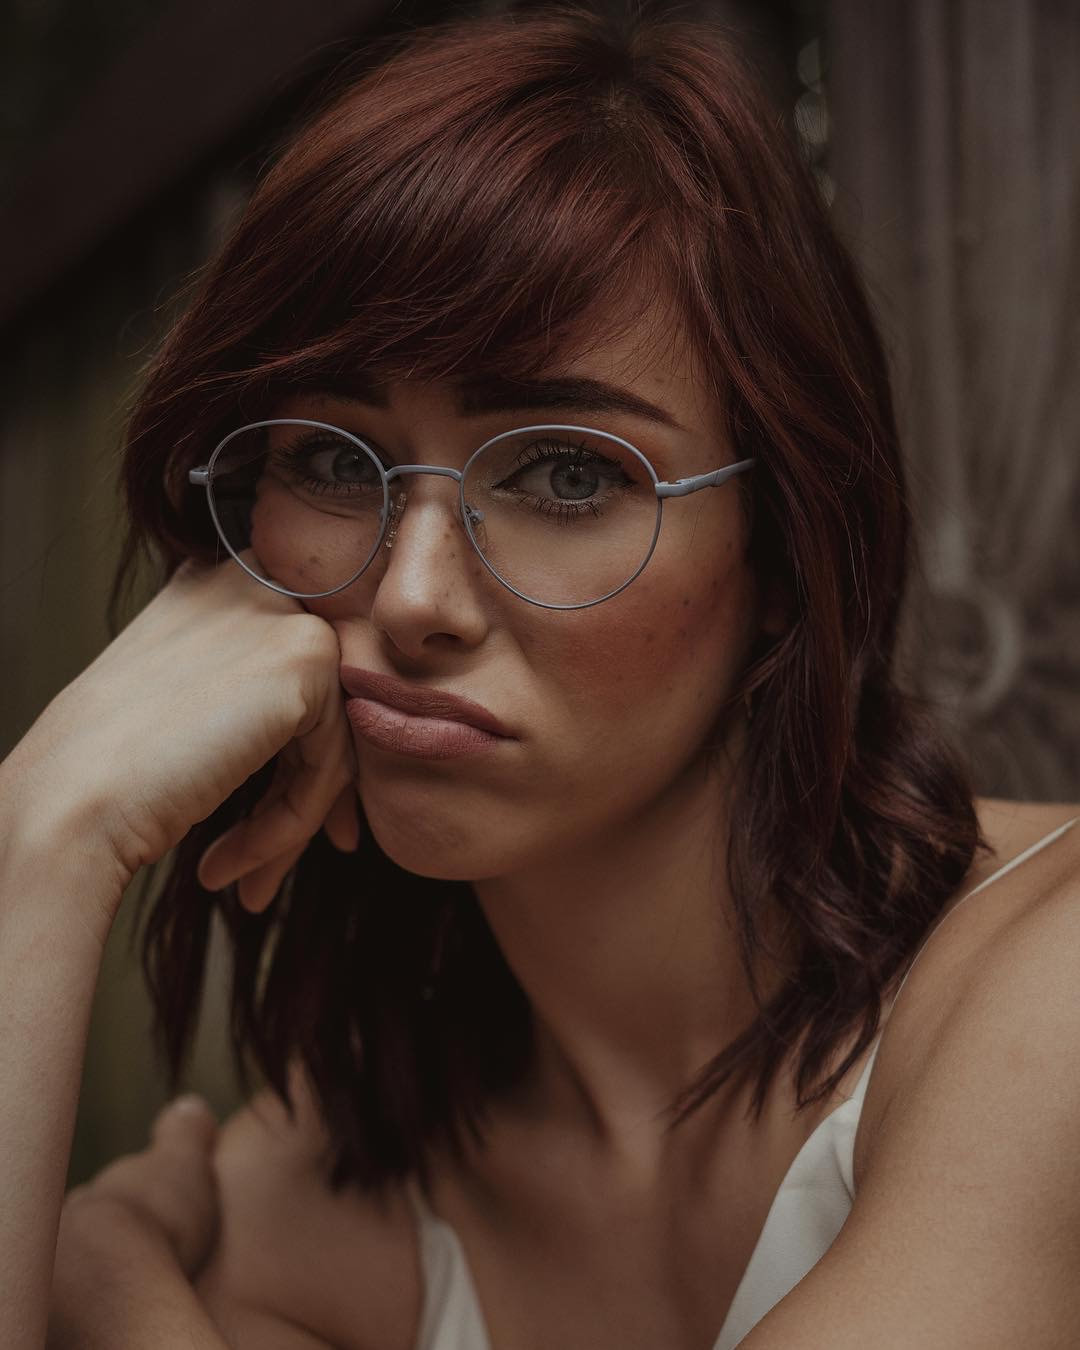
Light is 45 degrees in relation to your model slightly to the side coming down from an angle just above their head. One side of the face is highlighted with the other side in shadow, with the exception of a triangle-shaped highlight beneath the eye. This effect is a more dramatic version of loop lighting (see below) with the nose and cheek shadows merging.
Outdoors: Position your model so the sun is at a mid-to-high angle in the sky, with your model slightly facing towards the sun. For that dramatic and moody Rembrandt effect, a sunny or partially sunny day is best to create the deepest shadows. Indoors: Position your model to turn towards a window with bright, even lighting coming down just above the head. Example: 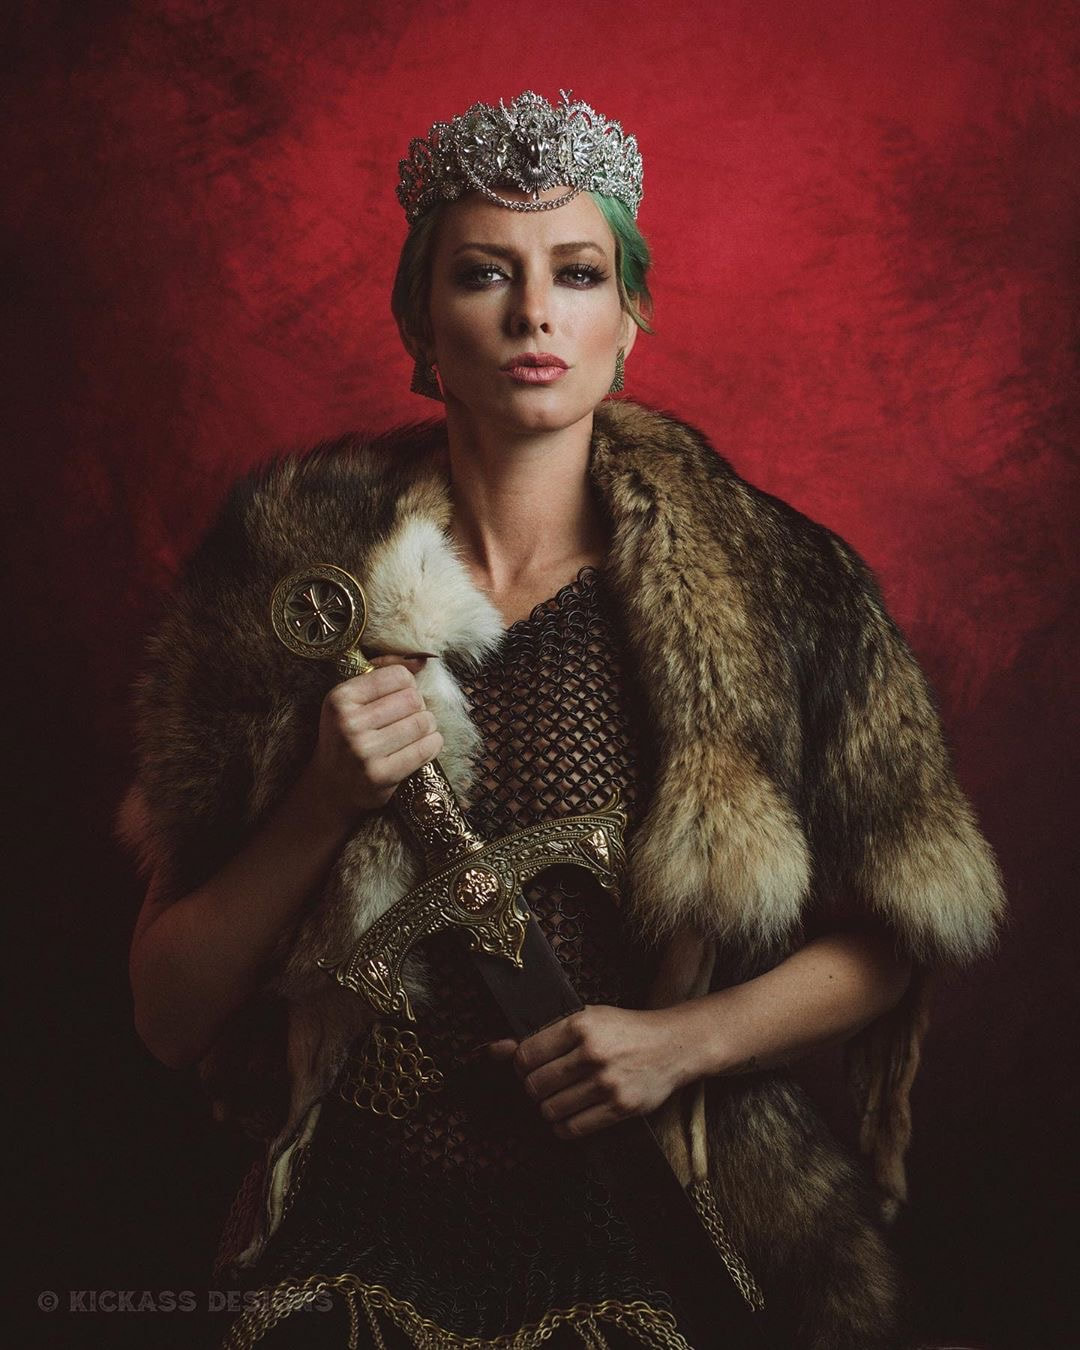
Model: @alyxandriamodel on IG
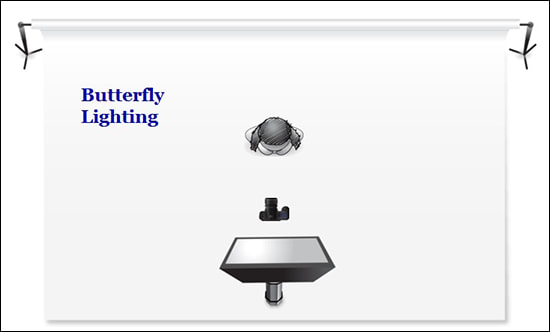
3. Butterfly lighting
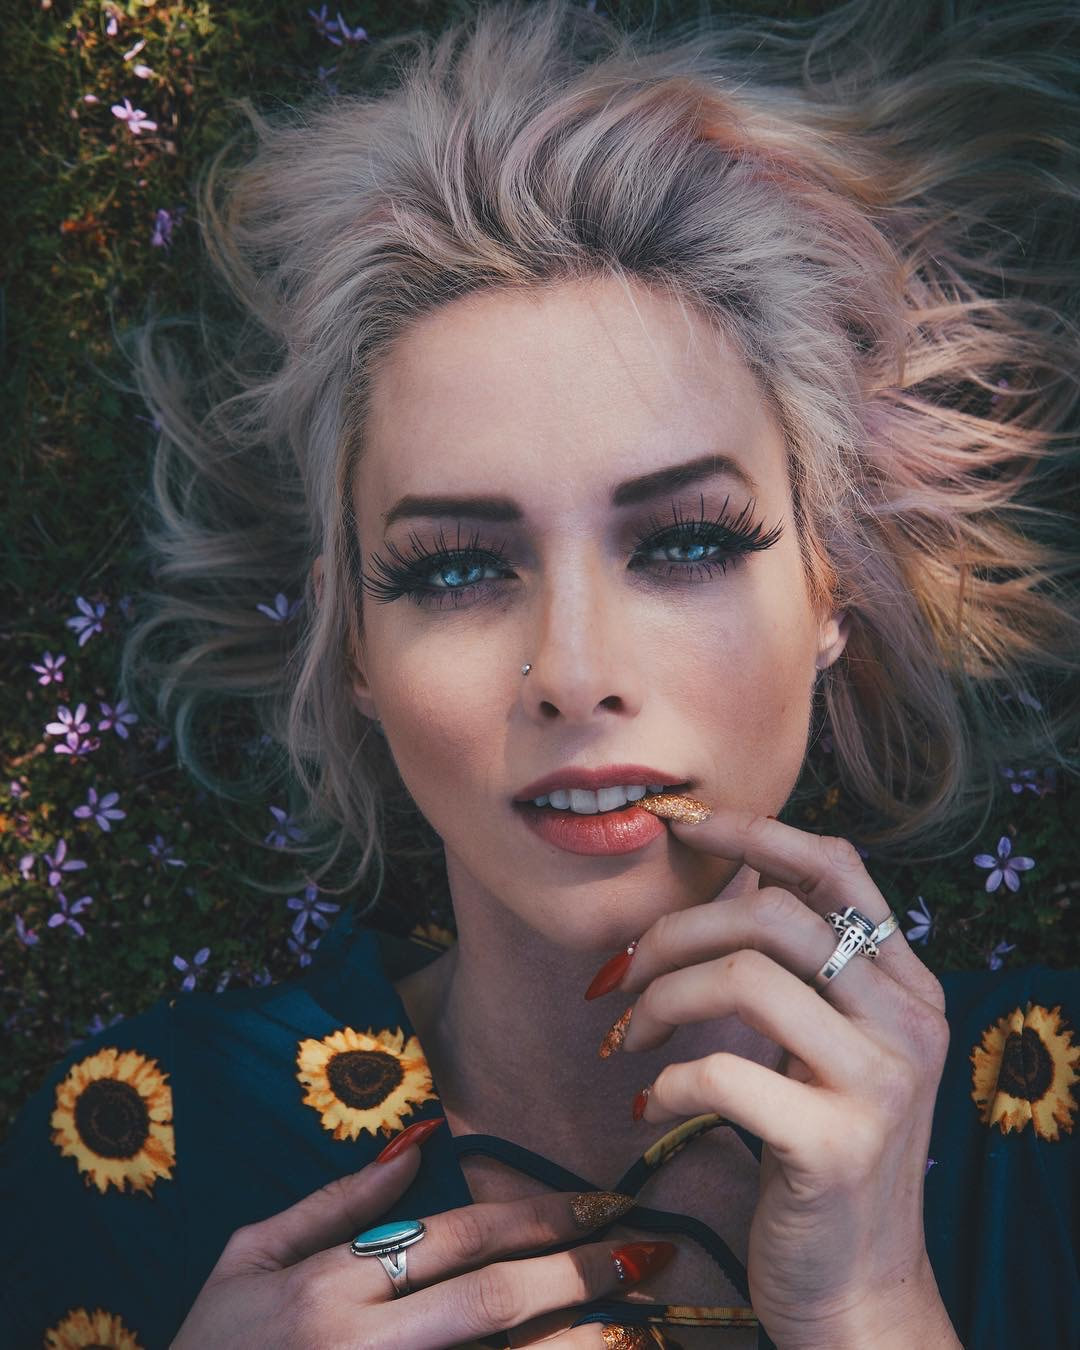
Light is 0 degrees in relation to your model direct coming down from a high angle. A small butterfly shadow is created under the nose along with subtle shadows under the cheeks and chin for a very flattering effect.
Outdoors: Position your model so the sunlight is directly hitting the front of the face. The sun will need to be relatively high in the sky. You may want to have your model slightly tilt their head up towards the sun. A cloudy day will soften the shadows. Indoors: Position your model below and directly facing a window, ideally a high one, with light hitting the front of the face. You may need to get creative for example, covering/blocking the bottom portion of a large window so sunlight only shines down through the top to produce the right effect. Example: 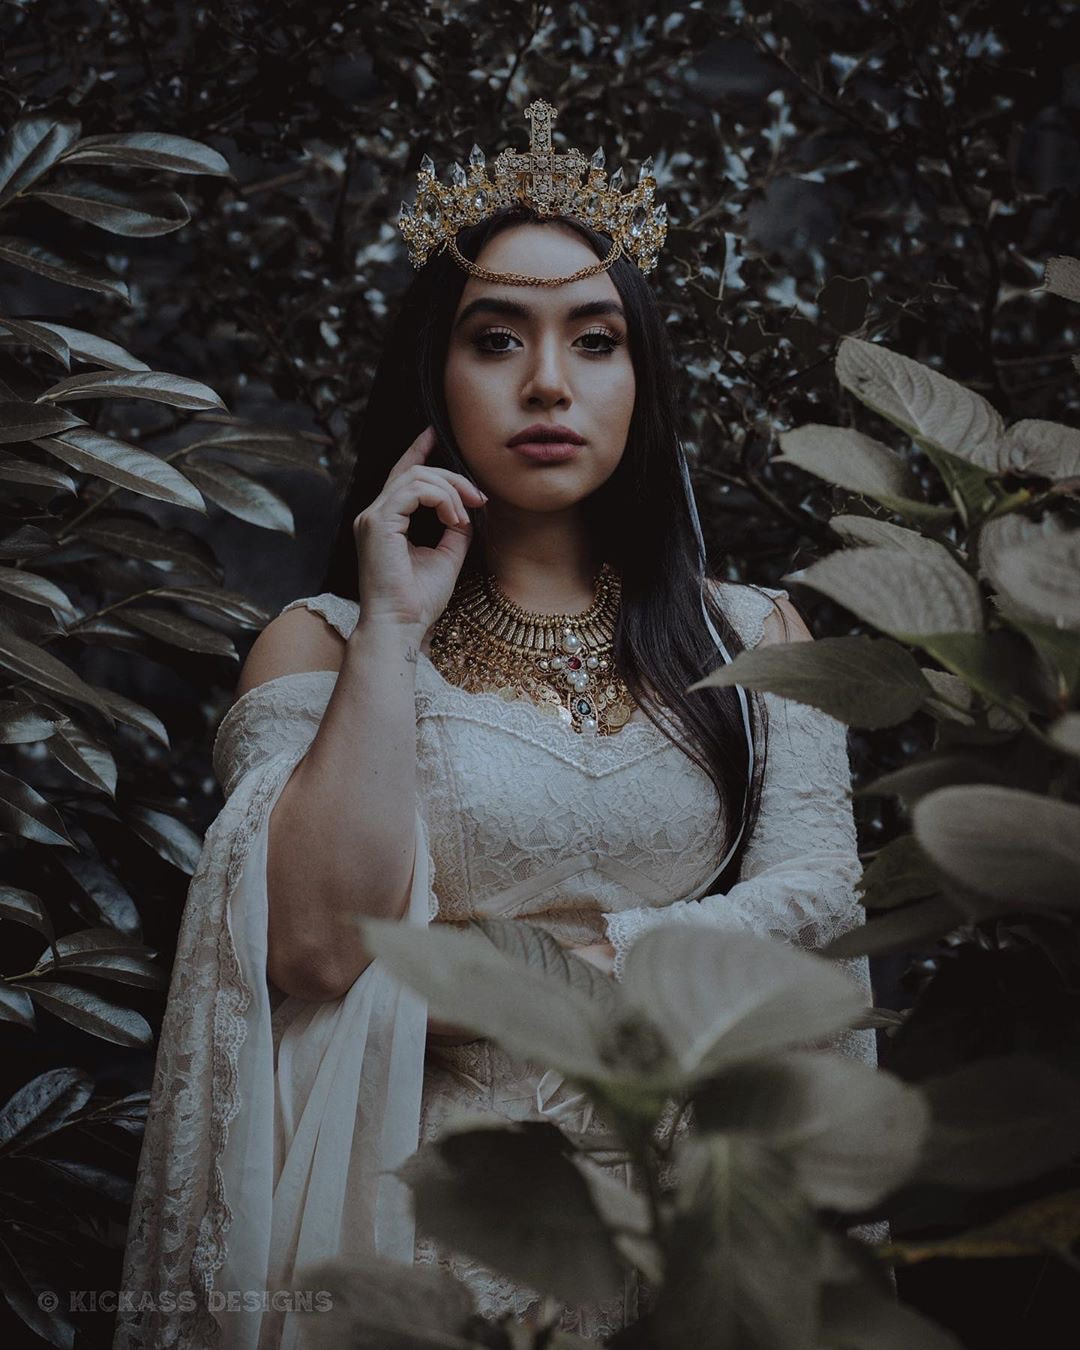
Model: @cristellin on IG
4. Flat lighting
Light is soft, even, and diffused. There are no/minimal shadows on the face.
Outdoors: Ideally, it will be a completely overcast, cloudy day so you can position your model anywhere in the environment. However, if it is a sunny day, put your model in a shaded area for example, under a tree or beneath a building overhang. Indoors: Use a window that does not receive direct sunlight for example, a north-facing window or use white curtains over the window to diffuse bright light before facing your model directly towards it. Additionally, turn the model away from the window altogether this way the hair is backlit while soft, ambient light evenly highlights the face. Example: 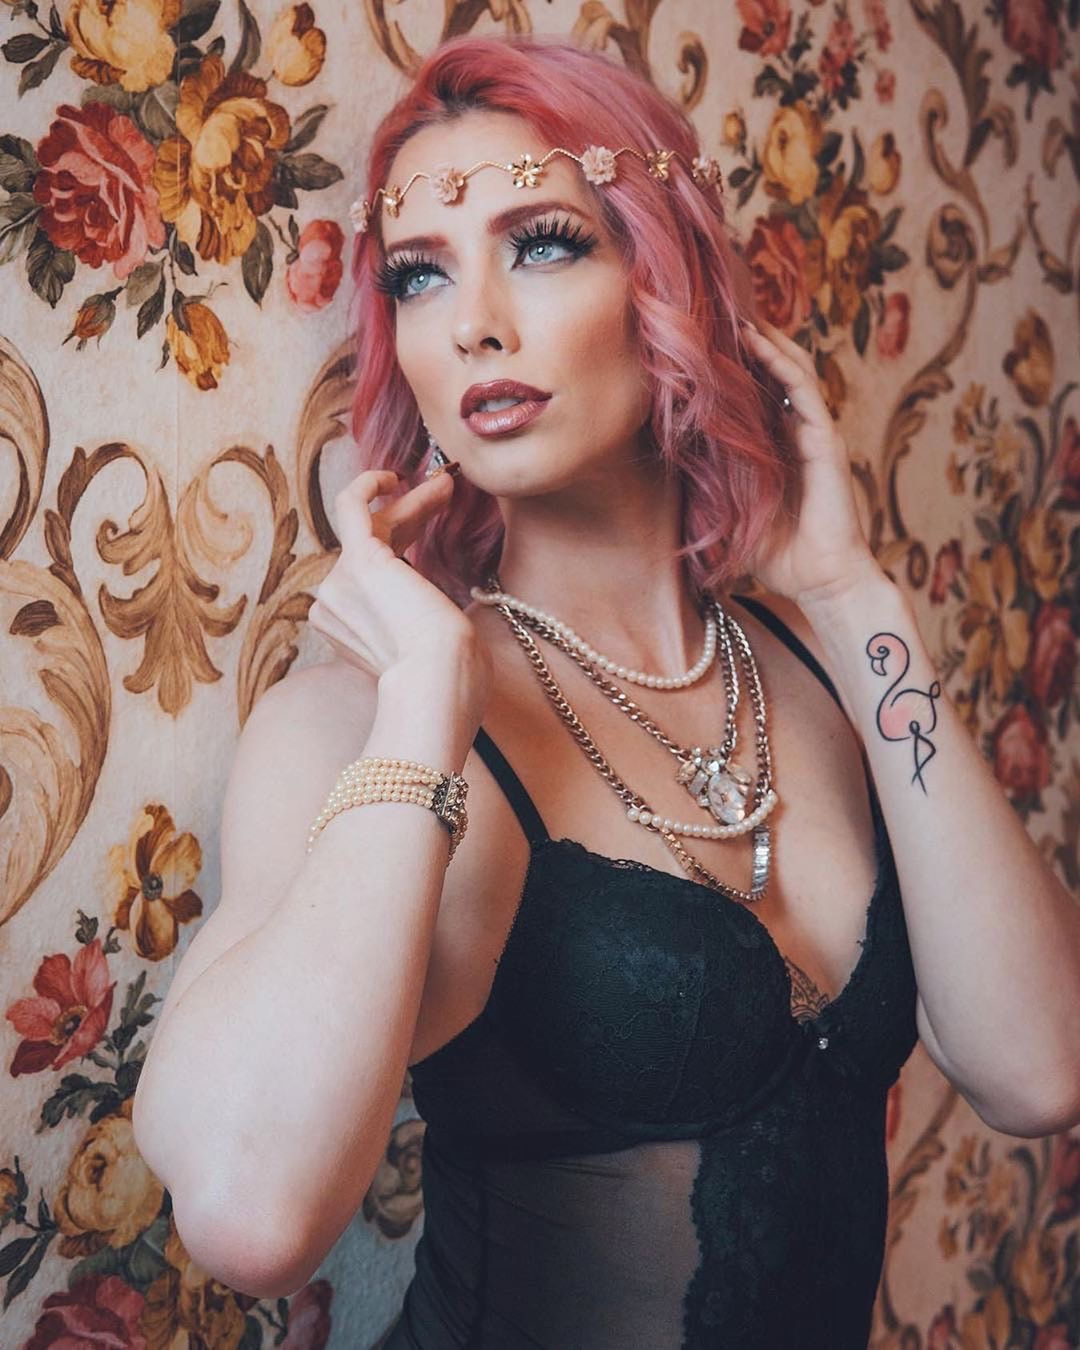
Model: @alyxandriamodel on IG
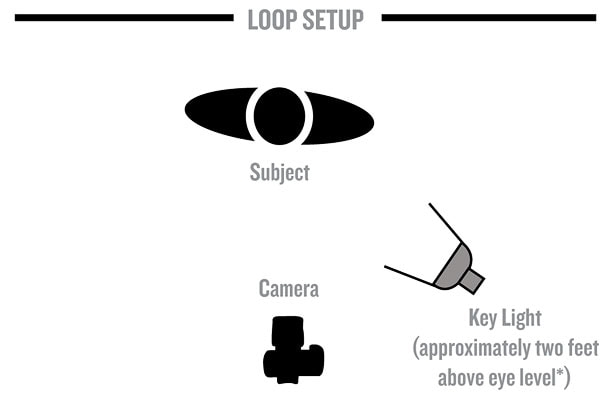
5. Loop lighting
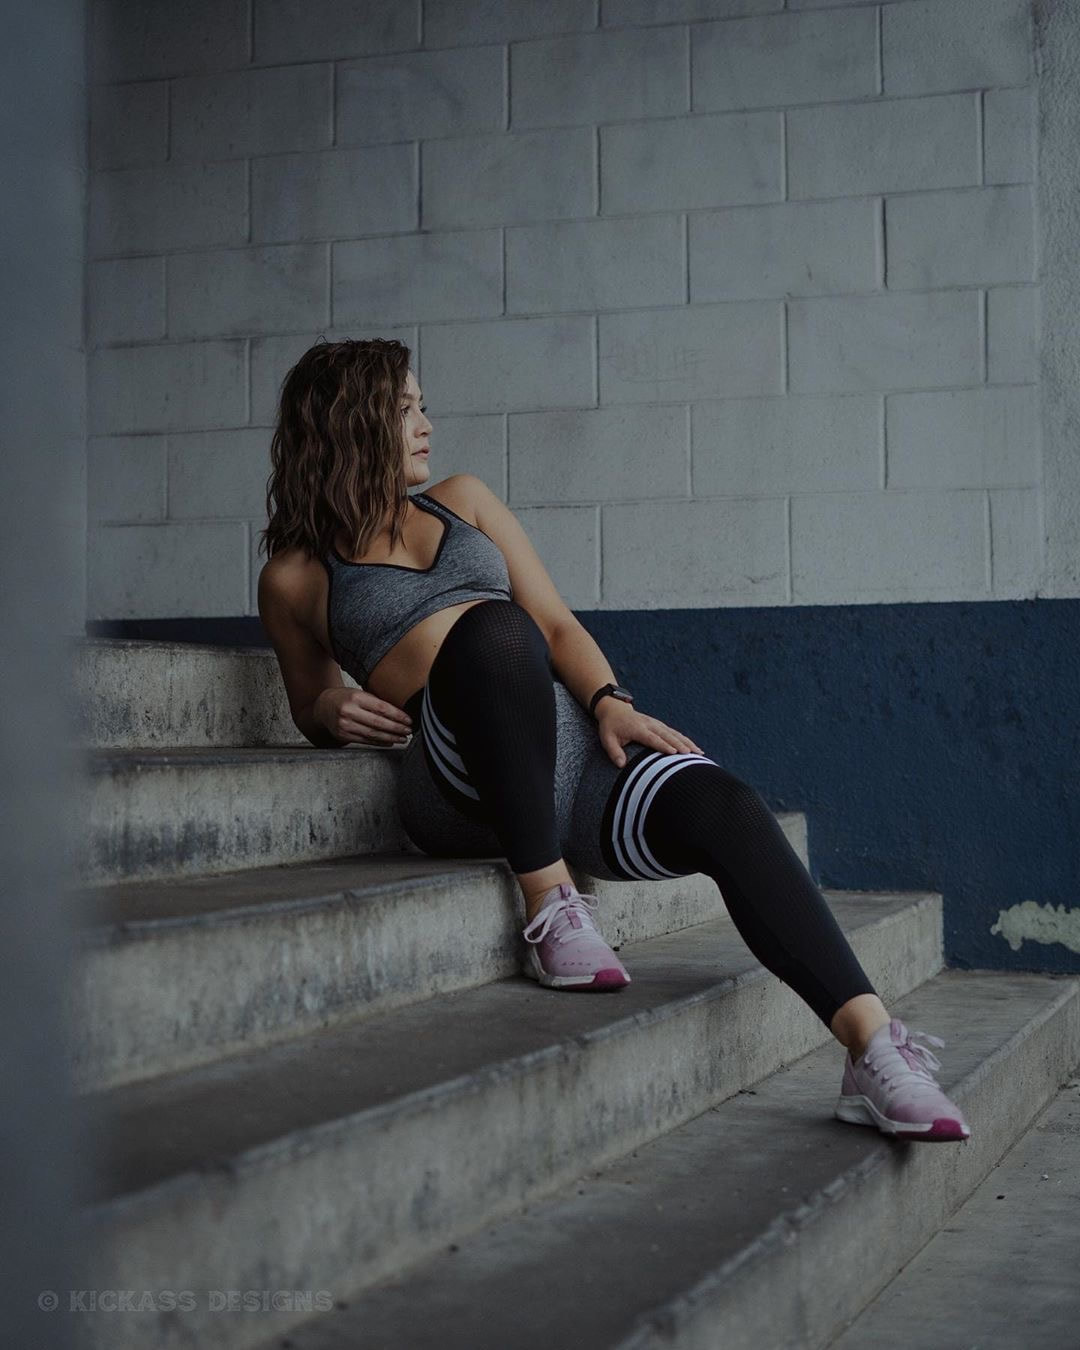
Light is 30 to 45 degrees in relation to your model slightly to the side coming down from an angle slightly above eye-level. A small loop shadow is created beneath and to the side of the nose along with a soft shadow on the cheek of that same side. However, these two shadows do NOT touch, otherwise that would be considered Rembrandt lighting (see above.)
Outdoors: Position your model so the sun is at a mid-to-high angle in the sky, with the model slightly facing towards the sun. Indoors: Have your model turn a bit towards a window with diffused light coming in right above eye-level. Example: 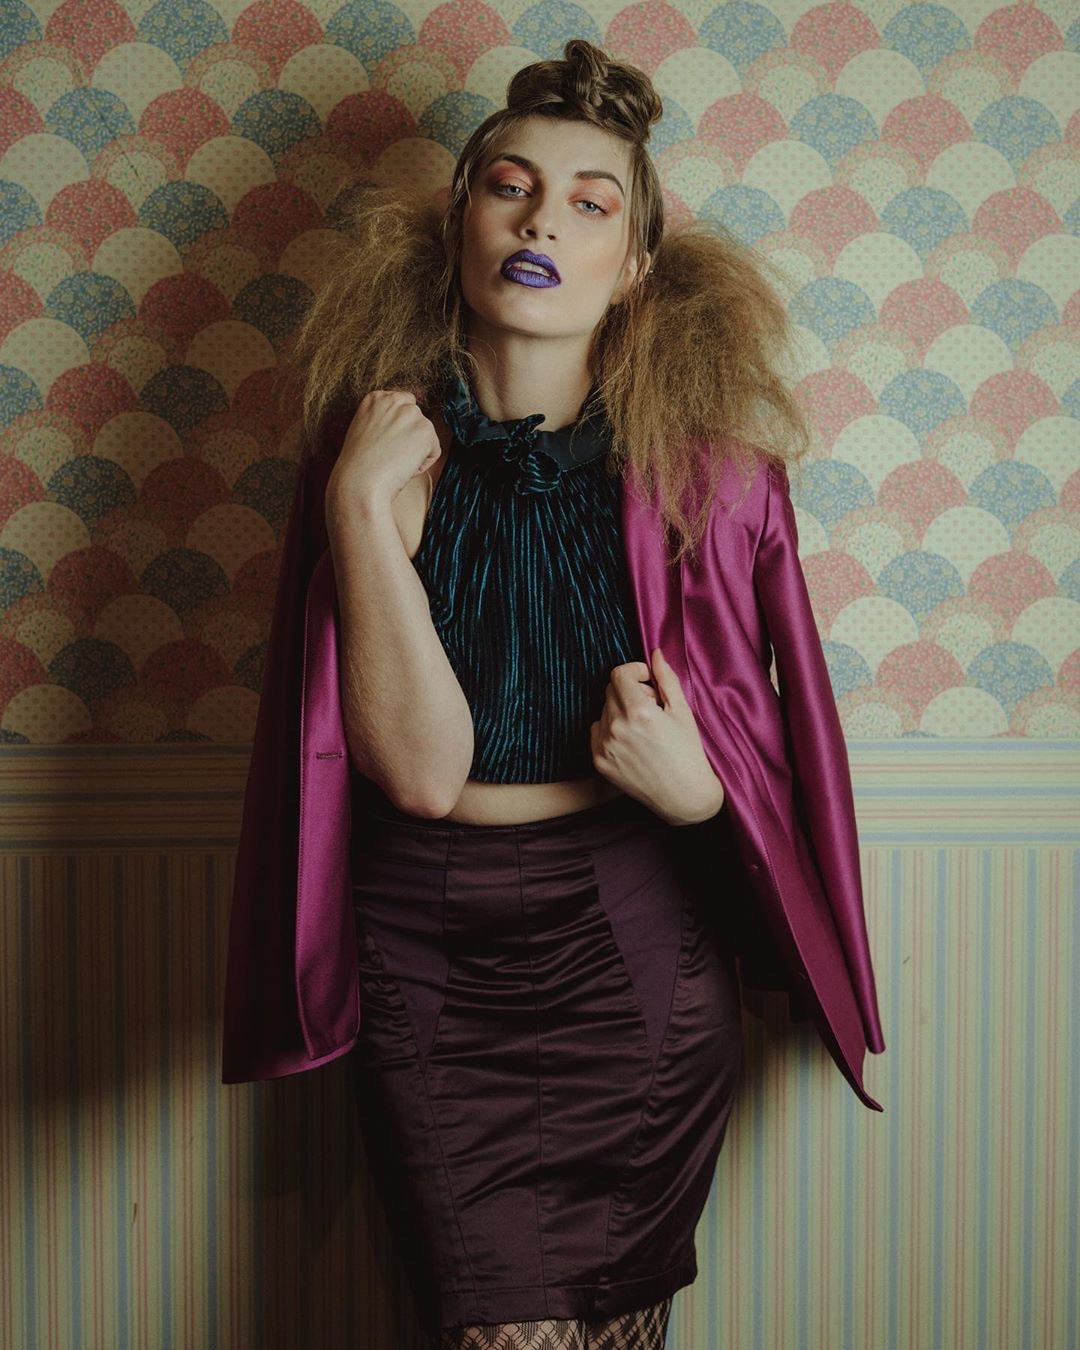
Model: @nihlisticmuse2.0 on IG
If you want to fill in shadows for a softer and less dramatic portrait a reflector can be a great asset when using only natural light. However a reflector takes up space and usually requires an assistant. Ever seen a senior portrait going on and the photographer will have a flash and someone holding a reflector. I just laugh every time I see it because it's just not necessary. You don't need all that to create a great photo.
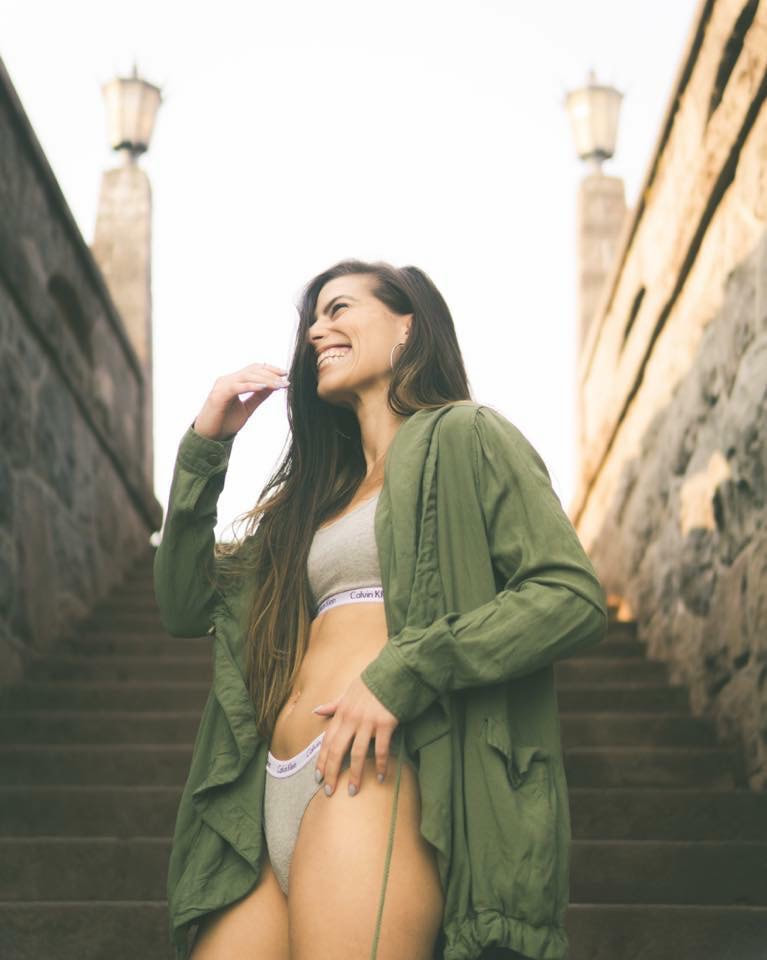
Just remember when using natural light, you must continuously move, turn, and re-position your model to get the desired lighting effect. Never underestimate strong verbal communication skills. :) In addition, the infamous Golden Hours before sunrise and after sunset produce warm, rich light that can't quite be re-created in a studio. Experimenting during these times, particularly with backlighting, will also improve your skills and most likely produce beautiful photographs. That being said I rarely shoot at golden hour because it just feels over done to me but golden hour is still beautiful lighting.
Now that I've shown you examples of the most common studio lighting set-ups and how you can re-create them using natural light I'll show you some examples of how I use natural light for different moods and scenarios.
First scenario: Let's say you have no choice but to shoot at noon out in the open when the harsh sun is right over head. Try having your model look up to avoid any harsh shadows. I'll show 3 examples below. 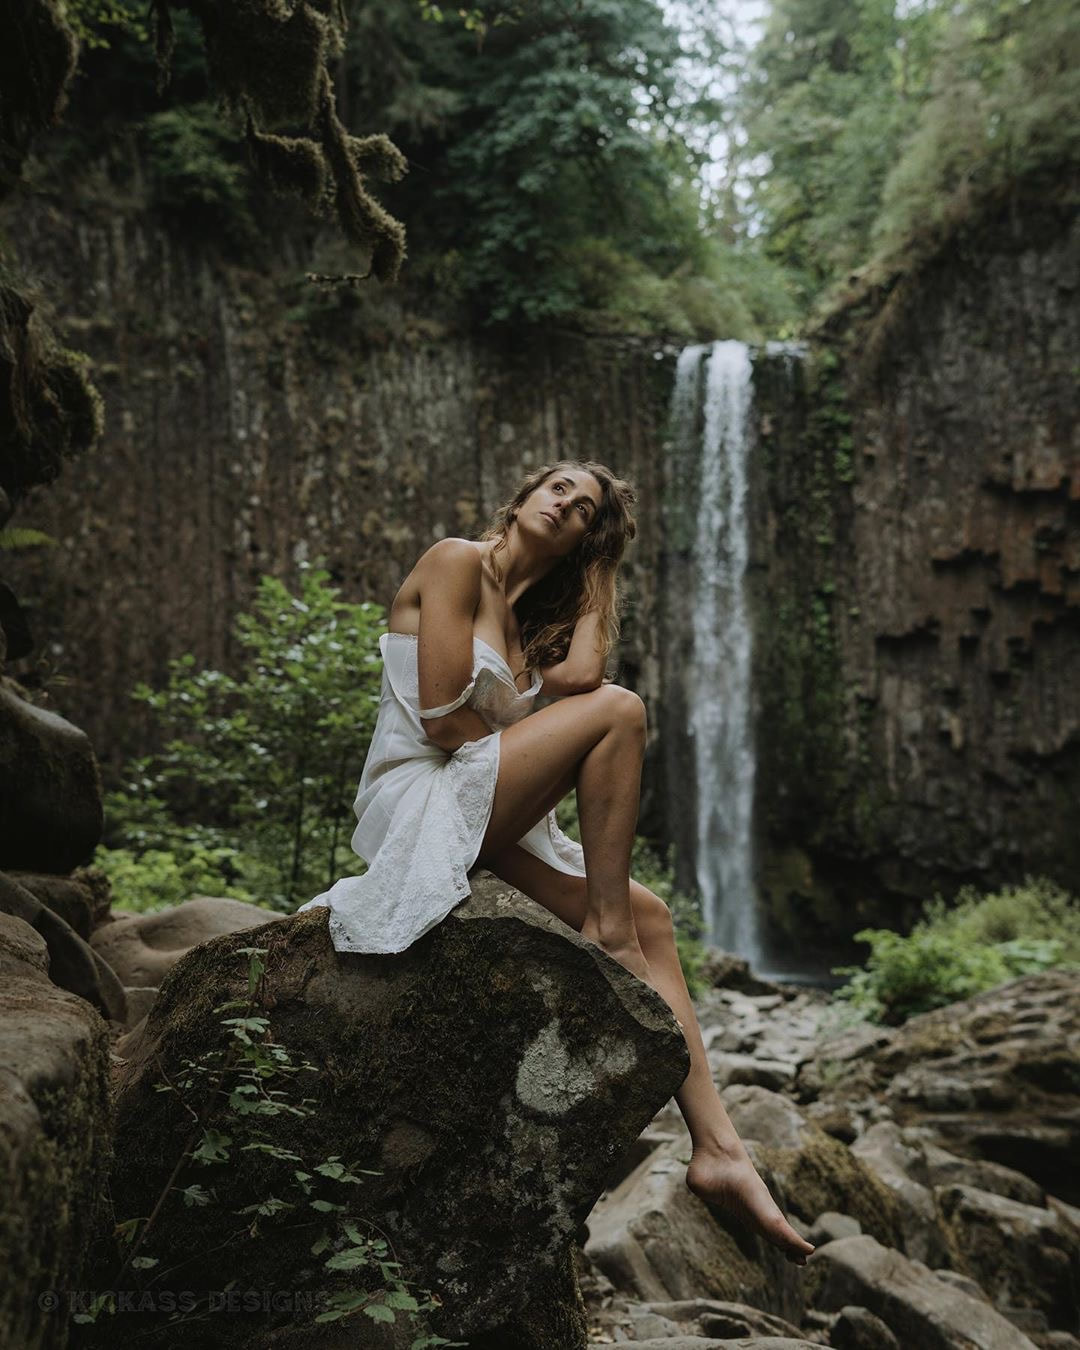
Model: @shawnna.lee on IG
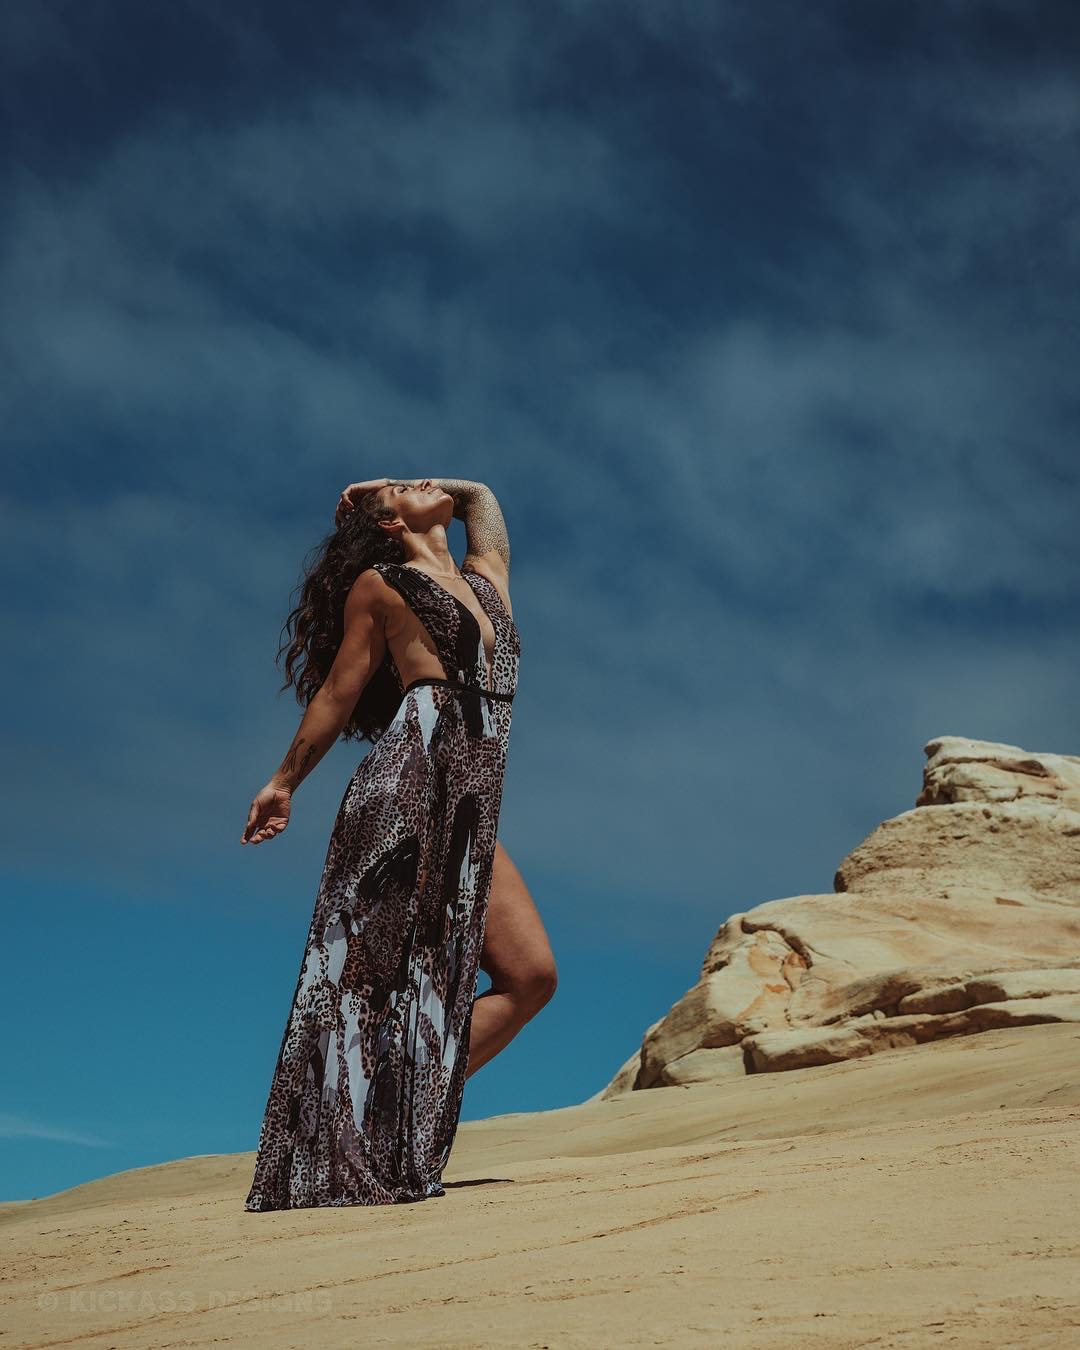
Model: @becka.888 on IG
Model: @danillabean on IG
Now, same scenario except you have shade available to you. Any time you're shooting and the sun is harsh look for shade. This is crucial. You can almost always find some. For the example below we just used some shade from a few trees at the beach.
Model: @becka.888 on IG
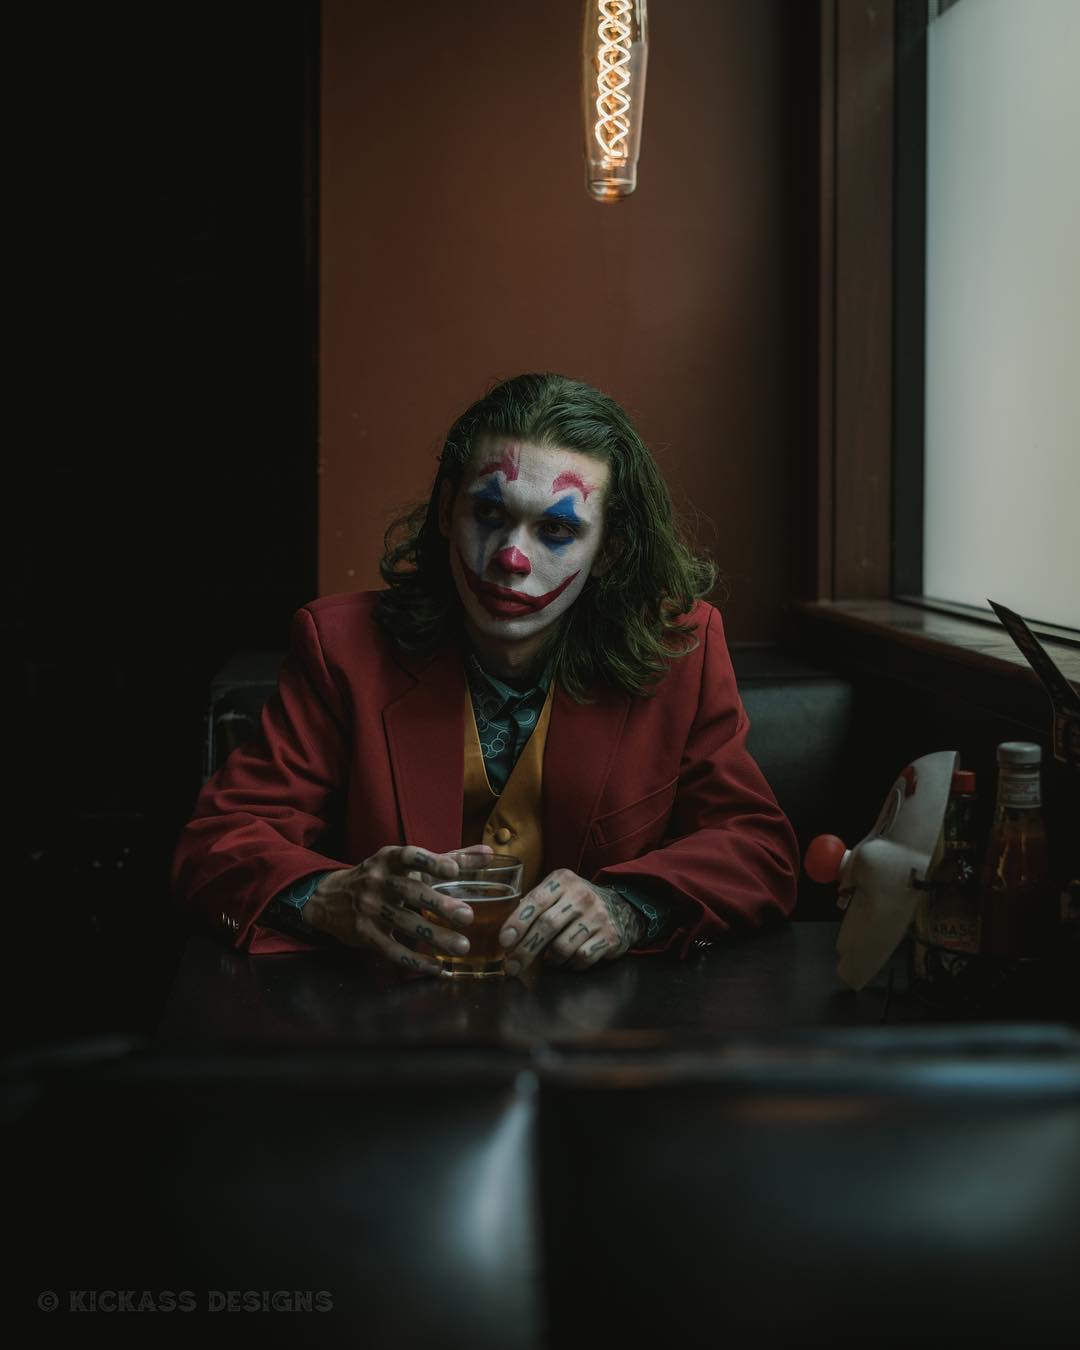
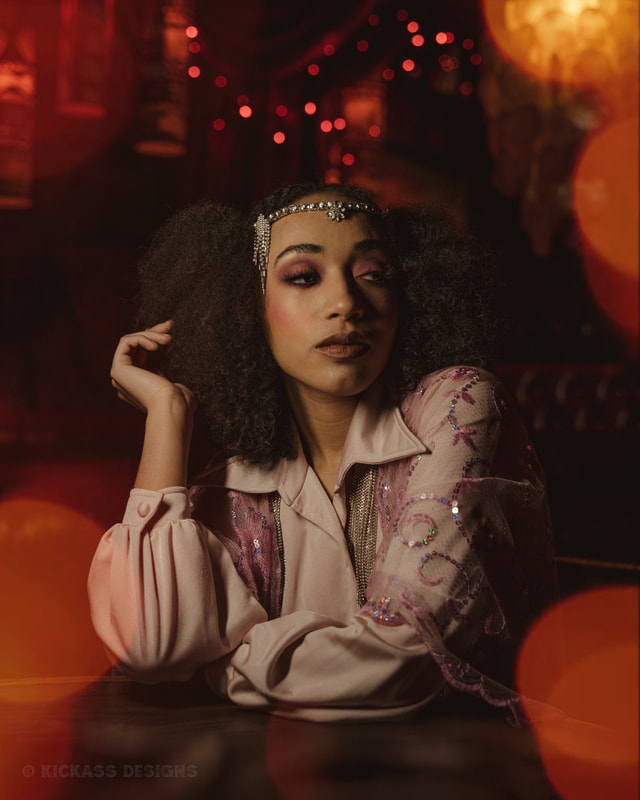
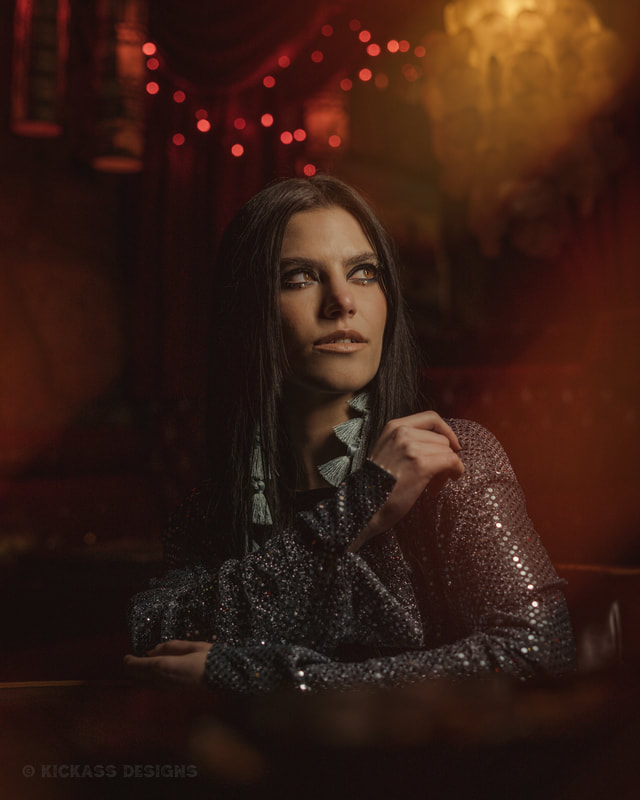
Let's say your shooting inside a bar with no flash. It's sure dark, what do you do? Use whats available. For the shot below we just used the light from above the pool table. Make sure your model is as close the the light as possible. My settings: 1/160 sec /// ISO 320 /// F2.2
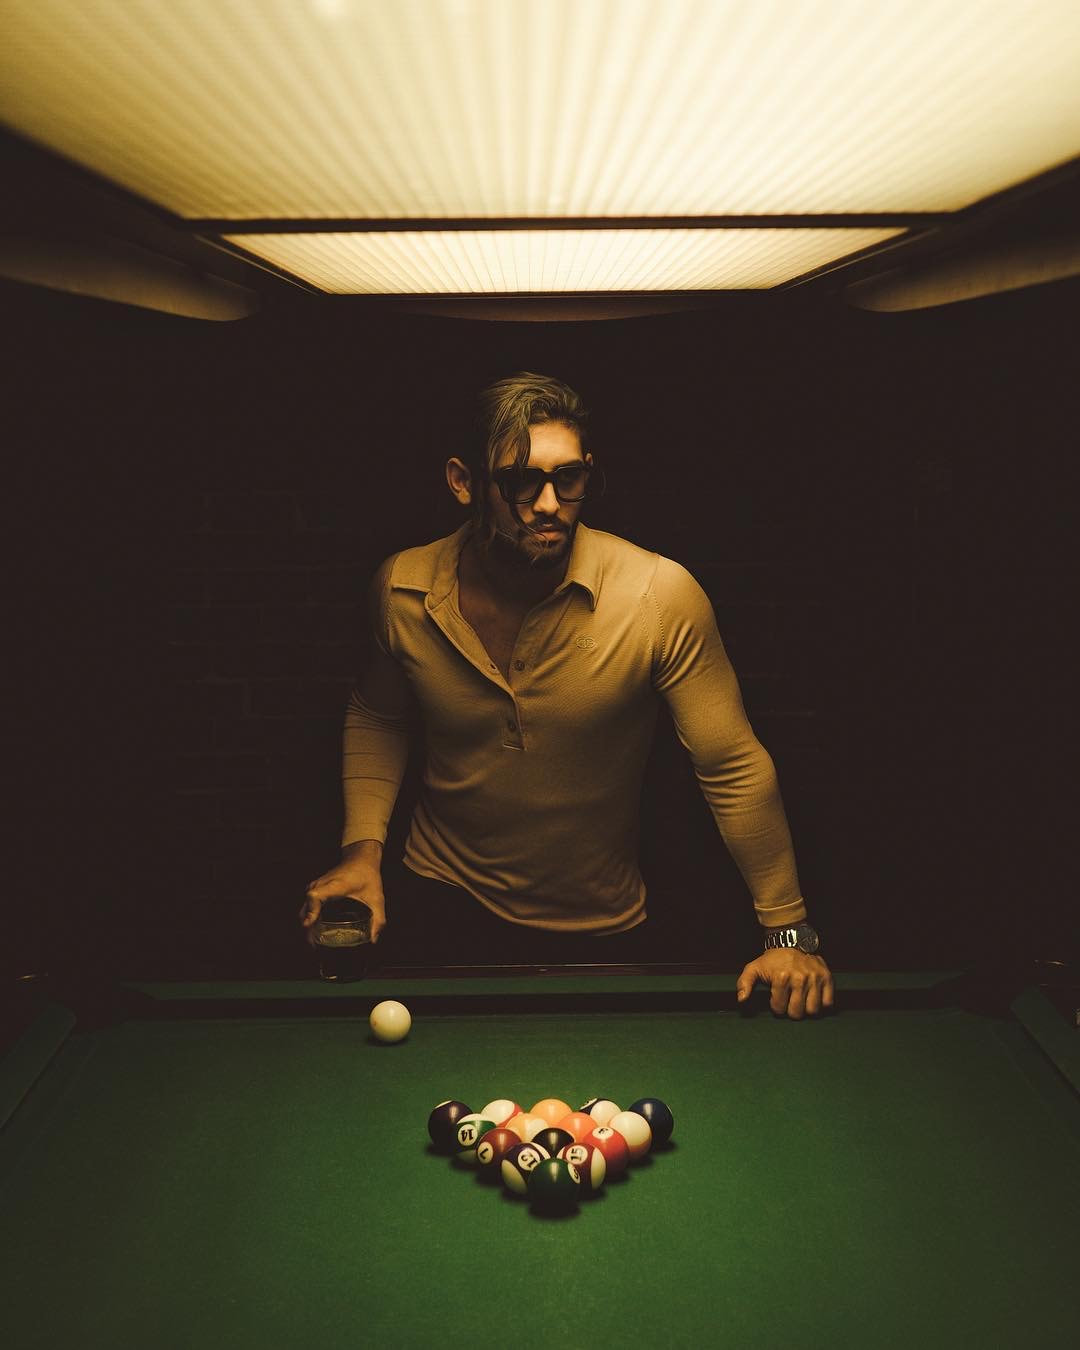
Model: @kamyar_jahan on IG
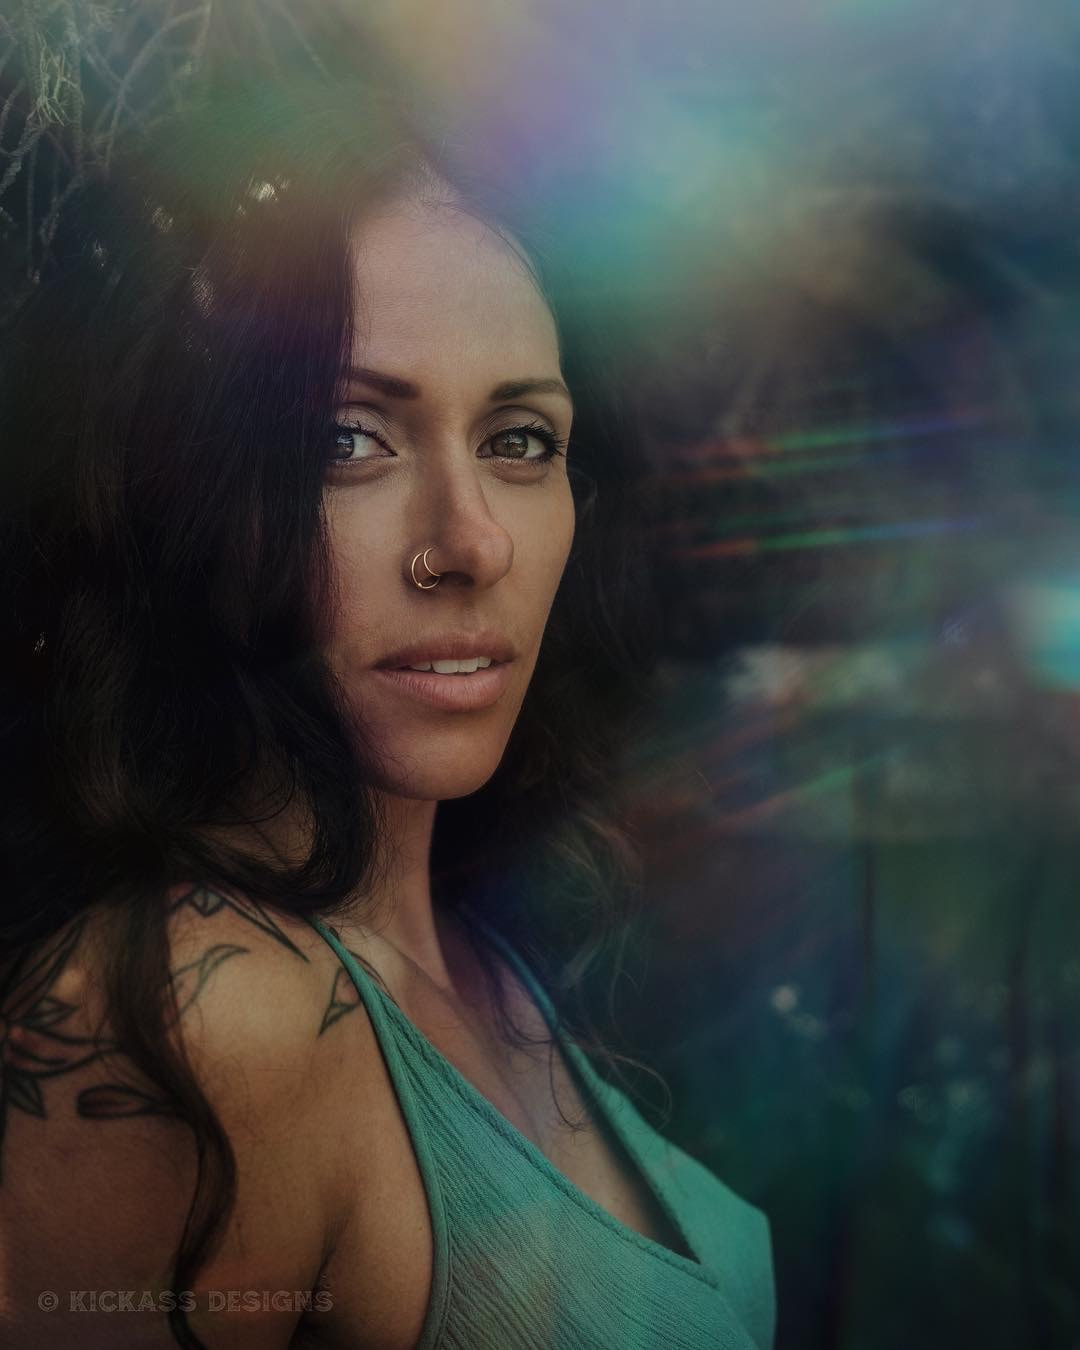
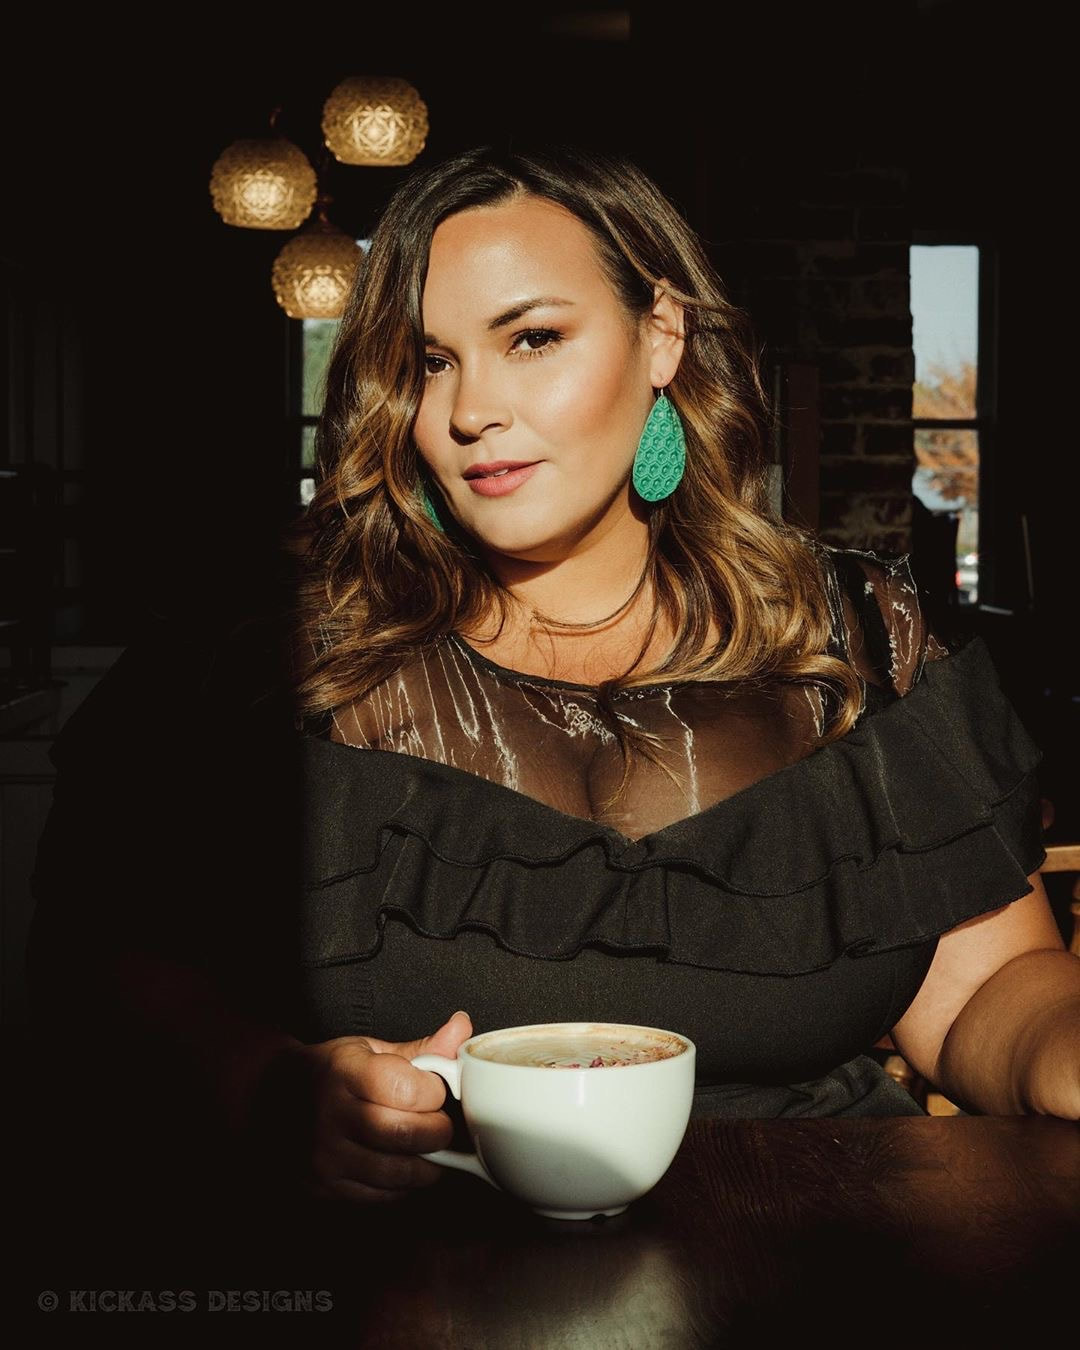
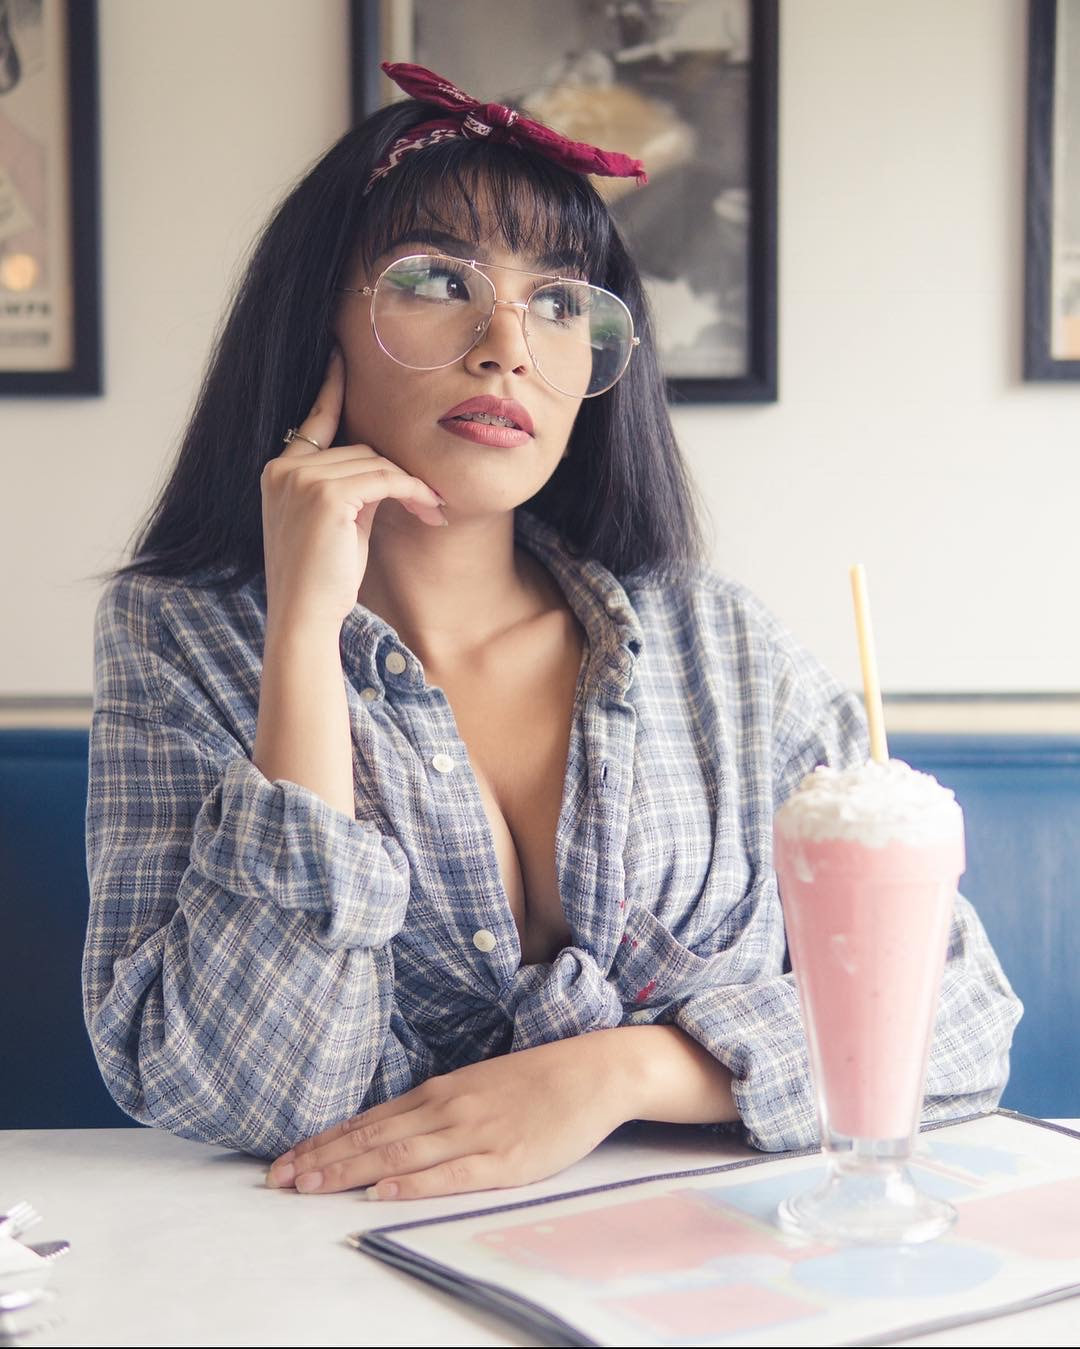
Let's say your shooting in a coffee shop. Take a look at these 4 examples of how to use the light coming in from the window and how the position of your model changes the mood.
Model: @nicole.denise.johansson on IG
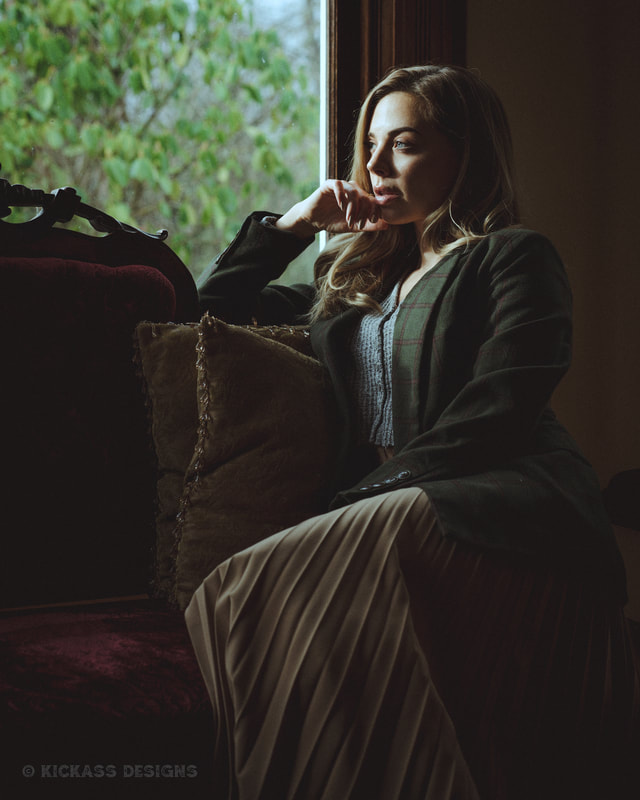
Model: @emmakateroberts on IG
Model: @dyllan.tattoos on IG
Model: @saaphiirre on IG
Now let's say you're shooting in an arcade. They are always dark but the neon makes for really fun photos. The key to shooting with neon is having your model as close to the neon as you can get. If you have the Neon behind them and nothing to light their face it will be too dark. For the example below I had my model stand as close as she could to the arcade screen because it was producing a good amount of light. Settings used were: 1/200Sec /// ISO 640 /// F3.2  Model: @thehannahhawkins on IG Model: @thehannahhawkins on IG
The example below was shot in a hotel room at night using the standing lamp next to the sofa. Just point it towards the model and make sure it's as close as possible.
Model: @shybbyshy on IG
Always keep an eye out for fun shadows when the sun is harsh. Especially if your in an urban area. Below are some example of how I used shadows on a wall to create a dramatic image. The key is to have your exposure correct in camera. Make sure you bring the exposure down so you don't blow out the highlights and crush those darks. We want the detail in the highlights and we want to make those darks pitch black.
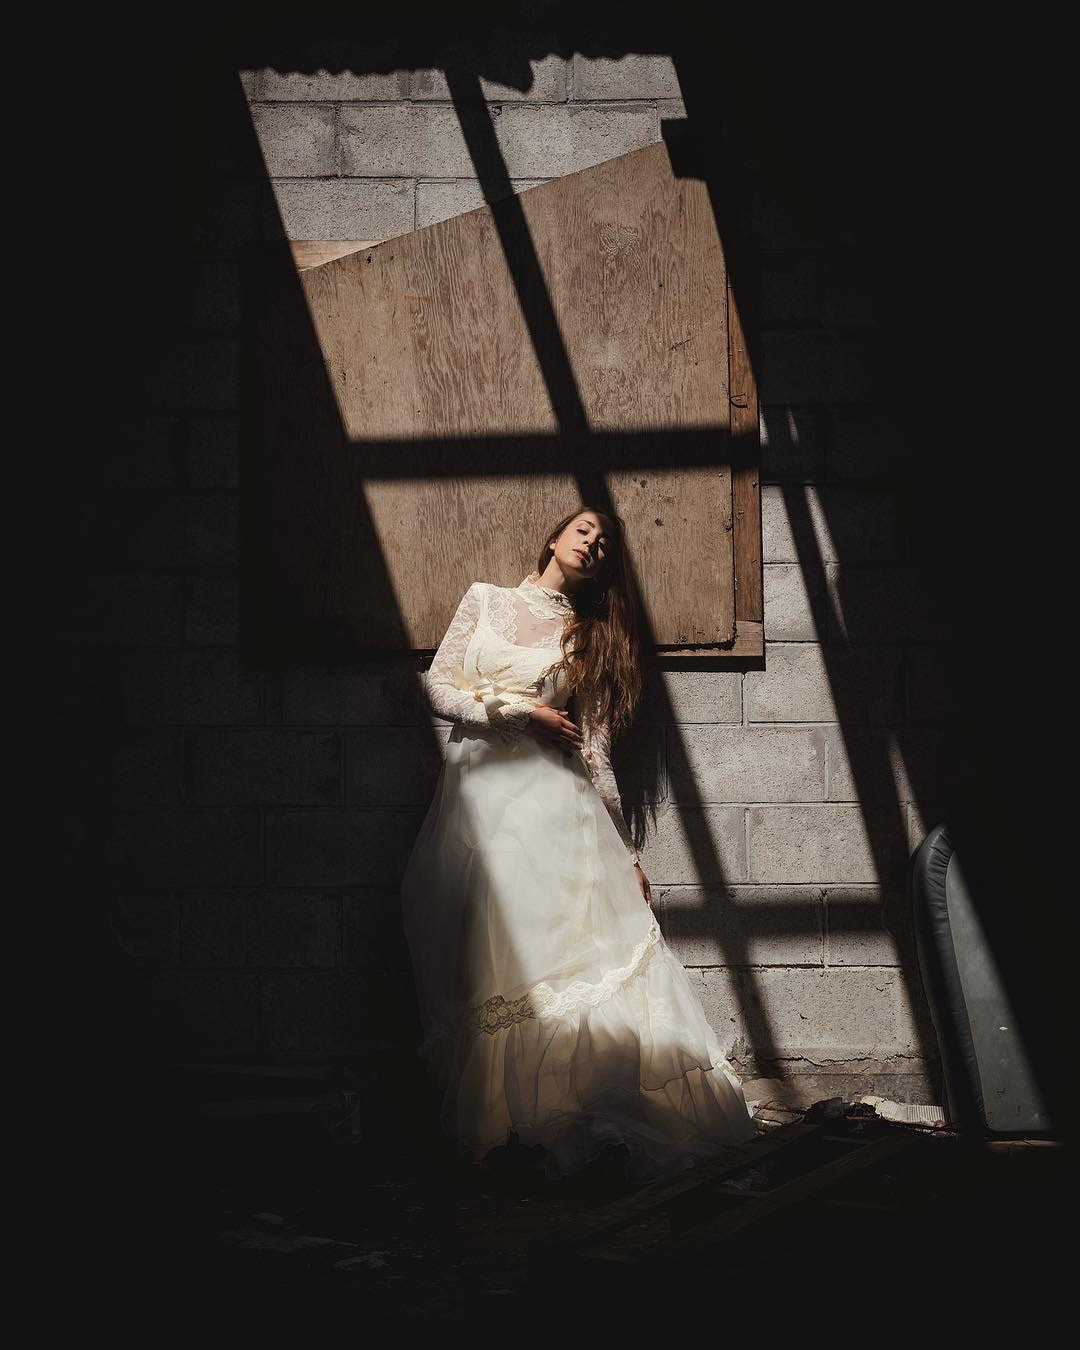
Model: @shawnna.lee on IG
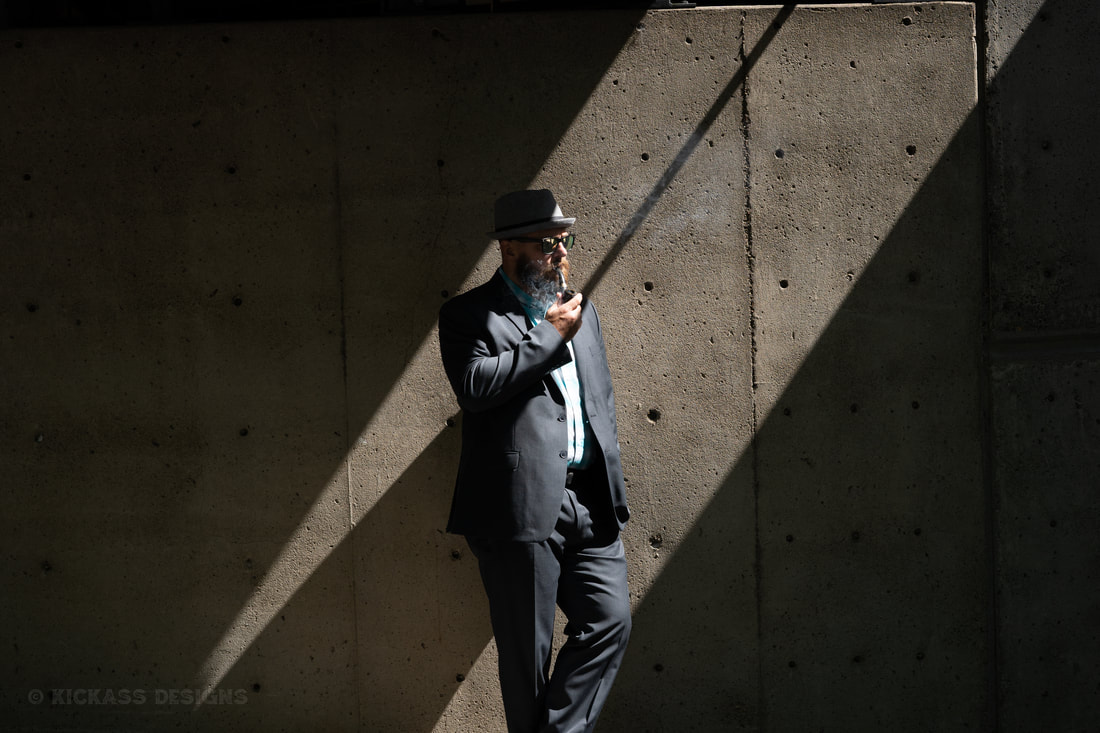
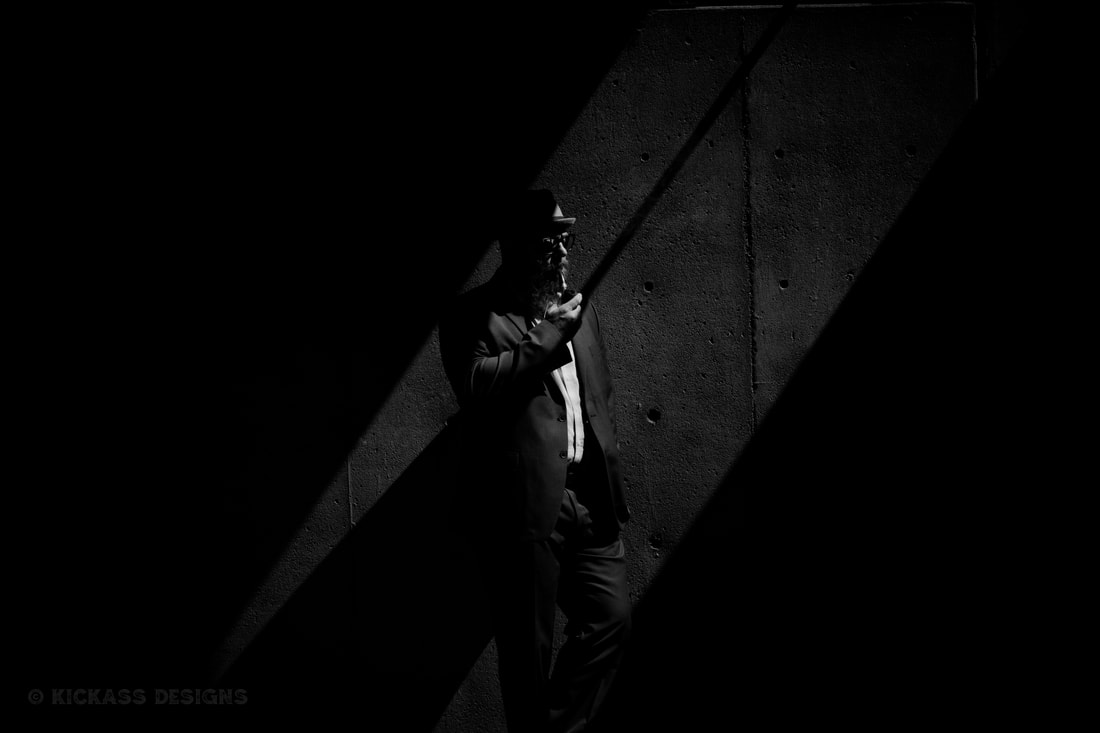
Model: Troy
Use whatever light is available, below is an example of using fire to light your subject.
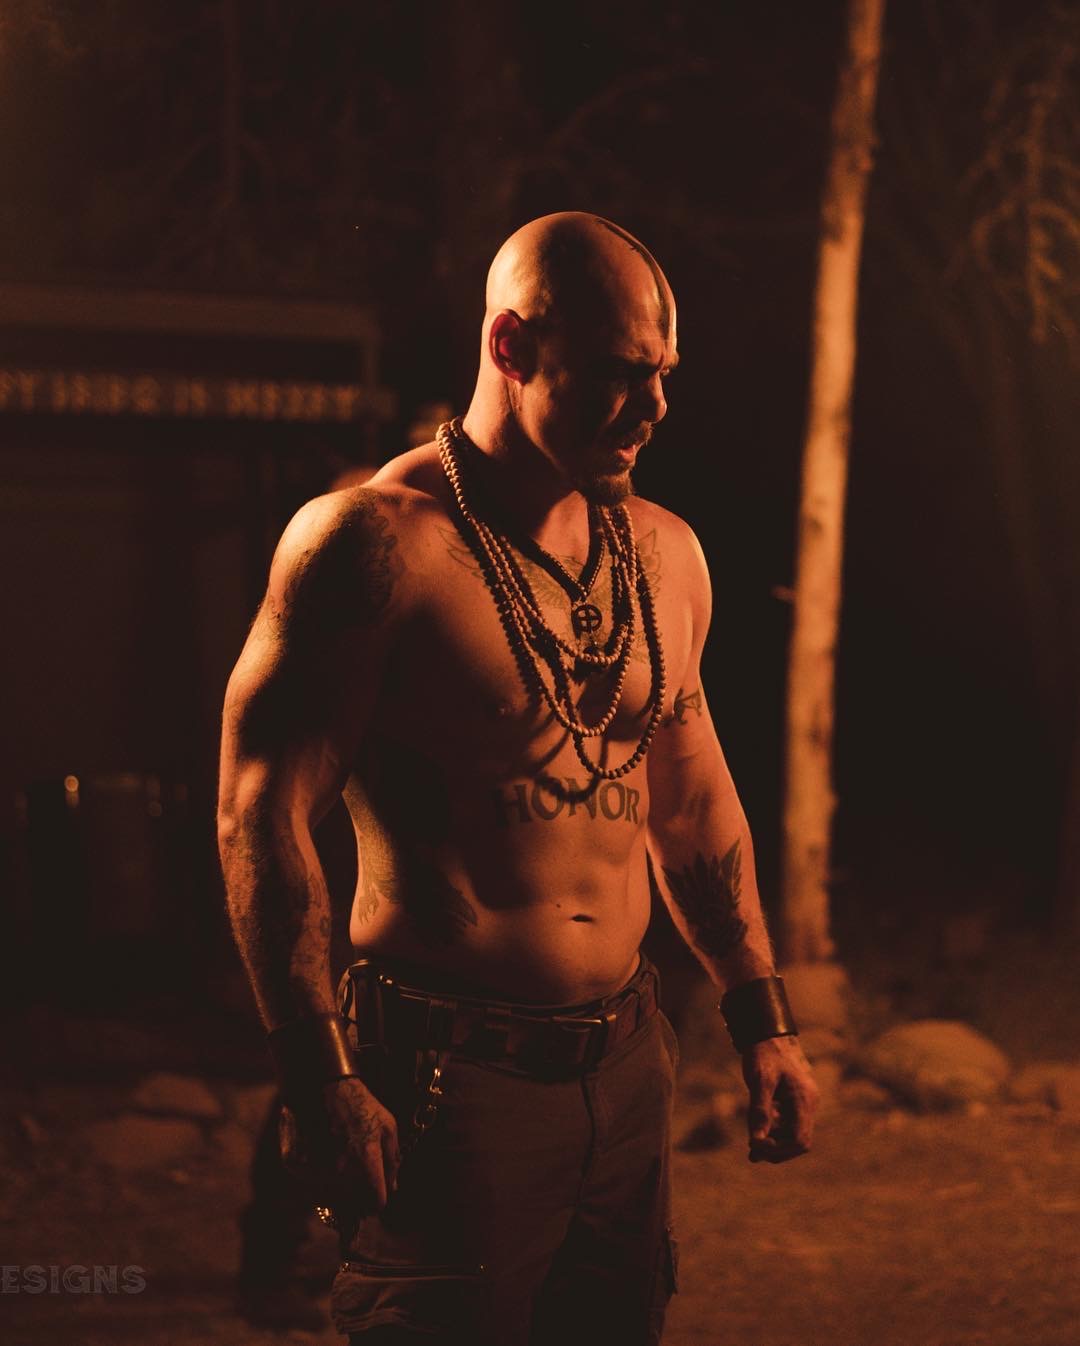
Model: @starttheworld on IG
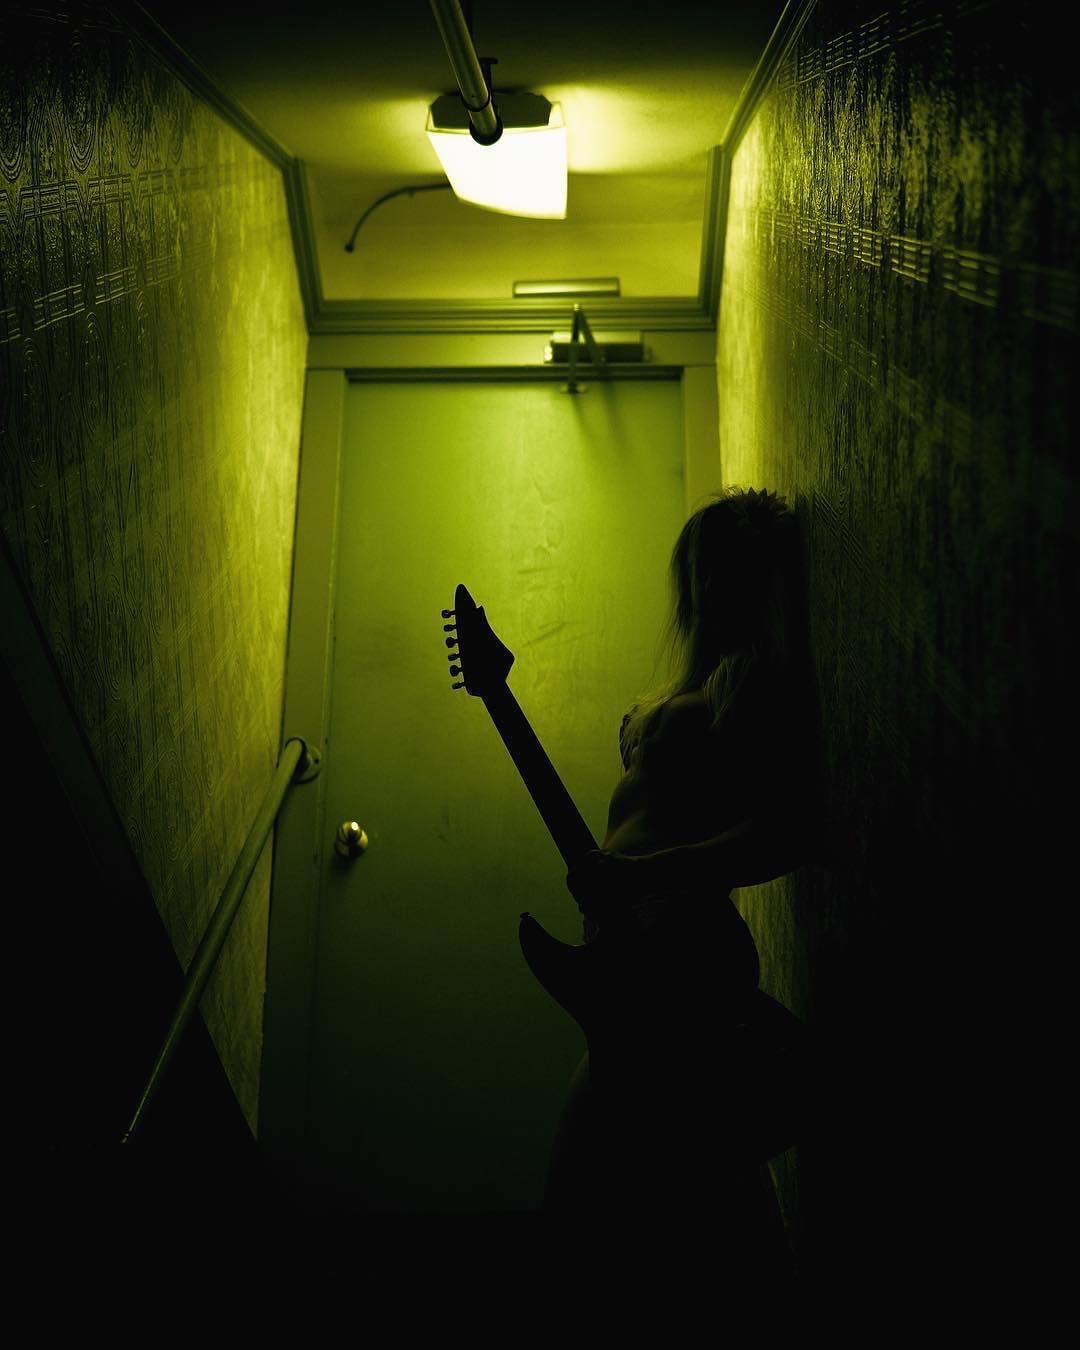
Try having the light source behind your model to create a fun silhouette like we did below.
If you're shooting somewhere urban at sunset keep an eye out for street lamps, neon, or lit door ways. The image below was at sunset so we used a lit doorway to add some dramatic lighting.
Model: @real_wade_wilson on IG
Maybe the sun has set so you're out of sunlight, use a lighter or street lamp for dramatic lighting as we did below.
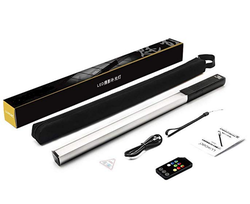
Now that you've seen some examples of using natural light here's an example of using a Portable Wand Handheld LED photography Light.

Models: @jacquelynnefaith & @ambernicotra on IG
Every now and then you'll be in a situation where you just don't have enough light. For emergency situations like these I like to have a light wand in my car just in case. It's about $80 on amazon, it's light, compact, easy to carry and use. These photos were taken in a bar with zero light to use so I used the wand to light the models.
All that being said. I'll leave you with this. As much as I love using natural light sometimes your clients requests will require a studio and a light setup. So do some research and become familiar with a studio you like best in your area. Some offer lighting some don't. Personally my favorite studio in Portland is Cobalt Studios. For only $75 an hour you get access to everything and that includes lighting! Not only that but the owners are amazing people and they take the time to help with lighting so its exactly how you want it. The staff is very knowledgeable and friendly.
If you found this article helpful I'd love to hear from you in the comments. 
Posing Ideas for Women in 2022
Lets face it, professional models can take a lot of the burden off us as photographers by bringing their posing expertise to the table. But unfortunately we don't always have the benefit of shooting with a professional model. As a high caliber photographer it is important to have the ability to pose normal people with little to no experience in front of the camera.
If posing for modeling is a challenge for you this list of 27 posing ideas along with photos for reference should help. Every photo below was taken by me.
| You May Also Like: 10 Safety tips every model should know
While certain genres of photography get to work with models, most genres involve shooting normal people who will have varying degrees of comfort in front of the camera and natural posing ability. Posing was the hardest thing to learn for me personally and it is something I still work on every day.
While I am jealous of photographers who have a natural ability to pose people on the fly, I unfortunately have found that I work best by having a list of go-to poses that I know work well for me and can fall back on if I need to.
| You May Also Like: 27 Posing Ideas for Men
Until now I have kept that list to myself. If you are a model or photographer who struggles with posing I hope this list helps. Make sure to bookmark this page so you can bring it up at any shoot and go down the list and nail every pose. You do that and you will be guaranteed to leave the shoot with tons of variety. Connect with me on Instagram HERE
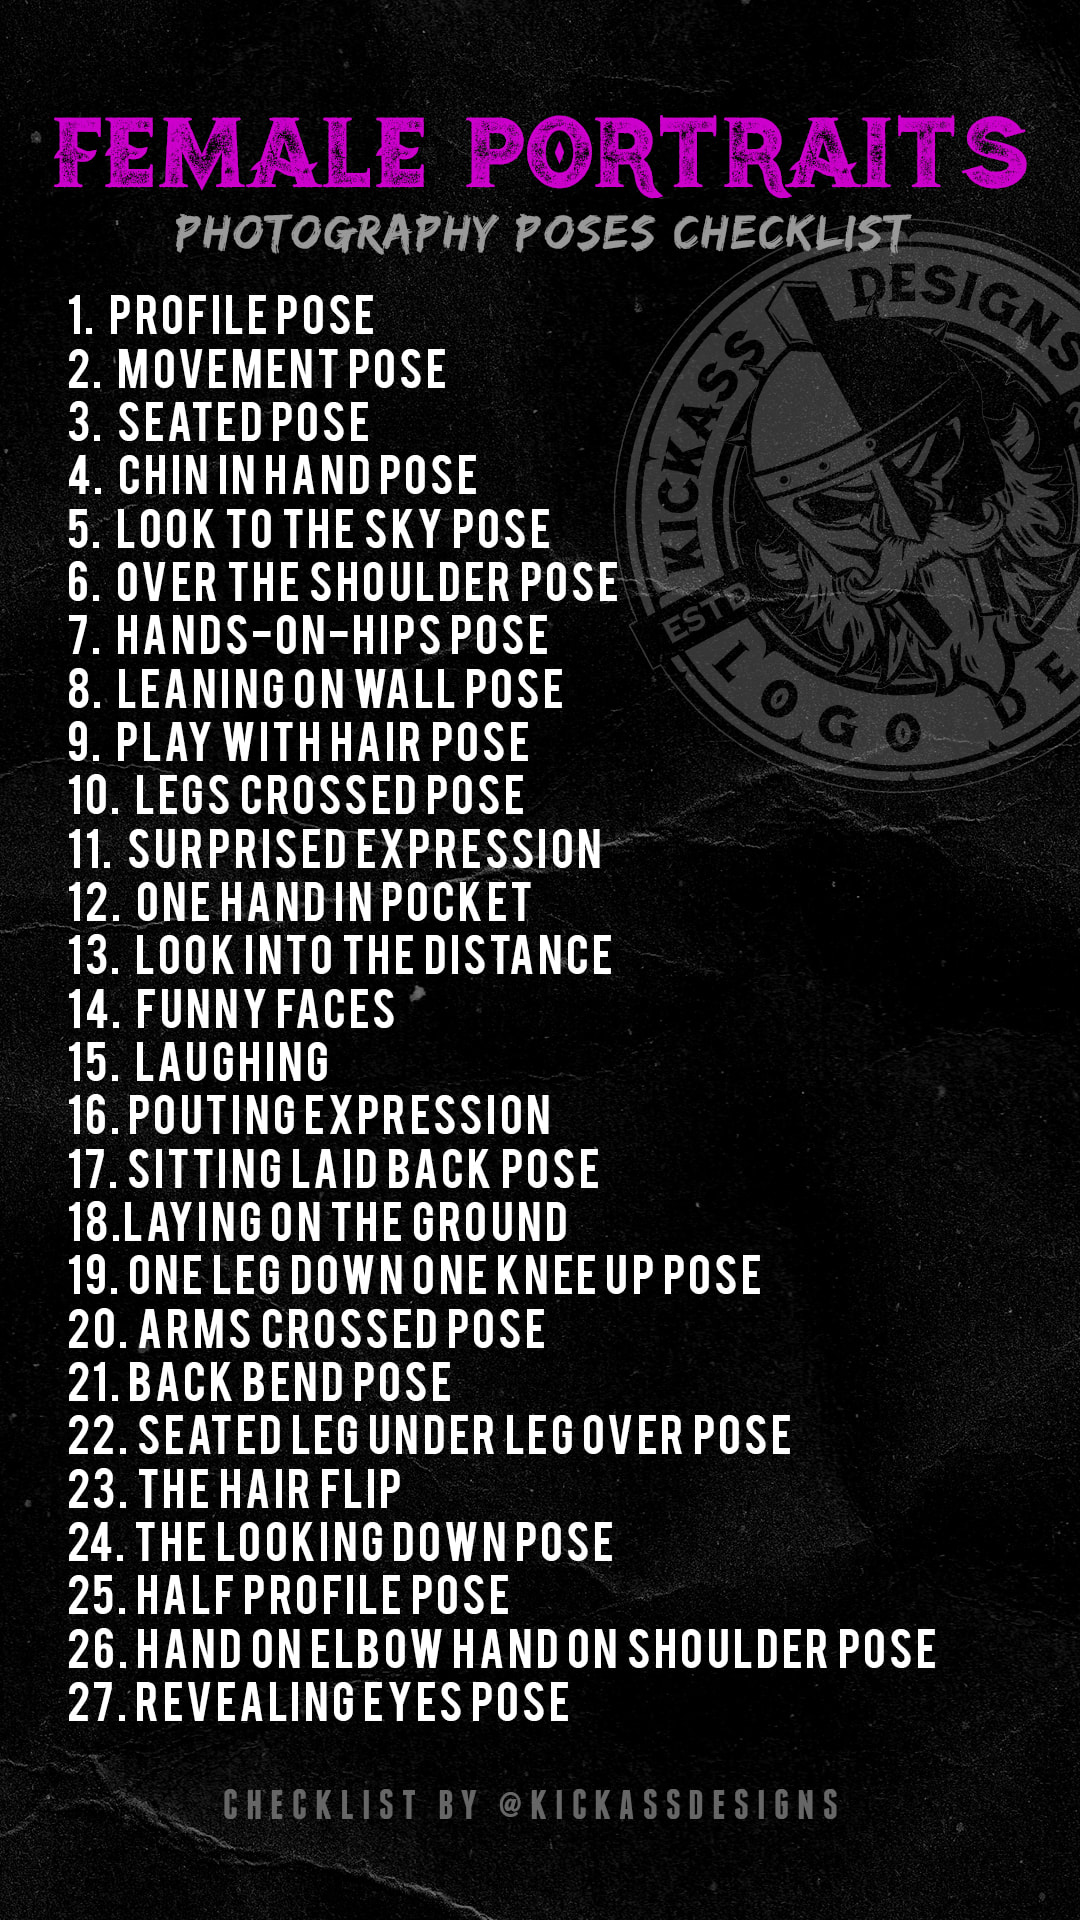
1. The Profile Pose/Side View
If your model isn't blessed with perfect bone structure try different lighting, angles, chin movements, and hair placement to hide a double chin. Models: Don't worry, we all have one.
Model: @jacquelynnefaith on IG
2. Movement Pose/Action Pose
Have the model do some kind of movement or action. This could be walking, running, jumping, or spinning. For action shots make sure your shutter speed is 1/250 and up so it's not blurry.
| You May Also Like: How to get into Modeling. 11 Tips

Model: @stephaniejadesmith on IG
3. Seated Pose
Seated poses are great just keep an eye on posture and the tummy. Last thing you want is the tummy getting squished. If it's not flattering your model wont like it. Make sure your model engages her core at all times.

Model: @waterfallkristy on IG
4. Chin in hand pose
If your model is seated this is a great go to. Try a variety of hand placements on the chin. Have your model look into the camera and off into the distance.
Model: @lexylovestruck on IG
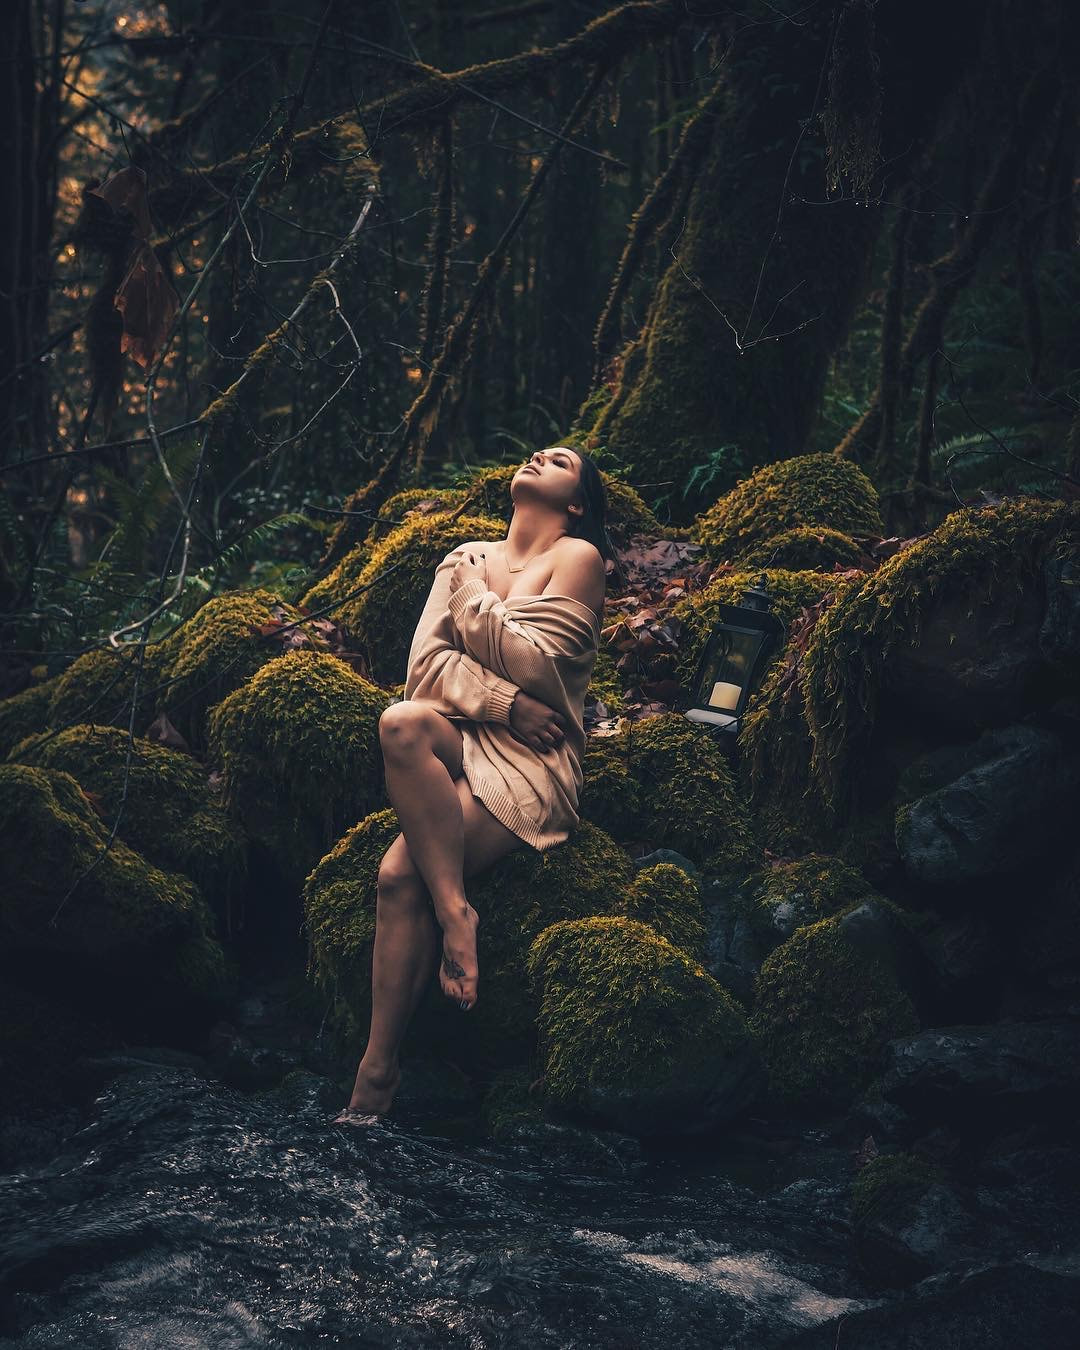
5. Look to the sky pose
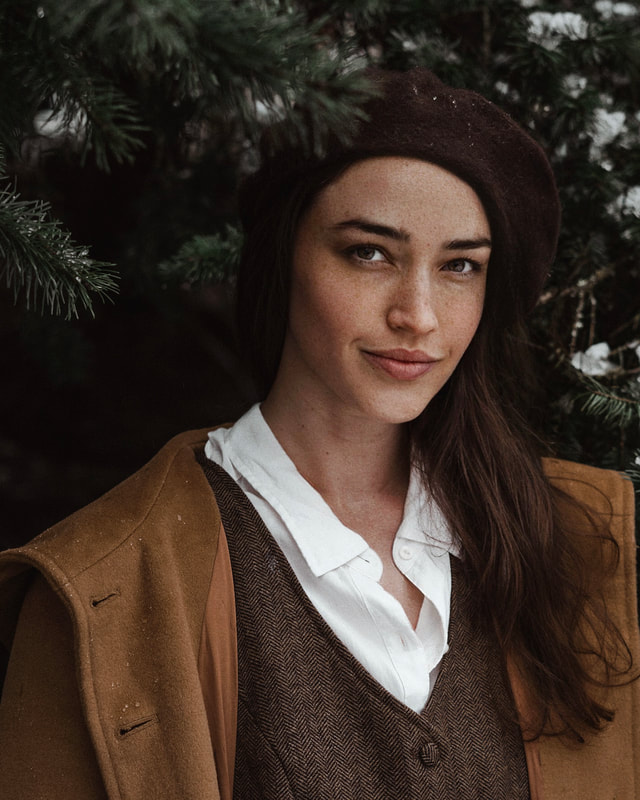
Here's a tip to make your models eyes pop and lose those shadows when you're using natural light only. Have her look up. The light from the sky will make those babies pop and eliminate any unflattering shadows! This is very useful when shooting in a dark forest and your models face is super shaded.
| You May Also Like: Best Modeling Agencies in Portland
Model: @dear_miss_tiffany on IG
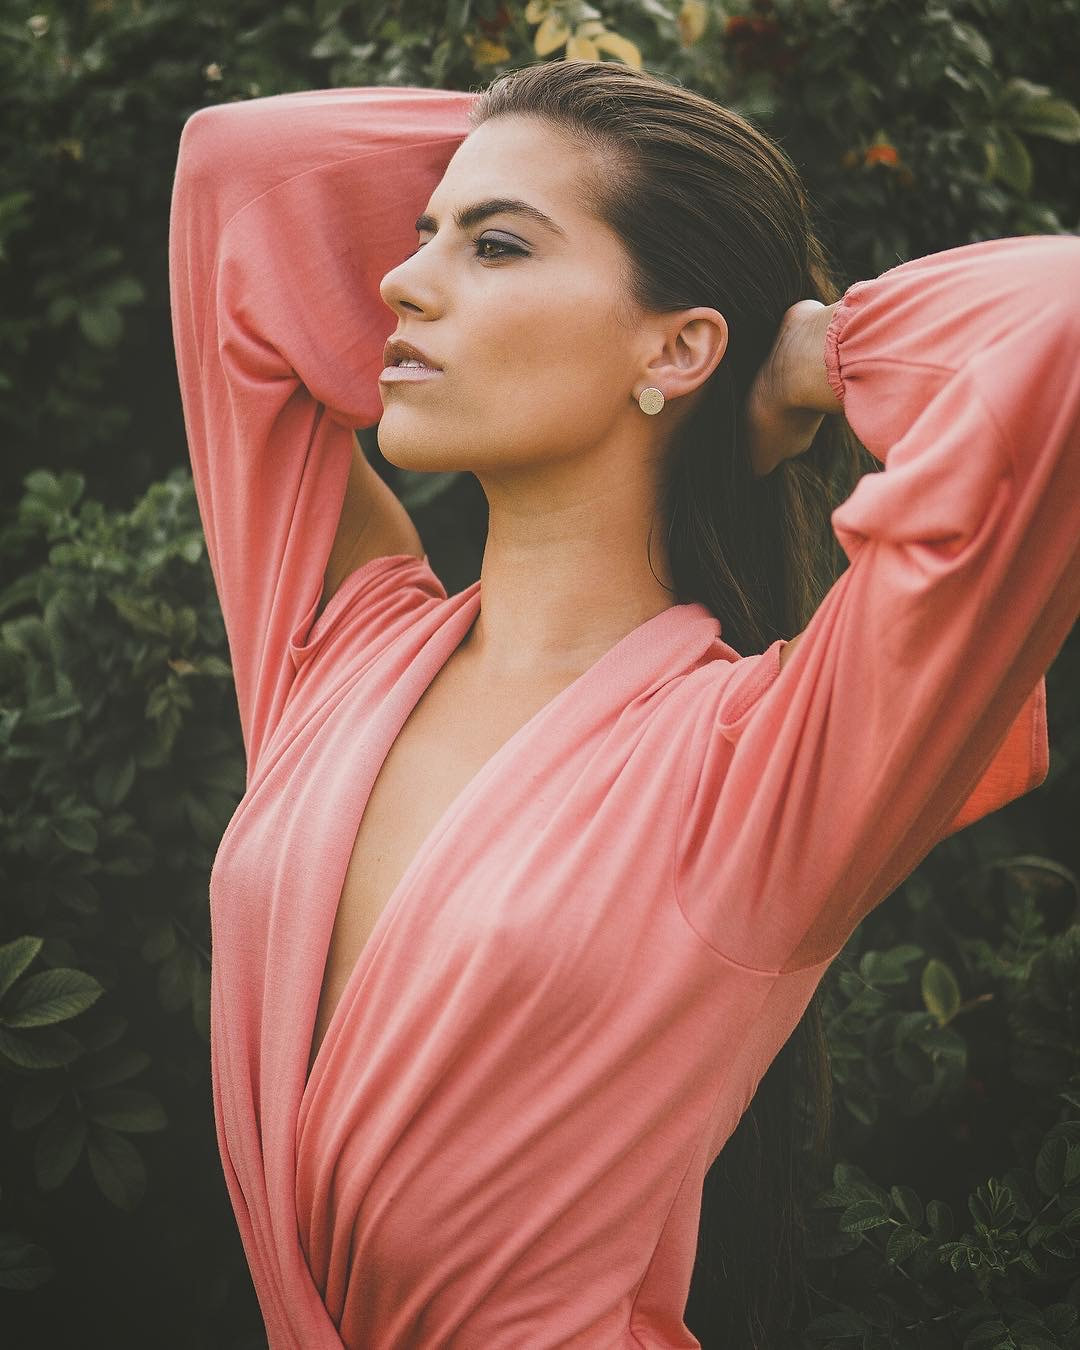
6. Over the shoulder pose
To change things up try an over the shoulder pose where your model plays with her hair with the hand furthest from the camera. Have her open up and get some space between the elbow and her body making a triangle.
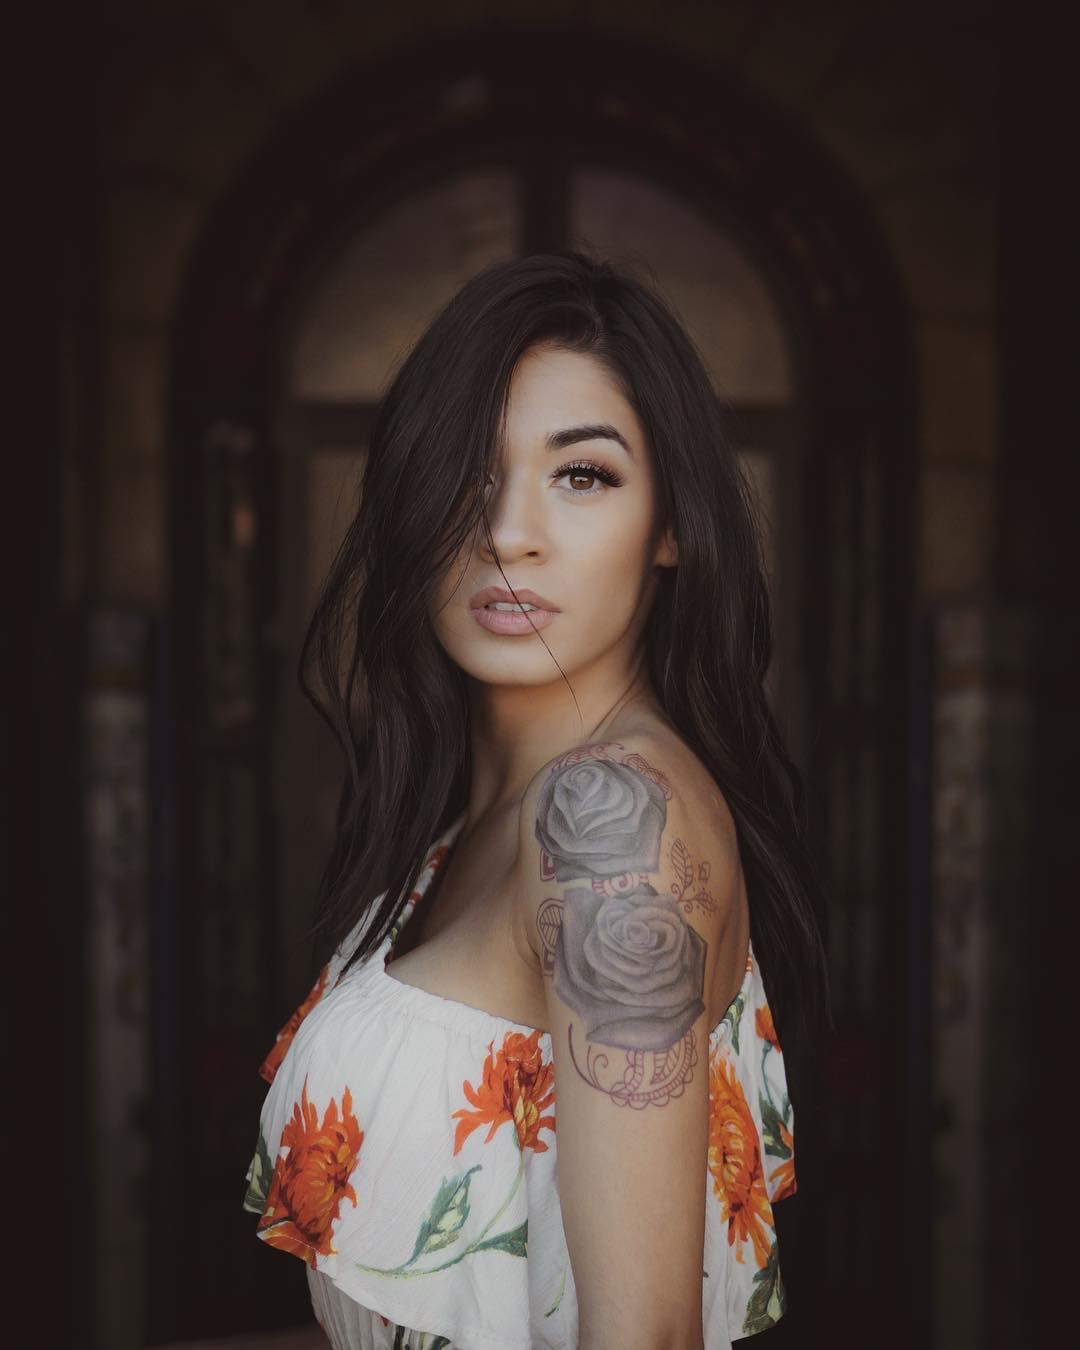
Model: @ambermg_ on IG
7. Hands on hips pose.
Play around with hands on both hips or just one hand on one hip. Try having your model slighting turn her body and popping that hip to show some side booty.
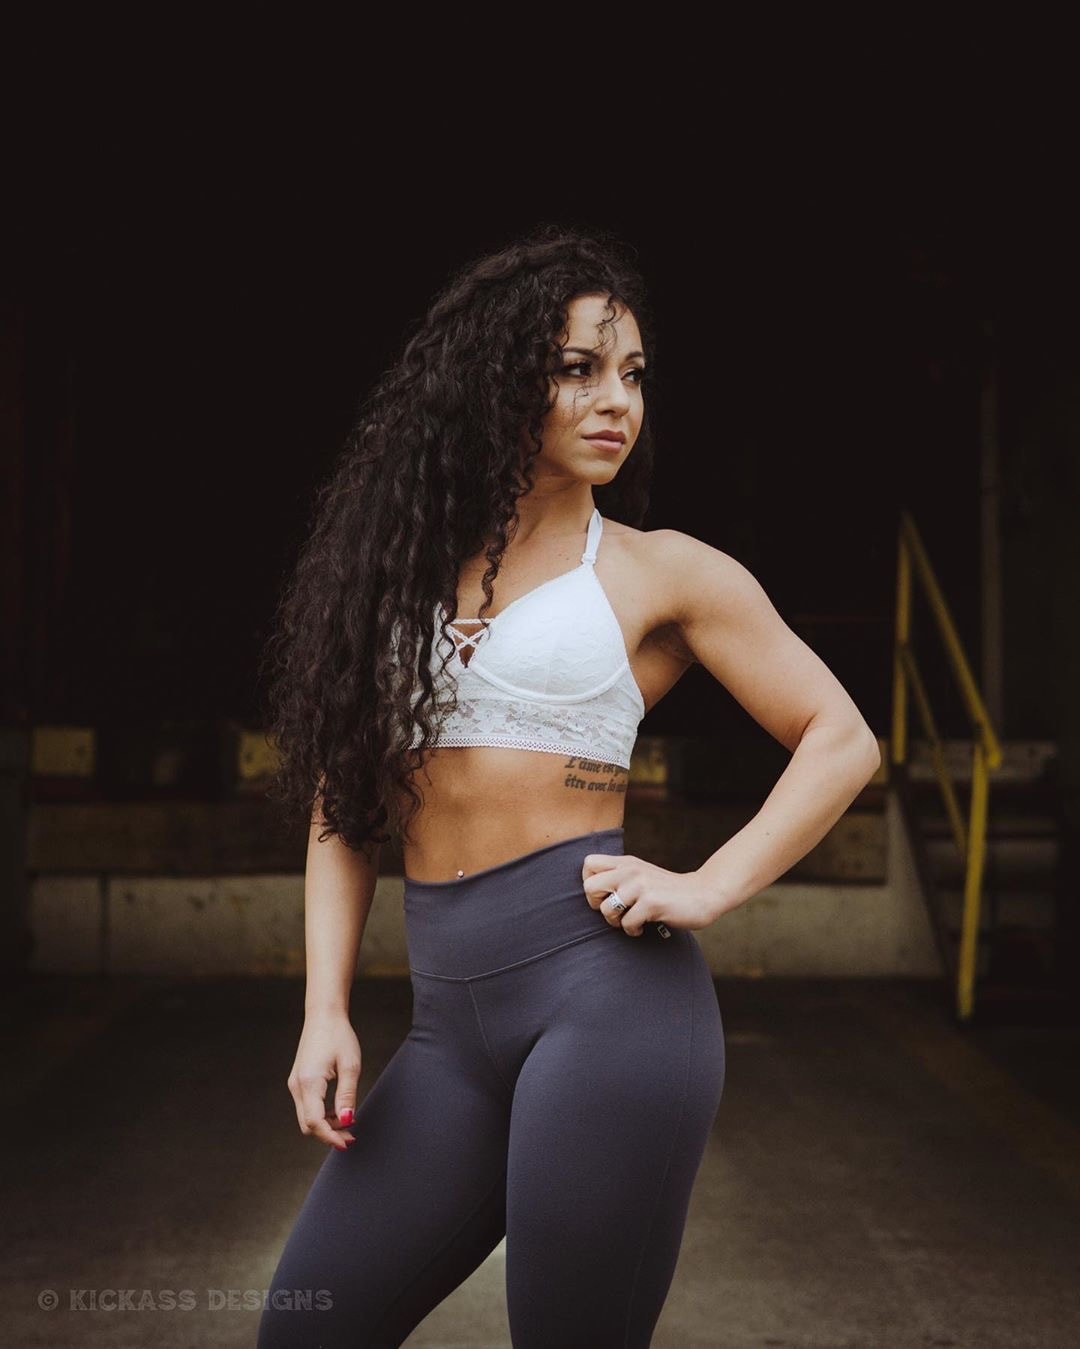
Model: @igobytima on IG
8. Lean on wall pose
Try photographing at different angles and have your model lean with her side to the wall and her back to the wall for variety.
Model: @kaylaraecannon on IG
9. Play with hair pose
This is what I meant above when I said have your model play with her hair with the hand furthest from the camera. Have her open up and get some space between the elbow and her body making a triangle. Models will always ask what to do with their hands so letting them play with their hair is natural, fun, and gives them something to do with their hands.
Model: @aliciangates on IG
10. Legs crossed pose
Crossing the legs can give great shape to the body.
Model: @jennawilliamscpt on IG
11. Surprised Expression
I call this the Macaulay Culkin pose. I find adding the hands is just a bit over the top but a surprised expression really open up the eyes and makes for a fun photo every time.
Model: @alyxandriamodel on IG
12. Hand in pocket pose
Try both hands or try just one. The choice is yours. Live a little. Also try a thumb in the belt loop instead of pocket or a thumb in the waist band.
Model: @aliciangates on IG
13. Look into the distance
I call this the day dreaming pose. Have you model look into the distance like she's day dreaming about something she loves or like she's longing for something.
Model: @saaphiirre on IG
14. Funny Faces
Funny faces although not the most flattering are always the most popular in any photo set I post where there is a funny face. Catch those silly moments that happen between shots because people love seeing personality and it shows your model is more than just a pretty face. Have every model you work with give you at least one good ridiculous face.
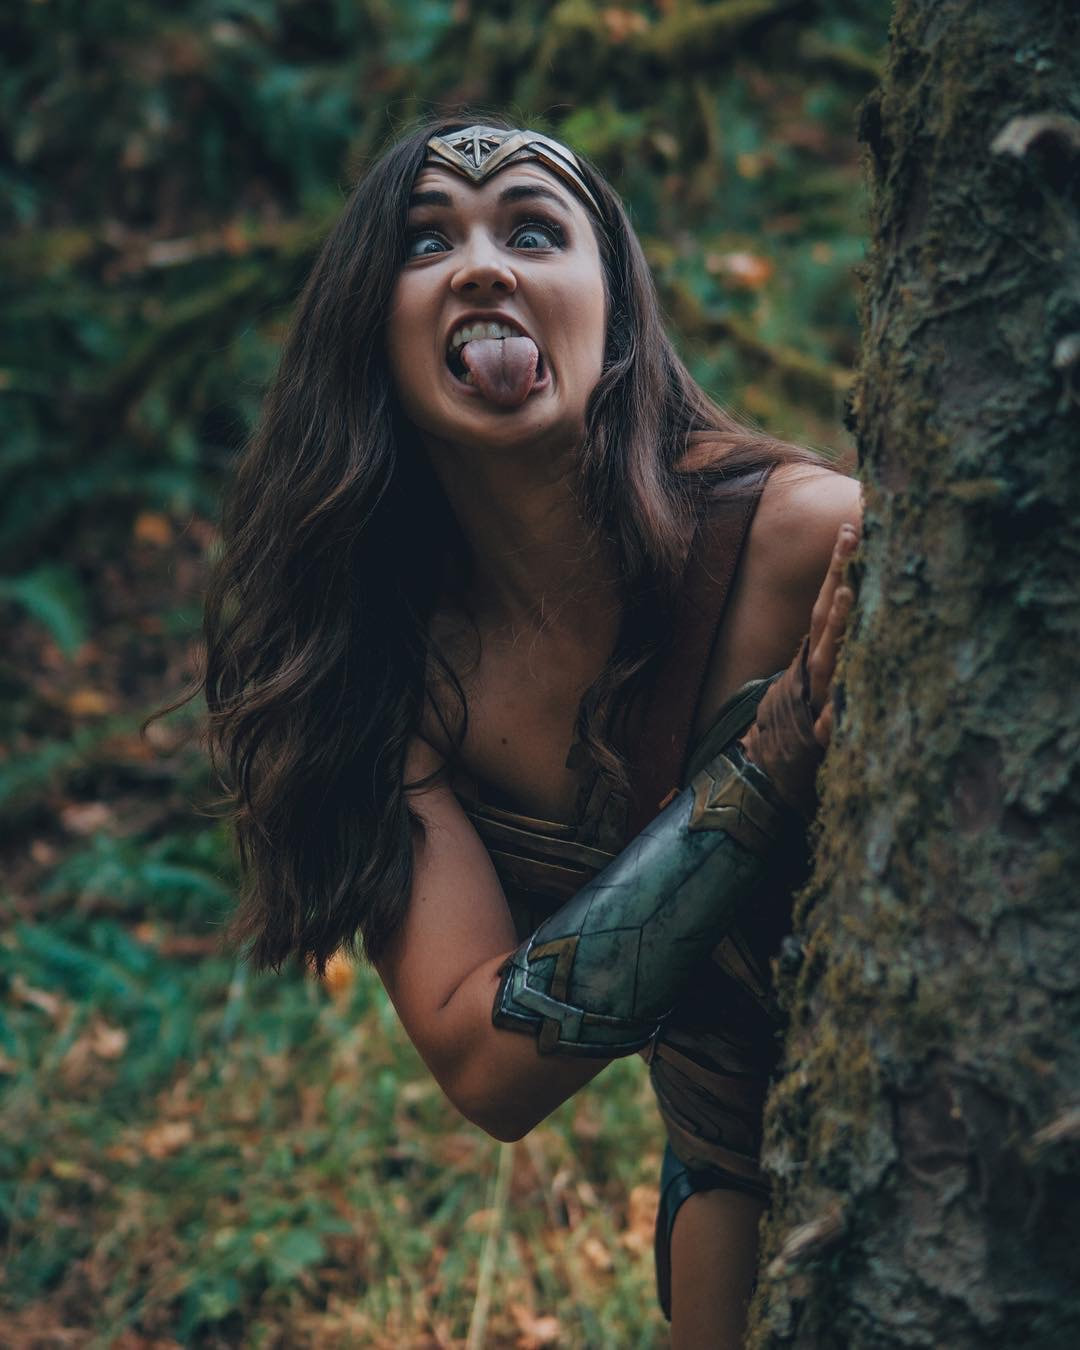
Model: @carmacosplay on IG
15. Laughing
Much like the photo above you should be having fun during a photo shoot so catch those candid moments. Everyone loves a genuine smile and the best smiles happen right before or right after a laugh.
Model: @jacquelynnefaith on IG
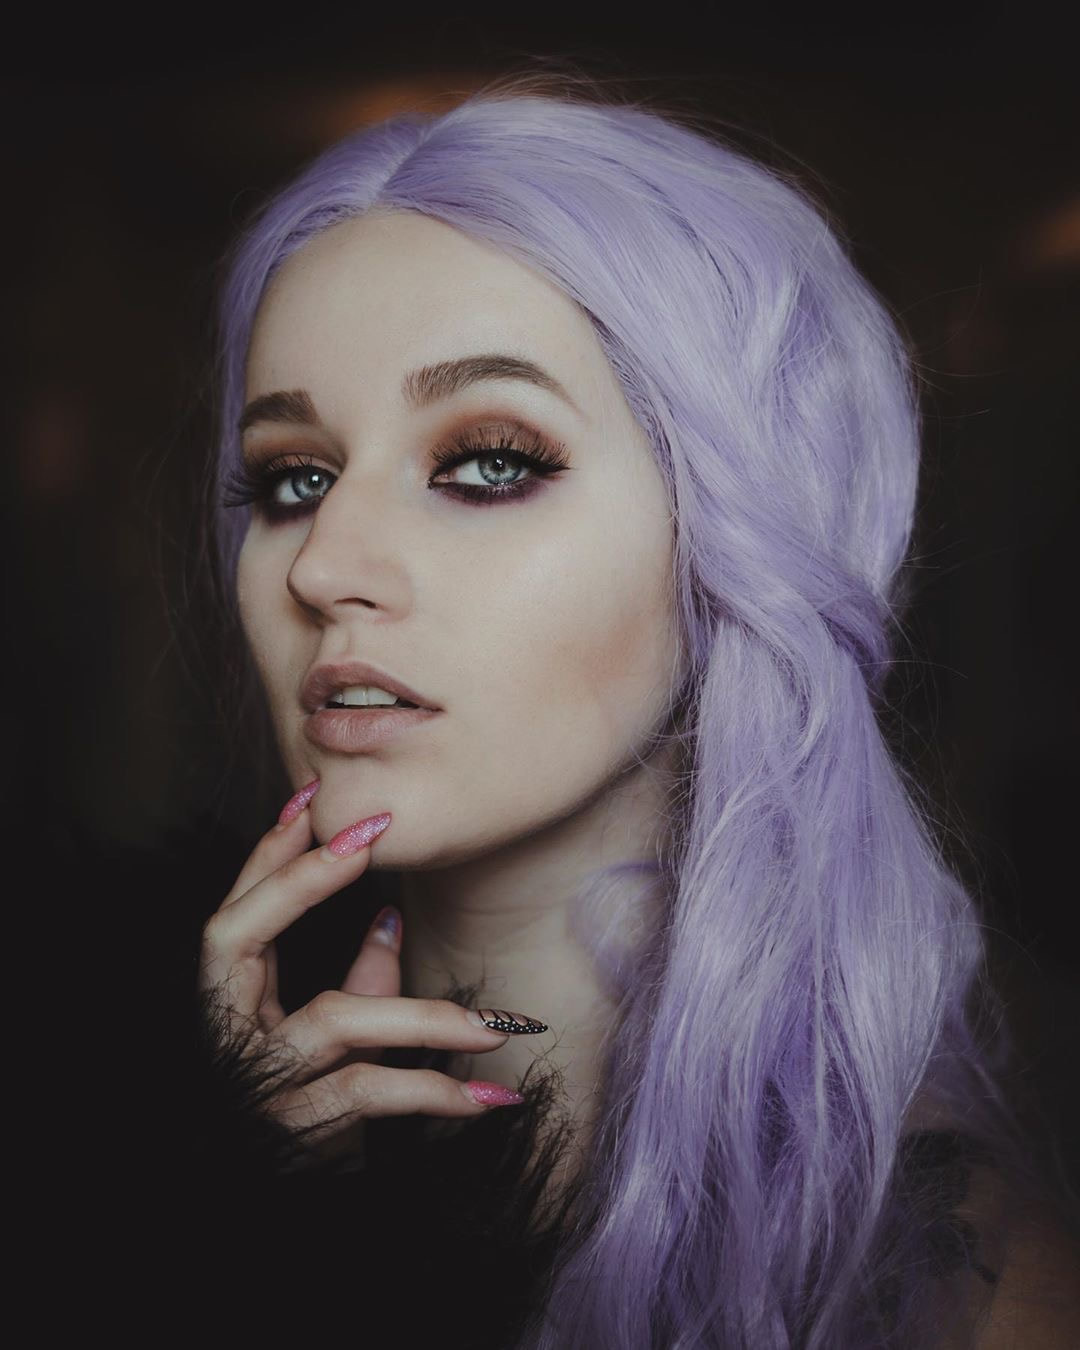
16. Pouting Expression
Posing goes beyond just changing up body movements. Make sure to get a variety of expressions from your model as well. A good pout is a great start and almost always leads to a genuine smile.
Model: @littylerouge on IG
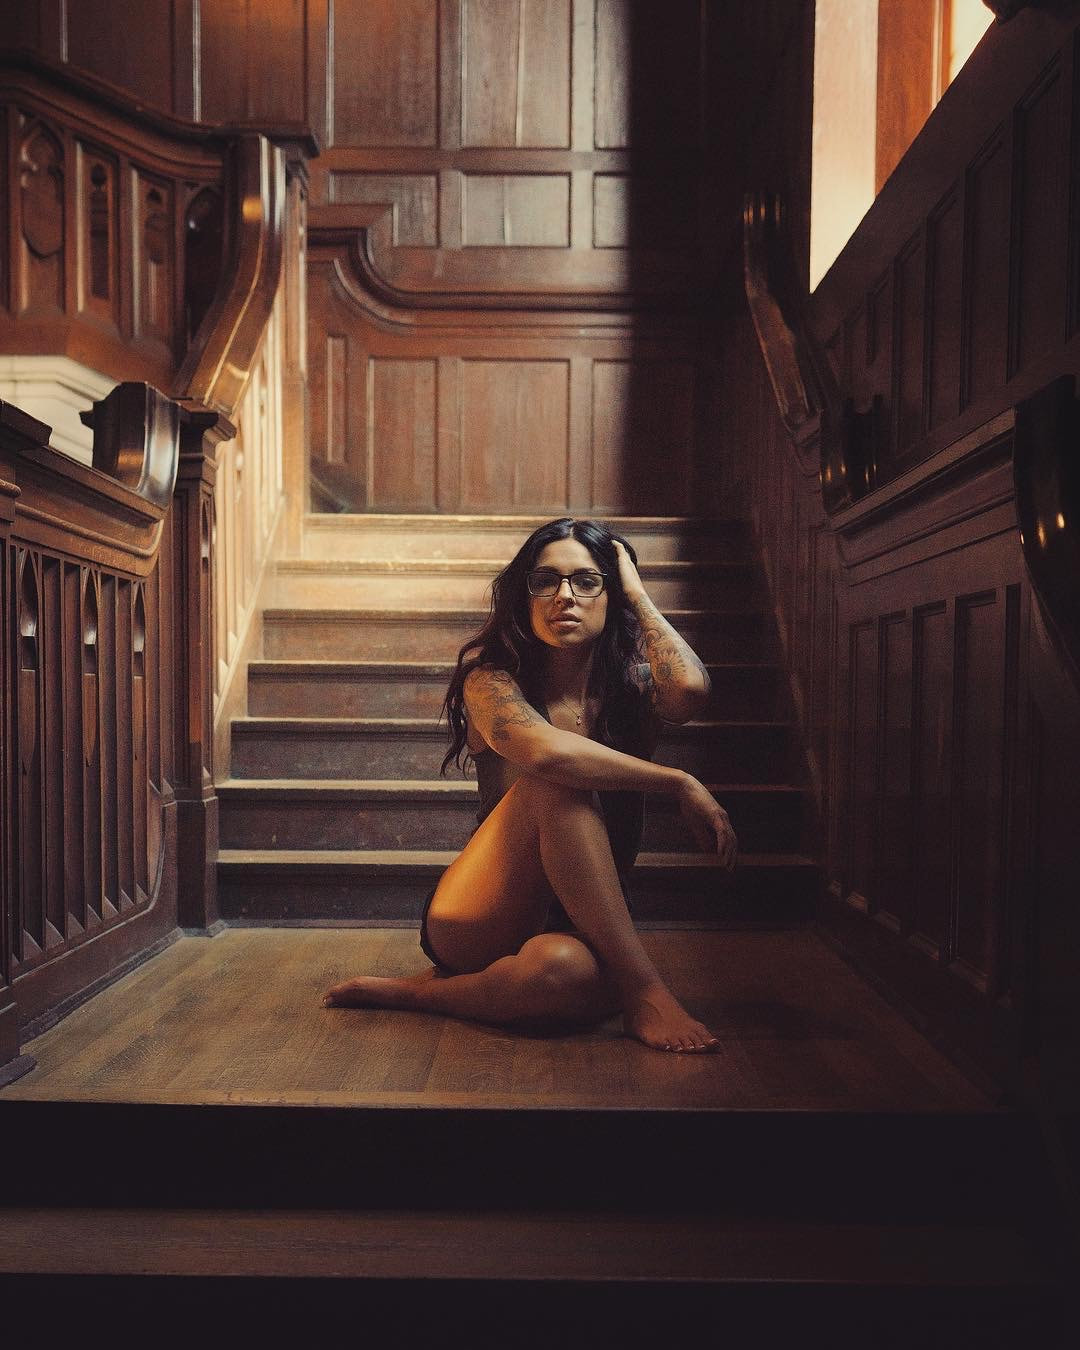
17. Sitting laid back pose
Let your model lay back and relax. She's been working hard she deserves it.
Model: @magiifit_ on IG
18. Laying on the ground
Change up perspective. Have your model lay on the ground and shoot from above. Just make sure she leans her head back so we don't get double chins.
Model: @alyxandriamodel on IG
19. One leg down one knee up pose
If you want the booty poppin a great way to achieve this is keeping one leg down and bring a knee up on something like steps or a bench. Have your model pop the booty with the foot that's on the ground.
Model: @ambrefit on IG
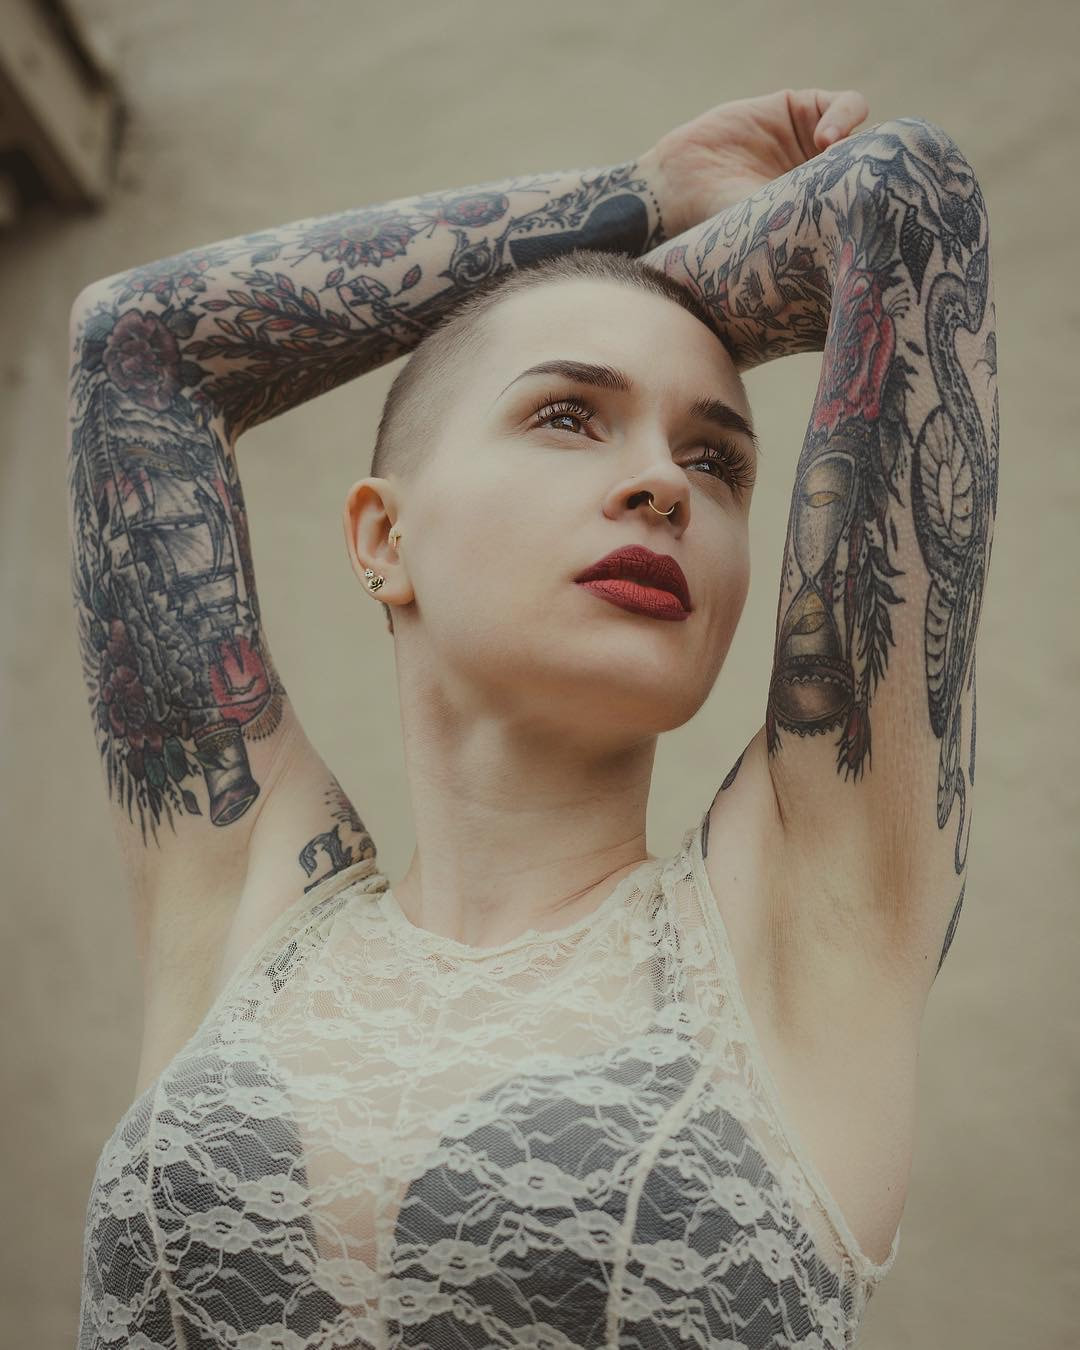
20. Arms crossed pose
This can be a great power pose or vulnerable pose depending on expression and posture. Have your model just slightly turn her torso away from the camera.
Model: @thehannahhawkins on IG
21. Back bend Pose
This is more of a high fashion type pose and not the easiest to do so leave this for your experienced models.
Model: @jordynnmontero on IG
22. Seated one leg under one leg over pose
I just love this pose. Feels elegant but sexy to me. This is a great pose for any model with really nice legs. Try pointing the toes and lifting the heel off the ground of the front foot for a good flex.
Model: @aliciangates on IG
23. The hair flip
Have your model stand still and move her head side to side getting some movement in just the hair. Turn your camera to rapid fire hope you get lucky. haha I have done this plenty of times where nothing turned out but when it does it's so fun!
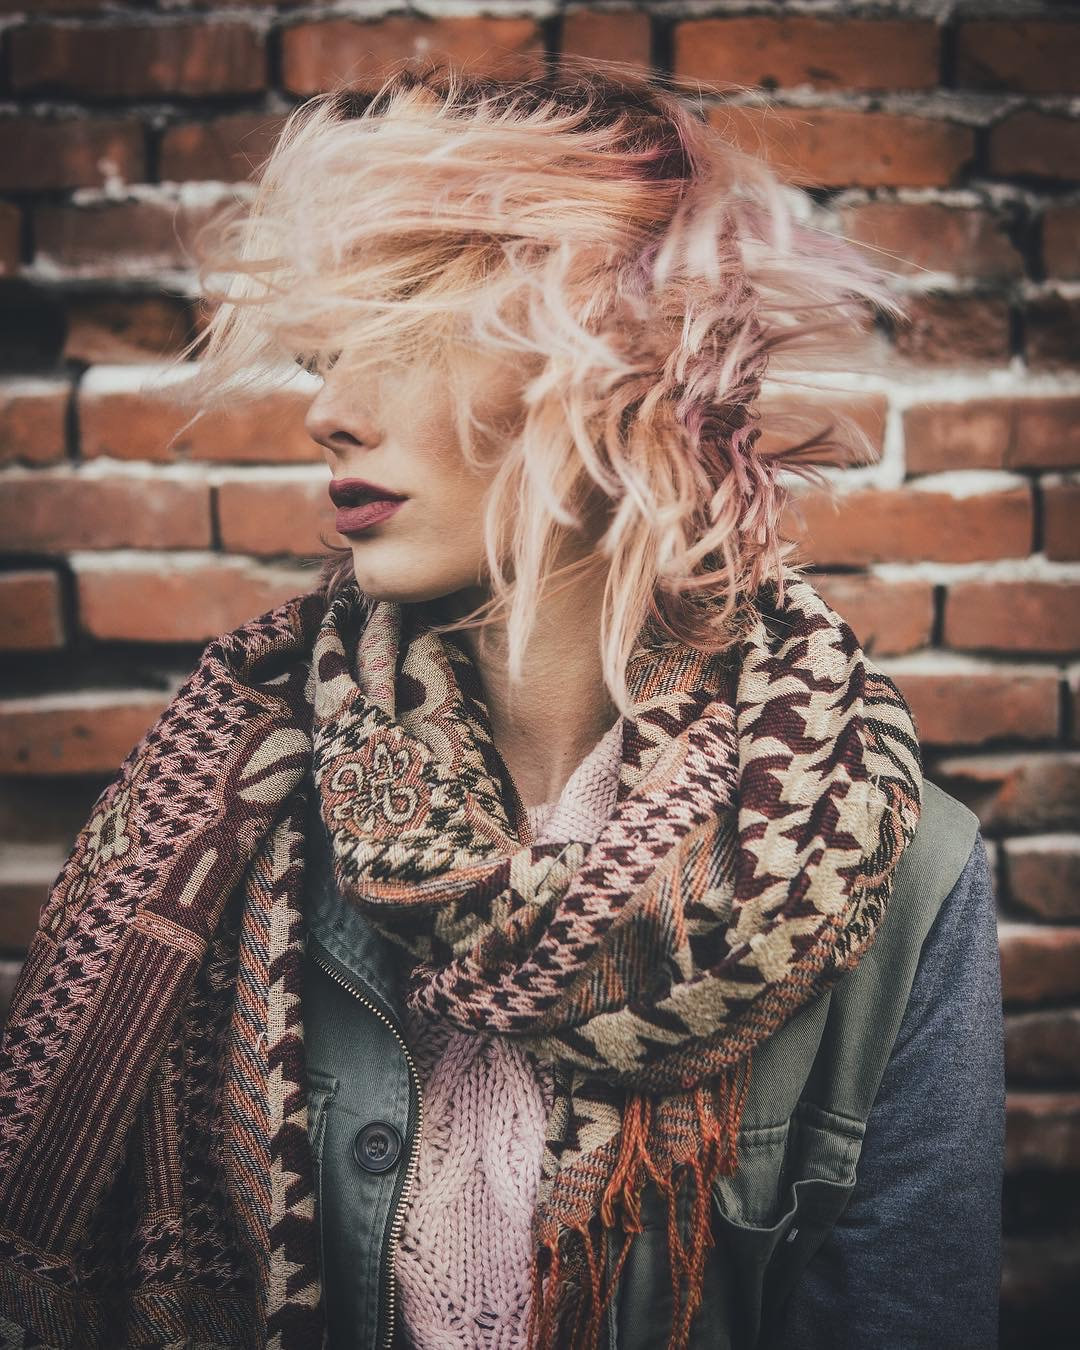
Model: @alyxandriamodel on IG
24. The looking down pose
Remember the model does not have to be looking into the camera for every shot. Too often I'll look at a photographers portfolio and see nothing but photos of the model looking straight into camera. Change it up for a different mood.
Model: @anisamarieyee on IG
25. Half profile pose
So this one isn't a full on profile/side view because you still see both eyes but I absolutely love this pose. Do not forget to get close up shots and shots from far away. Change up perspective.
Model: @alyxandriamodel on IG
26. Hand on elbow hand on shoulder pose
This is a great high fashion pose. Again make sure to have the model turn her body just slightly so you aren't photographing straight on.
Model: @ambernicotra on IG
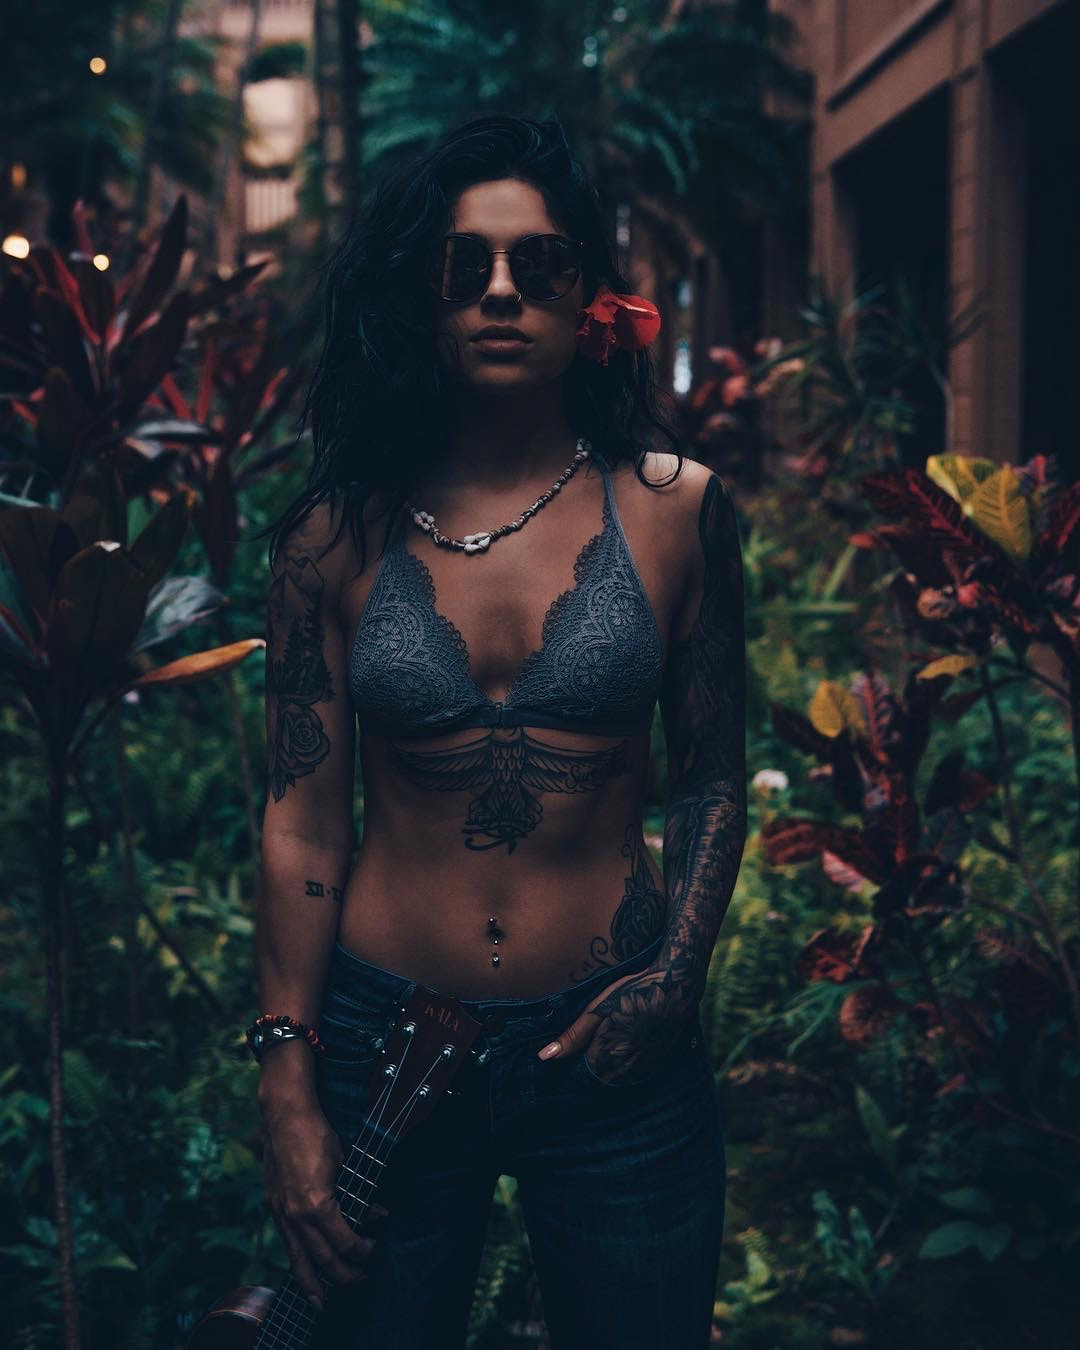
27. Revealing eyes pose
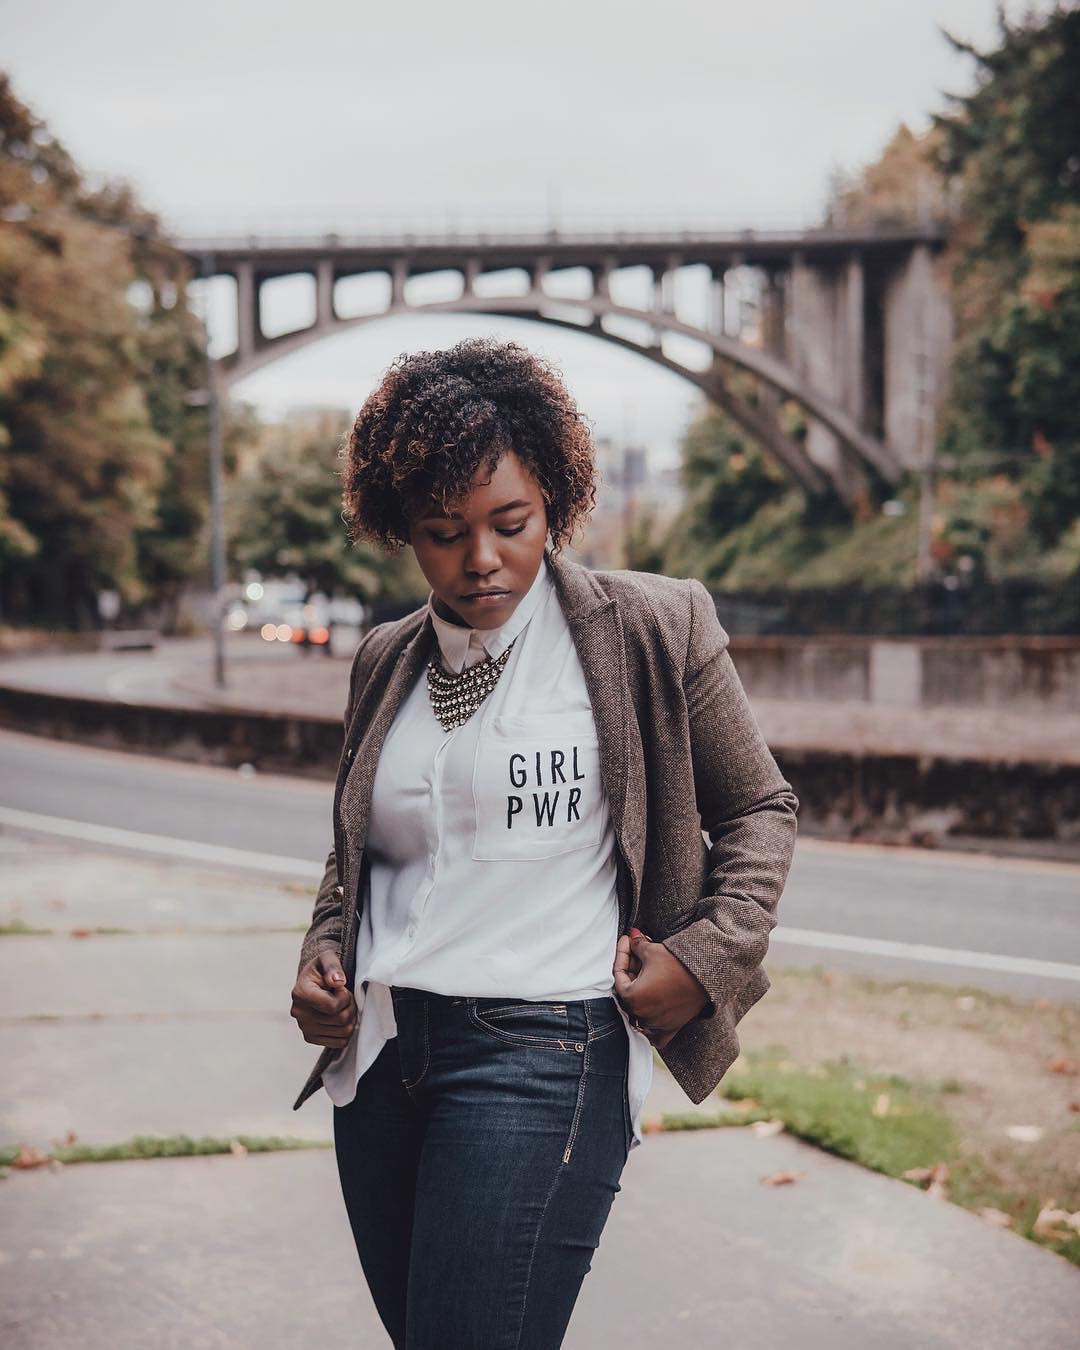
You will see this one a lot in ads. Have your model reveal her eyes behind a nice pair of sunglasses. Pro tip: This is a great opportunity to tag the brand of sunglasses on Instagram and even send them the photo. They just might share it and you'll get free exposure. If you're considering modeling, you can explore the different areas of the fashion industry. Some models experiment with one specialized category, while others try out multiple types of modelling. Here is another great resource to read on types of models.
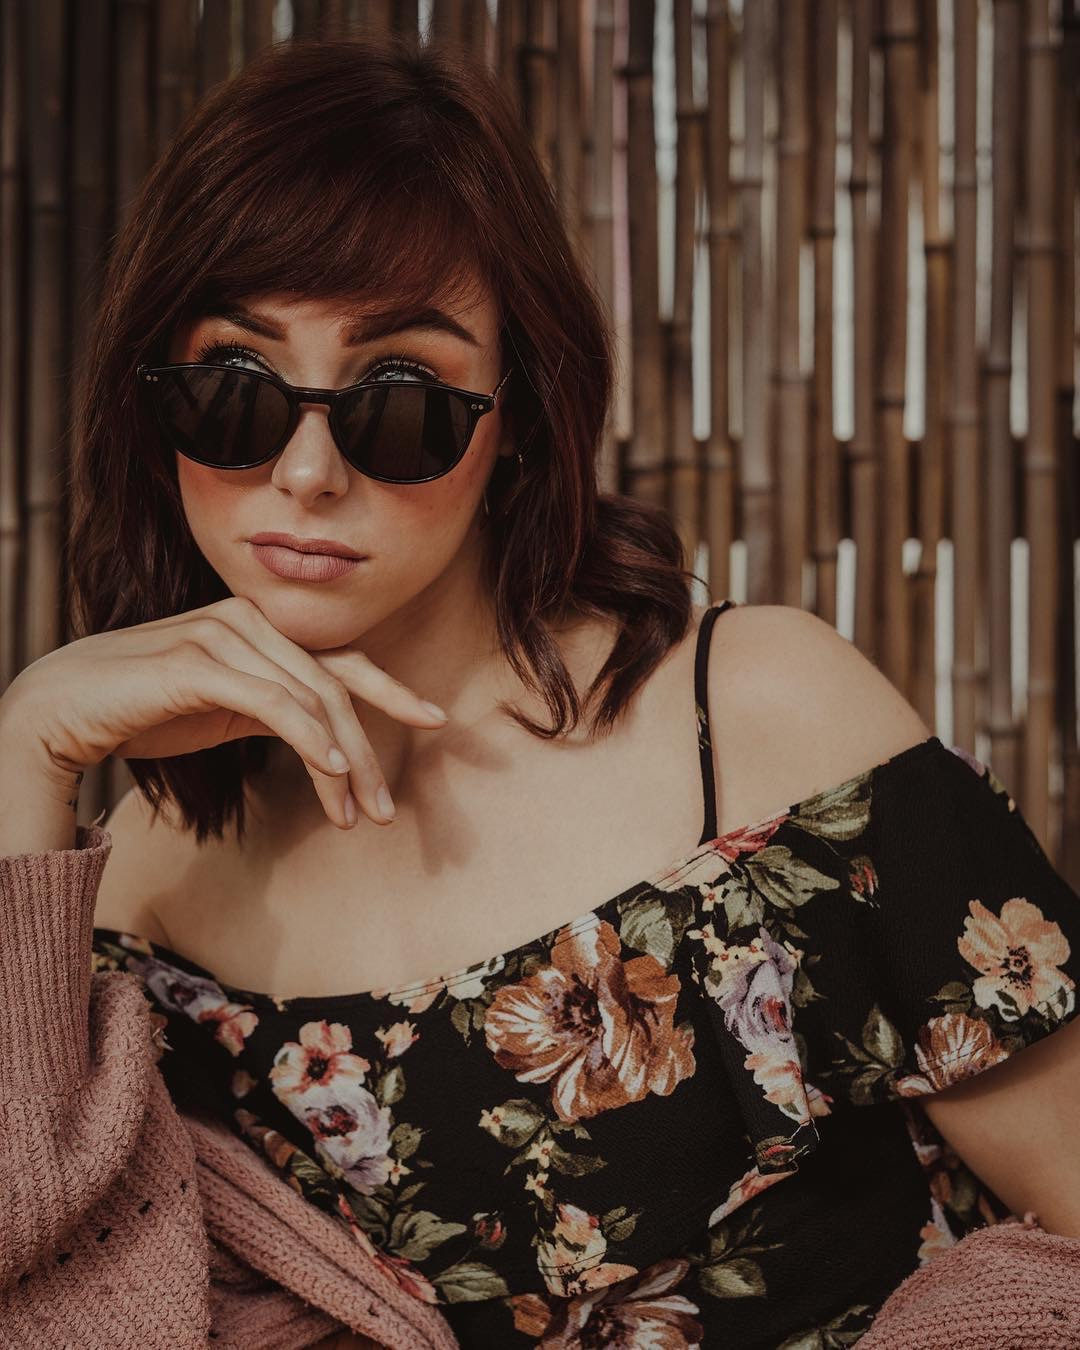
Model: @littylerouge on IG
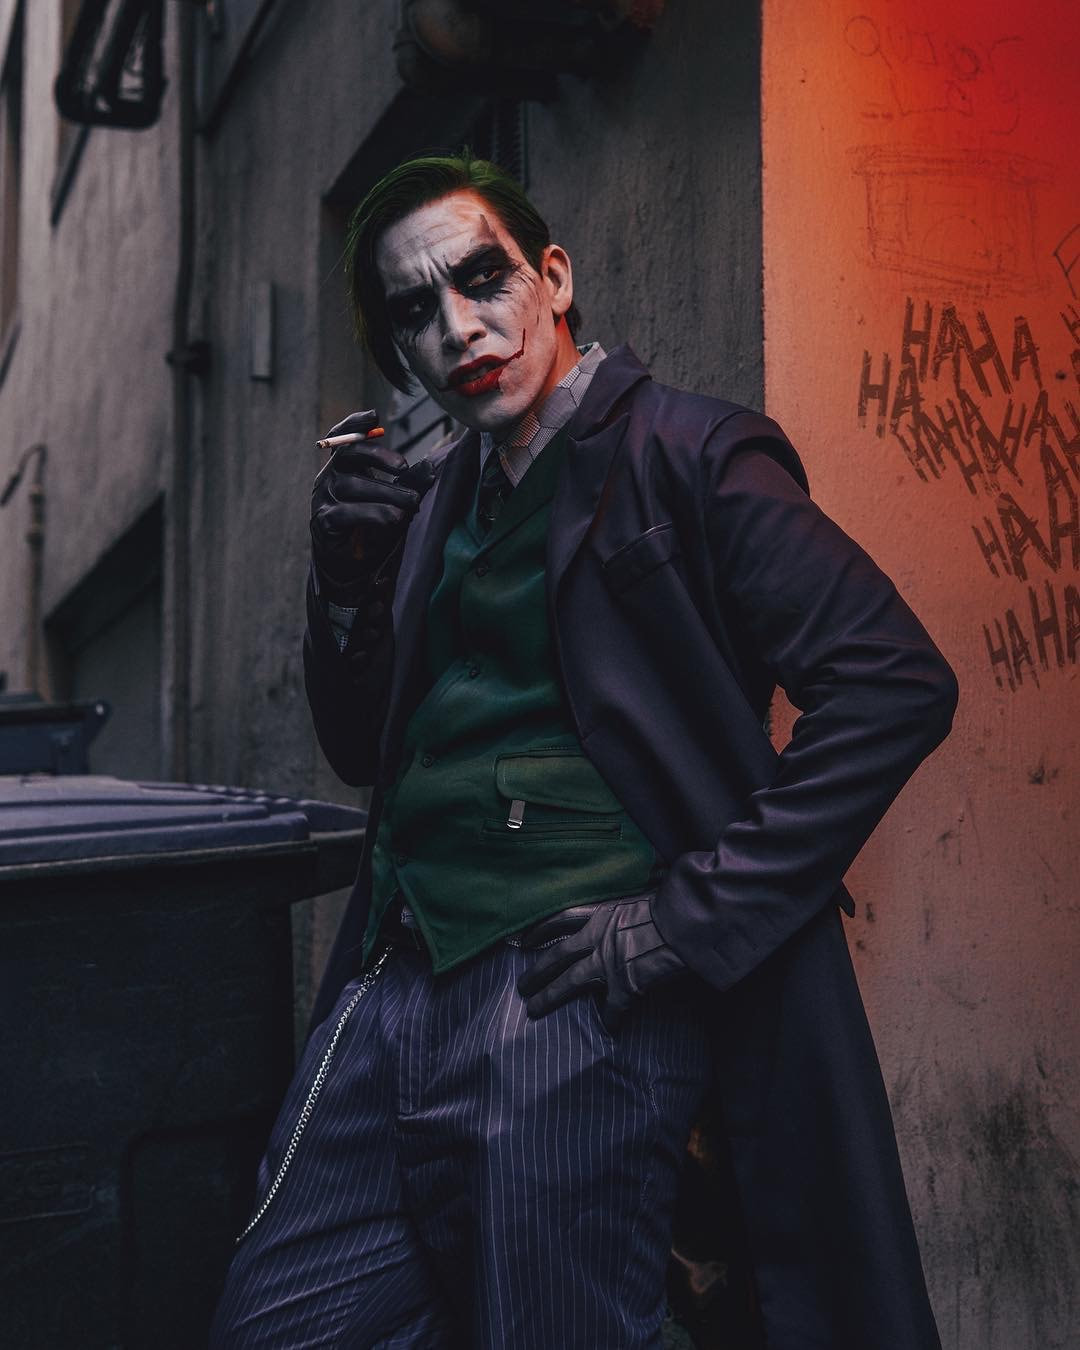
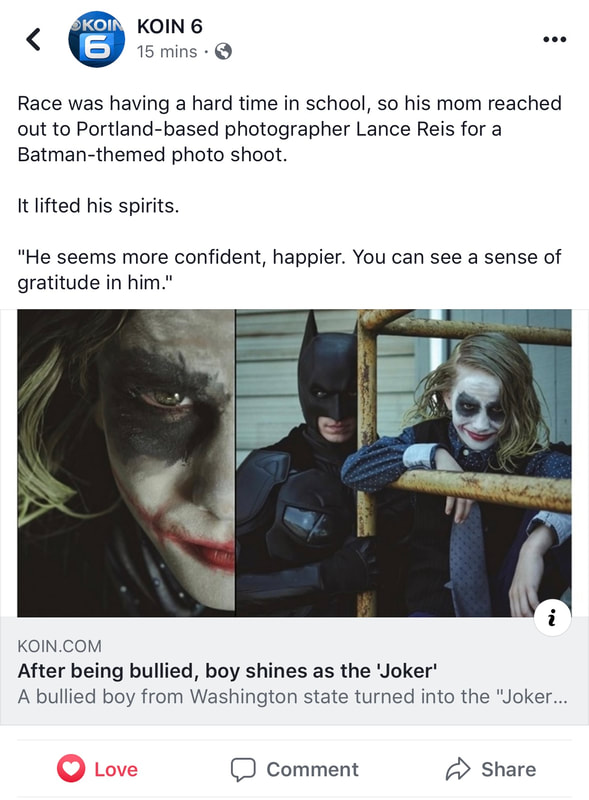
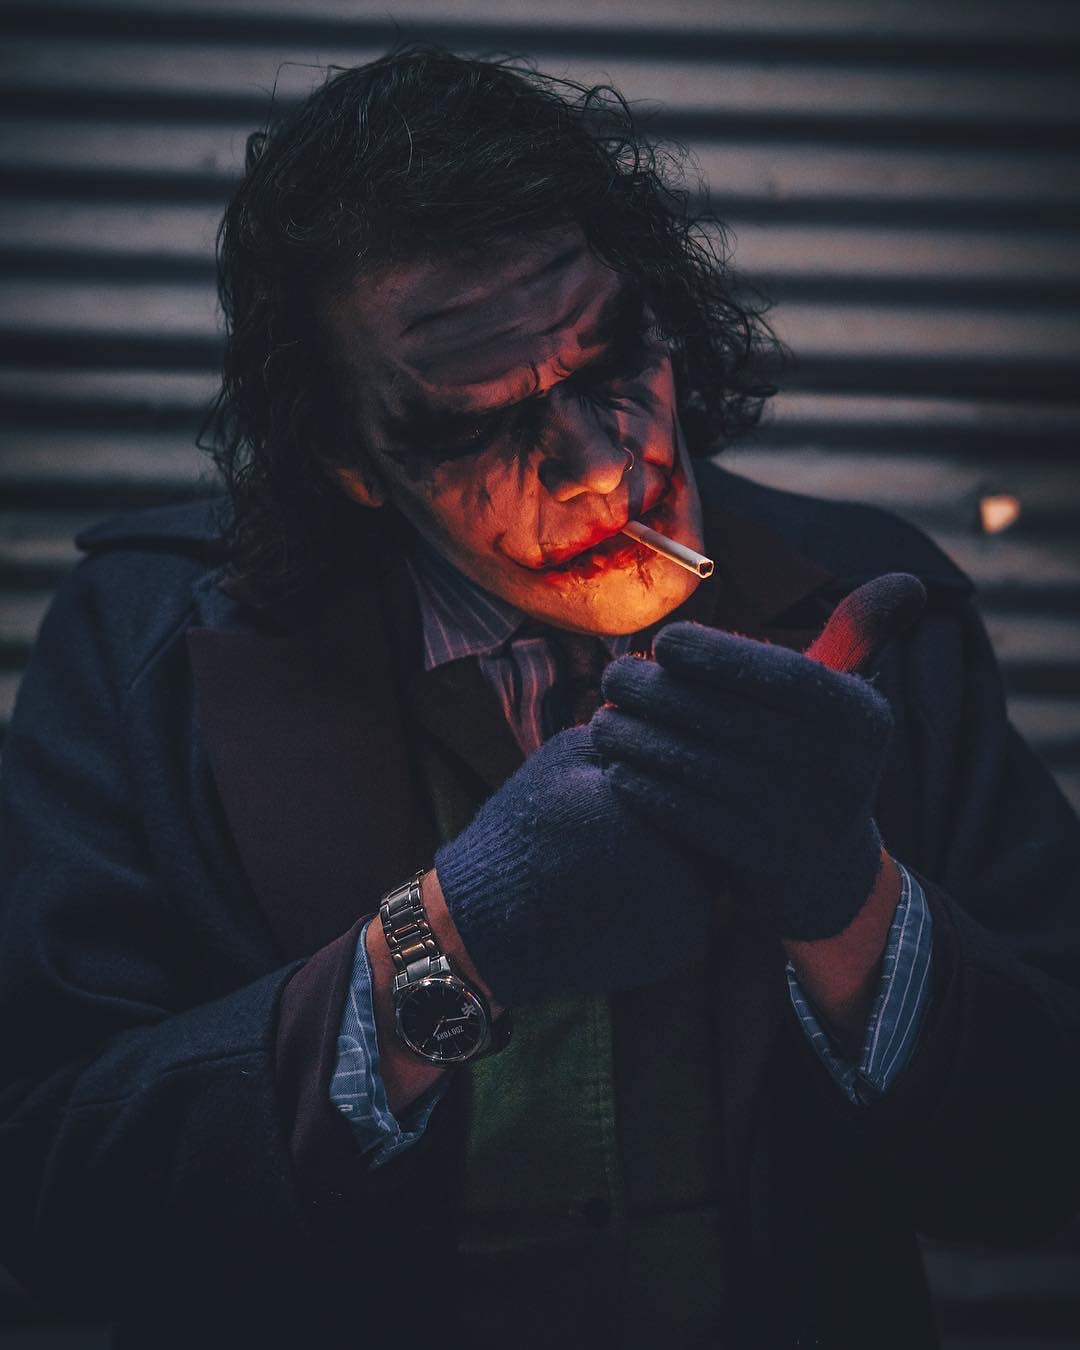
 The 10 best websites for Cosplay Costumes & Props. Hey guys and gals! As you know I photograph many different things but I'm most well known for my cinematic cosplay photography. I'm constantly asked where do I or my clients get their costumes and props. So I thought I would put together this list of the 10 best places to buy cosplay costumes and props for all ages year round. Now selling NFTs of my work! Find a collection of all my latest NFTs for sale on OpenSea HERE I really hate to say this but the most reliable websites for costumes and props are the huge retailers. Without question They have the biggest selections and best prices because of the massive volume they do. Just keep in mind Inexpensive costumes are made cheaply in mass numbers, regardless of whether the site brands itself as a Halloween store, a costume store, or a Cosplay store. Fact is better made costumes cost more money. Customized costumes and props made by costumers who sell their work through sites like Etsy, ebay, and Instagram are the highest quality, the most expensive, and you sure as F aint getting it in three days. The Cosplayers I know understandably want costumes that are more durable because they plan to wear them to multiple events, where Halloween partiers are happy with something they will only wear once, not to say I haven't seen people spend nearly an entire year to create Halloween costumes to compete in Costume contest. Halloween retailers like Spirit Halloween tend to cater to cheaper costumes and Cosplay retailers tend towards more obscure characters and better costumes but that's not to say I haven't seen total crap for premium prices because they do much smaller volume of sales than the giants like Amazon. But the plus side of big retailers is they often offer cheap shipping or free shipping and returns or exchanges are often easy. 7 key elements to a viral Cosplay photo In my opinion Etsy is probably the best place to go as far as getting that hand-crafted look for your cosplay costume. There are a ton of very talented prop makers and costume designers on the site. See: Cosplay Etsy below. You could piece together a very good and convincing cosplay costume just from Etsy vendors but you will pay premium dollars for this and you may have to wait months to receive your final costume or props but in my opinion it's worth it because quality is king in my book. Last thing I want you to keep in mind when shopping online for costumes is not to be shy about buying from over seas. Some of the sites I've listed below are in China and the UK. They are still a great option but just keep in mind most importantly a size 10 in the US may be different than a size 10 in China or the UK. So pay close attention to sizing charts when ordering and be prepared to wait a little longer for shipping. Also don't forget to read reviews! I've listed my top 10 sites for costumes and props below with the most obvious such as Amazon, eBay, and Etsy last. 2 of the 10 are local to Portland Oregon. Just click the image and it will take you to the website. Hope this article helps you on your next adventure into cosplay. Let me know in the comments below and connect with me on Instagram HERE  1. XCOOS  @ezcosplay on Instagram 2. EZCosplay  3. Hello Cosplay  4. Mic Costumes  @buycostumes on Instagram 5. Buy Costumes  6. Costume Avenue - Beaverton  7. Avant Garden Vintage - Portland 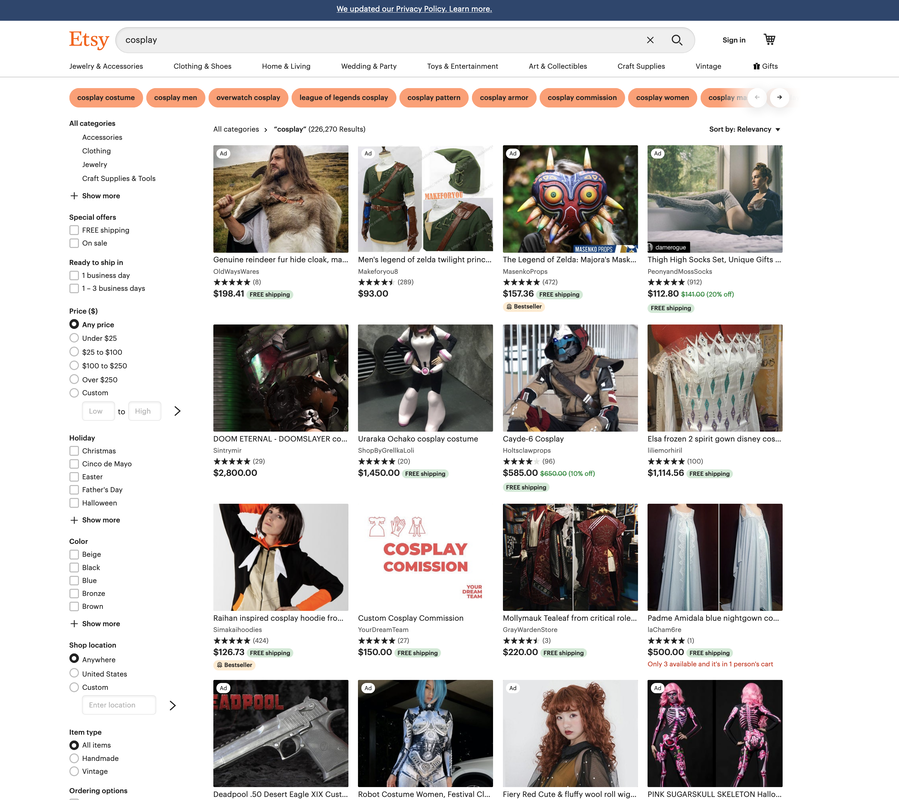 8. Cosplay Etsy 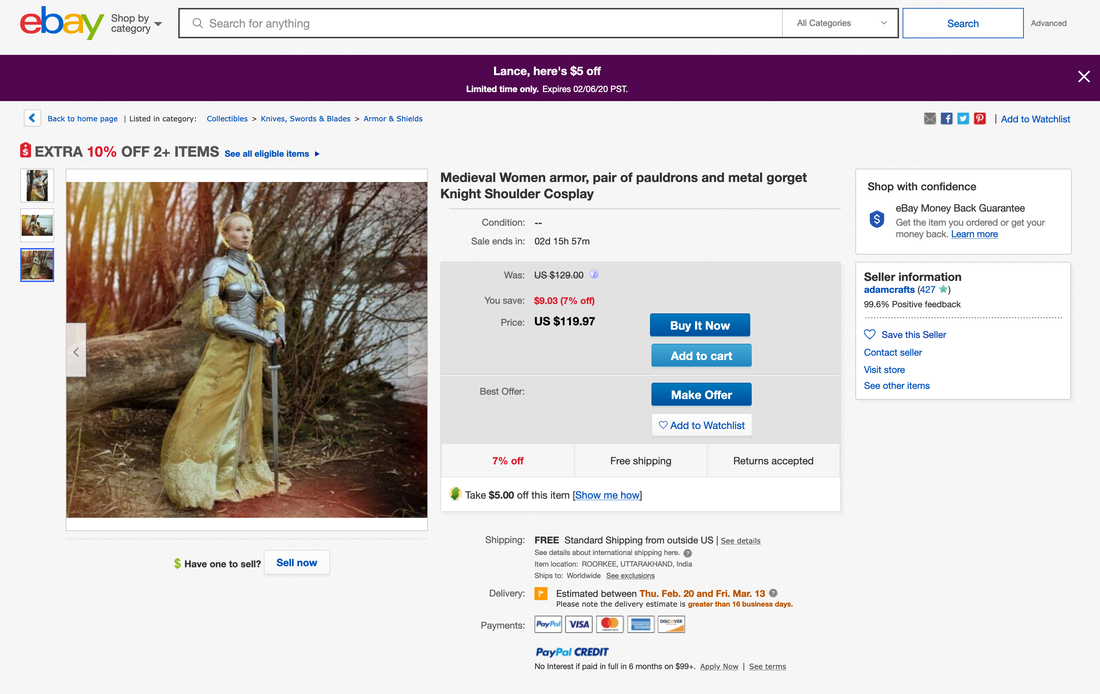 9. eBay  10. Amazon 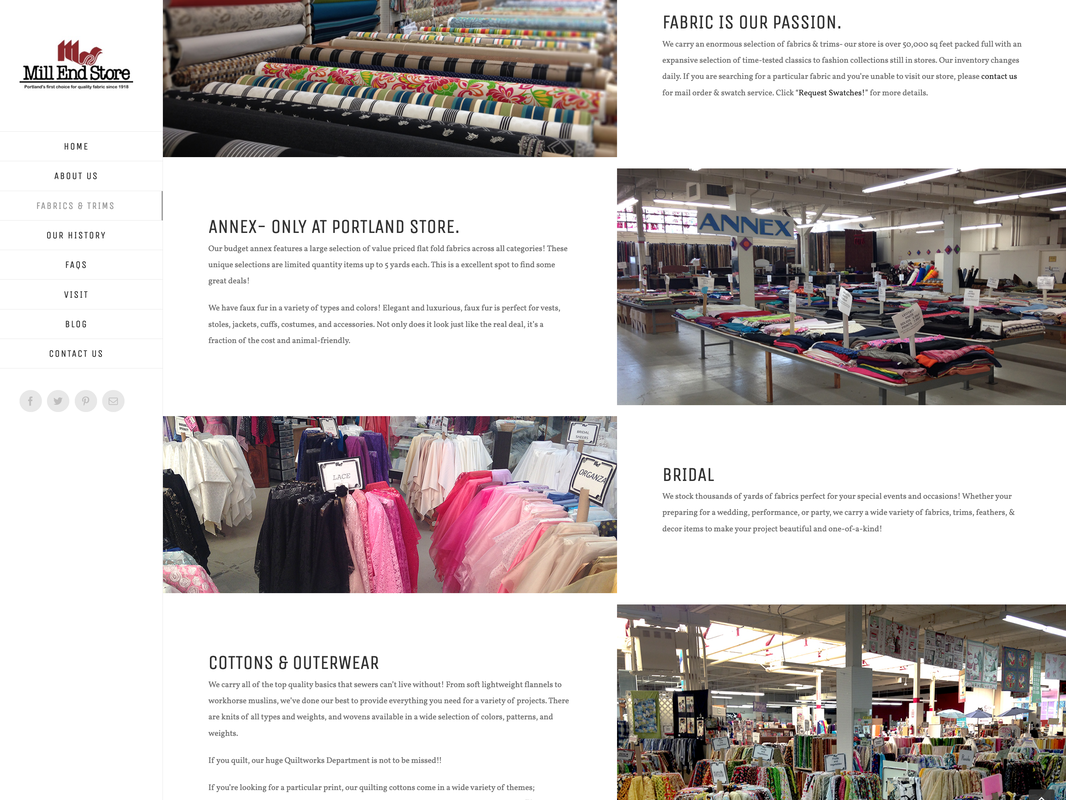 Bonus! Mill End is the best option for custom fabrics in Portland. DIY  Comic Con is a great place to see and take photos of some of your favorite super heroes and villains. It's chalk full of great photo opportunities. Search Comic Con on google and you will find thousands of photos of the most amazing costumes you've ever seen. You will also find thousands of very poorly executed photos. My goal with this article is to make sure you don't fall into that category. Elevate your game at the next Con with these 8 tips. If you like the photos below make sure and check out more of my work on Instagram HERE 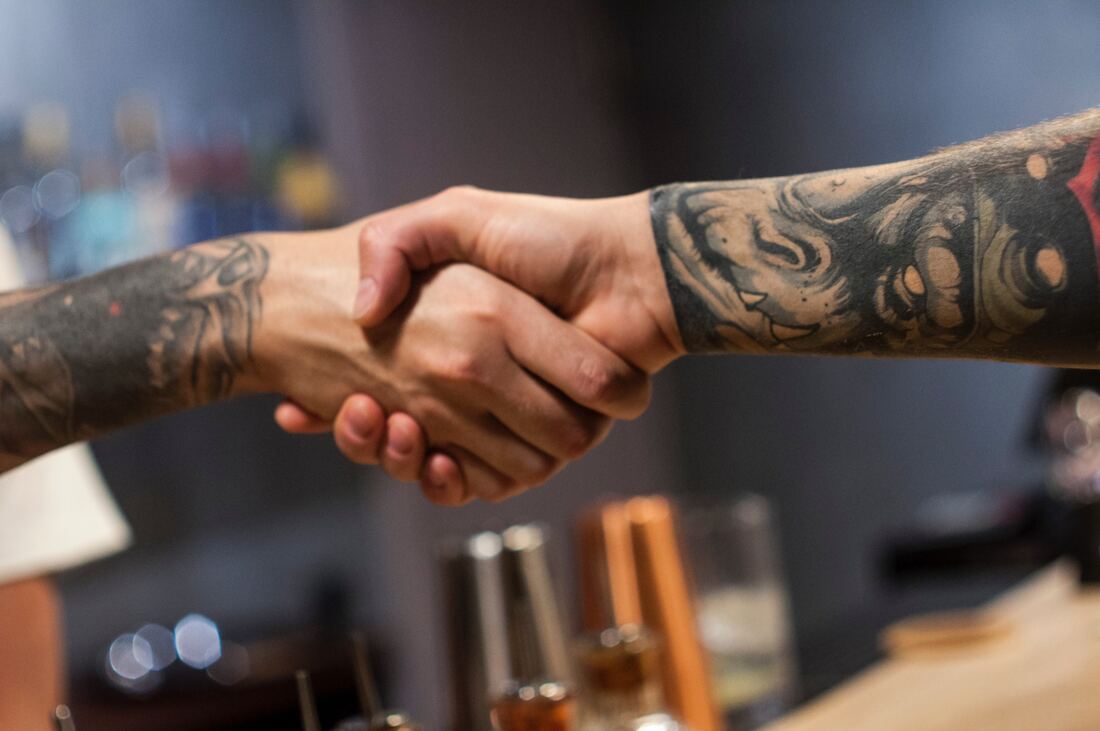 Tip 1. Always Ask for PermissionThis is the biggest mistake photographers make at conventions. If you’re shooting at a convention or any other event where there are cosplayers, it’s always best to ask for the cosplayers permission before taking pictures of them. Your shots are guaranteed to be better if your model is fully aware of your camera pointed at them. They’ll be much more willing to strike different poses and maybe even allow you to direct the shot so you can have more control over the final image. The cosplayers I know hate it when someone gets a candid photo of them when they weren't ready. They don't want photos on the internet shoving food in their face while on a break half dressed and not in character. So do them and yourself a favor and ask for permission before you take their photo. 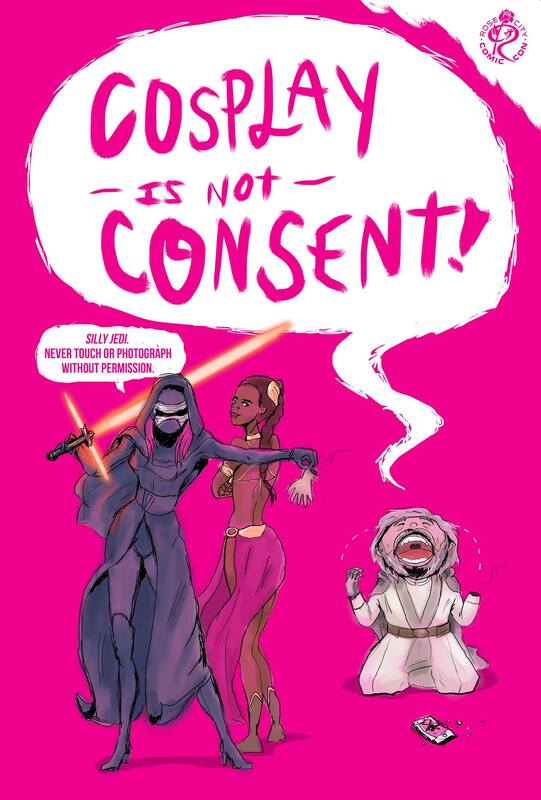 Art by Madeline DeCotes Tip 2. Cosplay is Not Consent Okay this tip wont really help you take better photos but it needs to be said. Let's face it many costumes for female leads in Hollywood are revealing so you are bound to see many ladies of all ages in revealing outfits. This in no way gives you permission to touch them. Maybe just assume every cosplayer you meet doesn't want to be touched in any shape or form. That goes for males and females. If you need to touch the cosplayer to help with posing always ask first but usually this can be done verbally or visually. Having your photo taken with a cosplayer still isn't an excuse to touch them. Odds are you don't know this person so just go the Keanu Reeves route and hover a hand behind them or to the side. 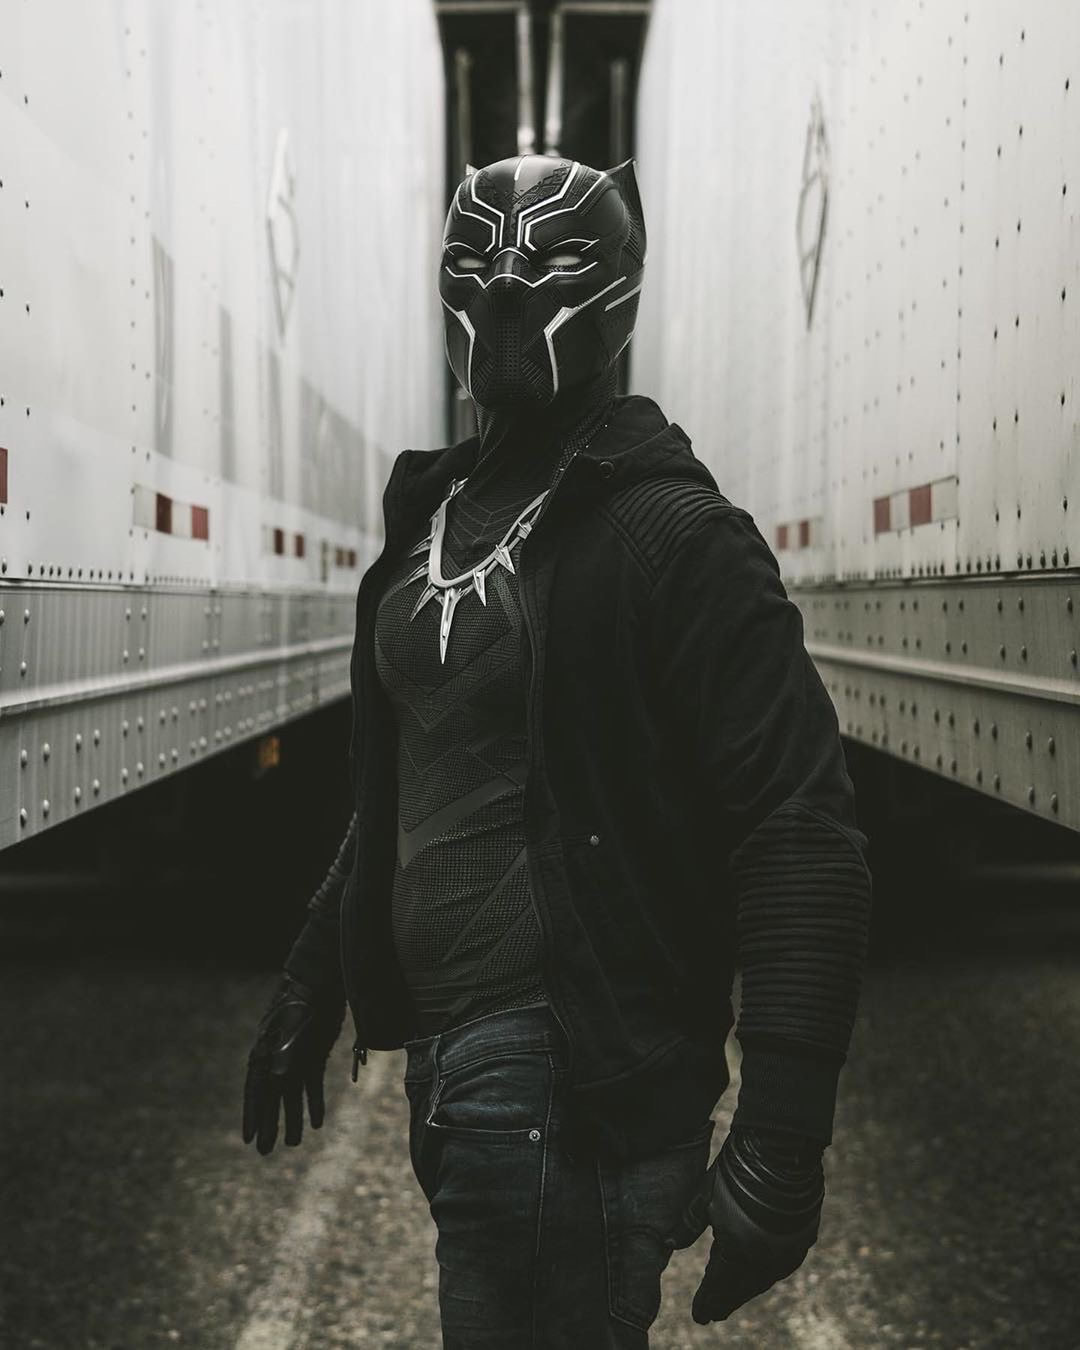 Model: @coolregularguy Tip 3. Allow them to Get Ready before you take the photo. Look, I get it, Comic Con is very exciting. As a photographer you want to take as many photos of your favorite characters as you can. However, just like photography in general, it helps to take the time to compose your shot and wait until your subject is ready before taking the photo. Allow them a few seconds to put on their masks, take off their hoodie, fix their costumes, touch up their makeup, and get into character for your shot. This also shows respect for the craft and for their hard work in putting their costumes together. They will appreciate it. 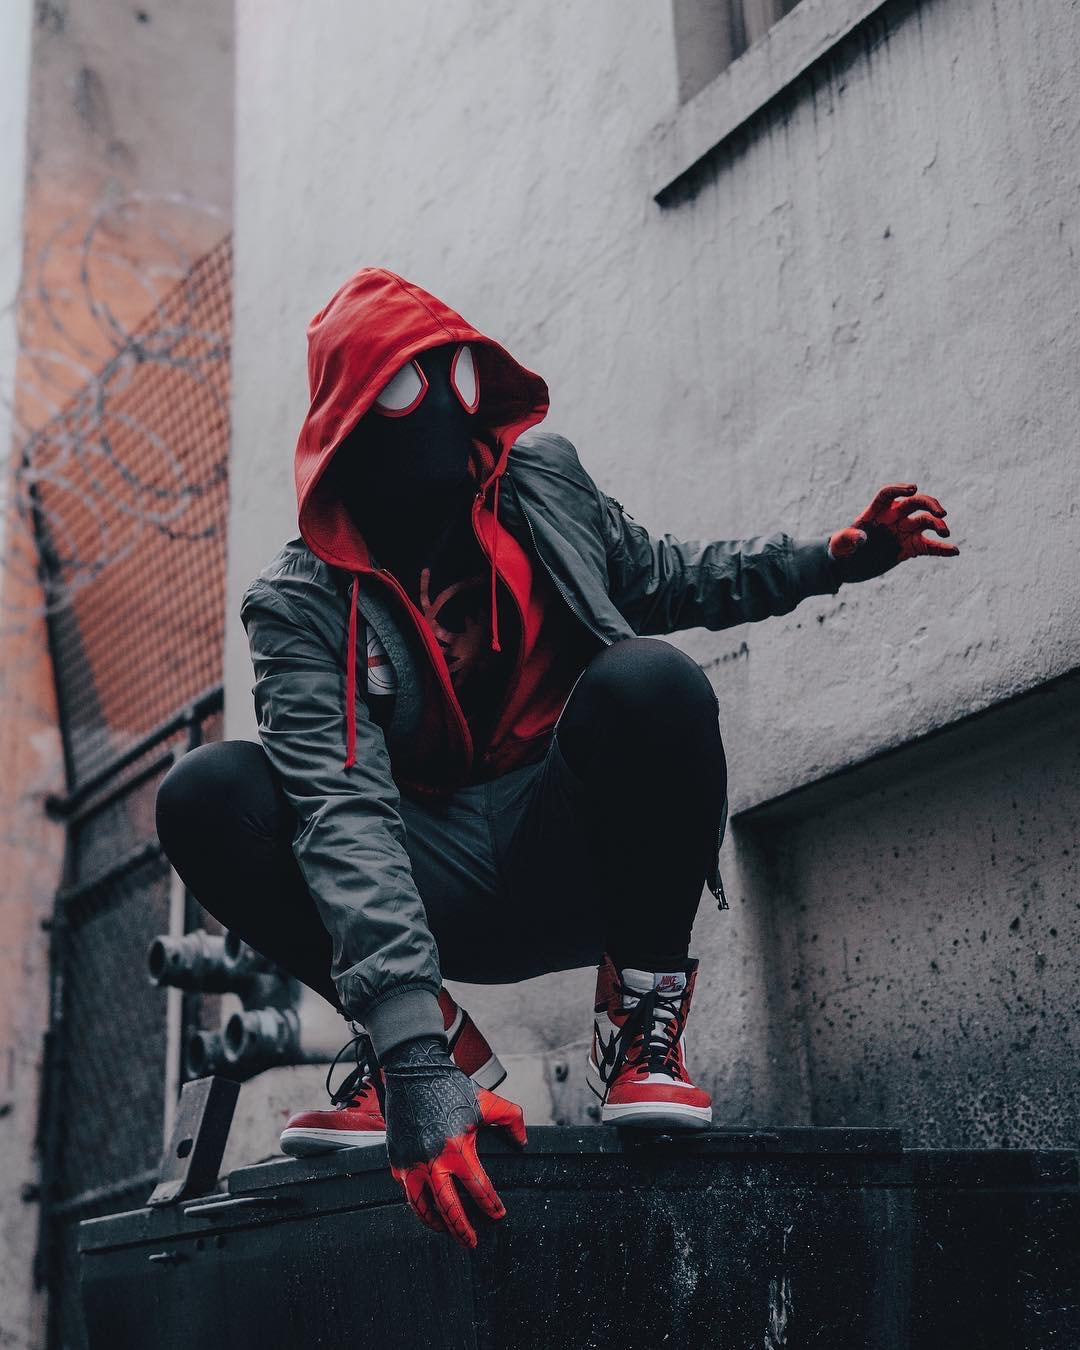 Model: @spidey_ty Tip 4. Create a Scene for the Character. When you can, choose a background that complements your character. You probably wont have much time or freedom to move your subject around, but there are always better options than capturing them exactly where and how you found them. Unless you're really good at composites try to avoid shooting in the convention center at all costs. Your best option will always be to give the cosplayer your card and plan a shoot at a future date at a studio or on location. If that's not an option familiarize yourself with your subject, and then quickly think of how you can make them connect with the available space. You should have done your research before hand and should know the area around the convention center well before you go. For example, if you’re shooting a Spider-Man cosplayer as seen above, you can simply ask them to pose like they are climbing the nearest wall out side or pose like they just landed from a high vantage point. In this case we used a dumpster in the alley behind the convention center. I dig the industrial urban feel of this photo.  Model: @real_wade_wilson Tip 5. Use Natural Lighting when you can. For the love of god Avoid using your camera’s pop-up flash at all costs and stick to natural lighting. If shooting inside during the day shoot near doorways or windows that allow sunlight in to make your subjects look as natural as possible. For the Joker photo above we went outside the Convention center at sunset and shot in the alley. As you can see the natural light from above and the light from the building lit the subject perfectly. If it was dark I would have him stand in the door way and just use the available light from the building above the door for a more dramatic photo. Your subject doesn't always need to be lit perfectly. There is no need to bring anything more than one camera and lens to get banger photos at Con. 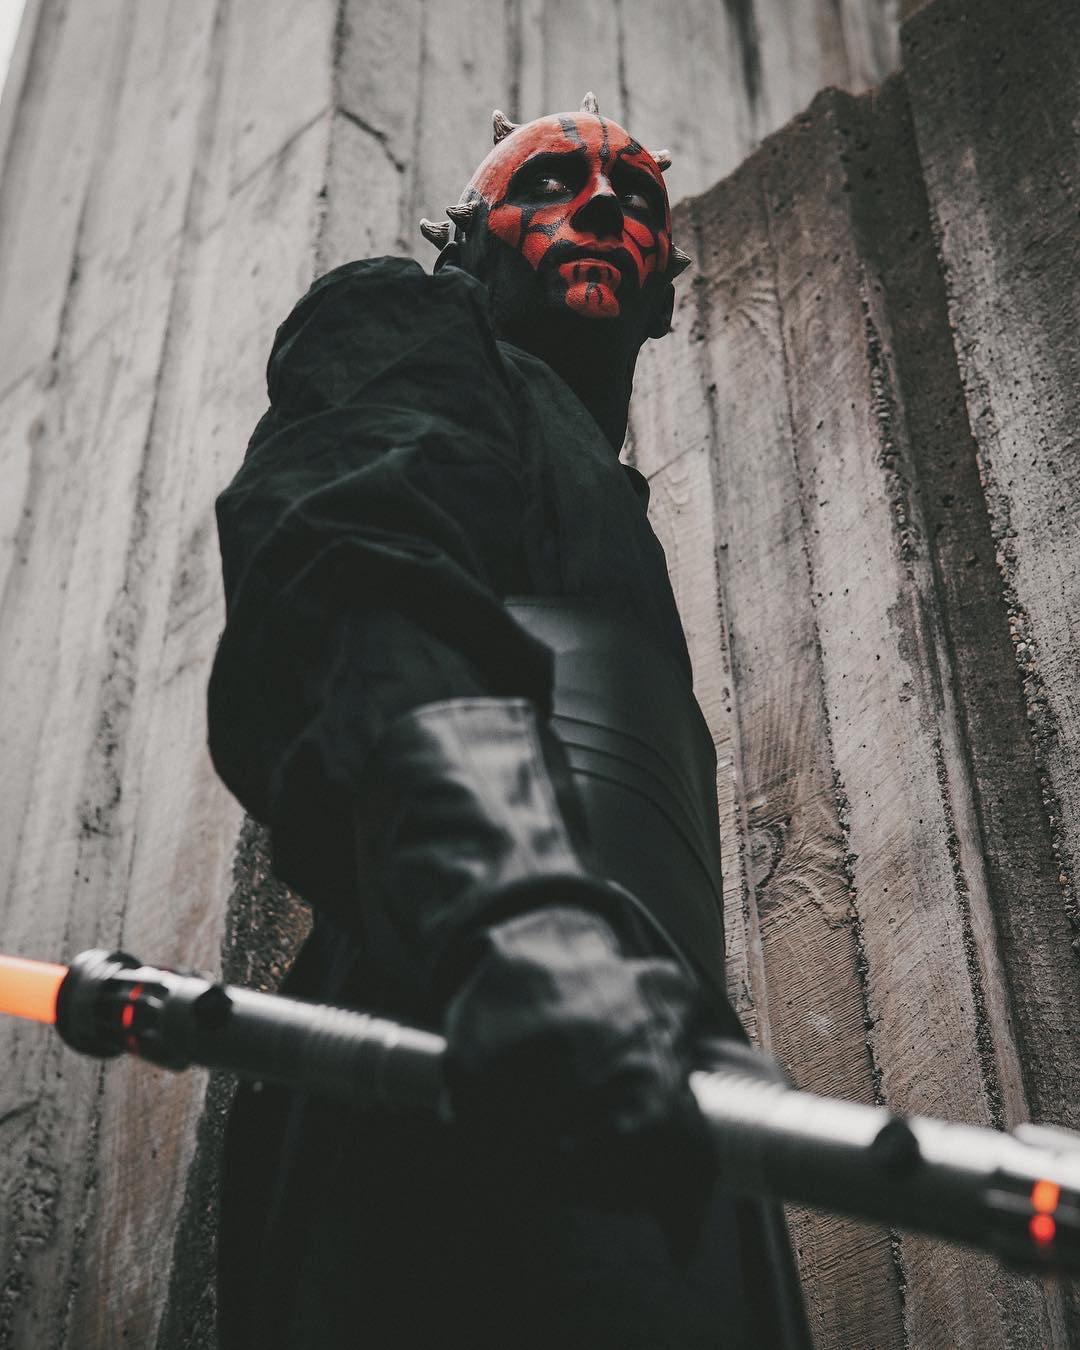 Model: @seattle_spidey_cosplay Tip 6. Shoot from Different Angles Always experiment with different orientations and angles. I hate it when photographers only shoot straight on. Don’t be afraid to shoot up from below, especially for villains and other mysterious characters. This type of shot will work well for a character like the Darth Maul, as this perspective can highlight the makeup and the distorted angle will give viewers an unsettling feeling that matches his presence on screen. Shoot straight on, shoot downward, shoot from below, shoot close up, shoot from far away. Change it up and see what works. 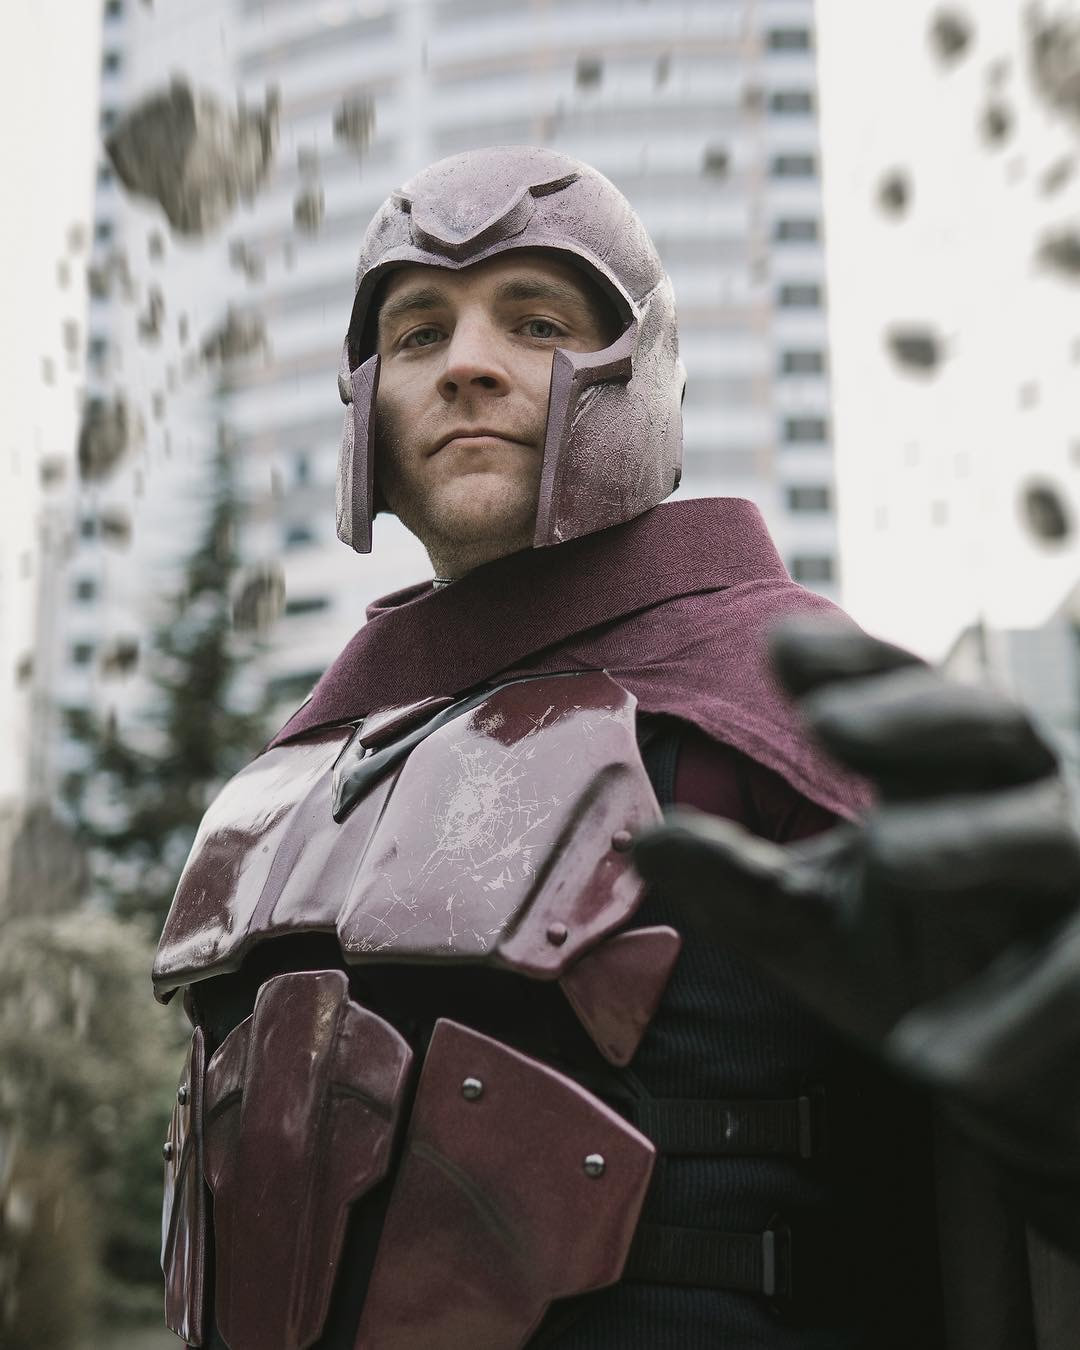 Tip 7. Communication is key. Don’t just snap away. Take time to communicate with your model and ask them about how they want their photos to be interpreted and shot. Depending on your skills and experience, this can open you up to more options that you previously may not have thought of. You can also help the cosplayer achieve their goals and attract their target viewers. Communication goes a long way. If you think a pose could be better with a minor adjustment make sure to speak up. The model can't see themselves.  Models: @carmacosplay Tip 8. Posing, Use Pinterest. Now most of the time the cosplayer will know the popular poses of the character they are portraying but if they don't you should have the pinterest App. on your phone ready to go. Just type in the characters name and Boom! Tons of great ideas for posing. I can't stress this one enough. 7 key elements to a viral Cosplay photo. and Don't forget!! 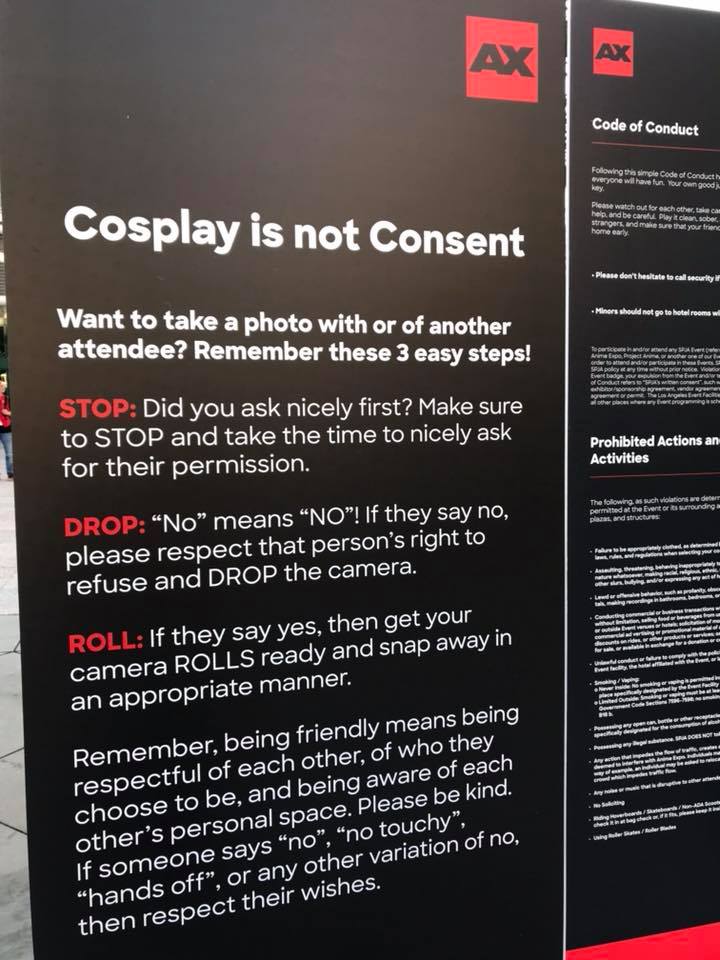 7 Tips for a viral Cosplay photo.

I wanted to put together a short list of what I find to be the most important elements in making a viral photo. This might surprise you but it's not an expensive camera, nor is it bulky expensive lighting equipment. Do you need access to a studio or years of experience with Photoshop? Nope. The 7 elements below are all you need for a viral photo. However going viral is never guaranteed, but if you hit all these points and a little bit of luck your odds will go WAY up. As seen below I've had multiple photo shoots go viral and my work has been featured on both local and international news outlets more than once. If you like what you see below find more of my work on Instagram HERE
1. Location
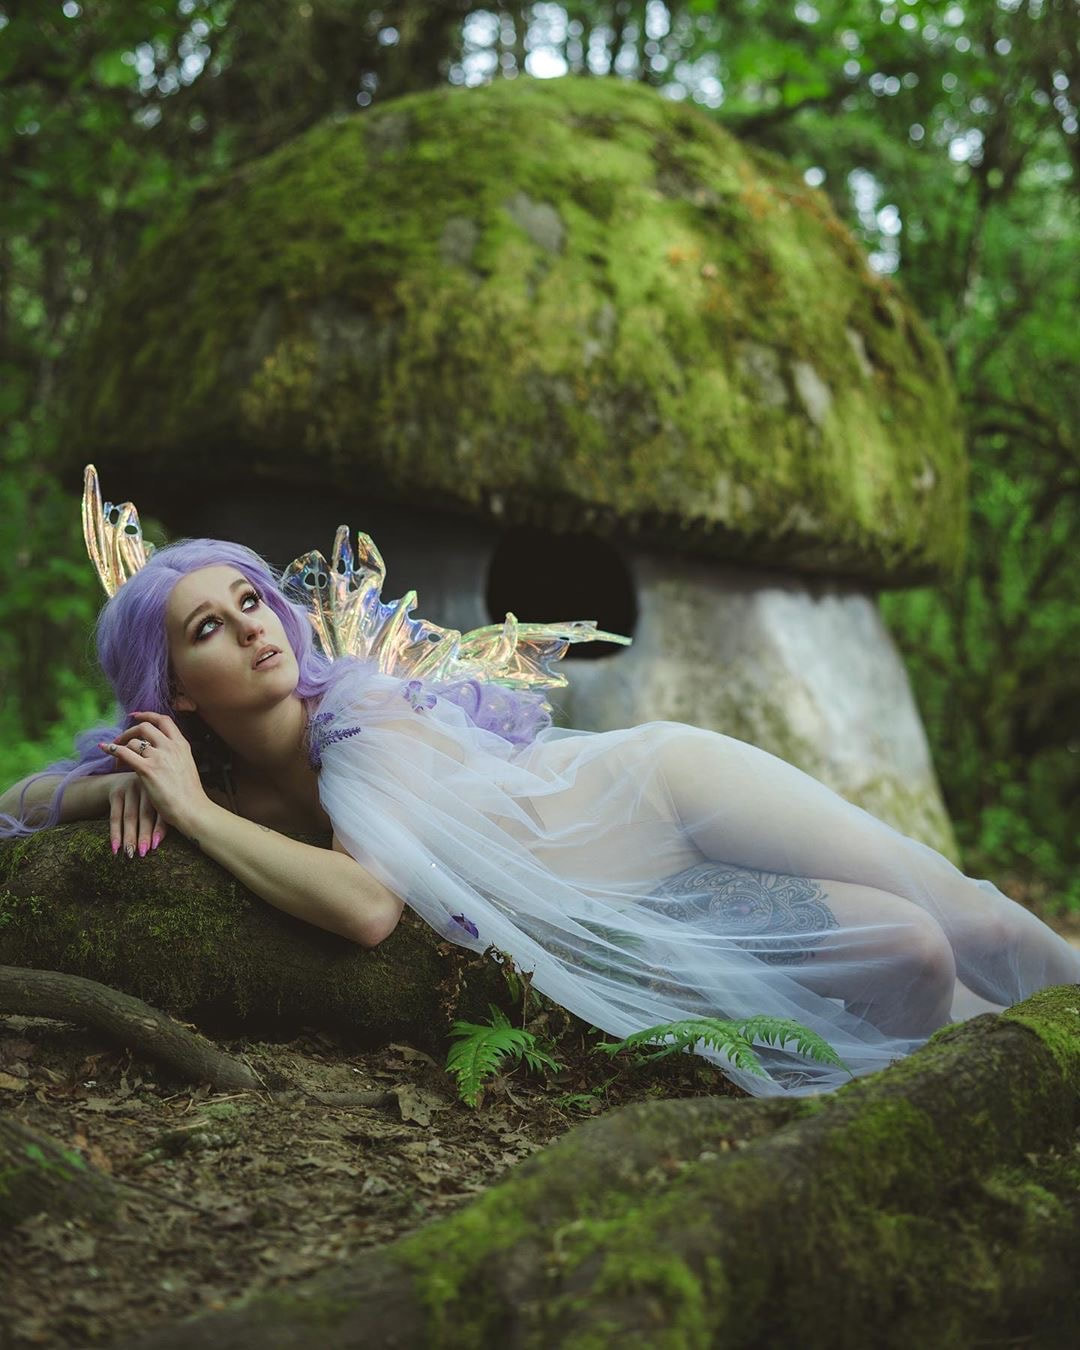
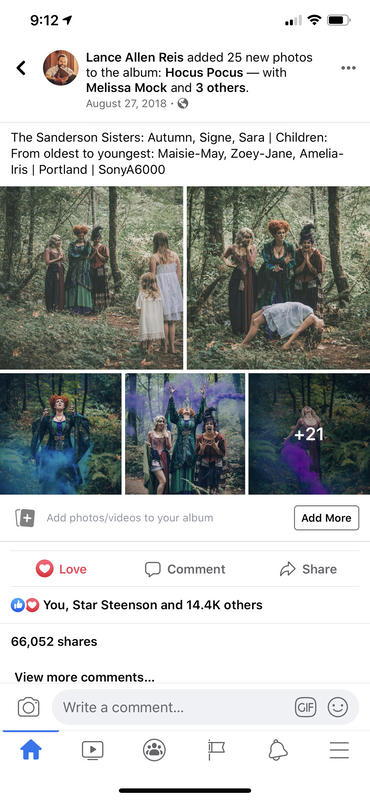
I'm a huge advocate of shooting on location rather than doing composites. (cutting out the background and replacing it with something else in Photoshop) The more you can get in camera the less work you have to do in post. Just my personal preference. This will require location scouting. My favorite tool for this is hashtags on Instagram or searching by location. Choosing a location that fits the theme is crucial. As an example above I knew I'd be shooting a fairy theme so I knew a forest made more traditional sense than urban. So when location scouting for the perfect forest scene I found a park close by that had a huge mushroom big enough to walk inside. I knew this would save me a ton of Photoshop and with the right perspective would make my model seem smaller which is what you want for a fairy theme. Model: @Lexylovestruck
2. Wardrobe
Obviously when shooting Cosplay the outfit will be the biggest factor in making a banger photo. When searching for cosplayers to collaborate with I always look for screen accurate costumes. You probably don't have the money to go buy an outfit for thousands of dollars for the right model to wear. So search Instagram & local cosplay groups on Facebook to find the perfect cosplayers in your area that already have the outfits. They put in a lot of money and time to make beautiful costumes for Comic-con. They just need YOU to help bring that costume to life. Model: @hoptownspidey
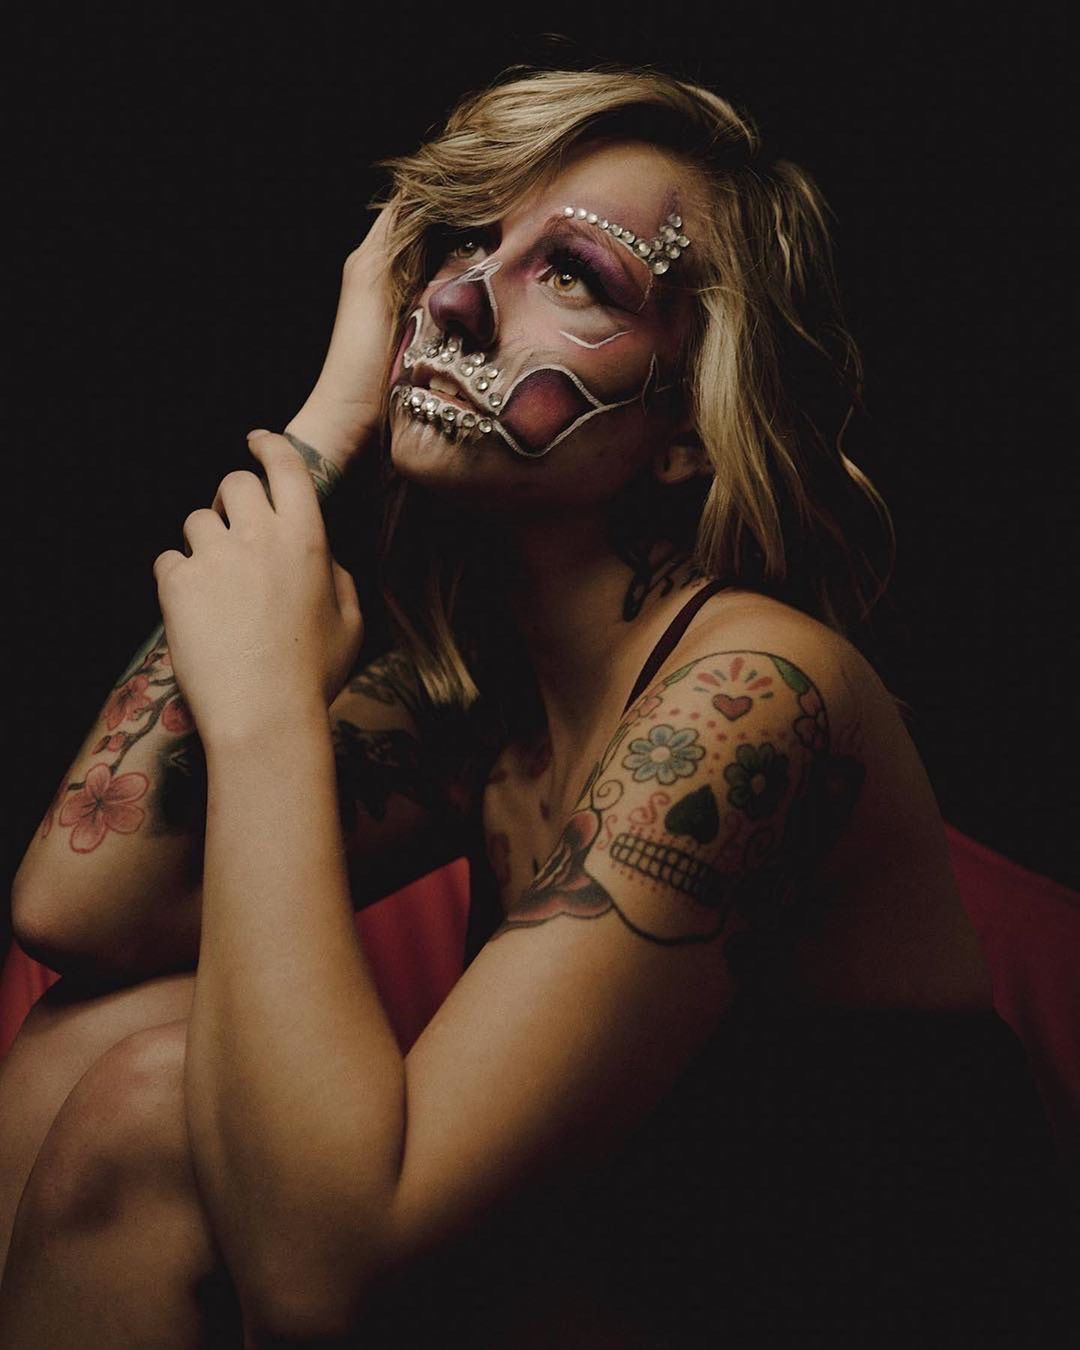
3. Makeup
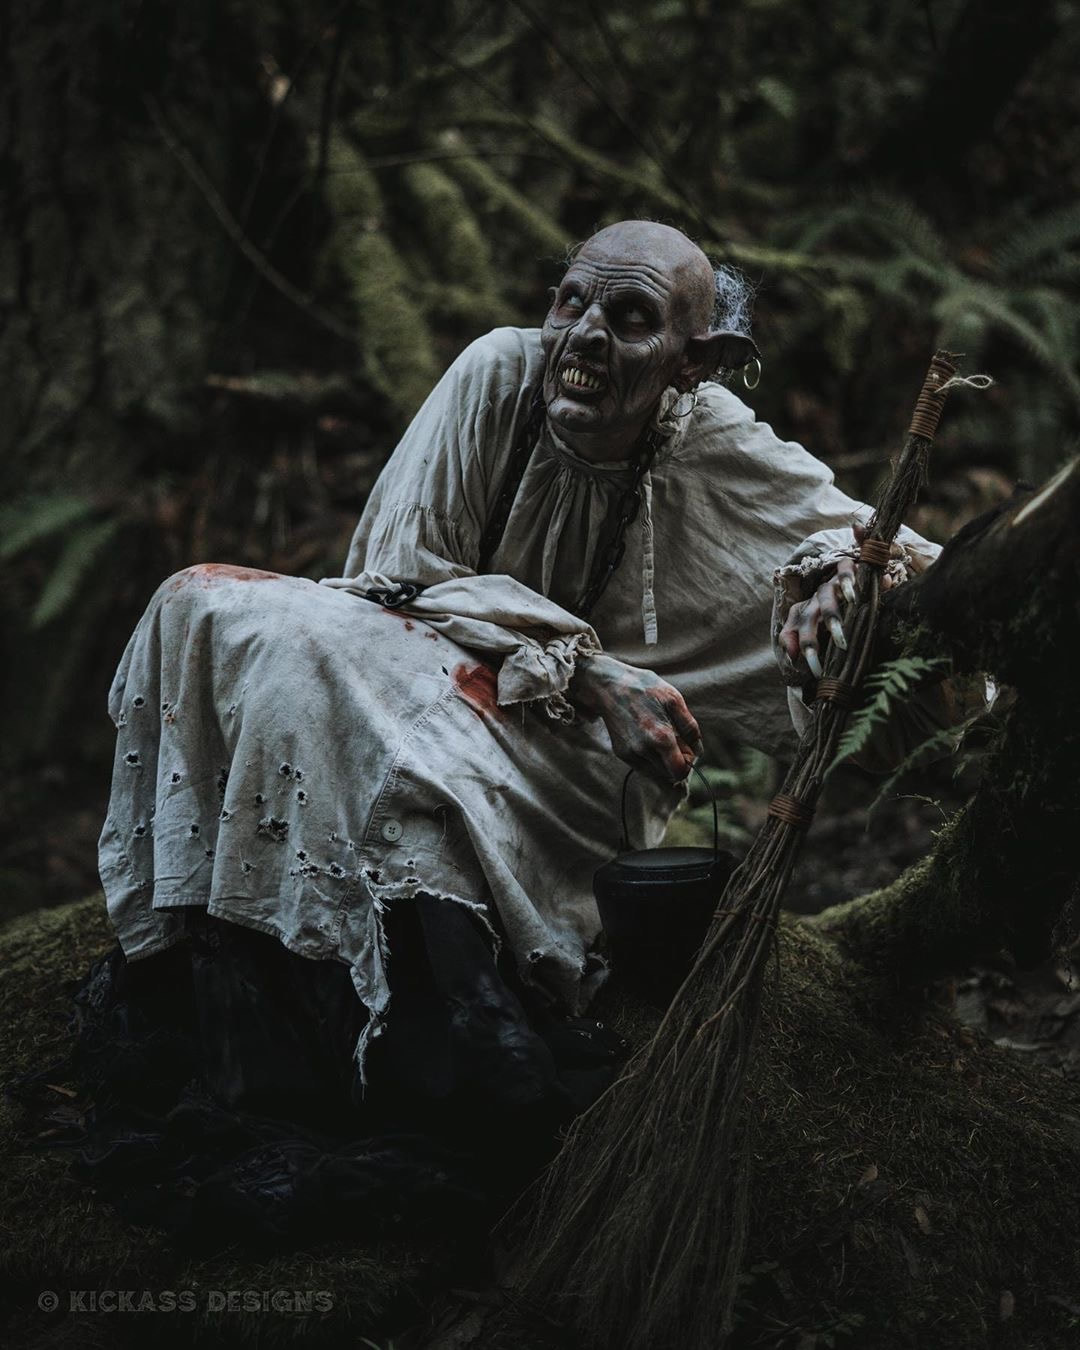
When it comes to cosplay, especially horror cosplay nothing can ruin a good photo faster than bad makeup. If you don't use a professional makeup artist especially when using prosthetics a terrifying horror cosplay can turn cheesy as hell real quick. The difference between Hollywood quality horror and a family friendly haunted house is the makeup so choose a cosplayer who is a skilled MUA or find a local SFX MUA to team up with. My MUA for the photo above is the very talented @taelorfx Model: @starbar_1
4. Props
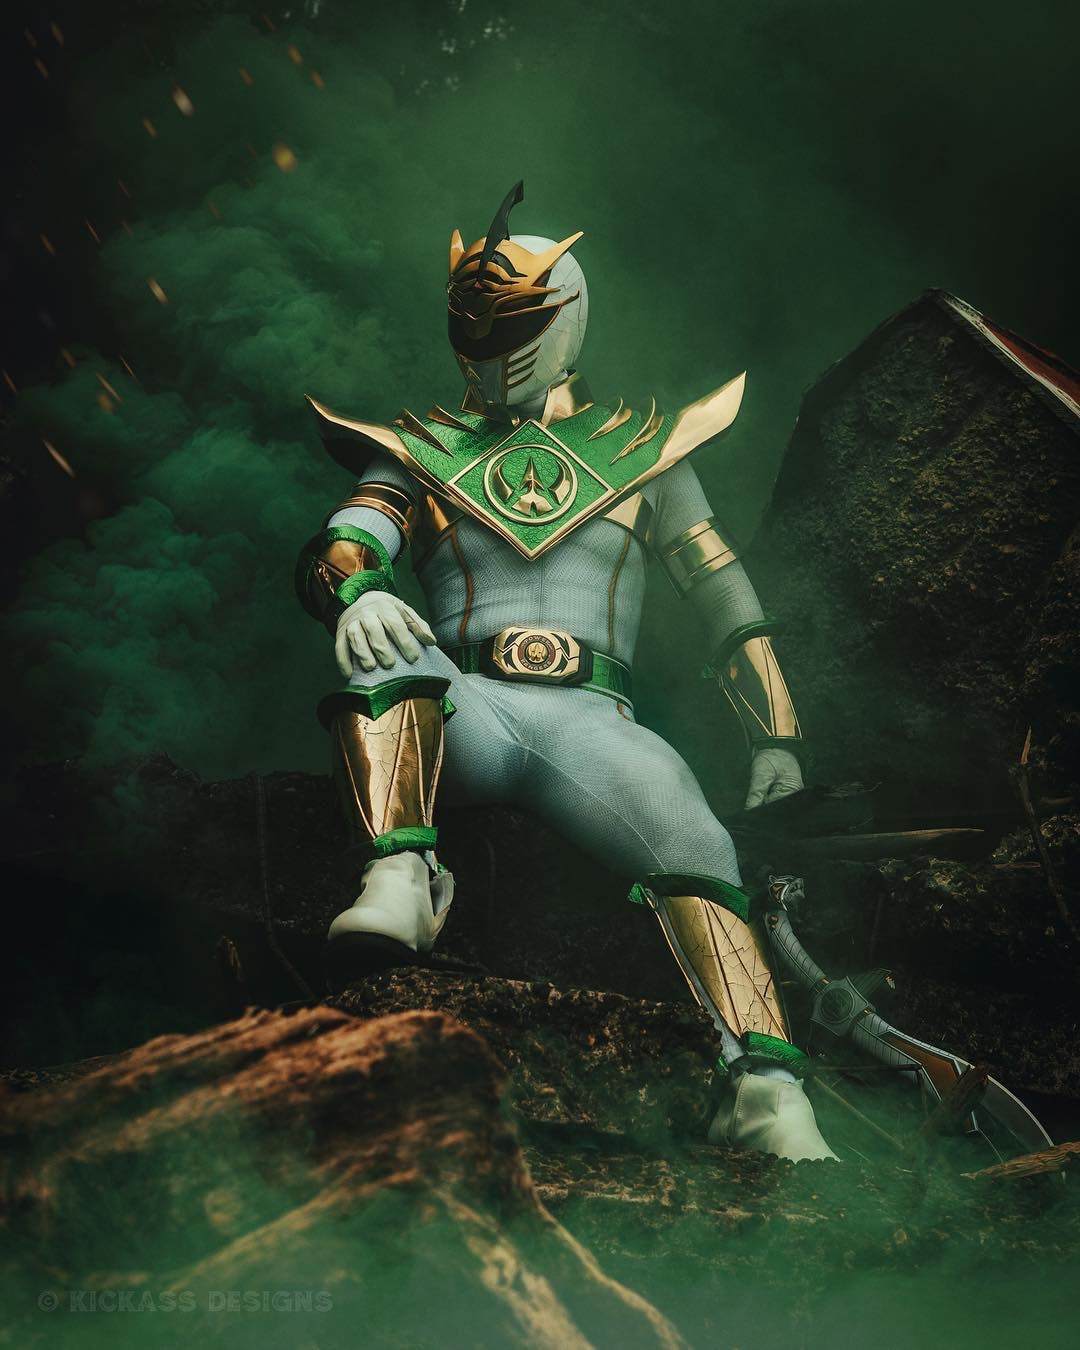
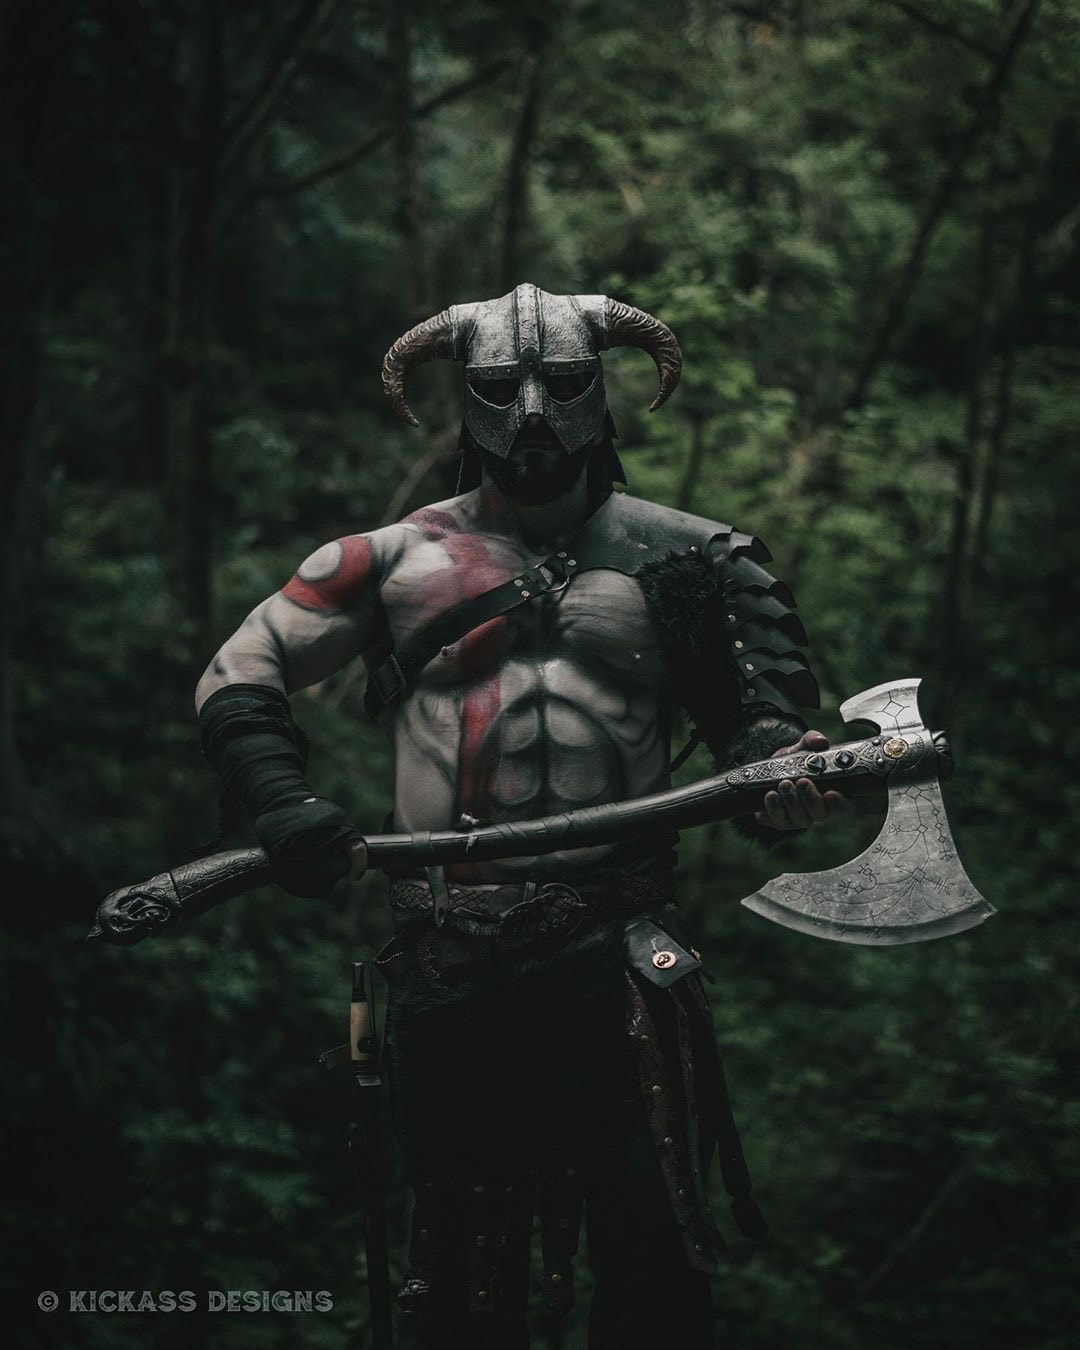
Props are a key element to any great cosplay. Usually the cosplayer will have props they've made to go with their costume but in the case they haven't you can search Instagram for a prop maker and have one made. That's what I did for the axe and helmet seen above. I was lucky enough to find a very talented local prop maker @dragonbornjedi and as you can see above if you took away the axe and helmet the photo wouldn't be as compelling. Makeup by @taelorfx Model: @ThePDXViking
5. Story
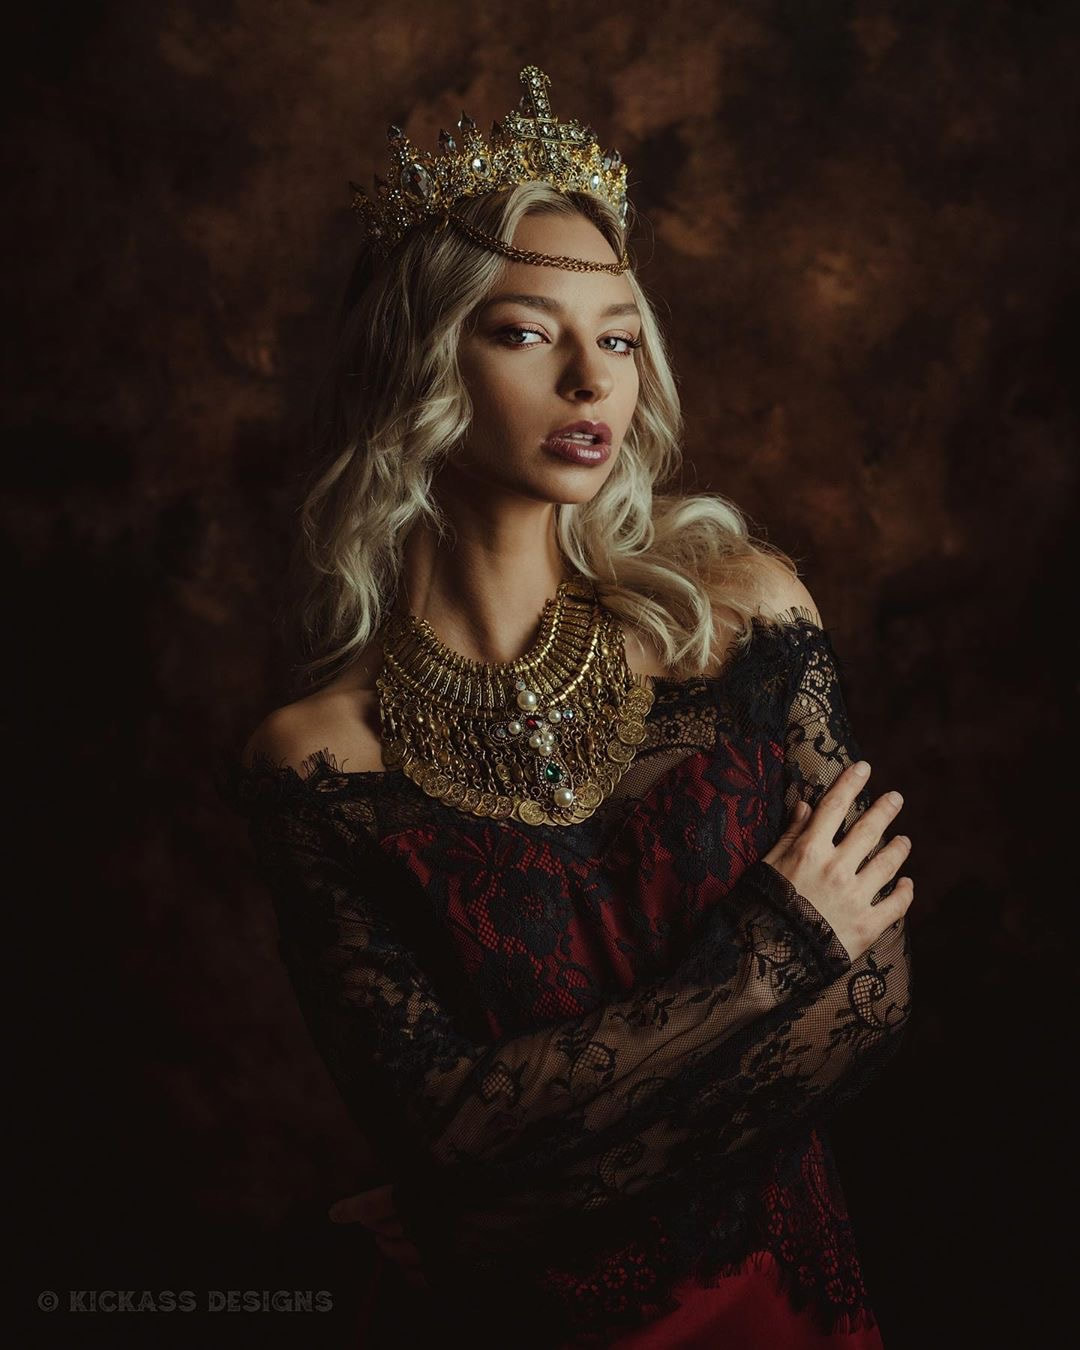
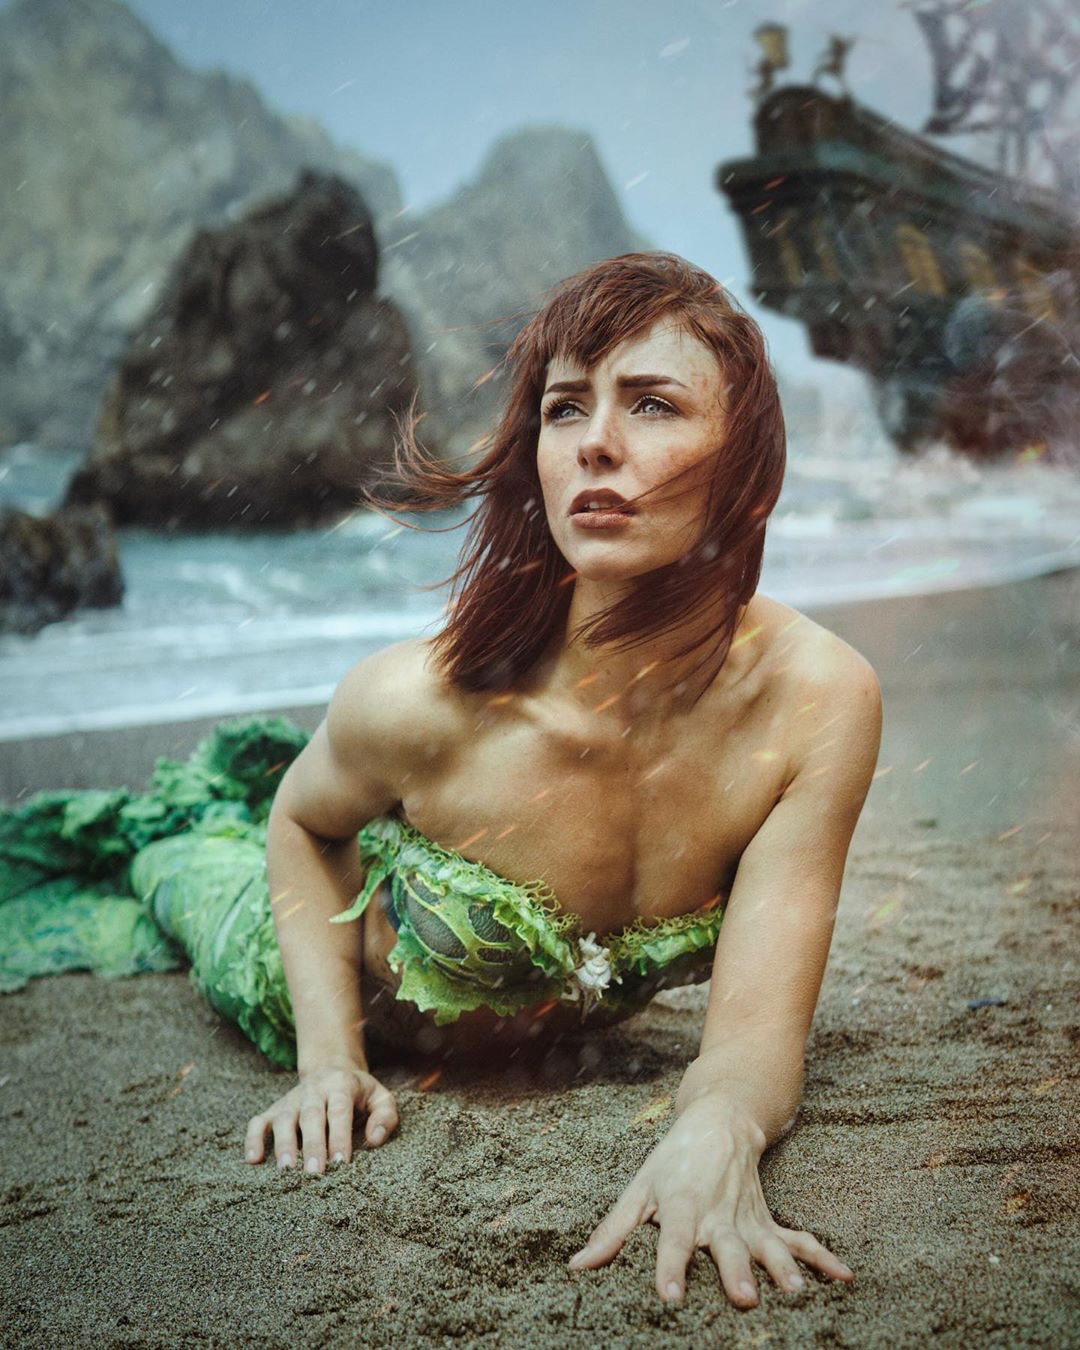
If you want a photo to go viral cosplay or not there needs to be a compelling story. The story doesn't need to be obvious but there needs to be enough emotion and information in the photo for the viewer to make up their own story. In the photo above I have a beautiful mermaid who's conveying so much emotion in her face, that alone makes the viewer ask why. Why is she so sad? Now add some wind, rain, sparks, and a pirate ship in the distance and you've got a story. What's the story? That's up to the viewer. Whether it's sadness, happiness, or straight up horror make sure your viewer feels something. Model: @LittyLeRouge
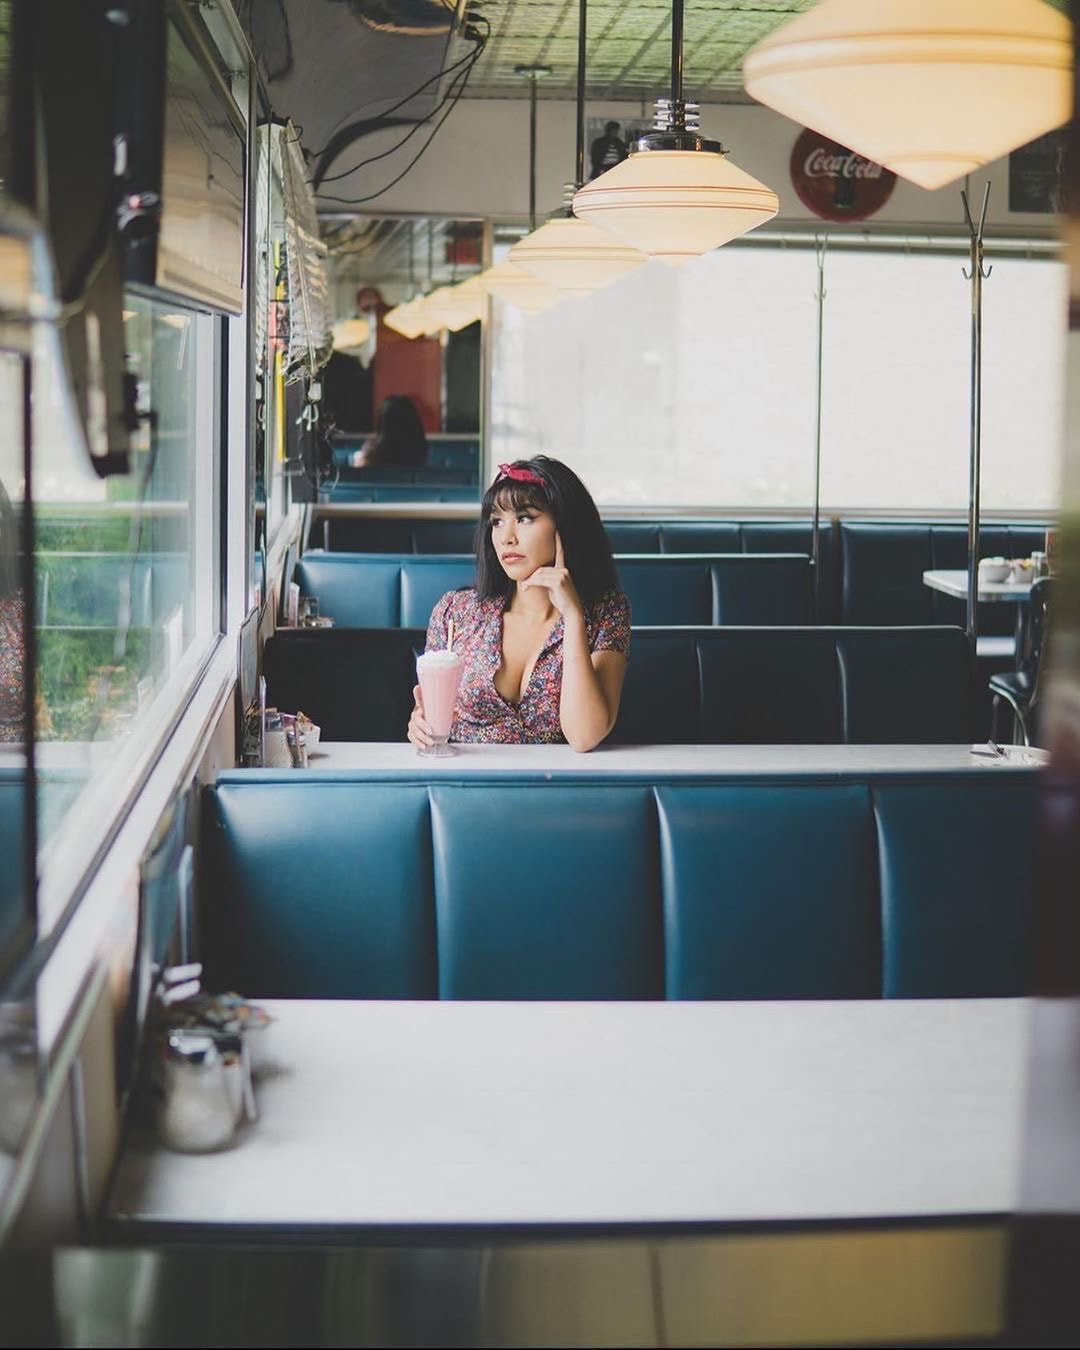
6. Most importantly: Casting!
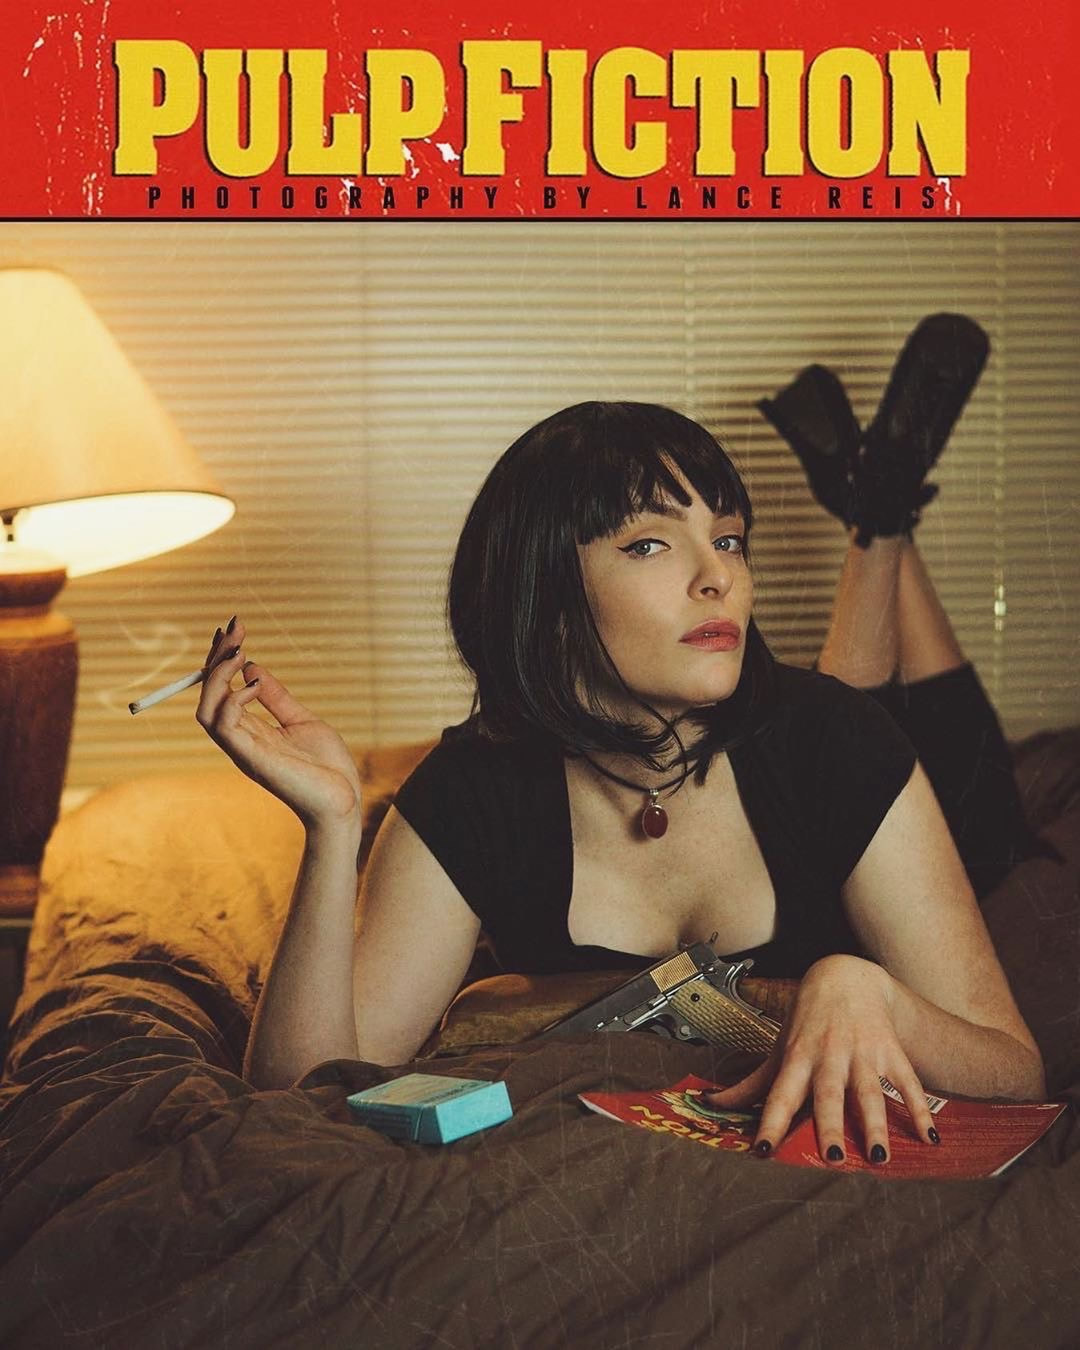
This is the most underrated key to a successful cosplay photo. If I'm searching for a model for a particular character I put out a casting call on social media and try to find a person that looks most like the character. When I wanted to recreate the Pulp Fiction movie poster I knew I wanted someone with the same build and facial structure as Uma Thurman. So look for certain characteristics in the character you'd like to shoot and find someone who matches for the best success. Model: @1wonderbug
7. Engage with your Audience
No matter how good the photo is you can't just post it and hope for the best. You need to actively engage with your audience. It's as simple as thanking everyone who comments and or shares your post. Not only does this show appreciation to your fans but also keeps your post at the top of the feed. I see photographers with smaller followings fail miserably at this and they wonder why they don't see engagement or growth. Not engaging with your fans shows them you only care about yourself. TAKE THE TIME to show them you appreciate them!
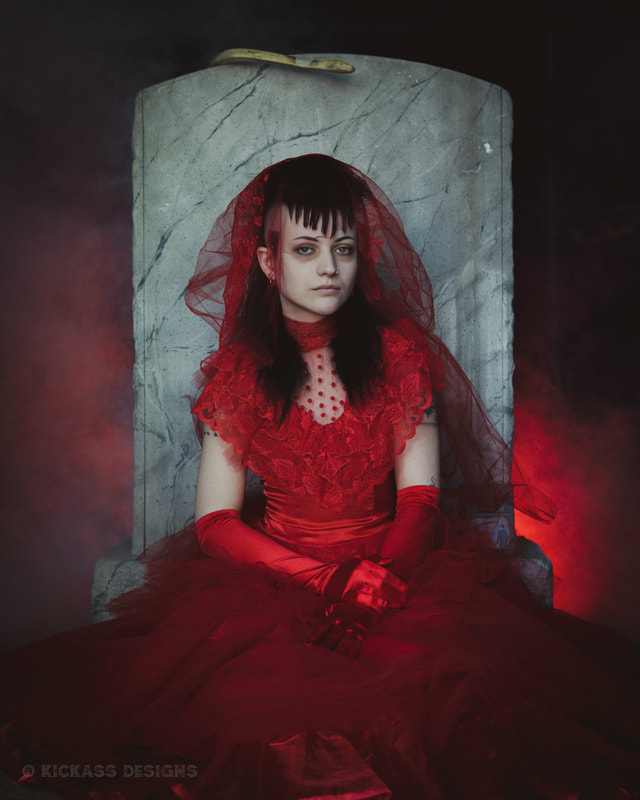
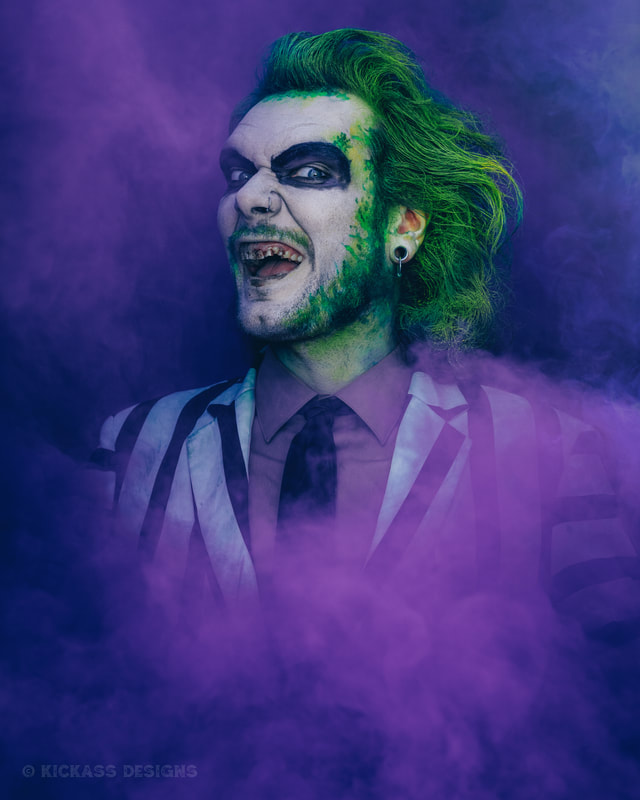
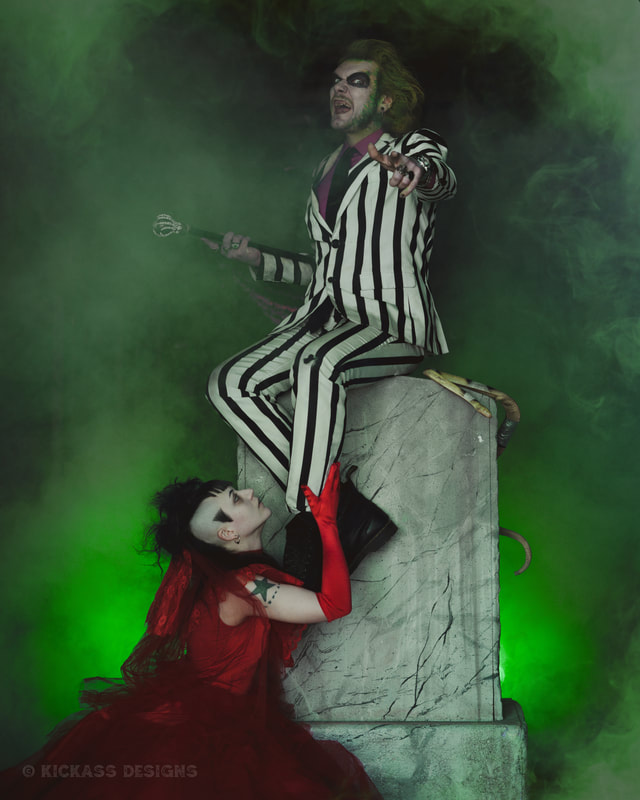
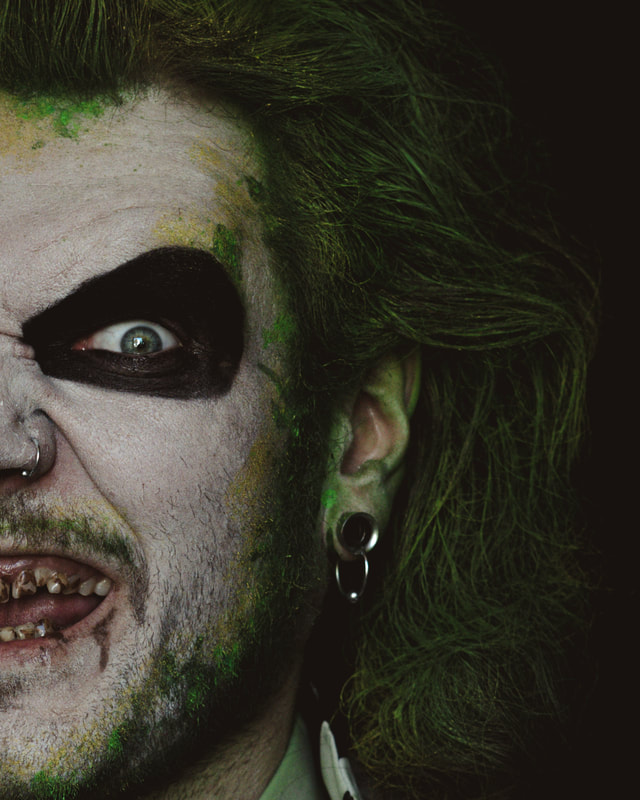
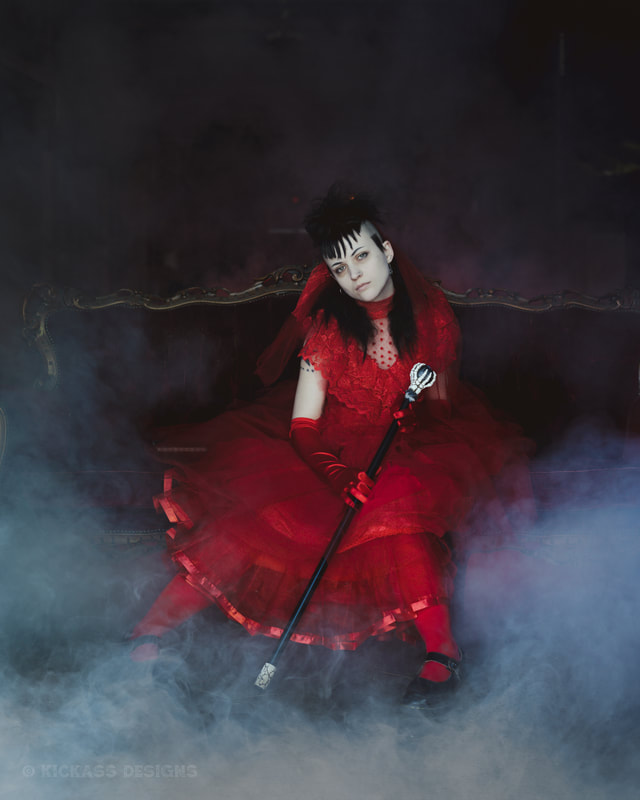
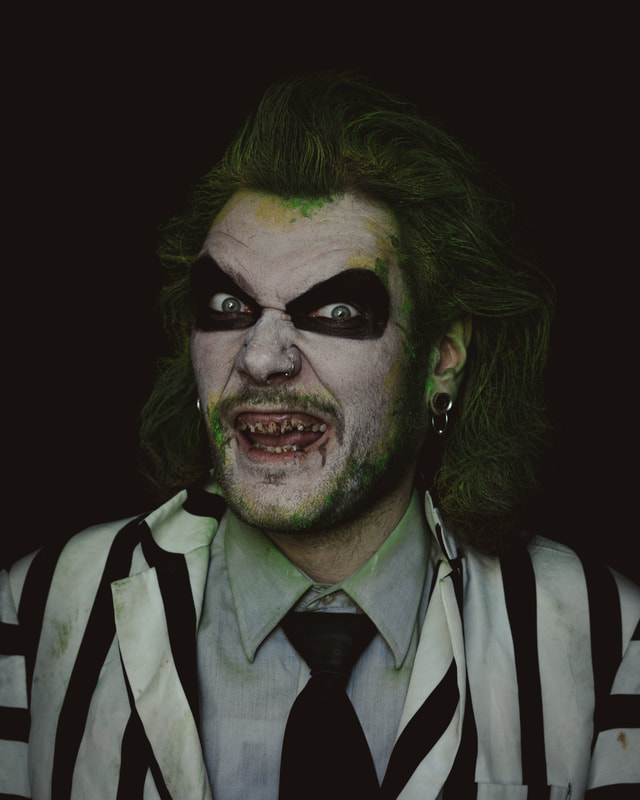
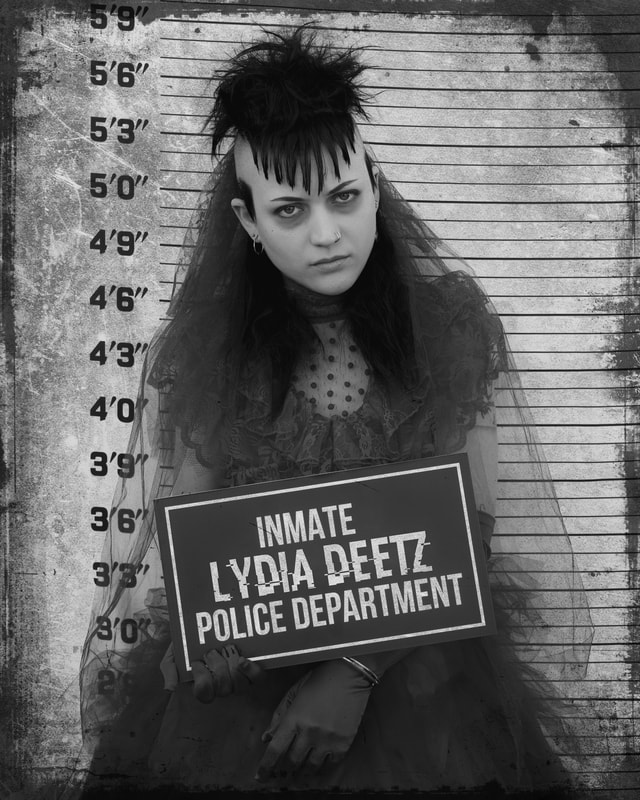
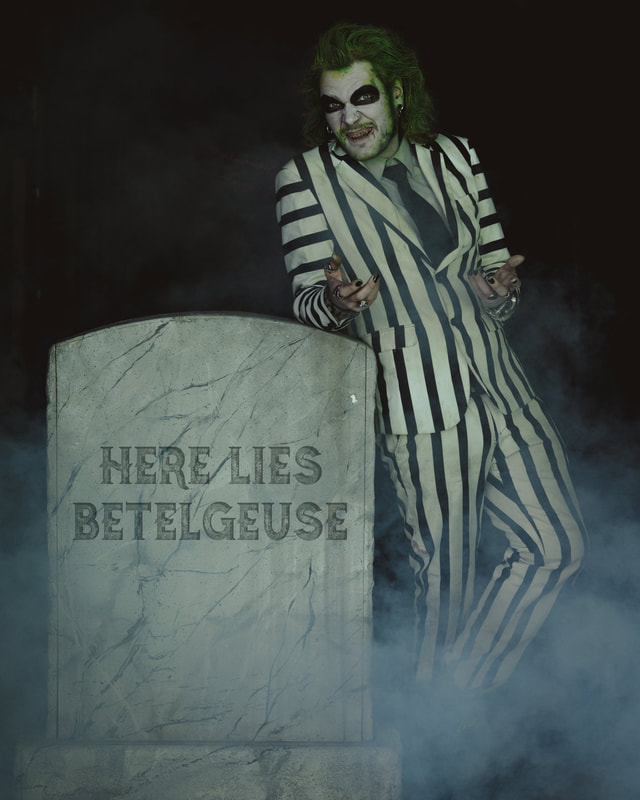
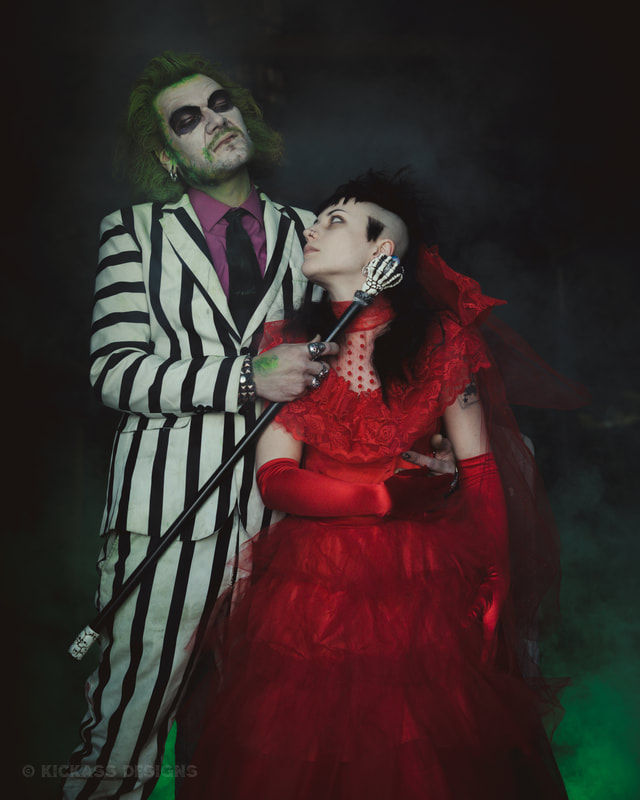
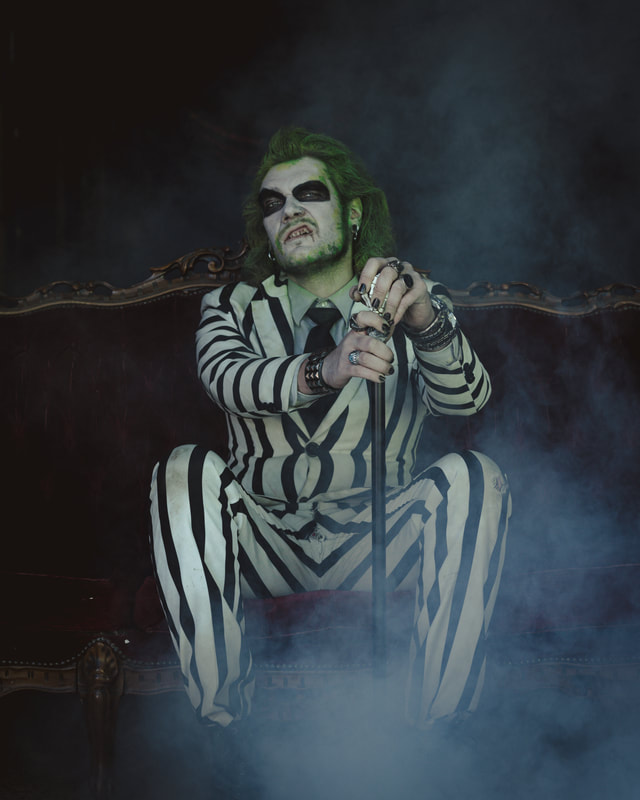
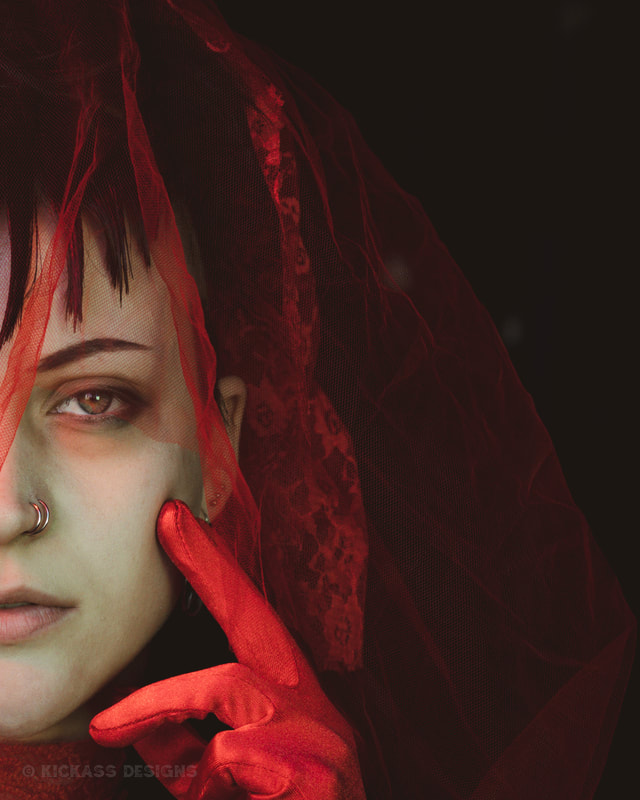
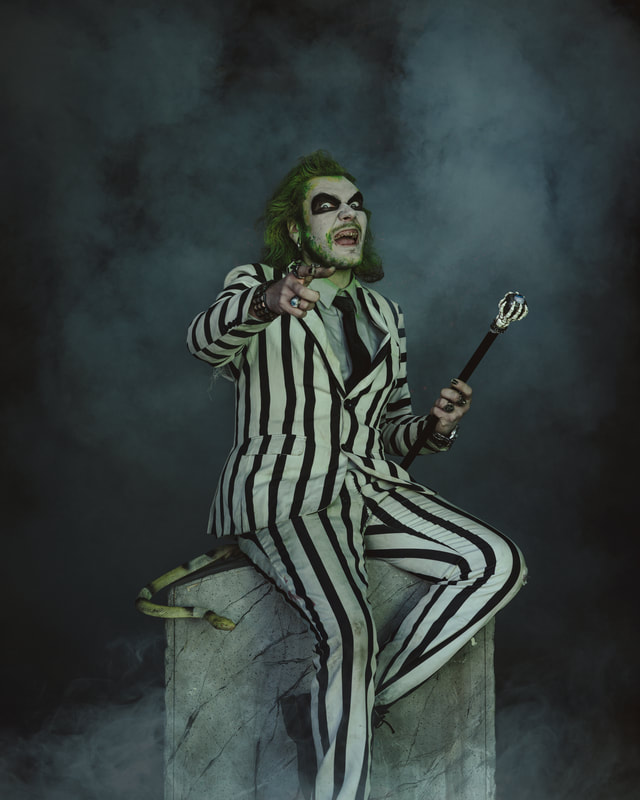
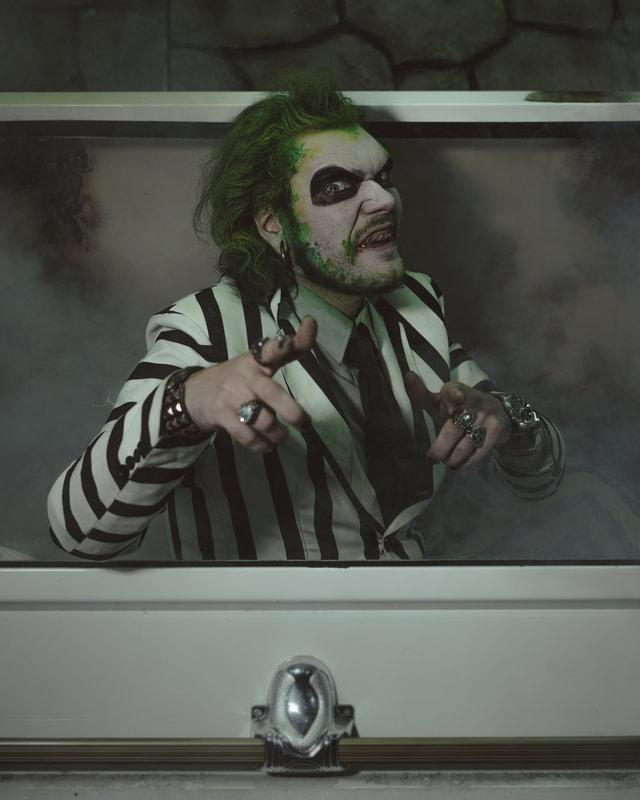
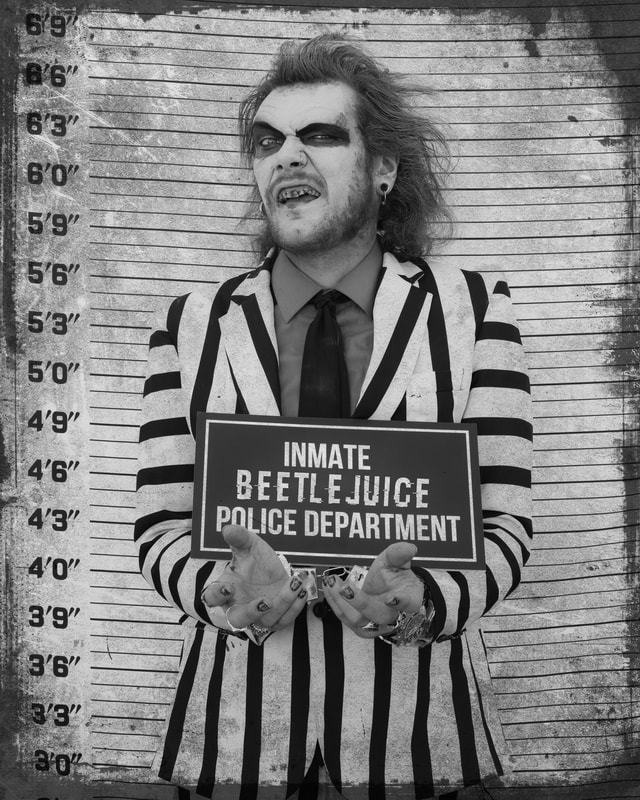
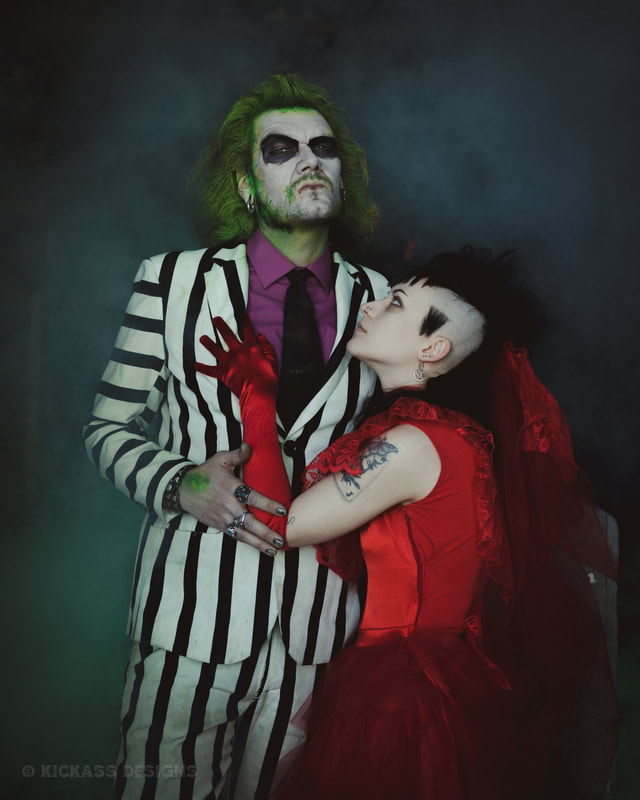
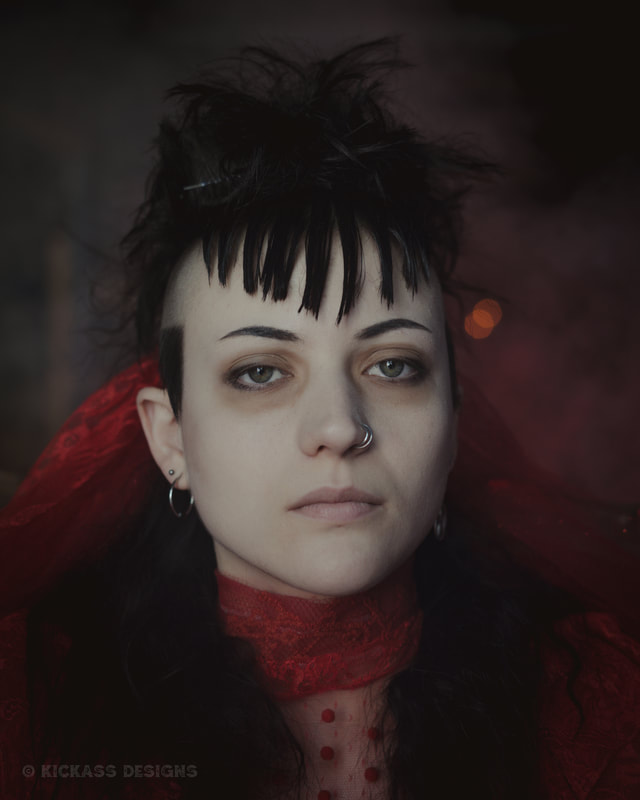
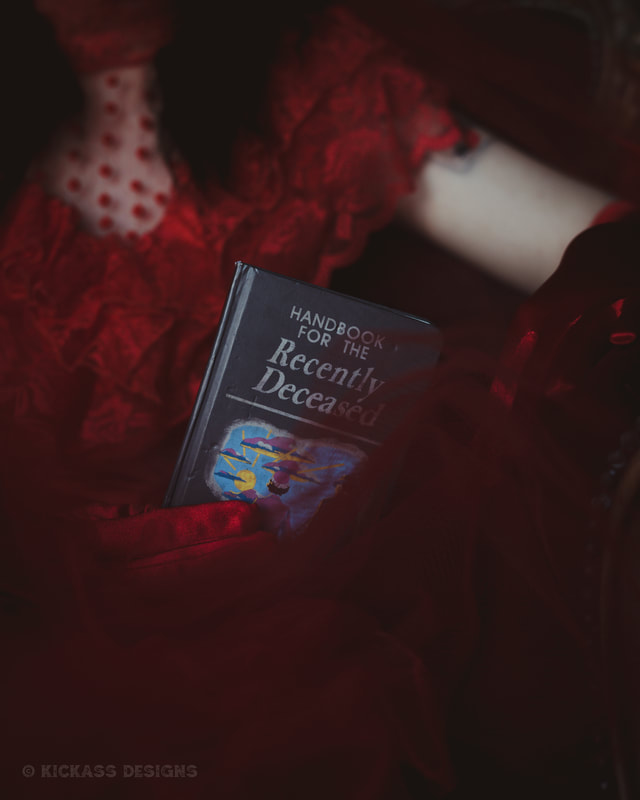
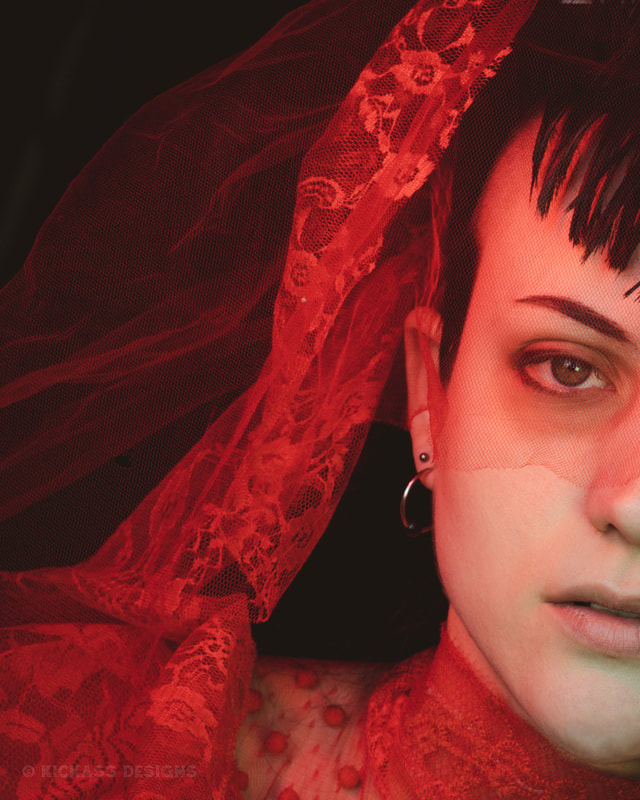
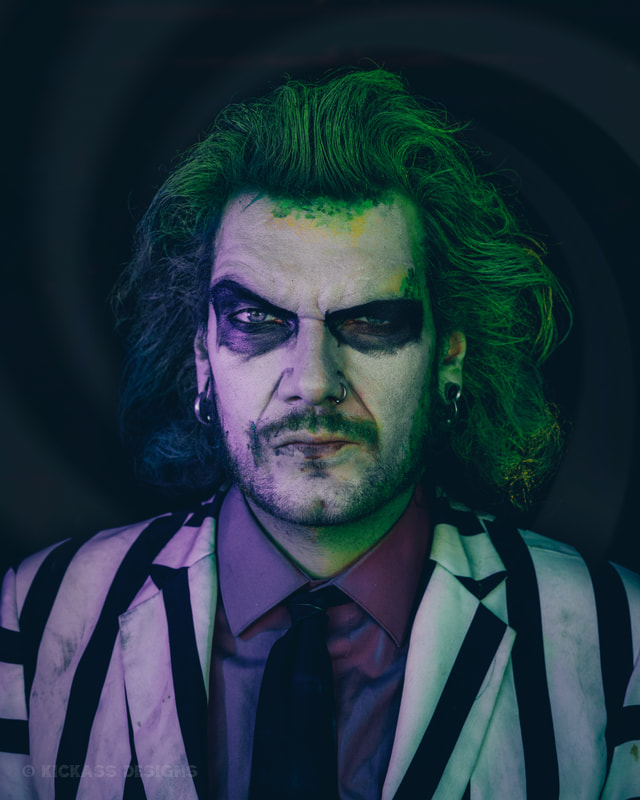
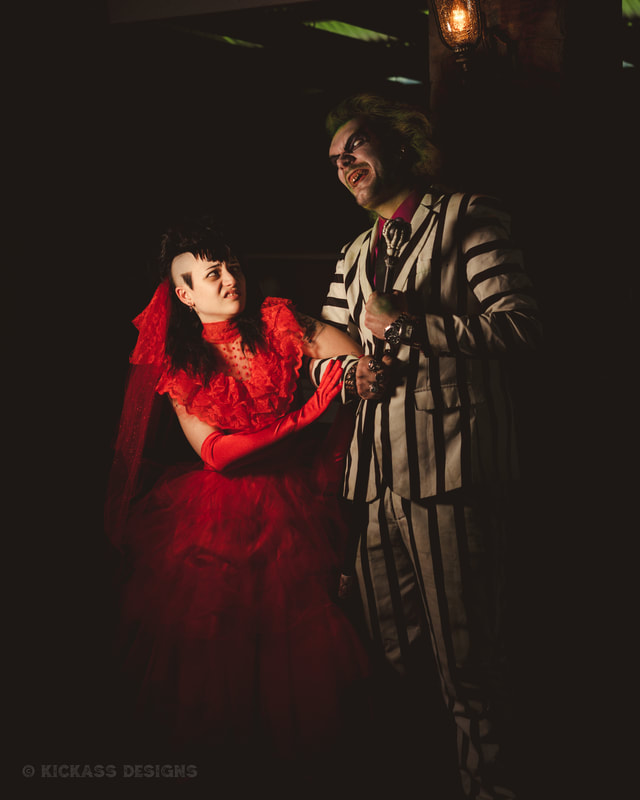
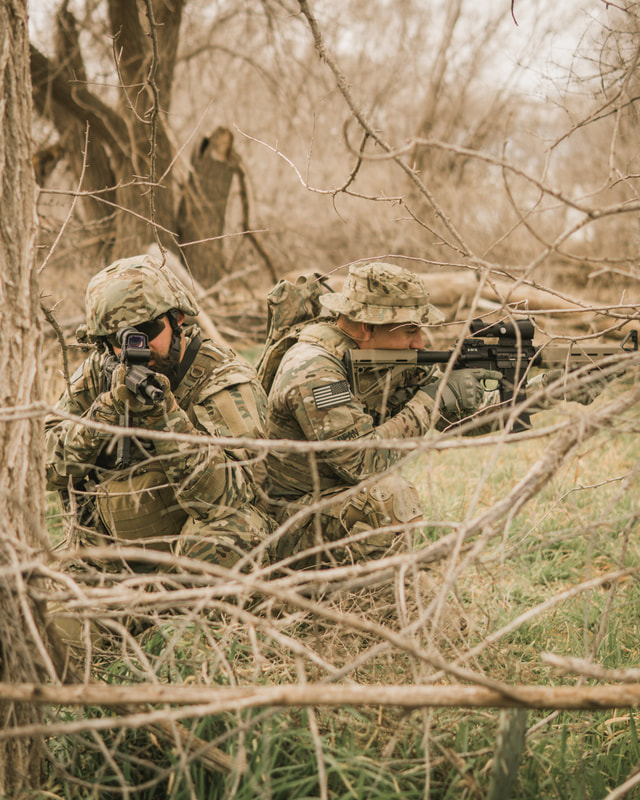
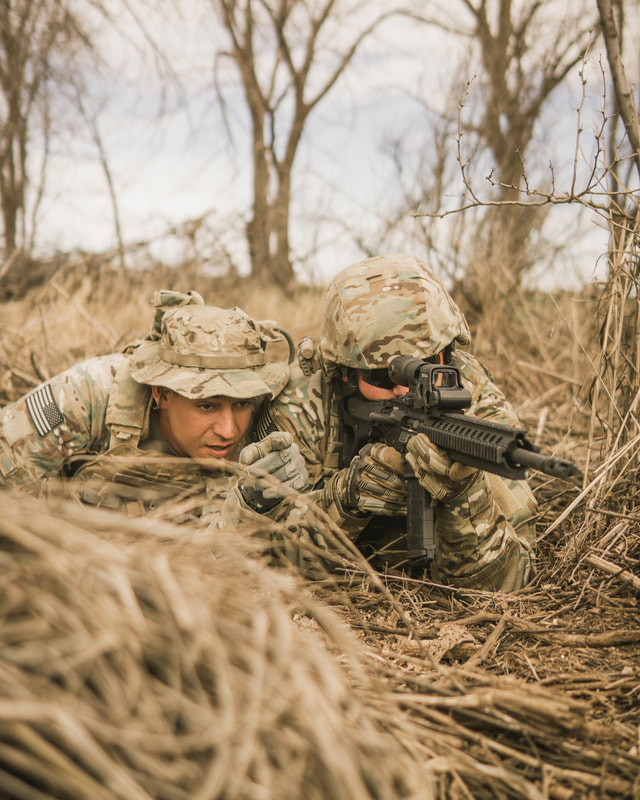
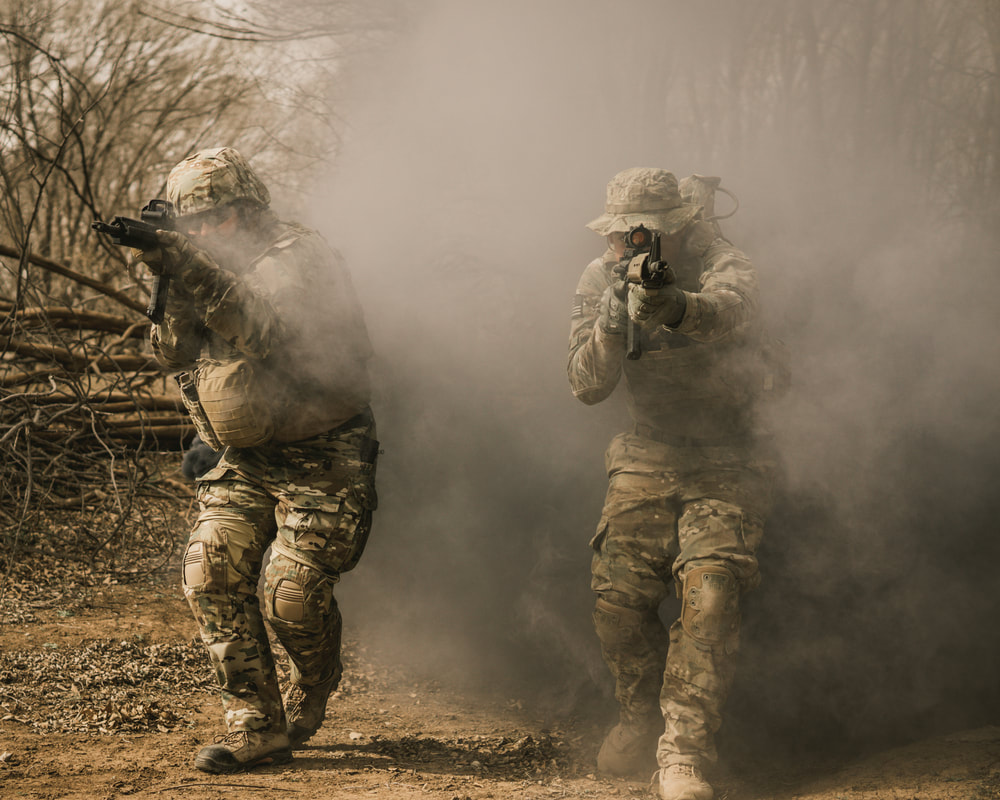
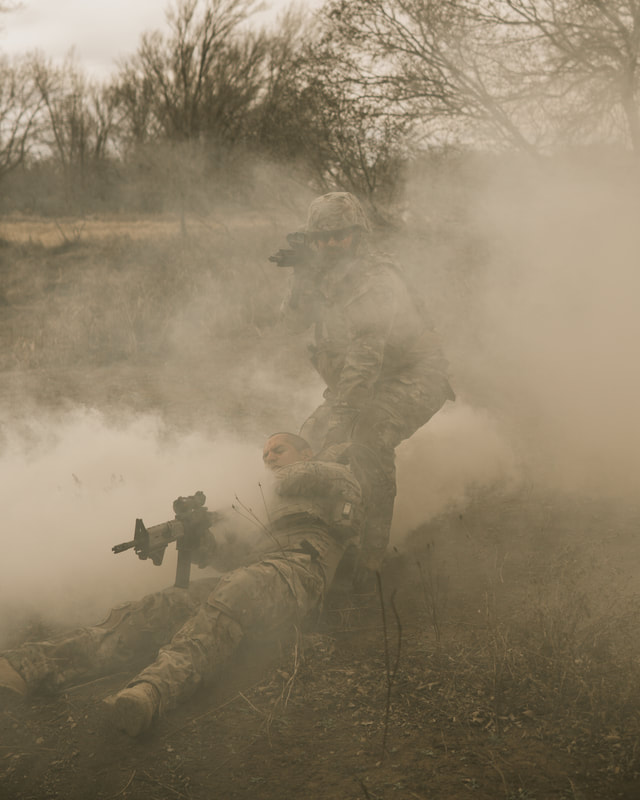
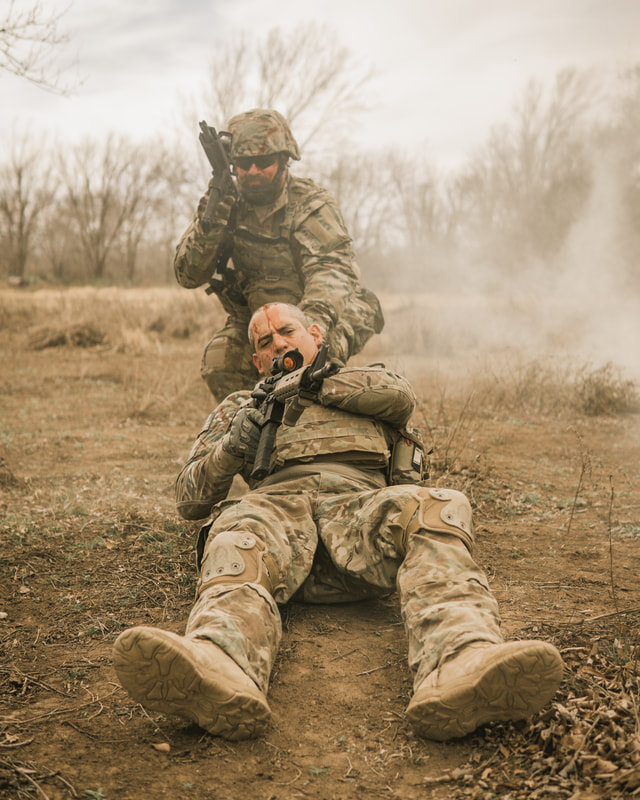
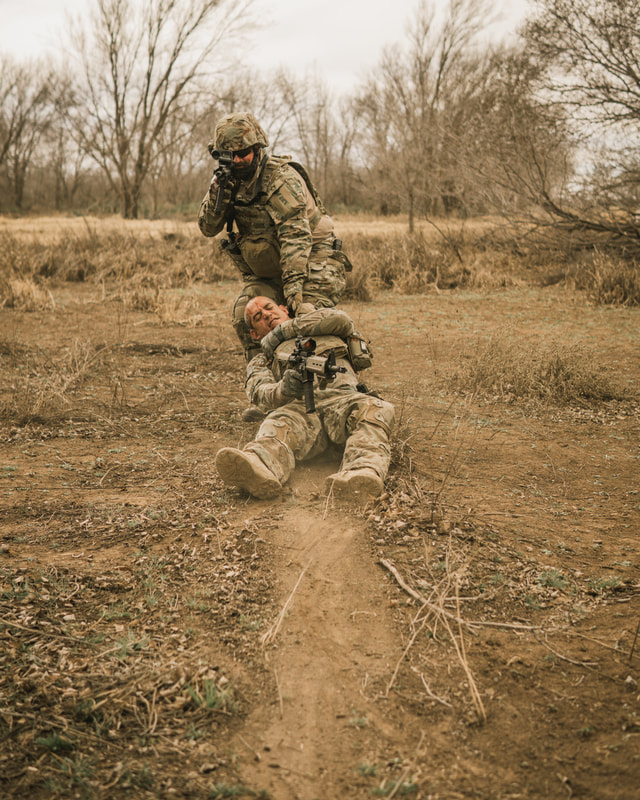
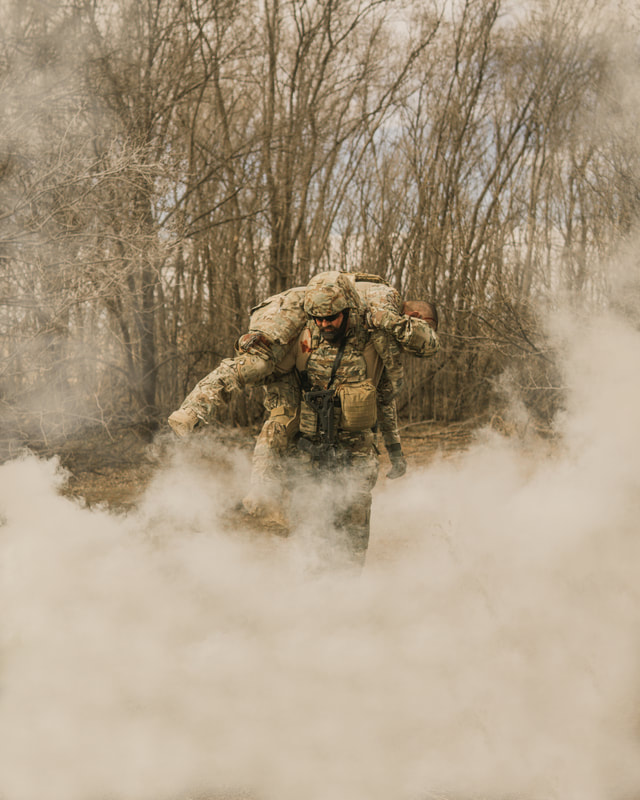
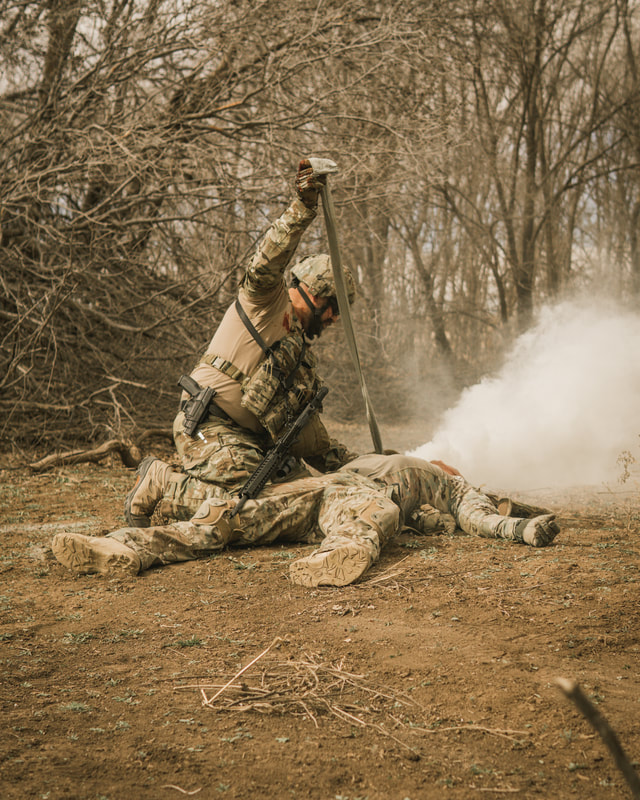
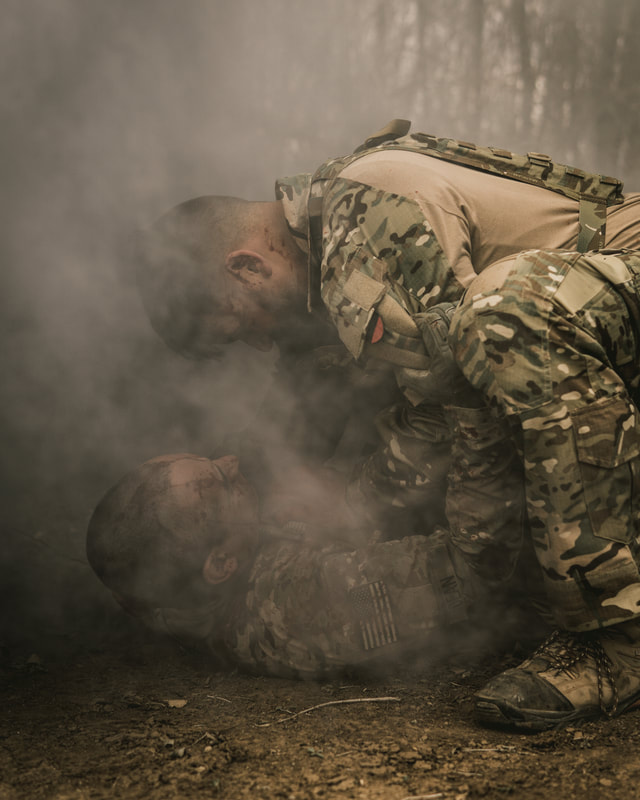
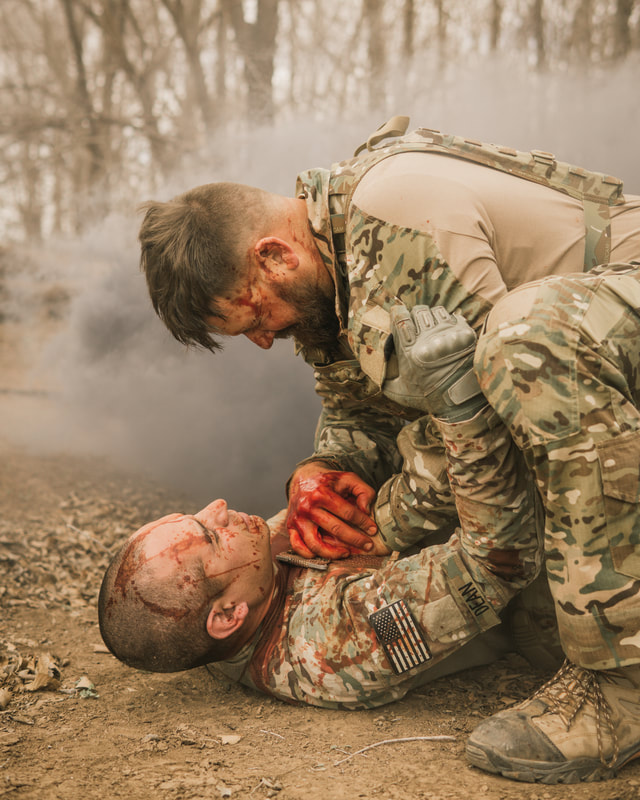
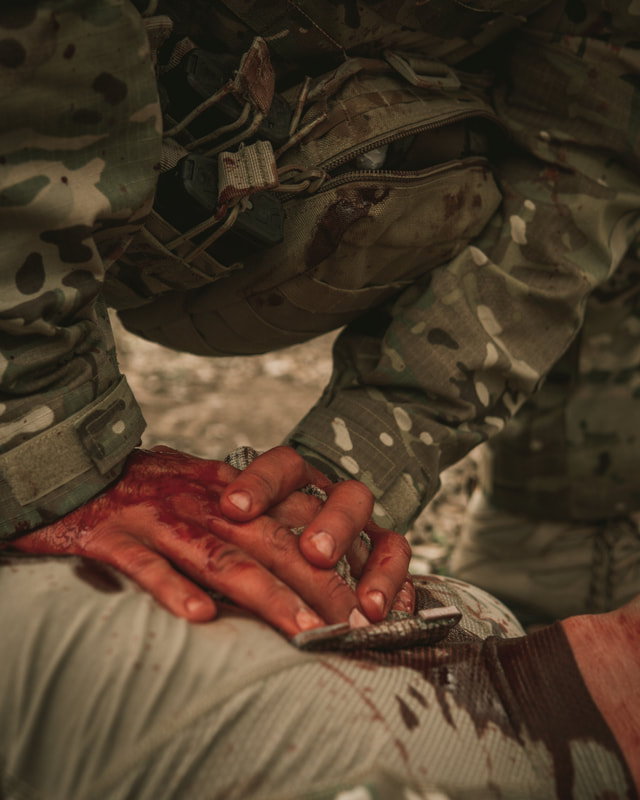
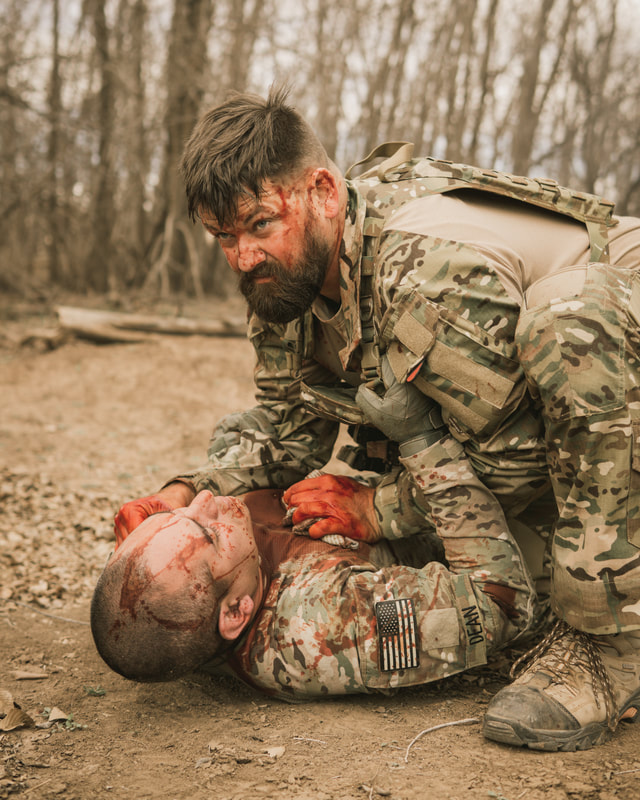
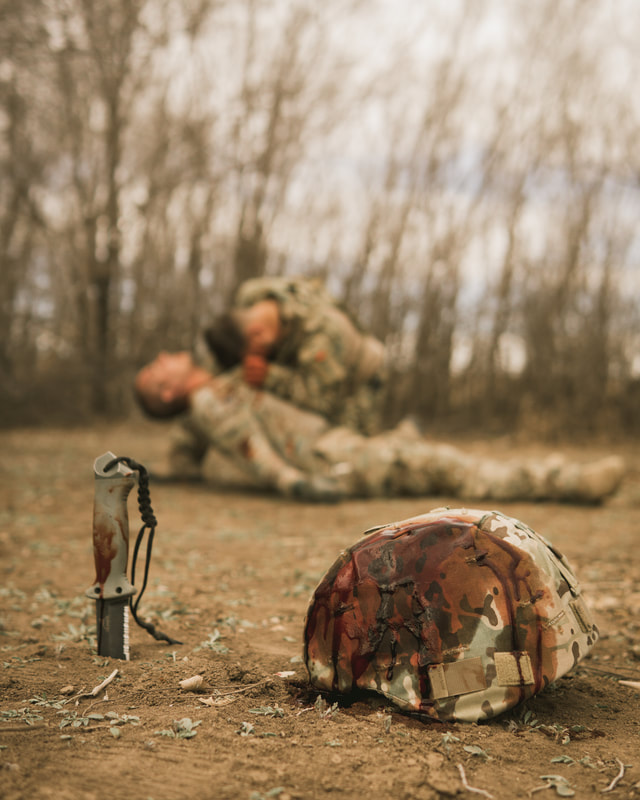
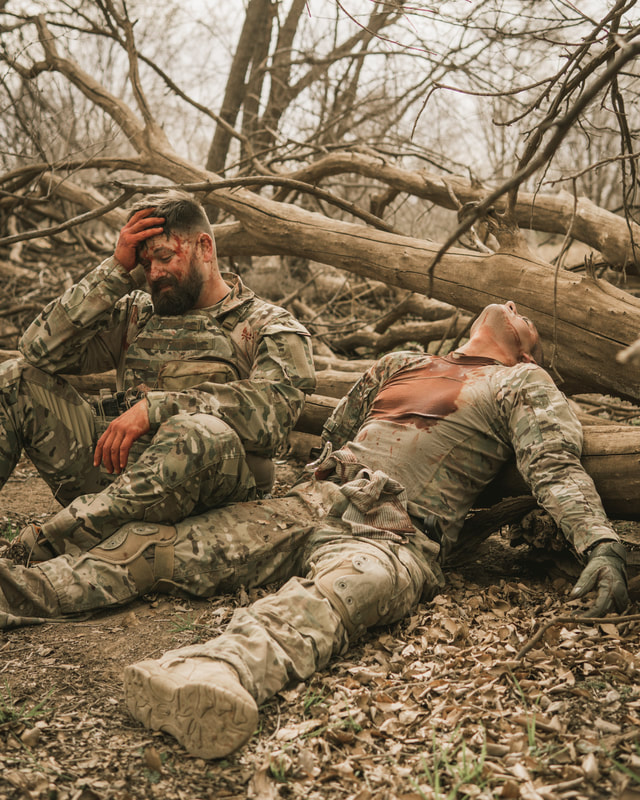
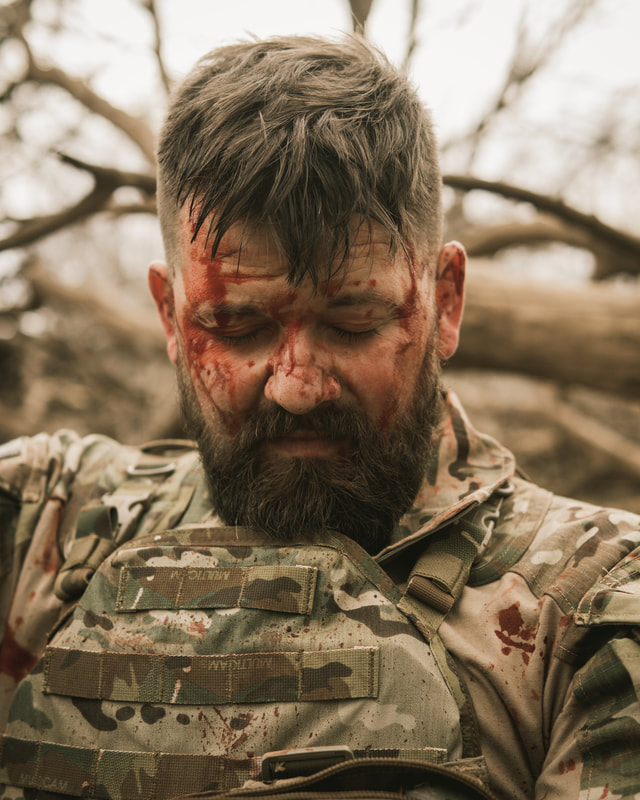
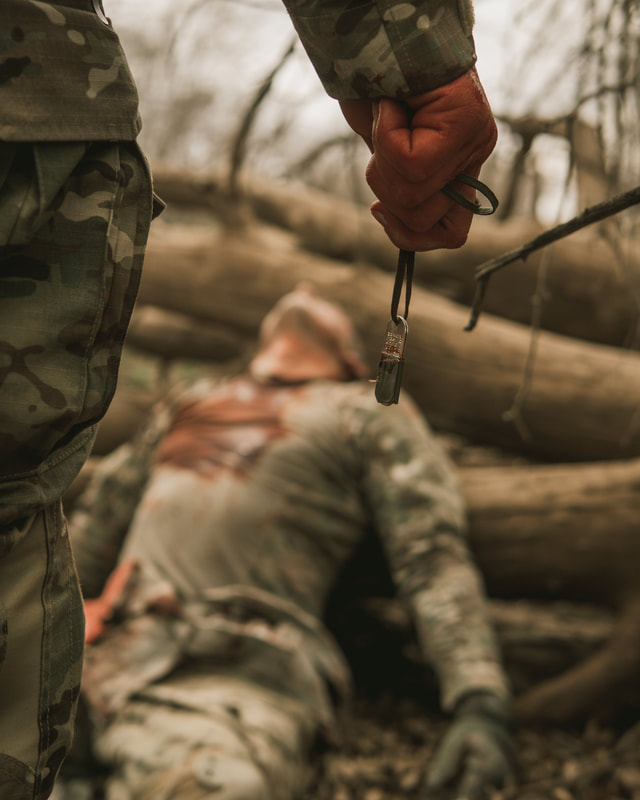
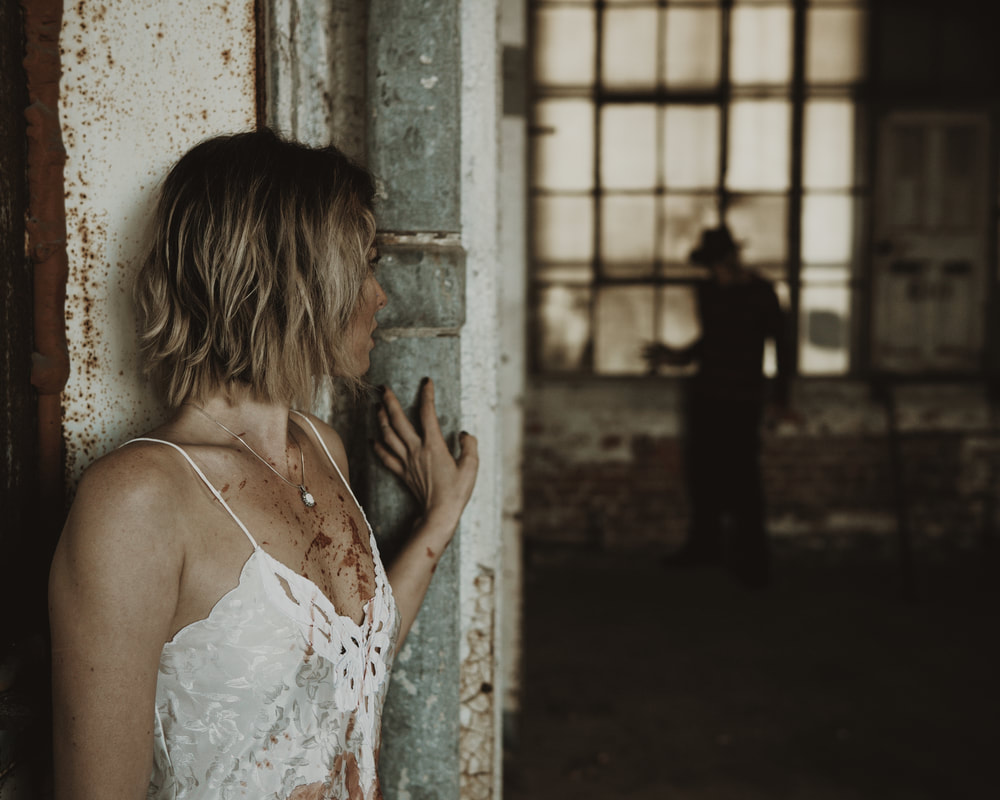
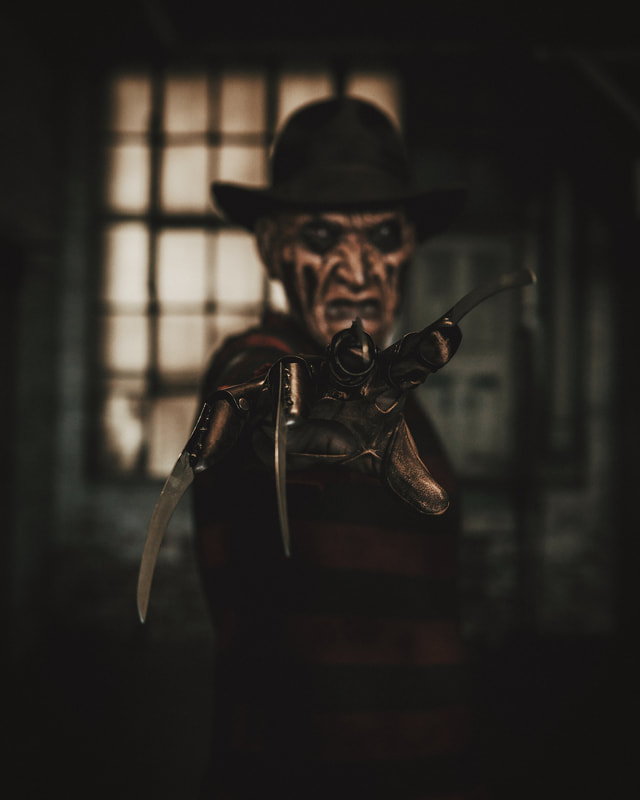
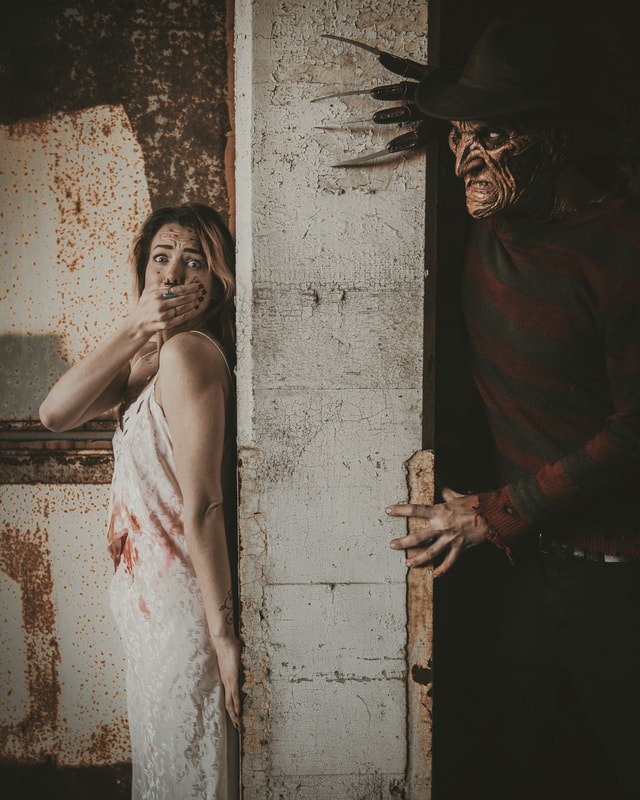
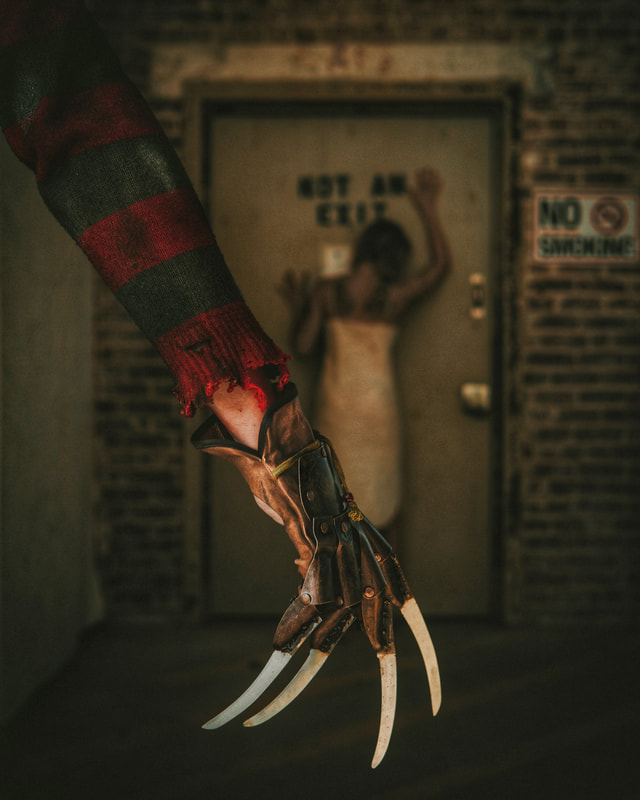
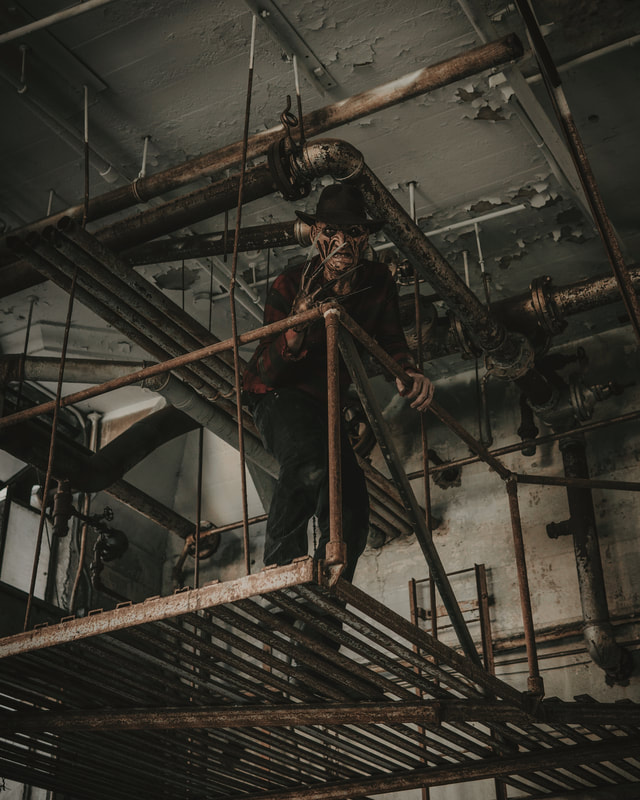
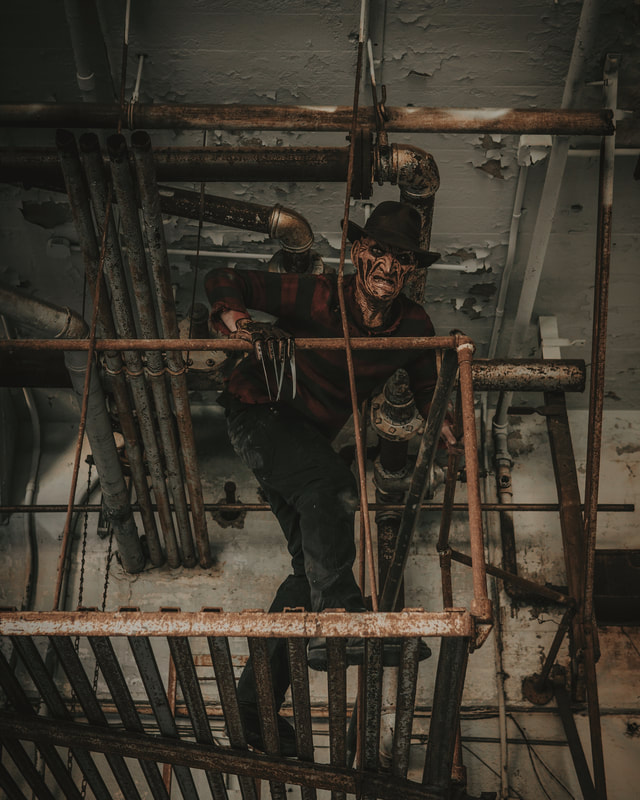
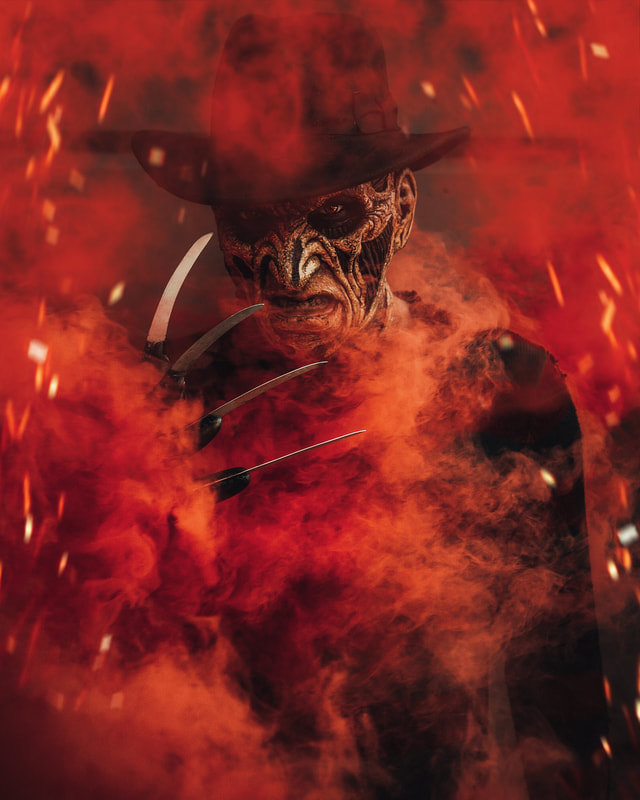
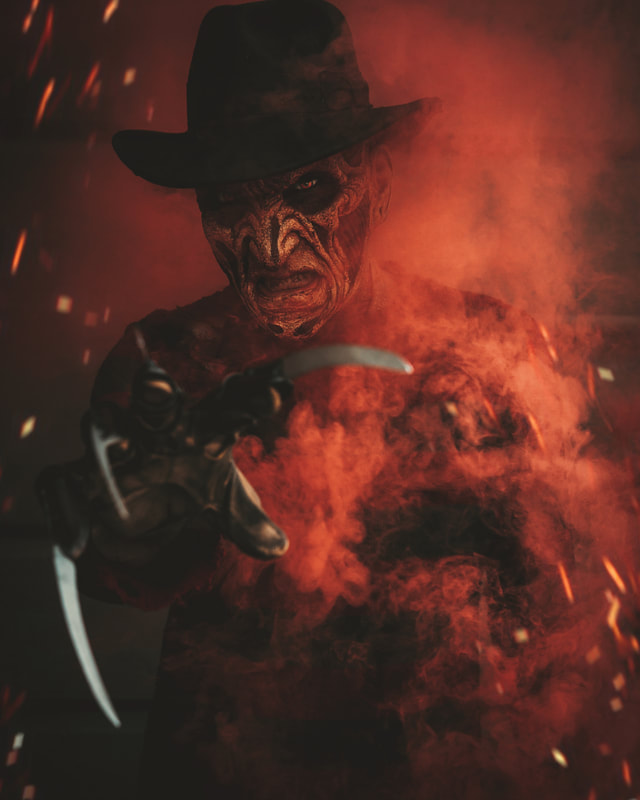
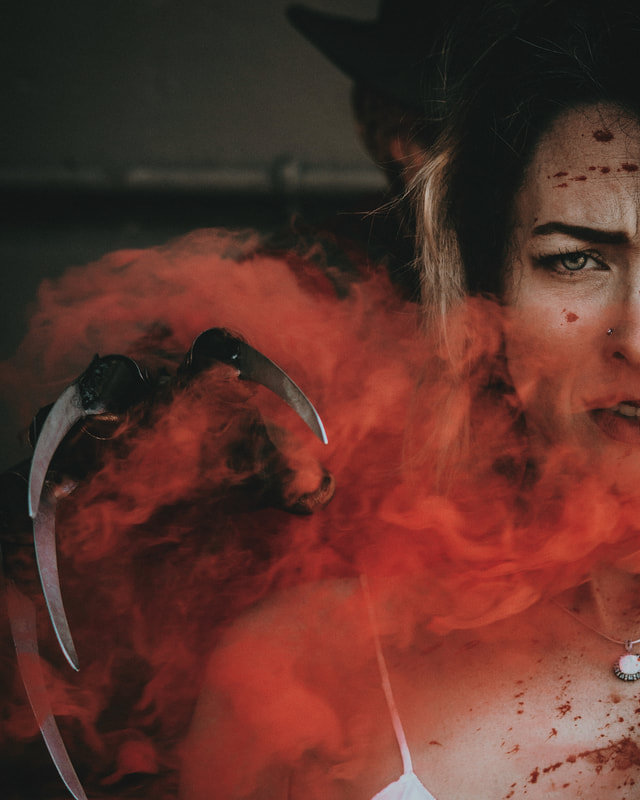
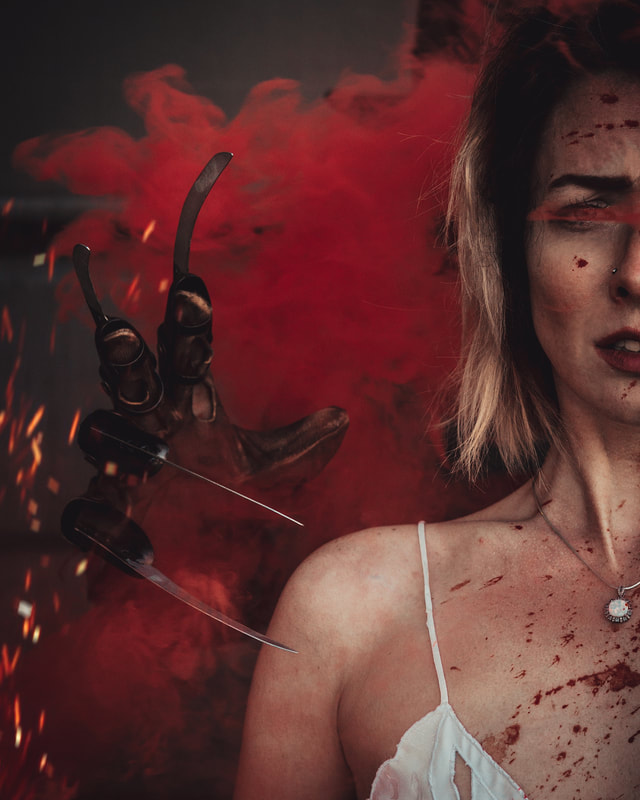
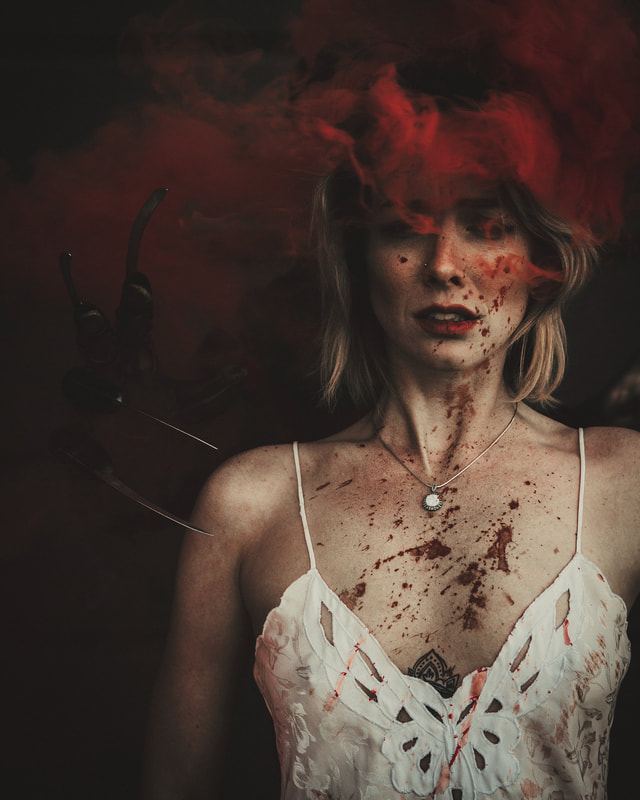
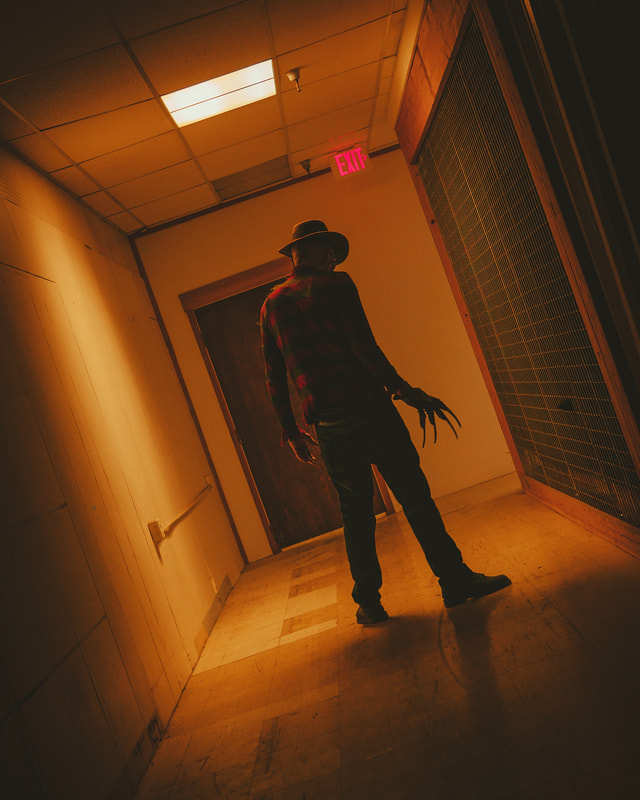
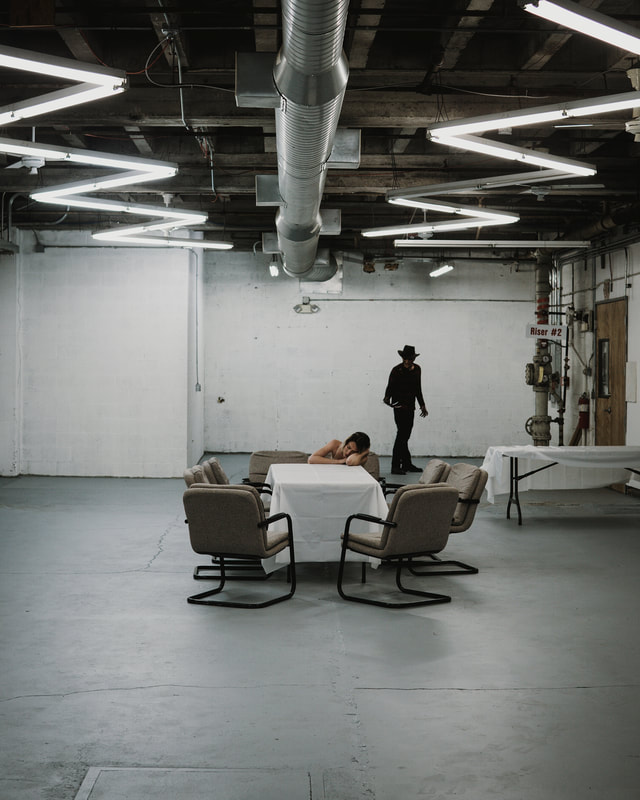
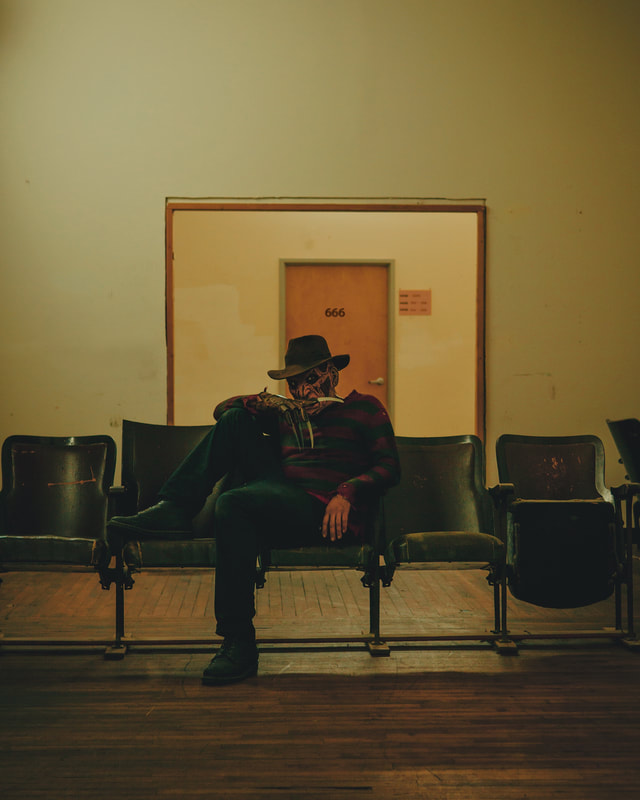
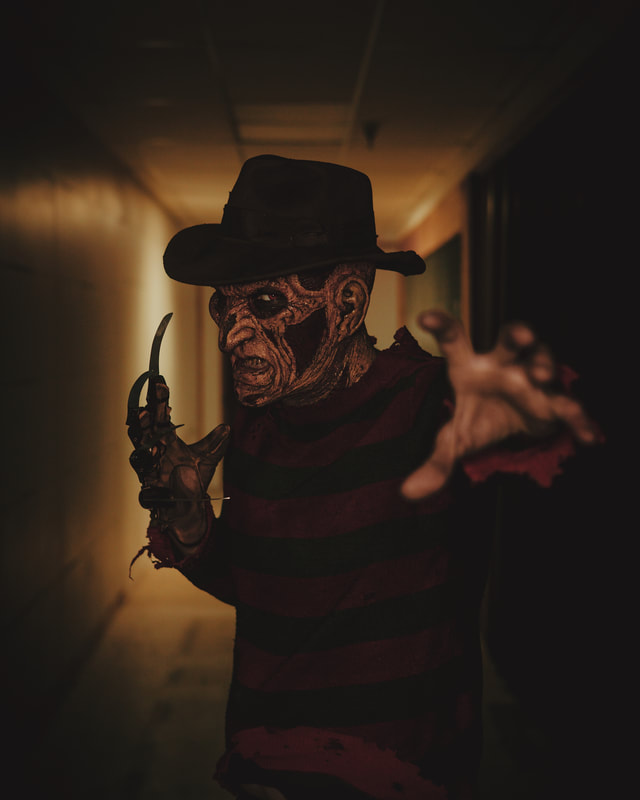
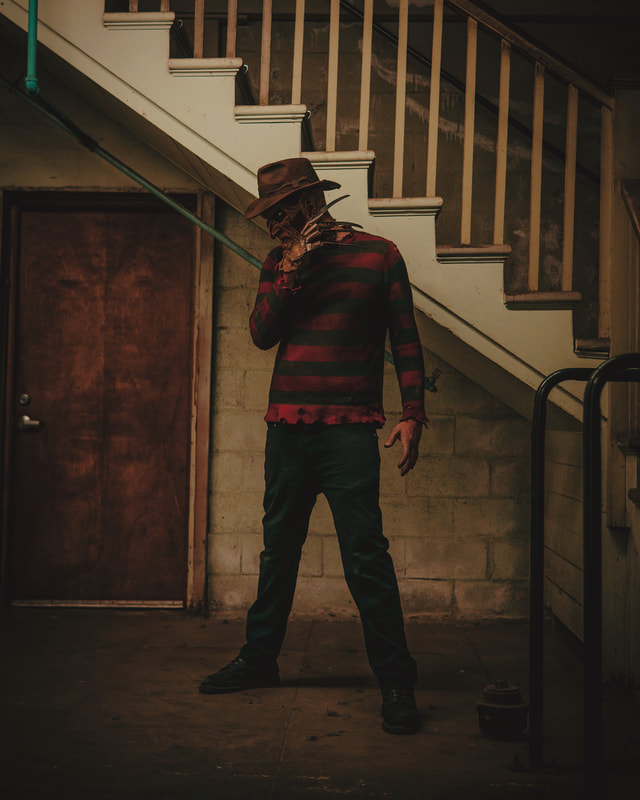
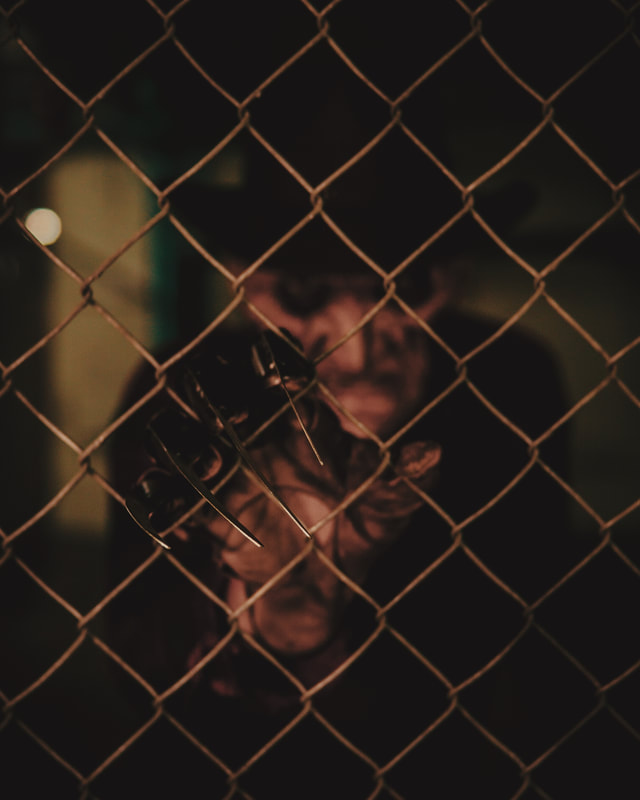
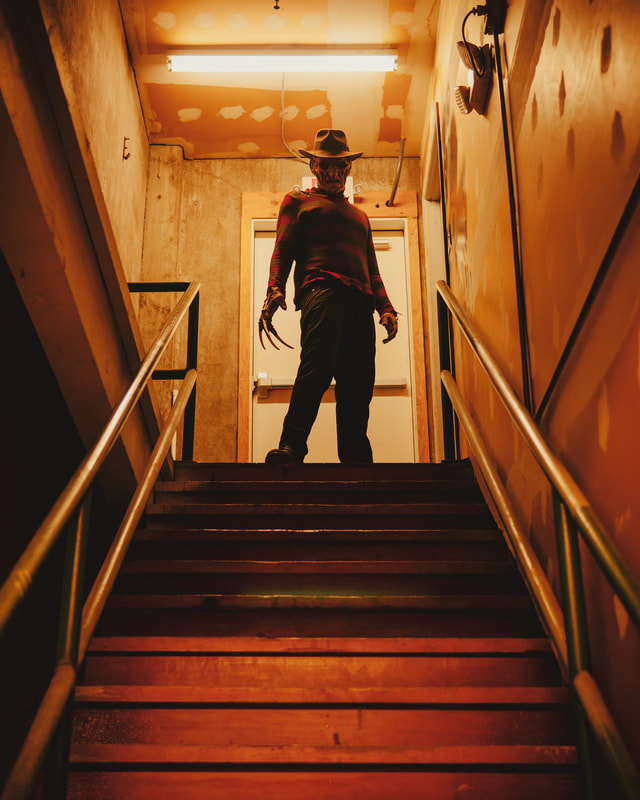
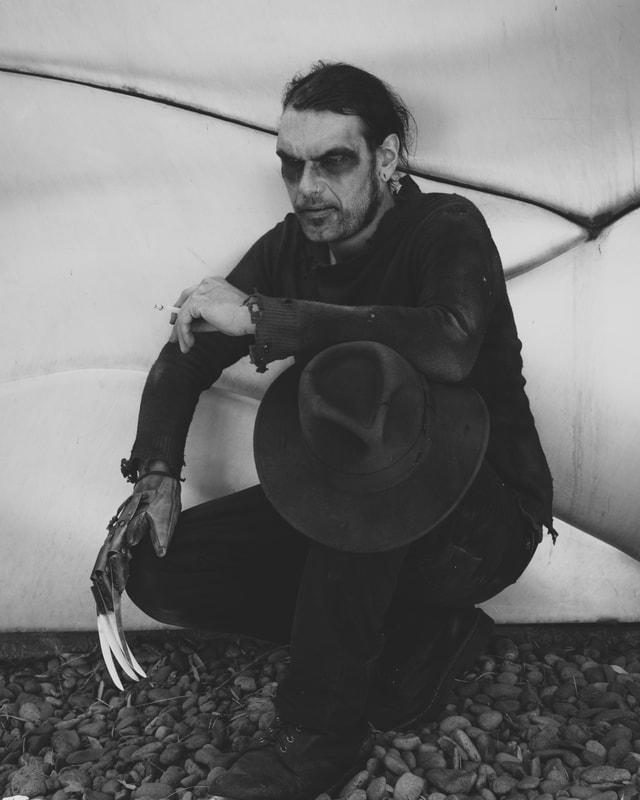
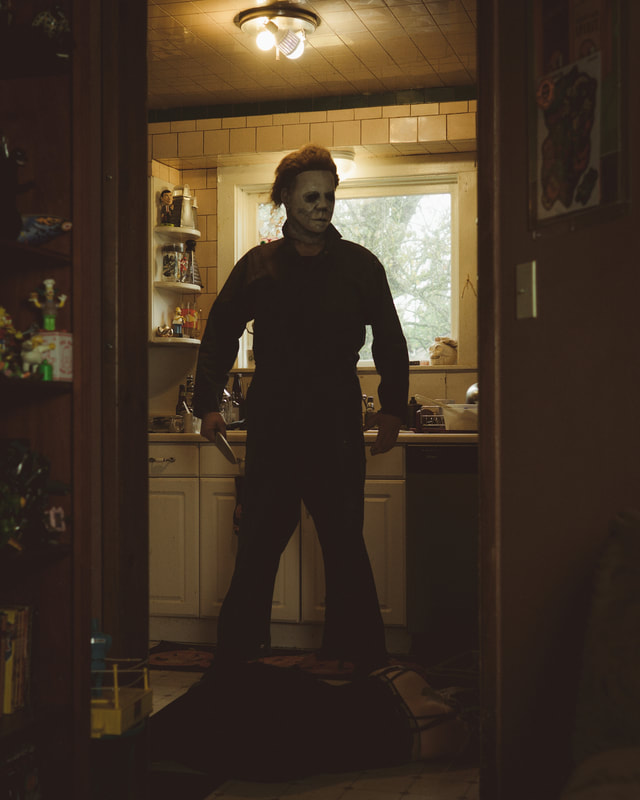
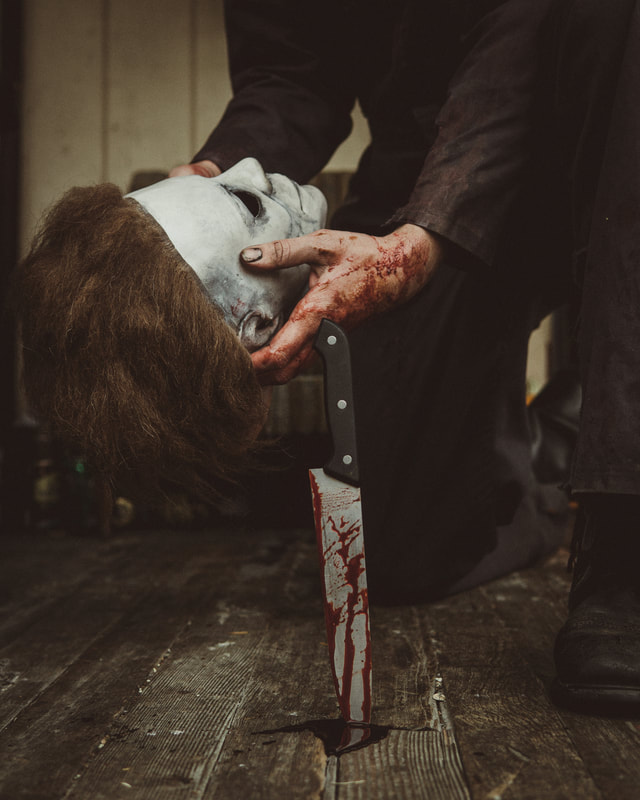
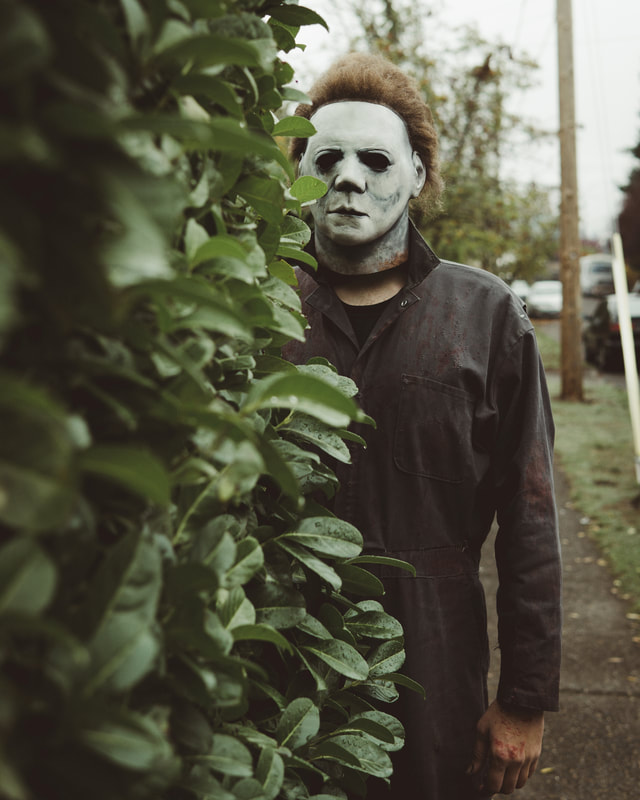
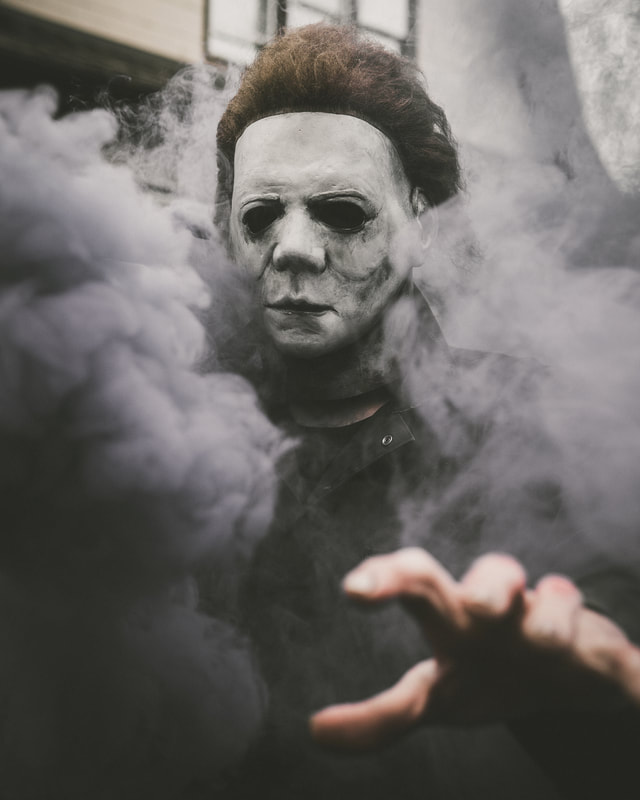
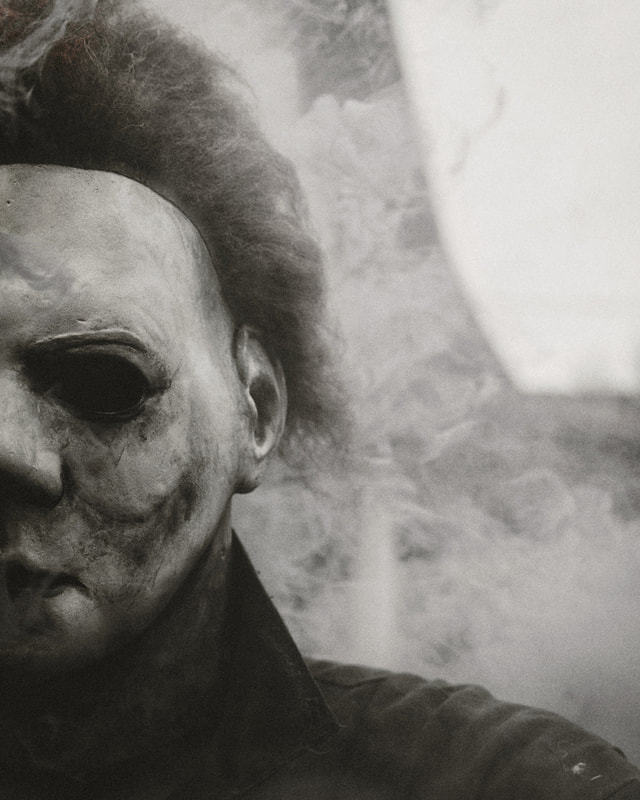
 With the holidays coming up I figured now would be the perfect time to put together a list of my favorite books that have made the biggest impact on my photography business and life. Every book on this list has real life tactical advice you can start using right away to bring in more clients and elevate your photography game. That being said you will notice not one of these books is about photography. However, you can use the tools, tactics, and rituals in each of these books to elevate your business just as I have. All of these books can be found on Amazon and audible for those who'd rather listen on audio. Just click the links or images and it will take you right to amazon. Let me know if you found this list useful. Steal Like an Artist by Austin Kleon $9.97 - Creativity  Steal Like an Artist is a short easy ready that will inspire any photographer. This book is all about creativity and how you can be inspired by other artists work without copying their work. Everything is inspired by something. What's important is putting your own spin on it to make it unique to you. This book is a guide with a positive message, graphic look and illustrations, exercises, and examples will put you directly in touch with your creative side. The Miracle Morning by Hal Elrod $17.96 - Morning Routine  The Miracle Morning is a Must have for every photographer whether they work mornings or not. Every successful entrepreneur has a tried and true morning routine that sets them up for success. Most of us aren't naturally early risers but this book will teach you to love it I promise you that. This book transformed my morning routine. Every once in a while, you read a book that changes the way you look at life. But it is so rare to find a book that changes the way you live your life. The Miracle Morning does both. This Not-So-Obvious Secret Guaranteed to Transform Your Life (Before 8AM) is a MUST. The Compound Effect by Darren Hardy $12.43 - Eradicating bad habits  As a photographer and entrepreneur you face small decisions all day every day that will put you on 1 of 2 paths. One that gets you closer to your goals or one that gets you further away. The thing about small decisions is that it's easy to make the wrong decision in the moment because we aren't thinking about the big picture and how these decisions will impact our goals down the road. This book transformed the way I look at decision making. No gimmicks. No Bullshit. No Magic pill. The Compound Effect is based on the principle that decisions shape your destiny. Little, everyday decisions will either take you to the life you desire or to disaster by default. This is one of my favorite books of all time! The Entrepreneur's Blueprint to Massive Success by Peter Voogd $12.99 - A bit of everything  No BS, No fluff, No Academic Theories, and No Sugar Coating. Just real world, tactical, hard core strategies from being in the trenches. I have probably read this book 10 times. I love it because it takes the best parts of so many different self help books and crams them into one book. This is a must have for any photographer! Living with a SEAL by Jesse Itzler $14.95 - Motivation to never Quit  If I had 2 words to describe this book it would be MOTIVATING & HILARIOUS. The tone of the book is like this: imagine being at a bar with a person that seems really interesting; you don't know them, but you feel like they have some cool things to say. So, you listen. This book motivated the shit out of me to grow, push harder when I think I'm done and to do more through humor and stories without getting preachy. Don't be fooled, yes this book can be extremely motivating in the gym but I have found it to be just as motivating when it comes to photography. There will be times when you want to give up photography that I can promise you. It's one of the hardest industries to be successful in but this book will motivate you to hold the line and keep going. The Power of Now by Eckhart Tolle $12.99 - Being Present  As photographers I think it's crucial we don't lose sight of the moment we are capturing. On a shoot it's so easy to always be thinking about whats next. It's so easy to look back at past photos and criticize our work. It's so easy to get caught up on finding clients and future projects that we forget to appreciate the moment. It's our job to capture special moments. Being present is the best way we can achieve that. The message in this book is simple yet trans-formative: living in the now is the truest path to happiness and enlightenment. It wasn't till I read this book that I understood the power of focusing on my current situation and letting go of the past or expectations of the future. They don't matter, all we have is right now. Tools of Titans by Tim Ferriss $14.88 - Tactics, Routines, & Habits from Billionaires  This book contains the tools, tactics, routines, and habits of billionaires, icons, and world-class performers you won’t find anywhere else. What makes the book different from most is a relentless focus on actionable details. This is reflected in the questions. For example: What do these people do in the first sixty minutes of each morning? What do their workout routines look like, and why? What books have they gifted most to other people? What are the biggest wastes of time for novices in their field? What supplements do they take on a daily basis? You get the idea. What most photographers don't understand is that you can learn life and business altering tactics from world-class performers in a range of industries outside our own. #AskGaryVee by Gary Vaynerchuk $14.95 - Social Media Tactics  Look, if you're a photographer trying to make money with photography you need this book. End of story. I own all of Gary Vees books and they are all great but this one has the most applicable information for you to consume and use right away. 95% of my clients come from Facebook and Instagram (without adds) and that's because I use the information I learned in this book to slay the social media game. #AskGaryVee features the most useful and interesting questions Gary has addressed on his popular Youtube channel. Gary presents practical, timely, and timeless advice on marketing, social media, entrepreneurship, and everything else you've been afraid to ask but are dying to know. Gary gives you the insights and information you need on everything from effectively using Twitter to launching a small business, hiring superstars to creating a personal brand, launching products effectively to staying healthy-and even buying wine. Buy this book, then buy his others. The One Thing by Gary Keller $15.99 - Time Management & Goal Setting  "What is the ONE Thing today I could do that by doing it would make everything else easier or unnecessary?" This is the foundation of The one thing. Time blocking (time management), setting goals, making priorities, and letting go of the time wasters in our life/business are all reasons you need this book. The one thing is actionable and easy to read. It's a game changer for any photographer that wastes crucial time every day doing meaningless tasks. News flash, that's all of us.   Holiday shopping can be such a drag. I know how stressful it can be to not only come up with gift ideas for yourself but to predict what your friends or family might want so I put together this list of the perfect gift ideas on amazon sure to please any photographer in your life. And before you ask no I'm not sponsored by any of these brands. Want to find out more about an item below, just click the photo or link and it will take you straight to it on Amazon :) Lexar Professional 633x 128GB Memory Card $19.99  When it comes to photography we can never have enough space in camera and This card dramatically accelerates workflow from start to finish, so you can save time and get back to the business of photography. "I bought this card for an older digital camera that, when set to RAW, had a delay processing. so you couldn't snap a photo and be ready for the next for a few seconds. In photography, a few seconds means you could miss the perfect shot! Works perfectly and quick!" - Bill R Littlejohn Sony Alpha a6000 SLR Camera with w/16-50mm Lens $448.00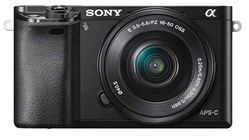 For any beginner looking to get their first SLR camera you can't beat this price for the quality you'll be getting. This was the first camera I bought and used it for years with a sigma 30MM 1.4 lens. It never failed to produce amazing images. It's a perfect lightweight camera for portraits. "I have nothing but good things to say about this camera. I have owned my Sony A6000 for just over a year now and it has been nothing short of perfect. I am a beginner photographer and it has taken high-quality, professional photos. I purchased an additional lens to take night photography and this camera has been amazing. If you're a beginner photographer looking to get into either landscape or portrait photography, this is the camera for you! It's smaller and lighter than most DSLRs and it's very intuitive to learn the settings and controls." - Zack Nicol DJI Mavic Mini - Drone $399.00 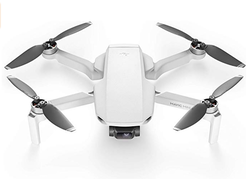 Coming from experience a drone is a great addition to any photographers tool kit and at this size and price point the value of a drone has never been better. This baby can fit in your pocket and is a game changer for any photographer/videographer. "Flys great, easy to handle, and the picture/video quality is amazing. For never having a drone before this one makes it easy to get up and going quickly. Its so small and portable so easy to take anywhere." - Bryon Fowler WD 2TB Portable External Hard Drive $54.99 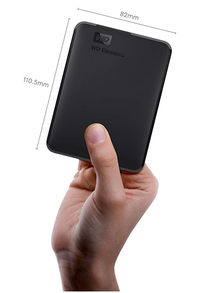 When it comes to space, a photographer can always use more. Raw files take up an outstanding amount of room on a computer. Hard drives and external drives can fill up fast. More room to store files will always be appreciated. "I've been subscribing to an online/cloud backup company for years. This year, the annual renewal price went up significantly, causing me to look for alternative backup ideas. I knew about external hard drives but they used to be a lot more expensive; I was surprised to see how much they've come down in price since I last looked at them. The price of this 2TB hard drive was less than one year of the online cloud service!" - Lotus54 Mini Rechargeable LED Camera Light for Photography & Video $69.99 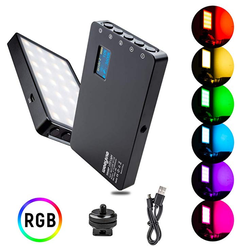 A photographer can always use more light. There are countless situations where I wish I had an extra light source and even better this light is smaller than a cellphone and extremely light weight. Plus it has 8 color options! An extremely valuable addition to any photographers camera bag. Any portrait photographer would love this. "Bottom Line: It will do anything you want in the way of lighting a scene to your satisfaction and do it well and inexpensive compared to the more "profession" lights with the big names. 5 Stars for one of the most versatile camera accessories I have seen in years at any price." - Douglas C. Meeks Magnetic Phone Car Mount $11.99 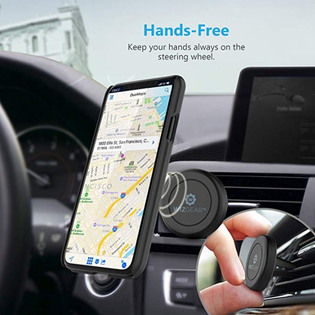 Let's face it. Unless you're only shooting in a home studio you're doing alot of driving as a photographer. I've tried many cellphone holders on the market and this seems to be the best for the price hands down. I mean 4.4 out of 5 stars with 14,000 reviews.... You can't go wrong. "Pros: magnets are extremely strong and hold your phone well to the clip, great product and works exactly as expected. Cons: NONE!" - michael thomas Lowepro Flipside 300 AW II Camera Backpack $94.90 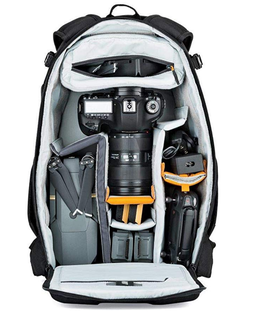 Speaking of camera bags this is the best one on the market I've seen for this price point. Every photographer needs a camera bag. The many times I've been on a shoot and didn't bring one I regretted it because I surely forgot something I needed. "Rather roomy, I was able to fit in body +3-4 lenses with ease and had some space for flash, memory cards, filters and other things, I think I could have added a tablet or small laptop, but the bag would be too heavy. Well built, all seams look strong, plastic looks quality, no complaints regarding quality whatsoever." - Dima 1" Width ProTapes Pro Gaff Tape $11.85  Tape is a life saver in countless situations but a must have for any portrait photographer. I use this tape any time I use my lighting and need to tape down the cables so no one trips. "Love this stuff. It's worth every penny! I've used gaffers tape in MANY ways. I just ordered a roll and used half of it at a photo gig to tape some light stands to concrete pillars (which allowed me not to extend the legs and take up space and cause a tripping hazard). I've used this stuff for years in many capacities - video productions, photoshoots, pro audio applications and even to cover the entire back passenger window on my car after it had been completely busted out by theif. I've taped to painted walls, carpet, dresses, very hot light fixtures, audio and power cables, metal, painted metal, people, etc. It's awesome 99.9% of the time and never leaves residue unless it's your fault." - Bradley #AskGaryVee $16.93  Look, if you're a photographer or someone you know is a photographer trying to make money with photography you need this book. End of story. You can get the hard copy or on audio. I own all of Gary Vees books and they are all great but this one has the most applicable information for you to consume and use right away. 95% of my clients come from Facebook and Instagram (without adds) and that's because I use the information I learned in this book to slay the social media game. "Gary Vaynerchuk is an entrepreneur. I lead my review with that, because this book is an MBA in all things entrepreneur. He doesn't sugarcoat things, bulls*** you, or promise pipe dreams. What he does, is break down in common sense terms how to use Social media marketing and common sense to grow your business and succeed." - Send it! Four Sigmatic Mushroom Coffee $12.18  Don't let the name fool you. This coffee tastes nothing like mushrooms. If you're anything like me you're on the go constantly. Sometimes you don't have time to make coffee or stop at a coffee shop so this Delicious Organic instant coffee does the trick. Half the caffeine, double the mental clarity. Organic Lion’s Mane mushroom is a natural nootropic shown to support memory, focus & concentration. Been a big fan of these 'shroom coffees for almost a year now. First heard about them on the Tim Ferris podcast, and I've big been hooked ever since! The Lion's Mane mushroom is where it's at - it really acts as nootropic brain candy and never fails to give me a mental edge. It's also great because I've recently been trying to wane myself off of coffee, mainly because of acid reflux problems. And throughout that transition, the mushroom coffee has been fantastic because it only has the caffeine of 1/3 cup of coffee and I experience no reflux symptoms that I get from regular coffee. Triple win! Aside from the Lion's Mane, the coffee mix also has Chaga in it which is great for immunity and skin clarity. Cree XP-L LED Rechargeable Flashlight $35.99  I good small compact flashlight can come in handy on a late shoot. This is one of those gifts you hate to go buy yourself but as a gift you'll be happy you have it in your camera bag. "This Soonfire rechargeable flashlight is a mini powerhouse. Easily fits in palm of hand yet puts out a strong , bright , expansive beam of light. Being able to charge the battery without removing it from flashlight is extremely convenient ; can recharge with Included USB cable at home , in vehicle , or with portable battery charger." - Gapster Fitbit Charge 3 Fitness Activity Tracker $122.95  Photographers are on the run alot. We definitely get our steps in when we aren't stuck inside editing photos all day. It's nice to keep track of those miles we put in at least it is for me. It's also nice to have a watch when your on a schedule as we usually are. "I absolutely love this Fitbit- it’s my 3rd. A little wider than my Alta but doesn’t feel as bulky. I love that I can see my steps and heart rate without changing screens. I also like that I can see who is texting me." - cate612 Maxpedition Micro Pocket Organizer $14.39  Perfect compact case to hold and organize all your smaller items to keep your camera bag nice and organized. Great things to store in this for a variety of situations could be rope, zip ties, flashlight, lighter, super glue, tape, Ibuprofen, knife, safety pins, extra batteries, an extra memory card and some cash because it's always good to have some in case there's a fee at a trail head you didn't know about. "Very good job on the stitching. I am always wary of pouches etc from Amazon. You just never know what the stitching is going to look like. I was very satisfied with the stitching on these. The materials are of excellent quality, and feel very solid and durable." - Bill Lask ACEIken Golf Umbrella Windproof Large 62 Inch $17.99  I know, if you're from the Pacific North West like I am you probably think you're too good for an umbrella but fact is if your a photographer in the PNW you will shoot in the rain at some point and a good umbrella has saved my equipment more than once. I choose to use an umbrella instead of rain guard for my camera because this keeps me, my camera, and lens dry. I just hold the umbrella in my armpit. It's not the most convenient but it works. Sony 85mm F/1.8-22 Fixed Prime Lens $548.00 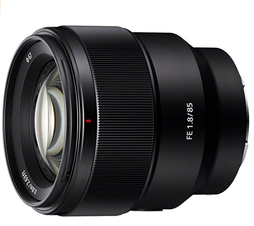 Of all the lenses I own this has to be my favorite. You simply cant beat the quality it produces for the price. This is the sharpest lens I've ever used and the Bokeh is so dreamy. This is a MUST HAVE for any Sony lover. "Most cost effective choice for a portrait lens out there for Sonys. The pics from this are very sharp, the focus very quick. If you're trying to decide between this and the Zeiss 85, save some money and choose this lens. It's a great buy!" Jim F Acer Aspire 5 Slim Laptop, 15.6 inches $339.98  Being able to edit on the go is a huge advantage for any photographer. This compact affordable laptop is perfect for any true professional. "This laptop is a fantastic deal for the price. The laptop uses the same body as the $500+ Acer Aspire 5 models which is to say it is a fantastic body that is light and compact and very portable. Ram can easily be upgraded and adding a 2.5" SSD allows for additional memory over the 128gb included on the computer. The keyboard is comfortable to type on and as a bonus still includes a full numpad even if it is a bit cramped. The screen is a solid IPS screen and when you consider the price tag is amazing and beats a lot of the more expensive laptop screens I have seen." - Chris Rosewill Kate 5x7ft Grey Photography Backdrop $32.00 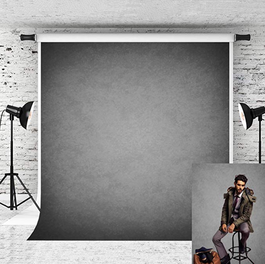 Every Portrait photographer needs at least one tried and true quality backdrop. Kate on amazon has the best quality fabric backdrops I've ever used. She has multiple colors and designs. They are top quality. "Worked great and made a huge difference in the pictures." - Nelson P Cheaplights - Heavy Duty Muslin Clamps $7.99 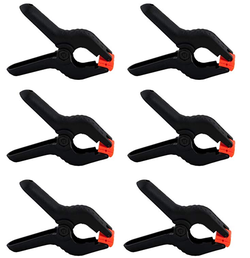 Clamps, always good to have in your camera bag in case of emergencies. These are life savers even used for wardrobe to save the day more than once. "Does what it needs to do. Holds up backdrops and blankets well (even with my 90 pound dog laying on the blanket it's holding up)." - Booknerd28 JOBY GorillaPod 3K Kit. Compact Tripod $49.05 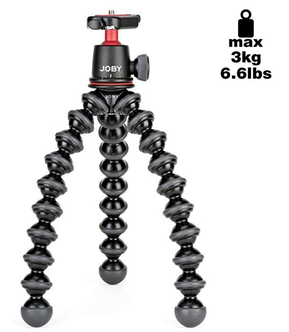 Every photographer needs a tripod in their camera bag. "This acts like a tripod in places where its impossible to get a real tripod into! or bend all three legs and use it as a selfie stick. this is the perfect pod to do run and gun shooting for vlogs on youtube. The new 3k/2k/1k/5k models have enhanced glue on the ball joints so it wont go loose as quick as the previous older gen models. the panning mode on the ballhead is perfect, and comes in handy for those cinematic shots for sure. the material used is great and feels EXTREMELY sturdy in my hand. my DSLR didnt budge one bit while on this pod. Leave it to joby to make an excellent product!" - Marks Tech Himalayan Glow Salt Lamp $16.97  This is a great little addition to any photographers work desk for peace and relaxation. Any photographer knows the anxiety that can come with editing and waiting for files to transfer or renders so the calming glow from a salt lamp goes along way. "I purchased this salt lamp with low expectations of any kind of health benefits. The price point is low enough to be worth the risk and it is a good looking decoration. I can say that I have been blown away by the performance of this lamp. I turn it on when I sleep on a dim setting and have noticed that when I wake up, I can breathe better through my nose. I assume this is due to the dust, pollen, general particulate attracting characteristic of the salt lamp. I have used all sorts of diffusers and oils, nose filters, etc and this lamp has given me better results than all of them. " - BJ Bonus Gift - Nespresso Espresso Machine $125.30  Okay so I know I mentioned coffee already but maybe Organic Mushroom Coffee isnt your thing. Maybe you prefer Espresso. Well there is no better Espresso maker on the market for this price. Nore will you find one easier to use and it's small and compact. Perfect for any photographers work desk. Just what you need to get you through those long hours at the computer editing photos. "I just love this machine. They did a great job with their new vertuo line. The coffee is always super creamy, regardless of the kind of coffee. The machine is so easy to clean, easy to be refilled, etc. It is also not that noisy, given the centrifuging technology on it. I really recommend." - Matheus 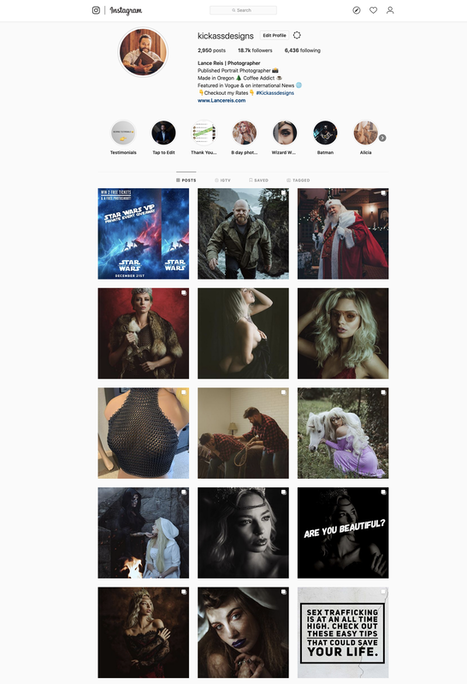 Clark County ScareGrounds was nice enough to invite me to their haunted house in Ridgefield Washington to take some promo photos of Beetlejuice & Lydia. As a huge Tim Burton fan I couldn’t resist. Trevor does the best Beetlejuice cosplay I’ve ever seen and in person his impersonation is even better. Make sure to see him live in preson every weekend in October. Trevor is a man of many faces. I’ve photographed him as Beetlejuice, Freddy Krueger, and Michael Myers. All of which you can find on my Instagram. If you enjoy this set make sure to check out my Instagram & facebook where I’m posting 31 days of Halloween Cosplay photos. Models: Sam York & Trevor Heineman-Overton /// Shot on my SonyA7iii at the one and only Clark County ScareGrounds. The ScareGrounds is conveniently located at the Clark County Event Center, 17402 NE Delfel Rd, Ridgefield, WA 98642. Parking is FREE! More info: Facebook | Instagram WARNING ⚠️ Some images in this post may be distressing to some. They depict The realities of war. Viewer discretion is advised. I became a photographer to tell stories. Some beautiful & some sad. As a story teller I want you to feel emotion when you see my photos. I want to share the beautiful side of life but that’s too easy & everyone is doing it. Fact is life is pain. We all experience tragedy & I think it’s just as important to show that side of life. Few things are as tragic as war. I wanted to do a concept in honor of fallen soldiers but I don’t sugar coat things. War is hell and I hope we conveyed that here. I flew to Texas to shoot this with my brothers and I am extremely honored they agreed to be a part of this and I am forever grateful for their many years of service and dedication to make an impact. If you or someone you know is experiencing PTSD call 1-800-273-8255 then press 1. Professionally trained clinical staff can help with substance abuse treatment, marital counseling, treatment for depression and PTSD. Run by the VA. Since 2007. Over 18,000 life-saving interventions. Answered 500,000 calls. Vets: Ryan O & Brendan D. | Midland Texas | Shot on my SonyA6000 | Smoke from my good friends at Oregon Airsoft Arena Horror Cosplay - Nightmare on Elm Street
Huge thanks to my Models: @goblin_teeth & @alyxandriamodel for helping me bring Freddy to life. Smoke purchased from: @oregonairsoftarena by @smokegrenades All shot on my SonyA6000 in Portland Oregon. See more concepts like this one on my Instagram below.
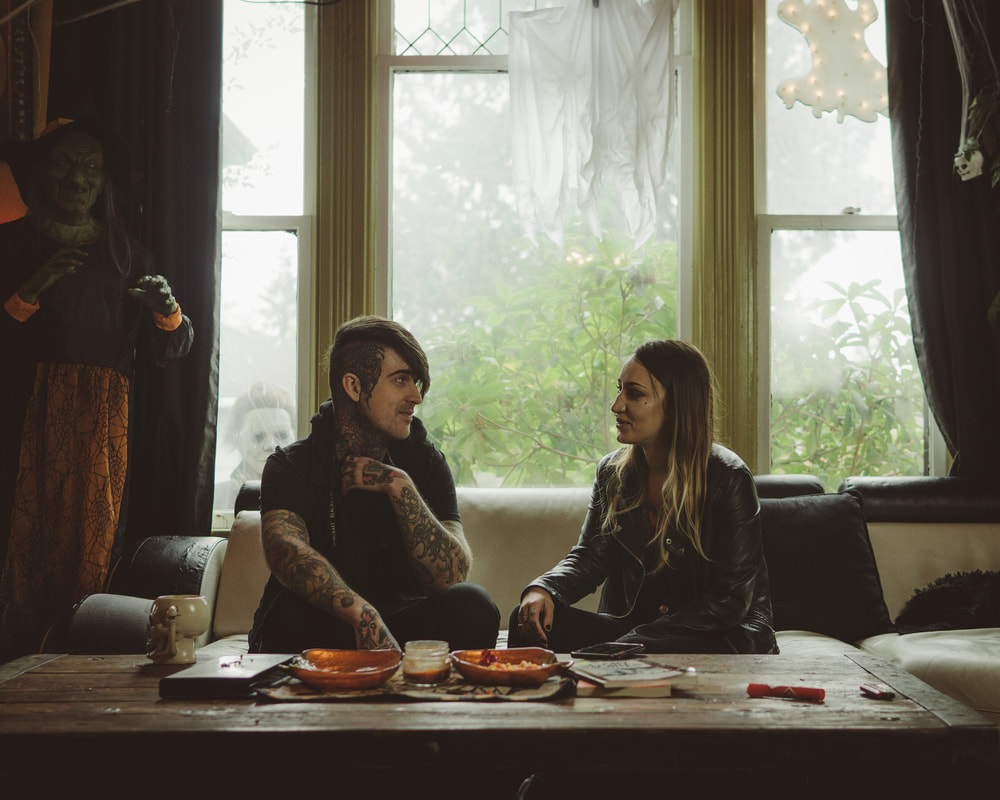
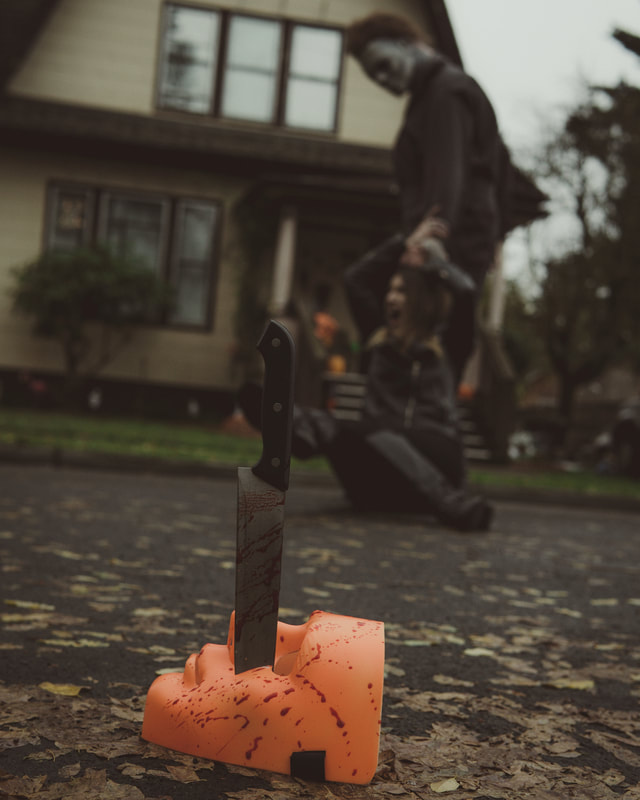
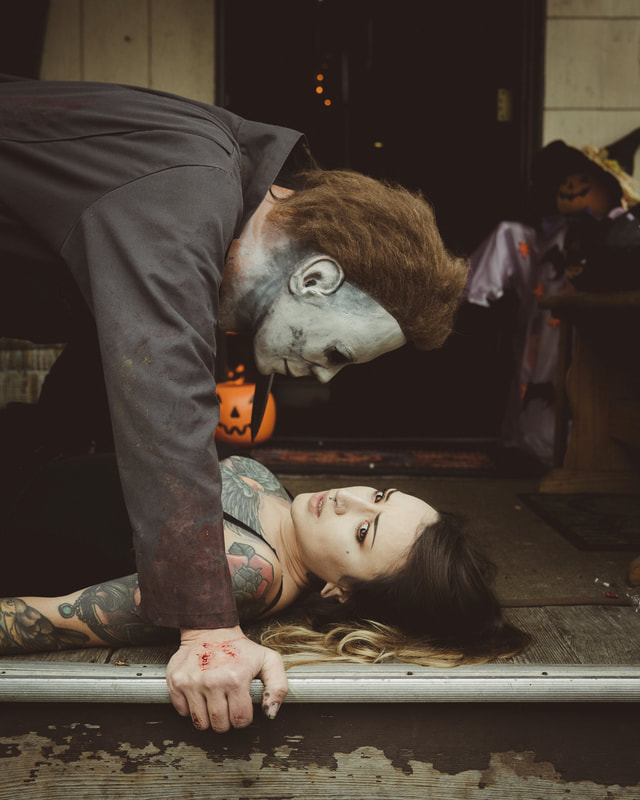
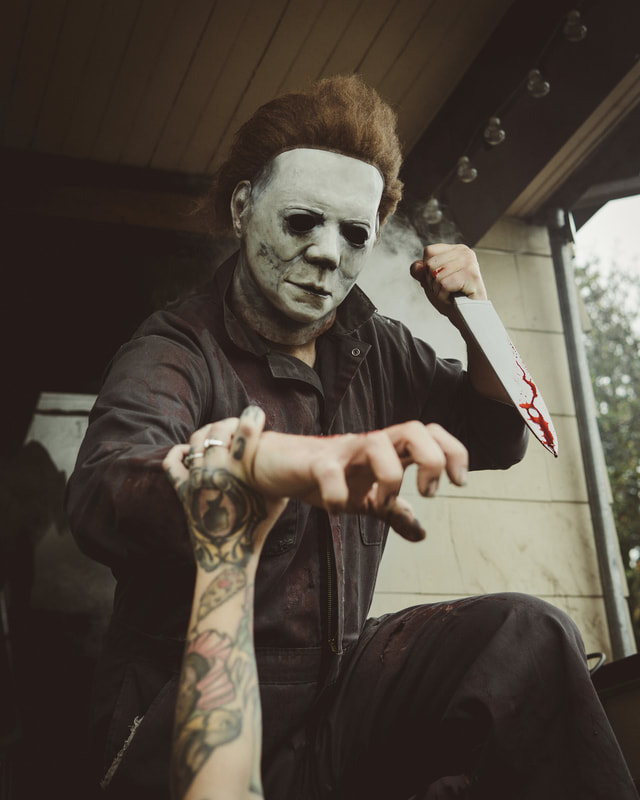
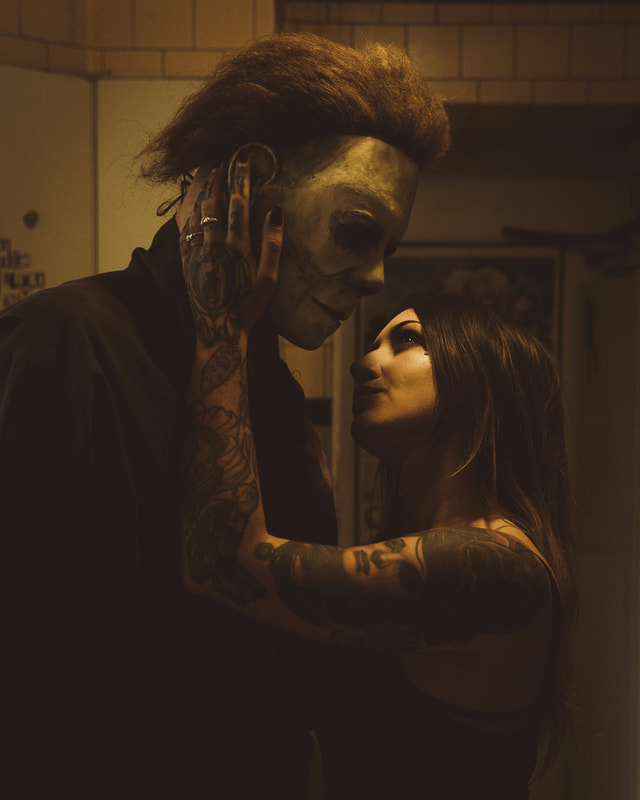
Horror Cosplay - Halloween
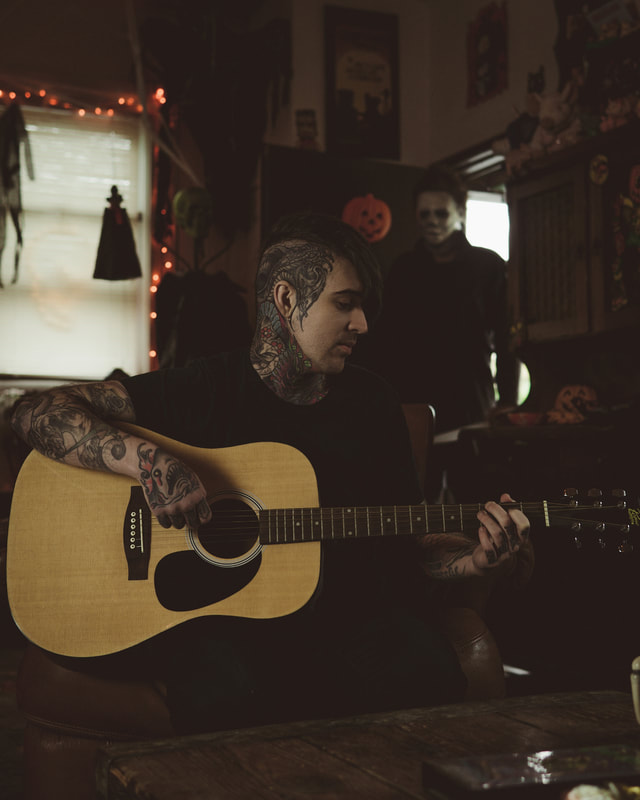
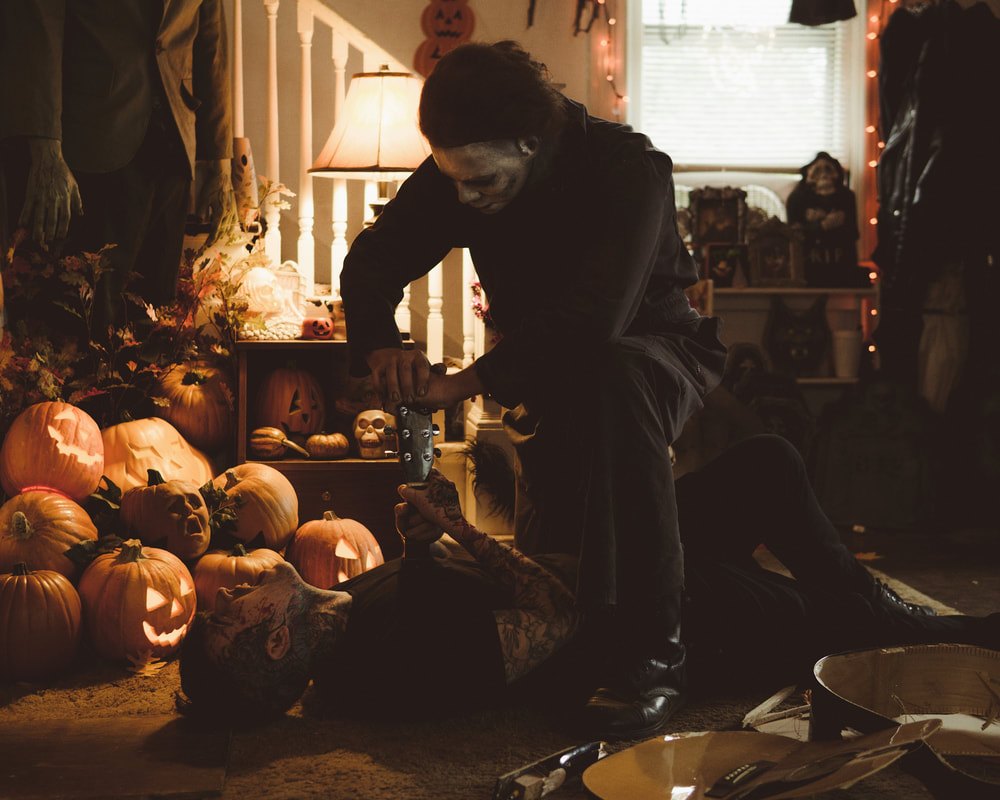
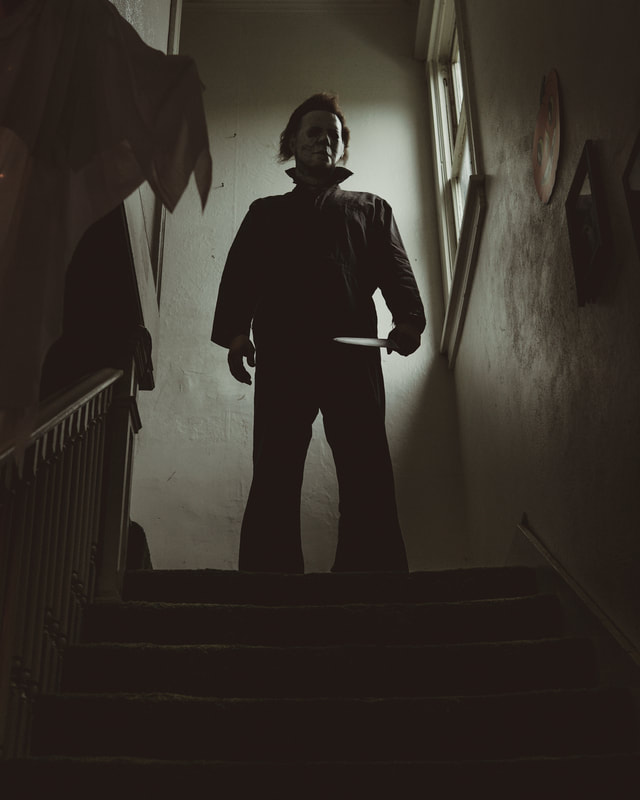
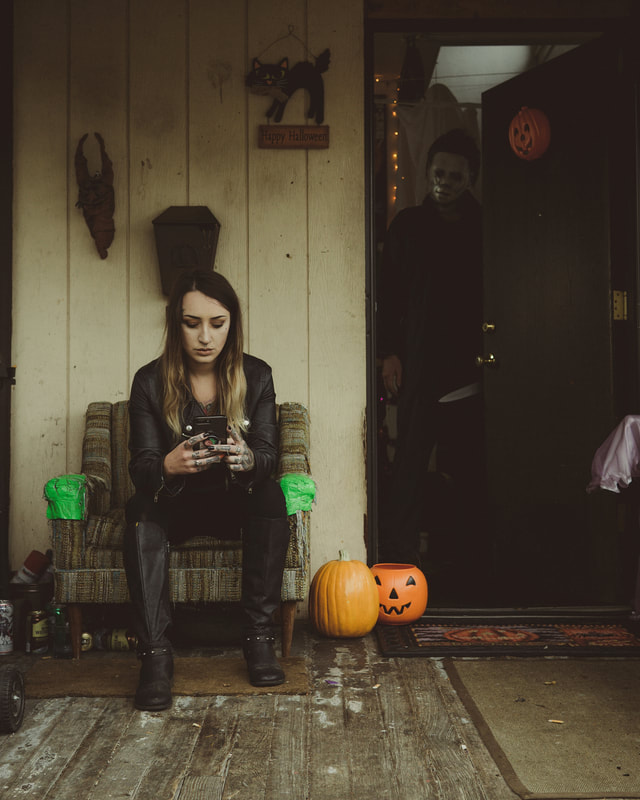
Huge thanks to my Models: @andrewgcalleri & @missmerandalynn & @goblin_teeth for helping me bring this Halloween concept to life. It was a blast! And yes we did sacrifice a guitar for this concept. Also the face on the pumpkin wasn't planned but I find it hilarious :) No one was hurt in the making of this series. All shot on my SonyA6000 in Portland Oregon. See more concepts like this one on my Instagram below.
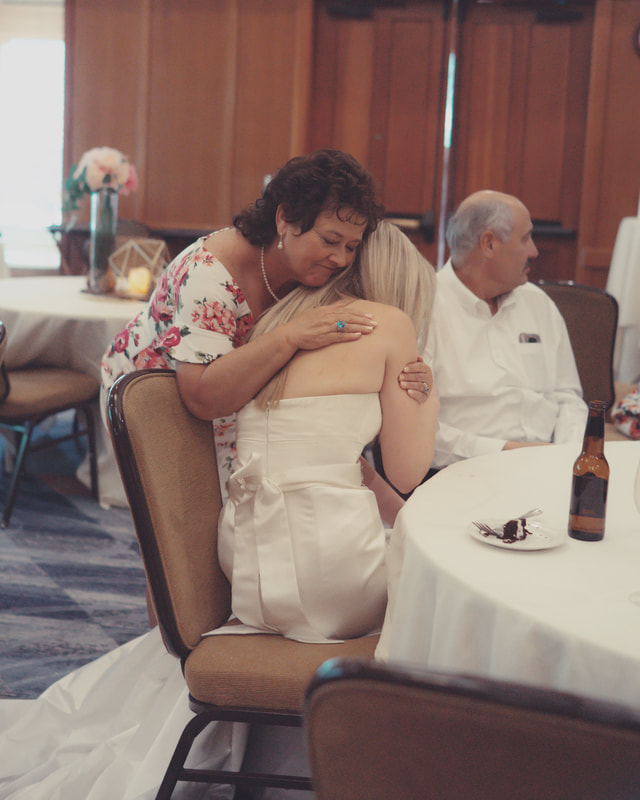
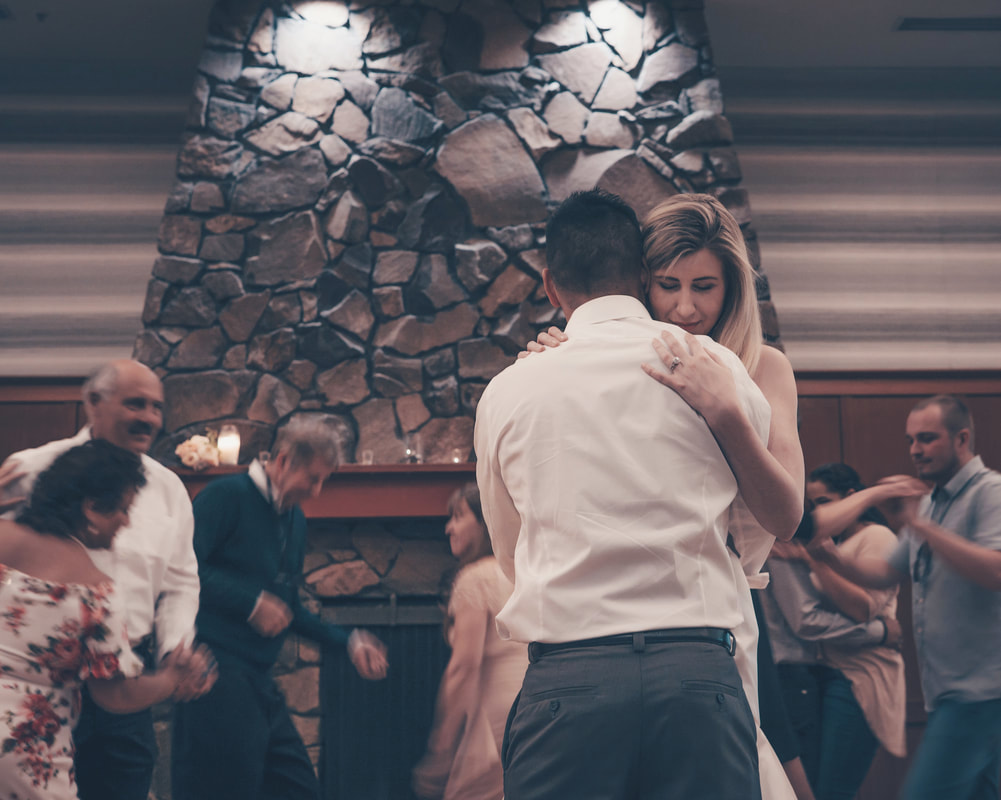
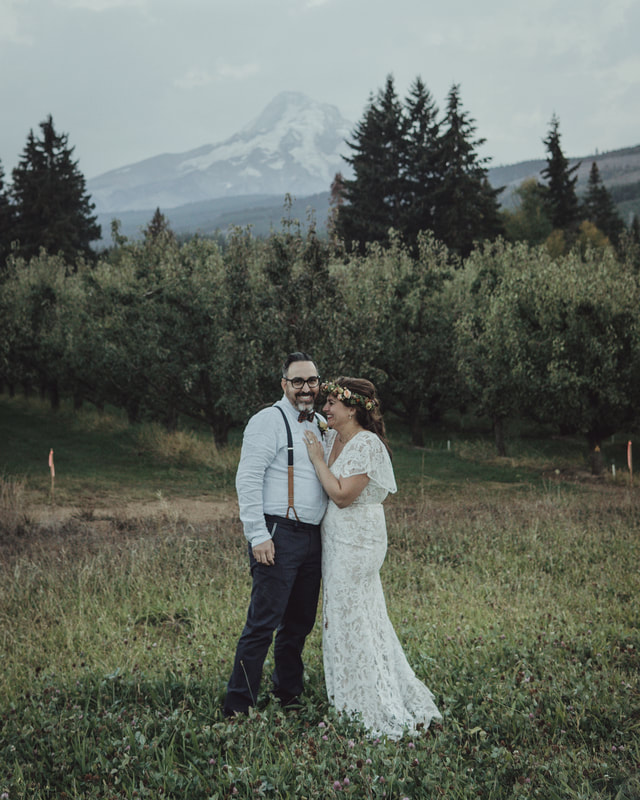
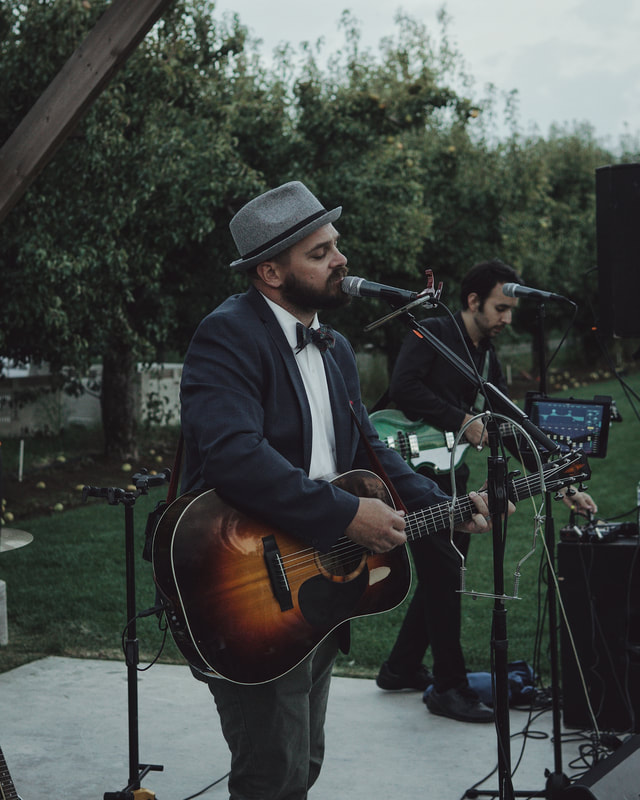
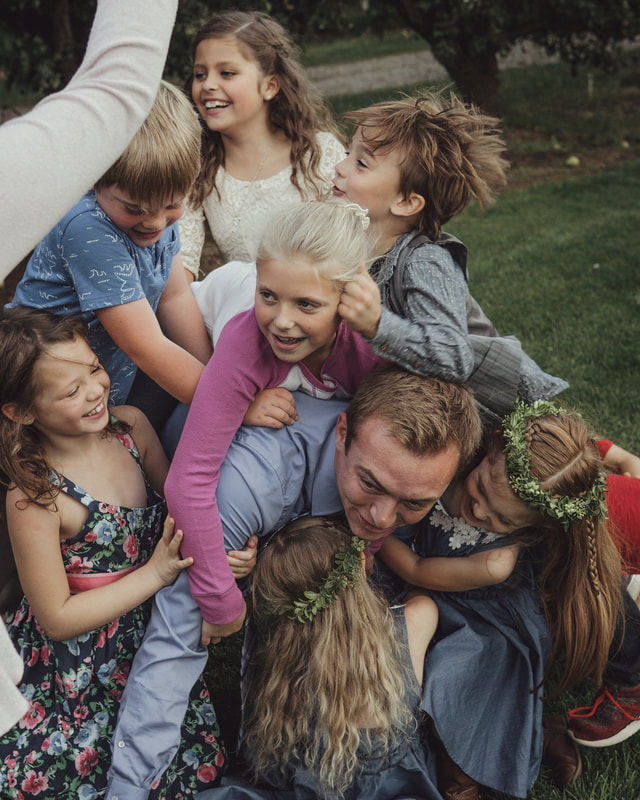
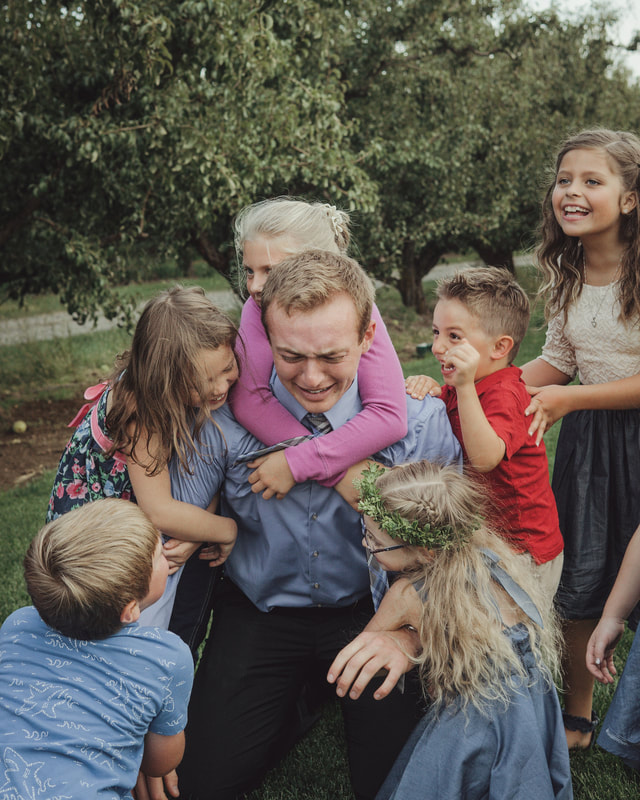
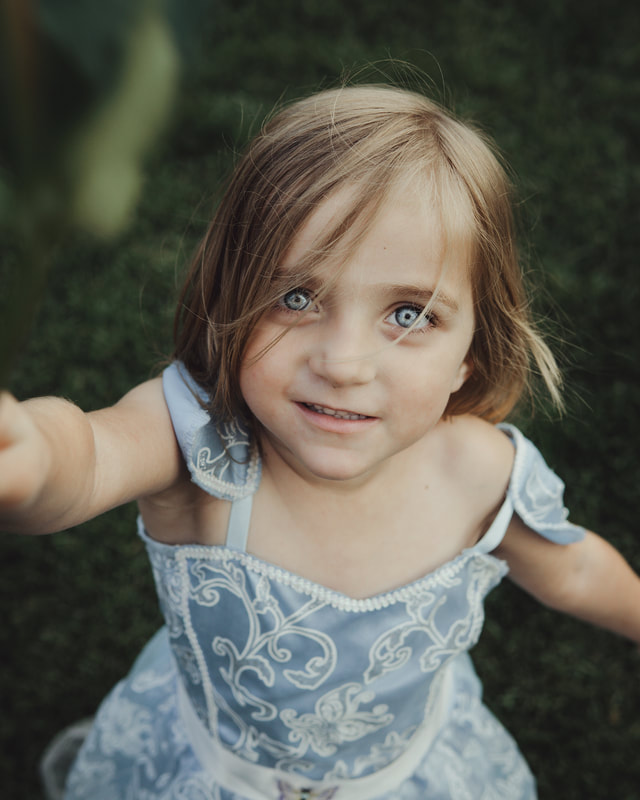
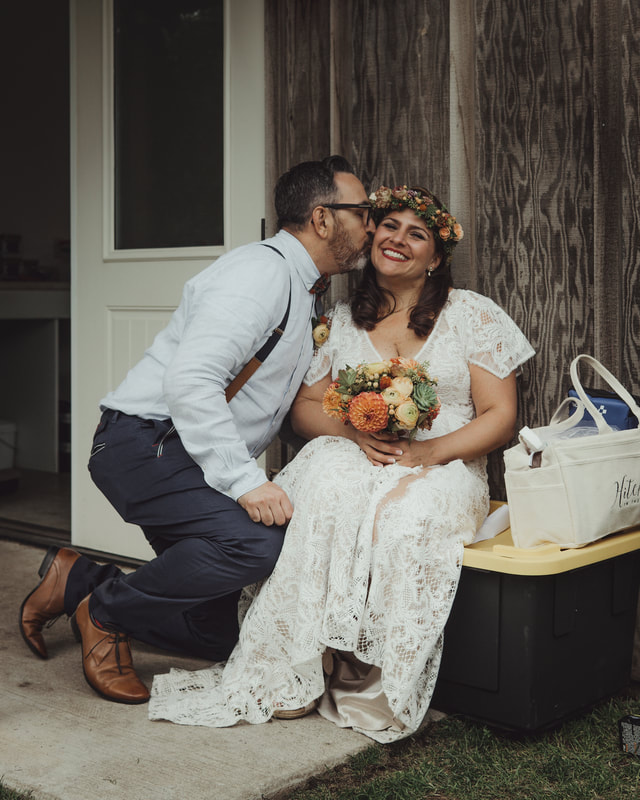
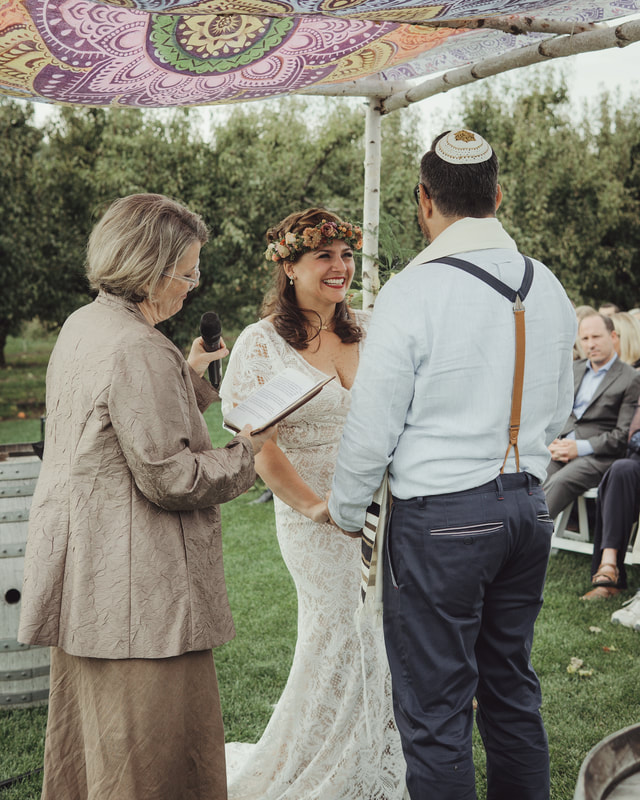
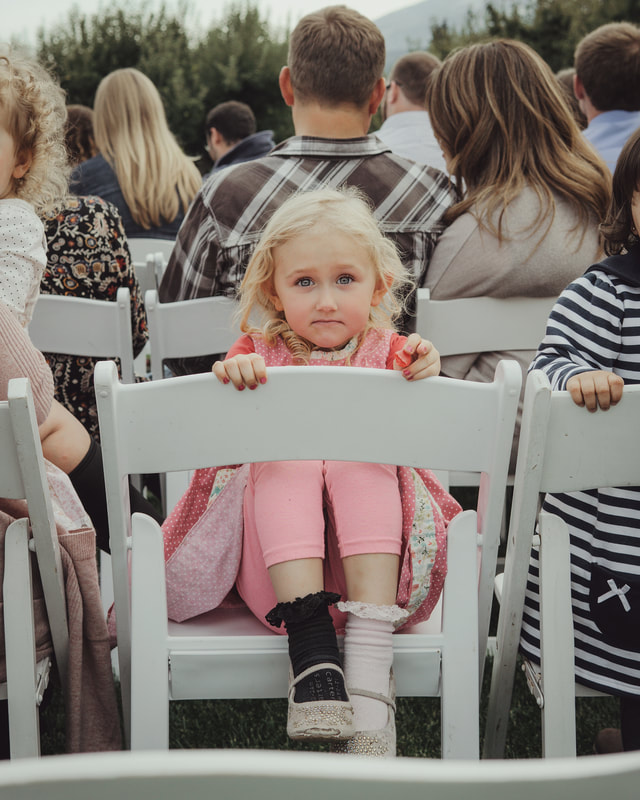
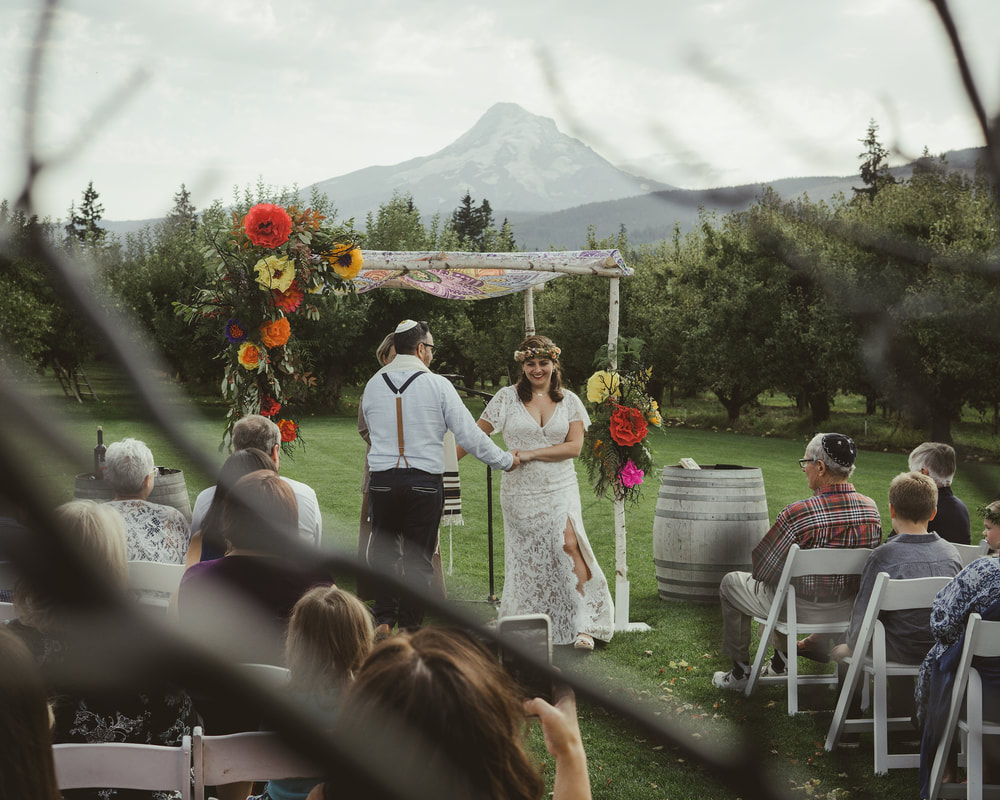
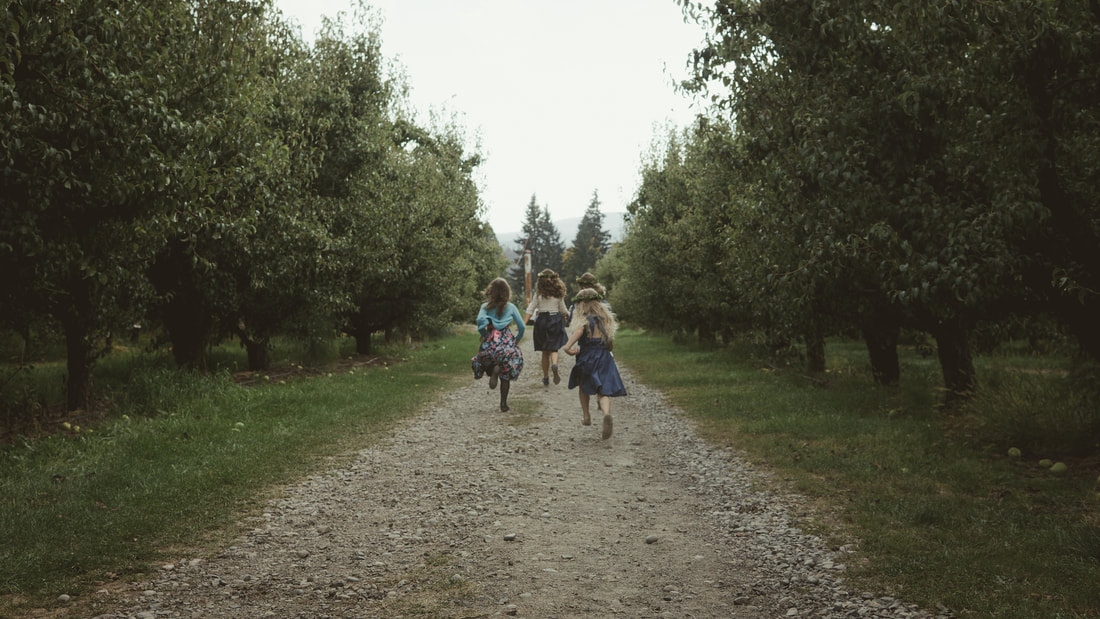
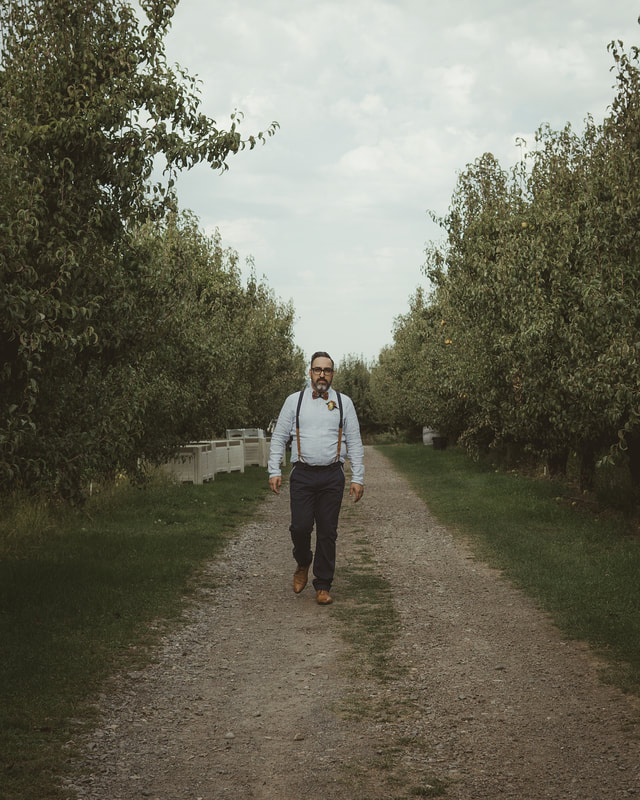
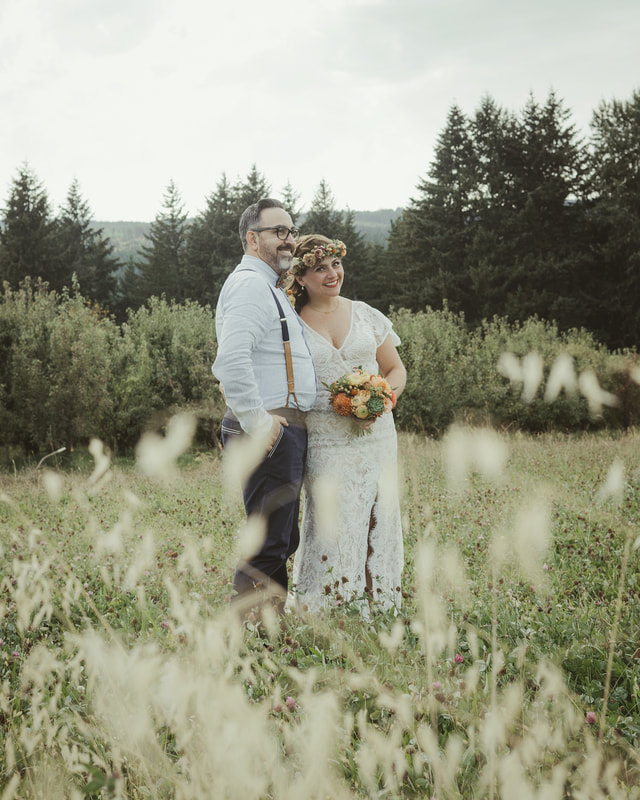
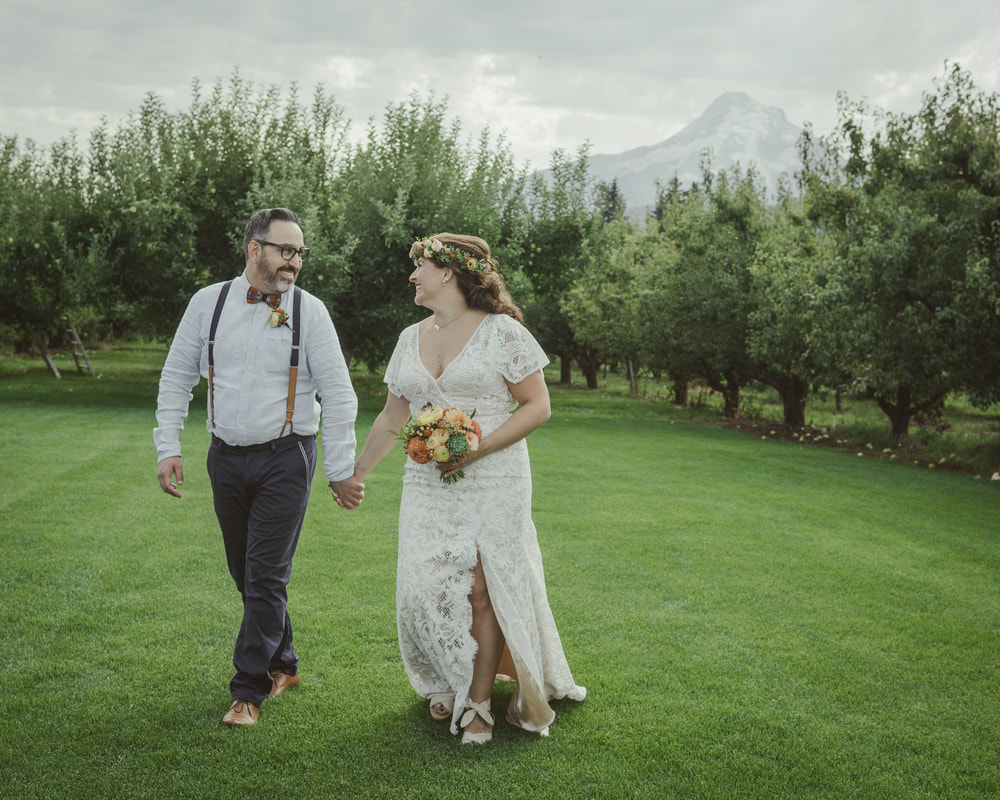
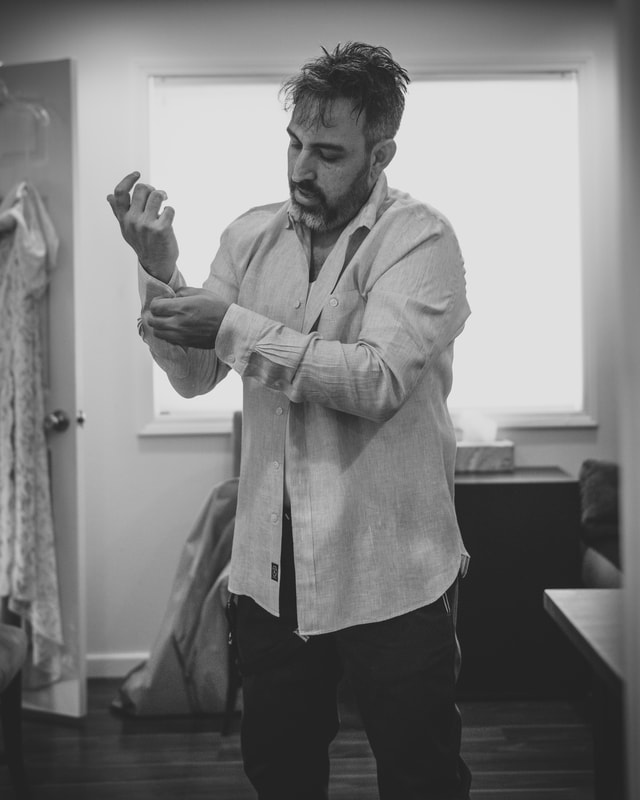
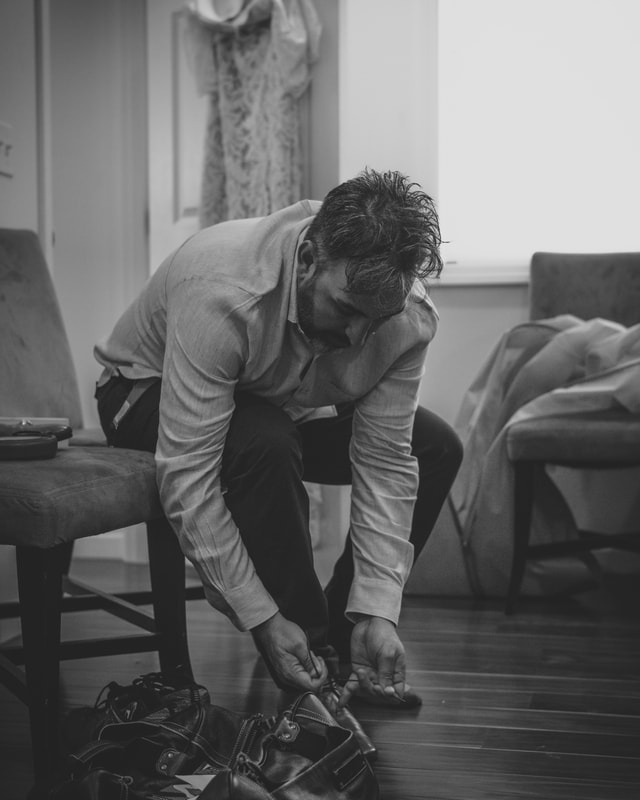
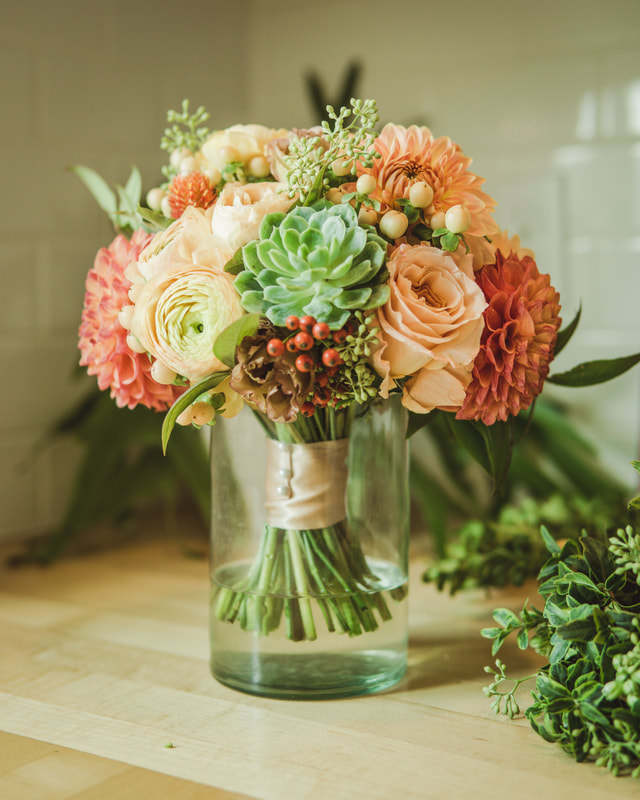
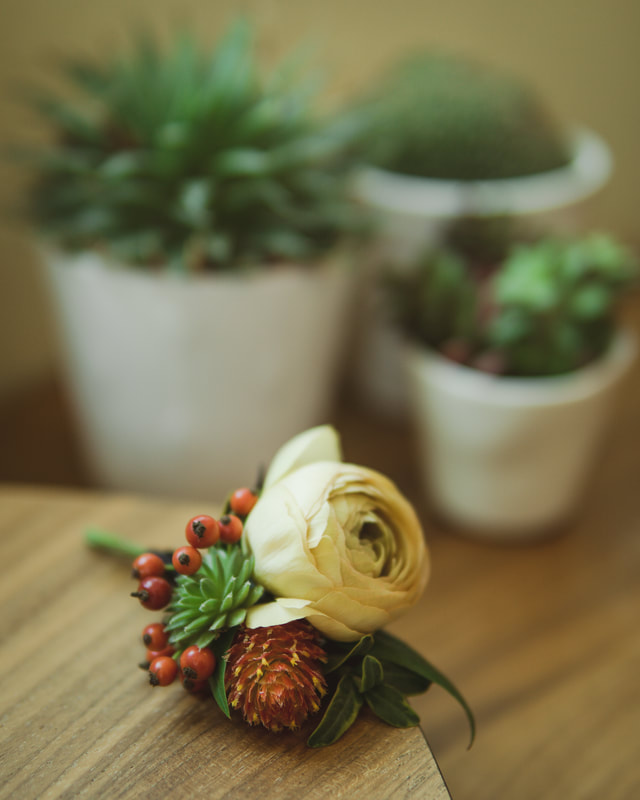
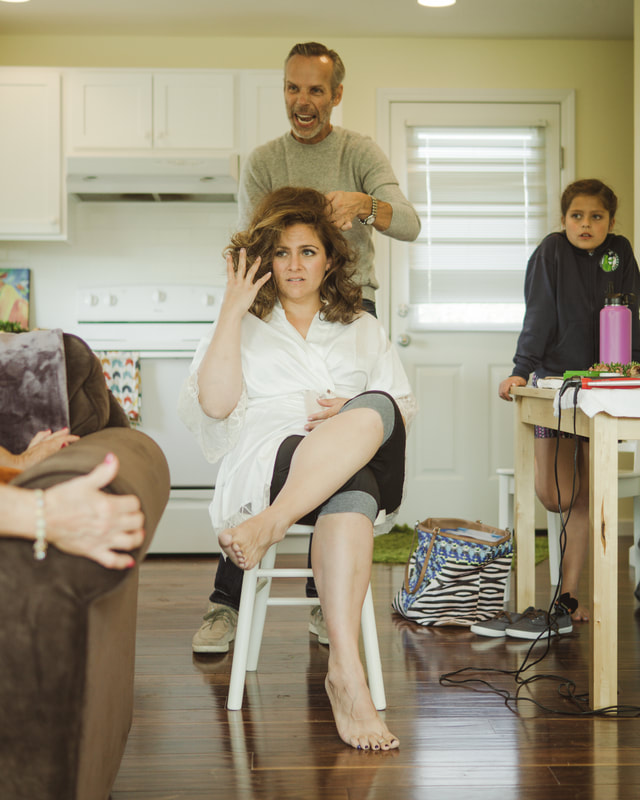
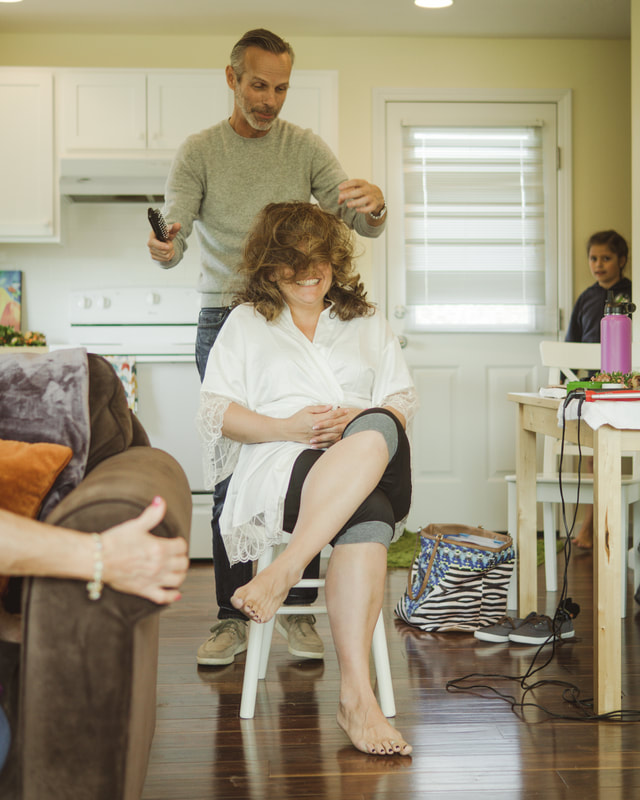
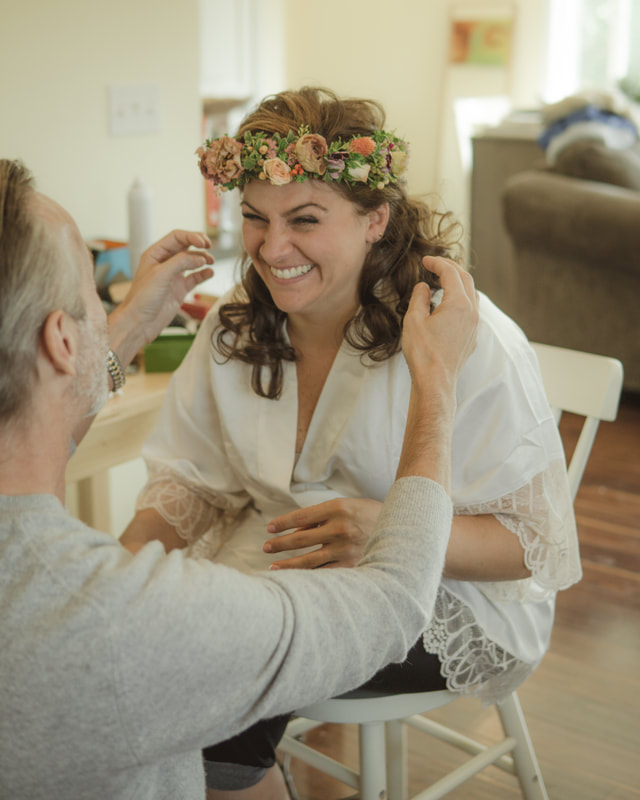
Oh boy.... Wedding photography. My style of wedding photography is more like street photography in that my focus is candid moments NOT posed moments. The thing I hate about traditional wedding photography is all the fake posing that goes into it. I mean, as much as I’d love to stand around for hours lining people up, ordering them around and taking photographs of every combination of family member & guest, I’d rather focus on all the small truly meaningful moments that seem to go unnoticed. To me those moments are what matter. Things happen at a Wedding, things that make your wedding yours, unique to you, and if Your photographer is busy ordering people around They’re going to miss those things. Your feet will be tired from standing and your face will hurt from fake smiling so much and you’ll have missed those things too. It’d be like those things never happened and all you’ve really got to look back at are groups of people, annoyed people, with forced smiles. Uniqueness doesn't have a template, it doesn't have a formula and it certainly can’t be pigeon holed. If a photographer comes to your wedding with any idea about how it should be, should look or should not look, then that’s not your wedding, or at least it’s not how your wedding should be documented. Breathtaking locations, emotion and gesture and dancing and wine and door knobs and fancy lights and funny faces and shoes should all be treated the same. Those things are yours on your day, and it all means something to you. I don't offer packages and there is no set amount of time that I’ll be there. I can’t tell you exactly how many photographs you’ll get, but I can tell you that you’ll get all the moments that matter. They're yours, I make them for you. If you or someone you know is looking for a non traditional wedding photographer contact me HERE |
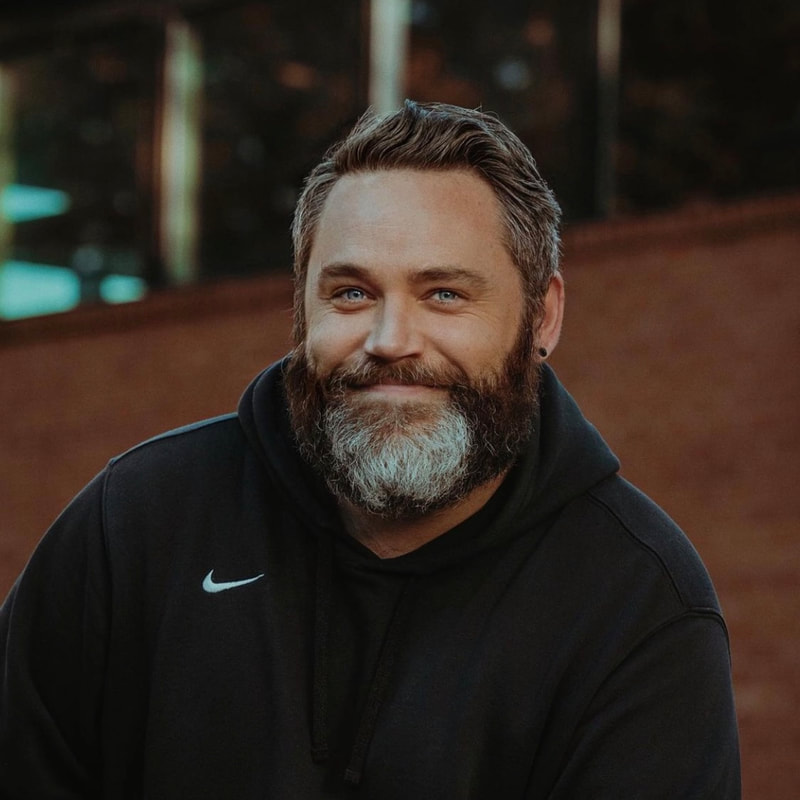
Author Lance Reis
Most Popular Articles
27 Posing ideas for women
27 Posing Ideas for Men Location Scouting 33 Must See Castles in the US How to grow your Instagram Low Light Photography Tips Photography for Beginners Free Resources Take Better Cosplay Photos Categories
All

|


 RSS Feed