Most Popular Articles

 Photography For Beginners (Shutter Speed, Aperture/F-stops, and ISO) Perhaps the most important part of photography is exposure. And no I don't mean likes on Instagram or shares on facebook. We will talk about that kind of exposure in another article. I'm talking about how you expose your photos in camera before you ever click the button. It doesn't matter how good your camera is or how good the composition is if your exposure is off it can ruin a great photo. I would know because I've done it many times. Of course if you're shooting in RAW like you should be than you can recover a poorly exposed photo with software like Adobe Lightroom. But even Lightroom can only go so far. If your photo is too over exposed you can't save the highlights and if your photo is too underexposed you cant recover the shadows. It's best to expose your shot how you want it before you take the photo and to do so you'll need to know the 3 basic elements of exposure: Shutter, Aperture, and ISO. 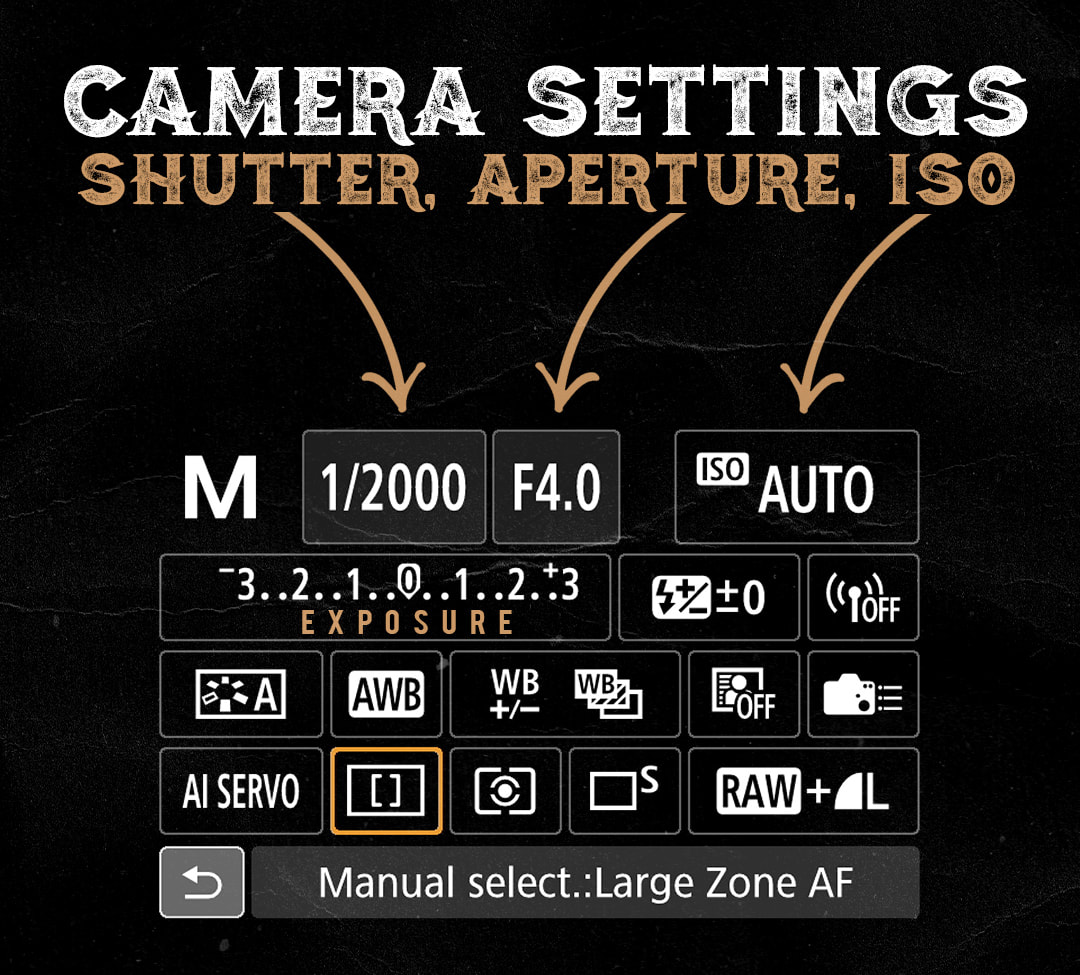 For the sake of time I'll assume you've located the shutter, aperture, and ISO buttons on your camera, if not, the photo above might help locating them in the menu however every camera is different. This article is specifically for shooting in manual mode. I know for a new photographer manual can seem scary but if you just learn these 3 elements of photography you'll elevate your game ten fold. Below is a cheat sheet to help you but I'll explain each one in depth below. 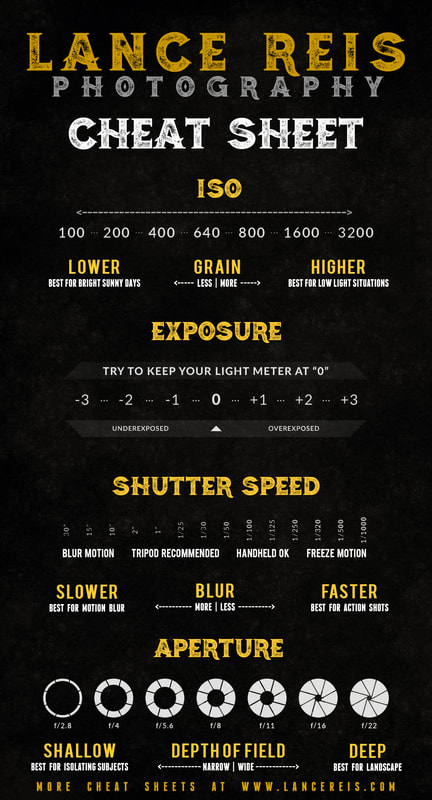 ISO I won't bore you with the mechanics of each element. My goal is to make this as short and easy to understand as possible. All you need to know about ISO is the Higher the number the more light your camera will bring in. But there's a caveat to ISO you need to know. The higher you go the more grain you will get. However grain isn't necessarily bad. Some photographers want that grainy look. That's their style. But if that's not the look you want it's best to keep your ISO lower than 1,000. That being said every camera is different and new cameras can go much higher with less grain than the older ones. For instance my SonyA7iii can shoot with ISO at 1,000 with no noise but my older SonyA6000 could only shoot at ISO 500 with no noise. It's best to play around with your camera in a dark location and find the sweet spot for your specific camera. Open the photos in light room and check the histogram to see what settings you used for each photo. Find the photo with the highest ISO but still has little to no grain. Remember that number and try your best to avoid going over it Last thing you want is to find out you just did a shoot for a client and all your photos are too grainy. 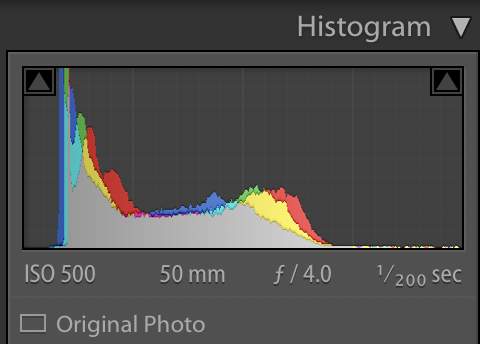 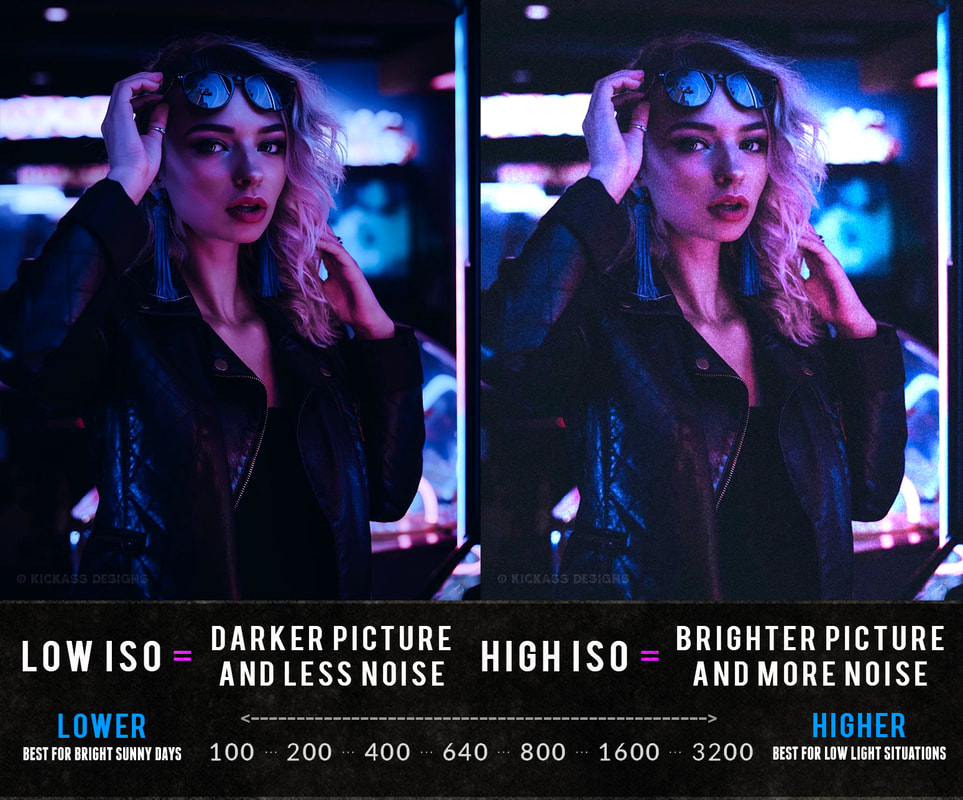 Aperture Aperture is a set of small blades that create a hole that determines how much light is let into the camera. The wider the hole the more light that comes in. The size of this hole is measured by F-stops. A large F-stop like F-22 means the hole is very small, and a low F-stop like F/2.8 means the hole is wide open. So the higher your F-stop the darker it will be and the lower your F-stop the brighter it will be however brightness and darkness aren't the only thing the changes when you adjust your aperture. Aperture also controls depth of field. Depth of field determines how much of your photo is sharp and in focus and how much is blurry. A low F-stop like 2.8 is very narrow and will only focus on a specific part of the image while leaving everything else blurry. The closer you get to your subject with a small F-stop the more narrow the focus will be and thus the more blurry the background will be. A low F-stop is how you get that creamy background and beautiful bokeh effect with the lights in the background. Just keep in mind if you're shooting portraits it's extremely hard to get the eyes both in focus and everything sharp at a low F-stop like F/1.4 or 2.8. I find F/4.5 is best to get everything on your subject sharp and in focus. If your photographing a beautiful landscape or group of people however you will want a large F-stop like F-11 or F-22 to make sure everything and everyone is in focus. Every lens is different and will determine how low you can go and how sharp an image looks at low aperture. My favorite lens in the Sony 85 MM 1.8 Prime  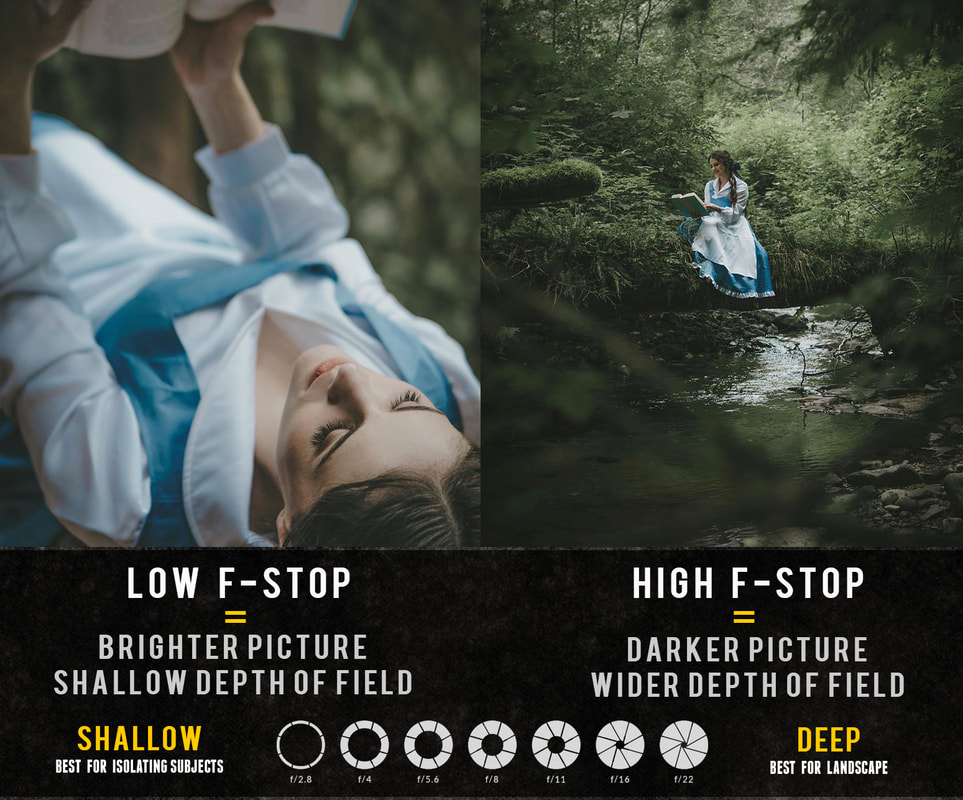 Shutter Speed Without getting technical all you need to know is the lower your shutter speed the more light is let into the sensor and thus the brighter your image will be. The caveat for shutter speed is this: The lower you go the more sensitive your camera gets to movement and thus the blurrier your photo will be if any movement is involved. This means movement of the camera itself and the subject you're photographing. I highly suggest if you go under 1/100th of a second you use a tripod because anything below that and your camera will detect movement and the photo wont be sharp. Just remember your shutter speed effects brightness, darkness, and blur. For example if you want to catch movement of a athlete or waterfall just as it is in real life with no blur you'd want to use a fast shutter speed like 1/500th of a second and up. If you want the creamy smooth blur effect on a waterfall or a light trail at night you'd want to use a slower shutter speed like 1,5, or 10 seconds. A tripod is a MUST for slower shutter speeds. This is my go to Tripod. 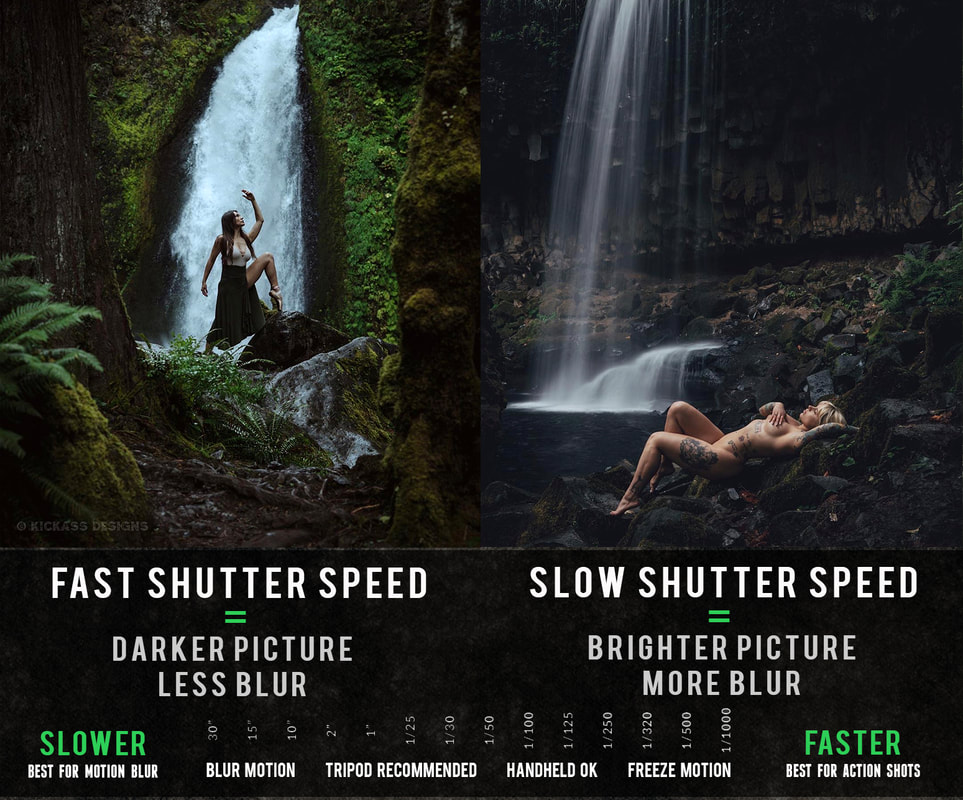 Now that you know how each of these elements effects your exposure it's important to remember each one plays off the other. If you change one you'll have to change the rest. Lets say you're photographing a sporting event. High action, lots of movement. You'll need to crank up your shutter speed so your subjects aren't blurry. Probably 1/1000 and up. However, by doing so that will make your images darker so to makeup for the shutter speed you'll have to bring up the ISO. Lets say you're photographing a beautiful landscape or group of people, you'll want a large F-stop so everything and everyone is in focus. That will however bring down the brightness so you'll have to bring up the ISO and slow down your shutter speed to something like 1/125 to makeup for it. It's a dance but the more you do it the easier it will get. Of course there are pre-set modes on every camera to make this easier but then you have less control. Practice is the only way you will truly master your camera so get out there and practice, practice, practice. Shoot in RAW The 4th Element I think every new photographer should know is the power of shooting in RAW instead of JPEG. RAW files are a format that captures all the image data from your camera. ... Because no information is compressed with RAW you're able to produce higher quality images, as well as correct problem images that would be unrecoverable if shot in the JPEG format. Of course you'll need a program like adobe Light room or Photoshop to edit the RAW file but you have so much more to work with. Shooting in RAW will elevate your photography tenfold. I hope these tips help. Let me know if they did in the comments below and make sure to connect with me on Instagram HERE
3 Comments
Gene
8/20/2020 07:16:38 am
You're such a 'Heavenly sent". What a masterpiece! You've made Exposure triangle such s lovely game to play. All I have to do is practice and practice like I practiced to change the gears of my car.
Ron H Fovargue
8/30/2020 10:02:29 am
Thank you !! Your comment will be posted after it is approved.
Leave a Reply. |
Author Lance Reis
Most Popular Articles
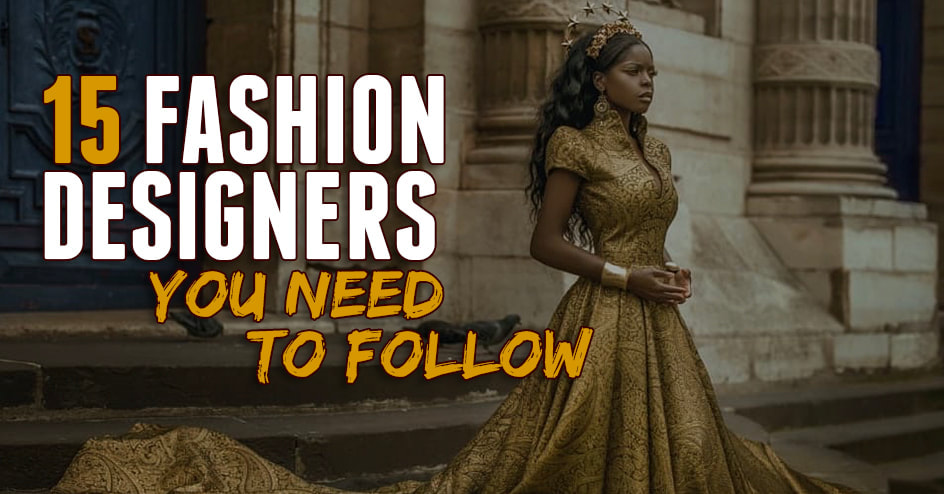
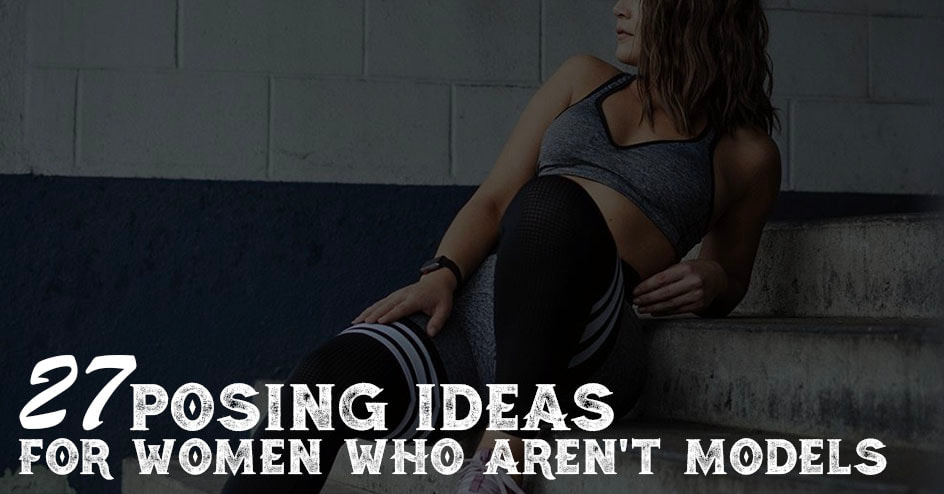
27 Posing ideas for women
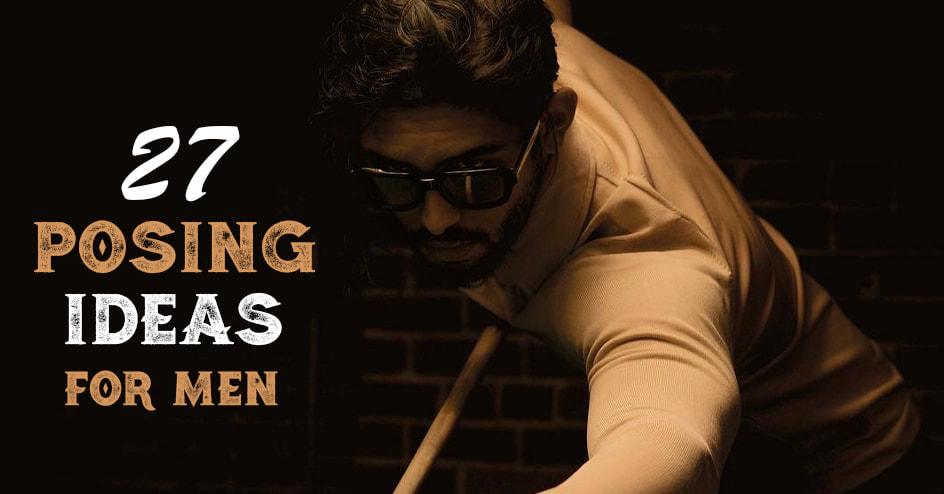
27 Posing Ideas for Men Location Scouting 33 Must See Castles in the US How to grow your Instagram Low Light Photography Tips Photography for Beginners Free Resources Take Better Cosplay Photos Categories
All

|
 RSS Feed