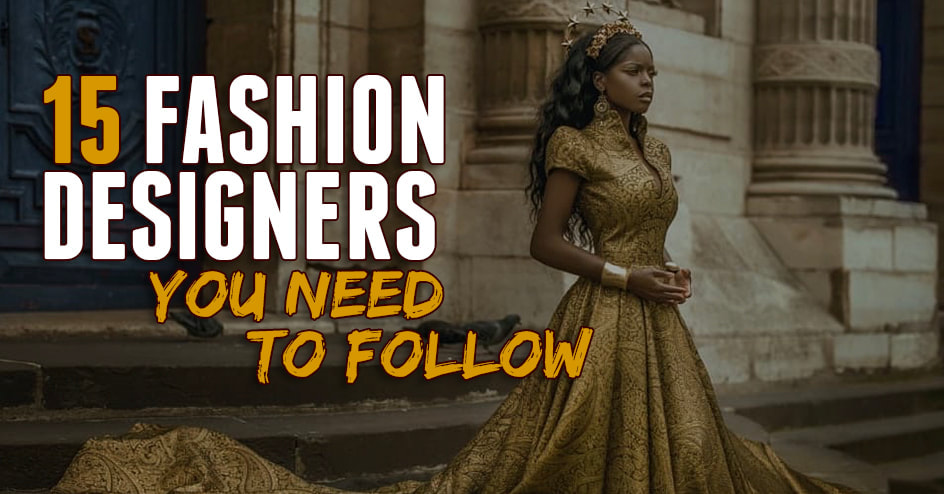
Most Popular Articles

 As a photographer you know that smoke and fog can add a dramatic or even cinematic element to any photo but did you know there are numerous ways to add smoke or fog to your photos? In this article I will break down the various ways you can add smoke to your photography to get a more cinematic vibe. Most importantly keep in mind you should always have water and a mini fire extinguisher close by when using smoke. Safety is number one and never leave a trace. If you use a smoke grenade outside make sure to let it cool off and take it with you to throw away. Also keep in mind smoke pointed directly at the ground can stain the ground. All the photos in this article were taken by me. If this article was useful make sure to connect with me on Instagram HERE and find more free resources for photography HERE  Model: @carmacosplay on IG 1. Smoke Grenades What you need: Smoke Grenades from Enola Gaye® Advantages: User friendly, thick smoke, multiple colors to choose from, no power required. Disadvantages: Strong odor, can stain the ground and clothing, gets expensive, outdoors only. Why save the best for last when I can start with the best? Smoke grenades are my favorite on the list because they don’t require power, have multiple color options and outputs of smoke to choose from. You can get a short small burst of smoke or a long thick steady stream of smoke. They do however spark at first so you do have to be careful where you use these and always have some water around just in case. I wouldn’t use one in a dry field. Also if you’re buying a lot of them it can get expensive but as far as smoke grenades go there is no better brand, infact Enola Gaye® is offering a 15% discount if you use my coupon at checkout! How cool is that!? Just use the coupon KICKASS15 at checkout. 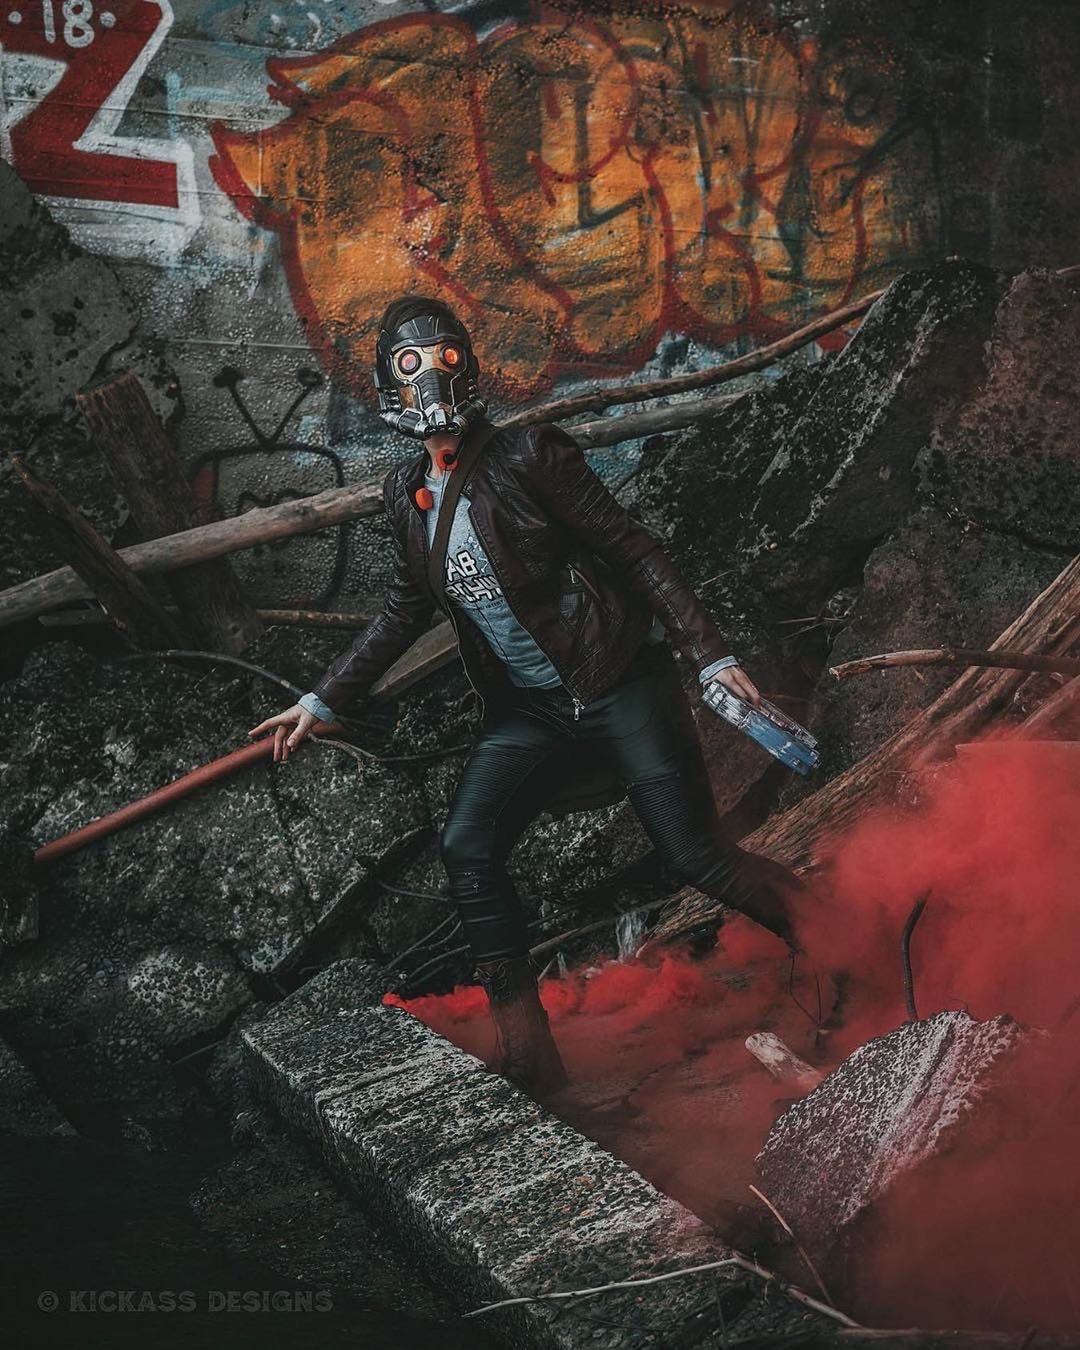 Model: @bukkitbrown on IG 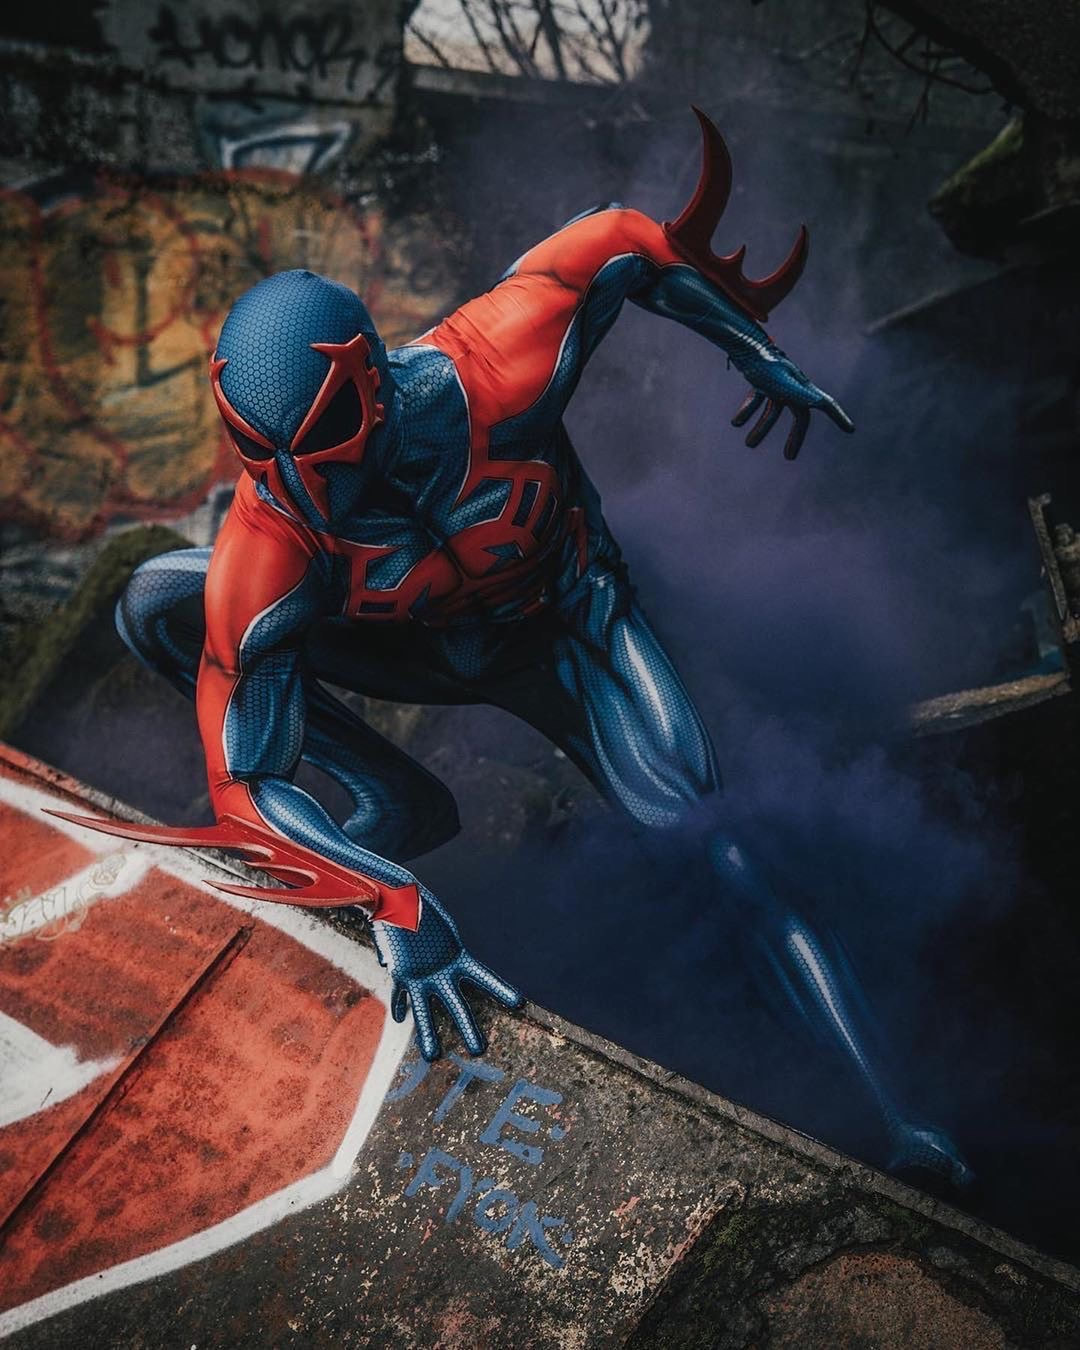 Model: @hoptownspidey on IG 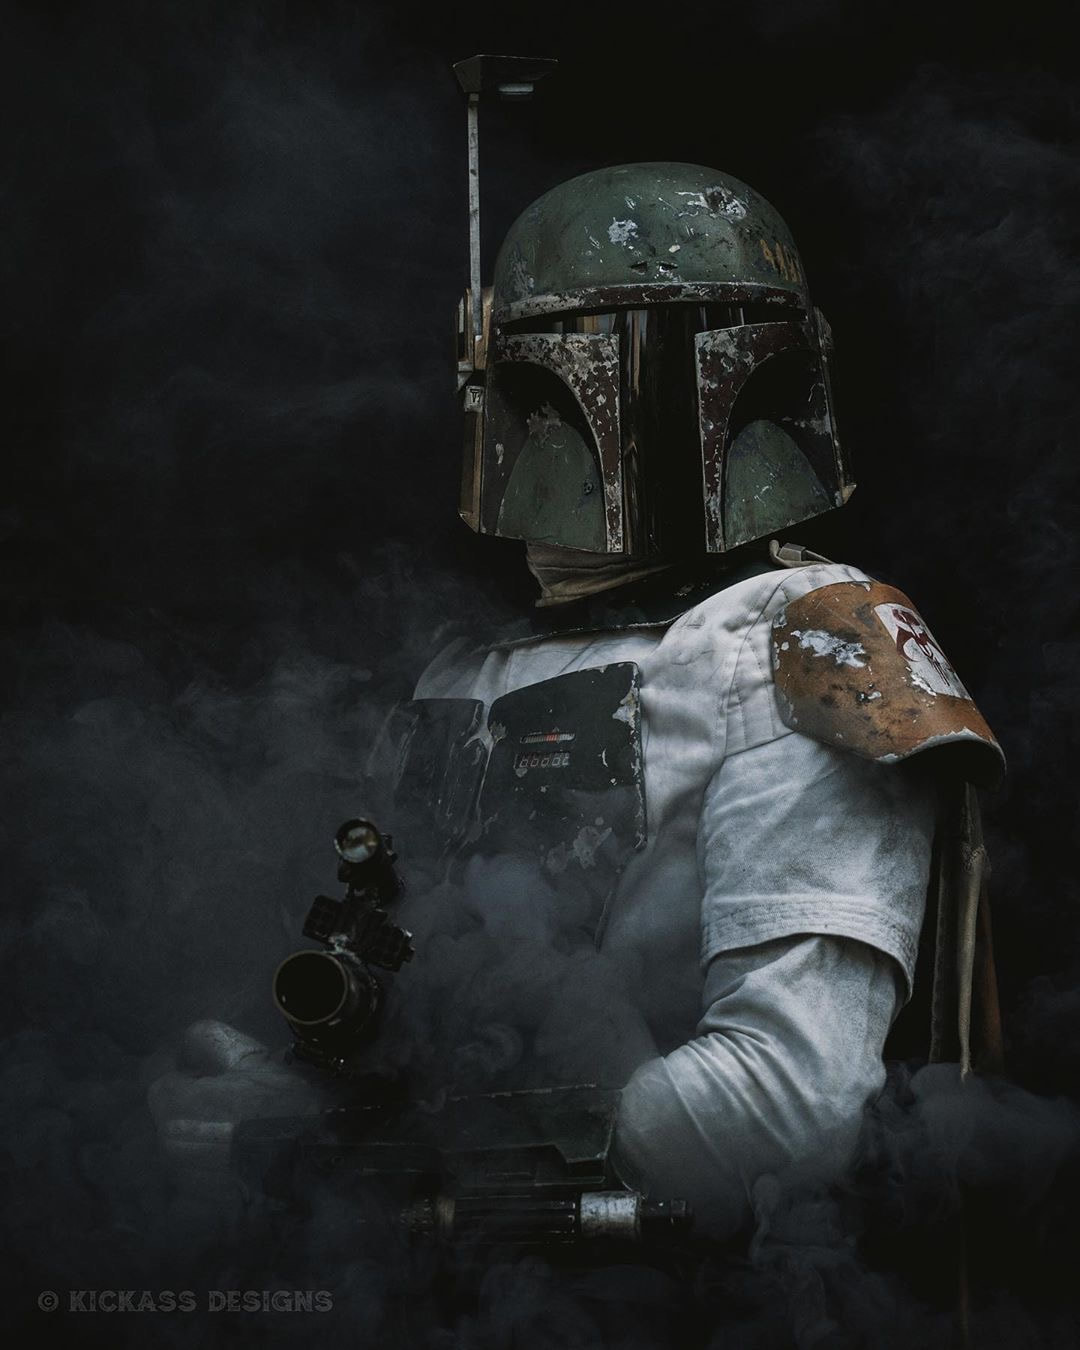 Model: @leftcoastavenger on IG  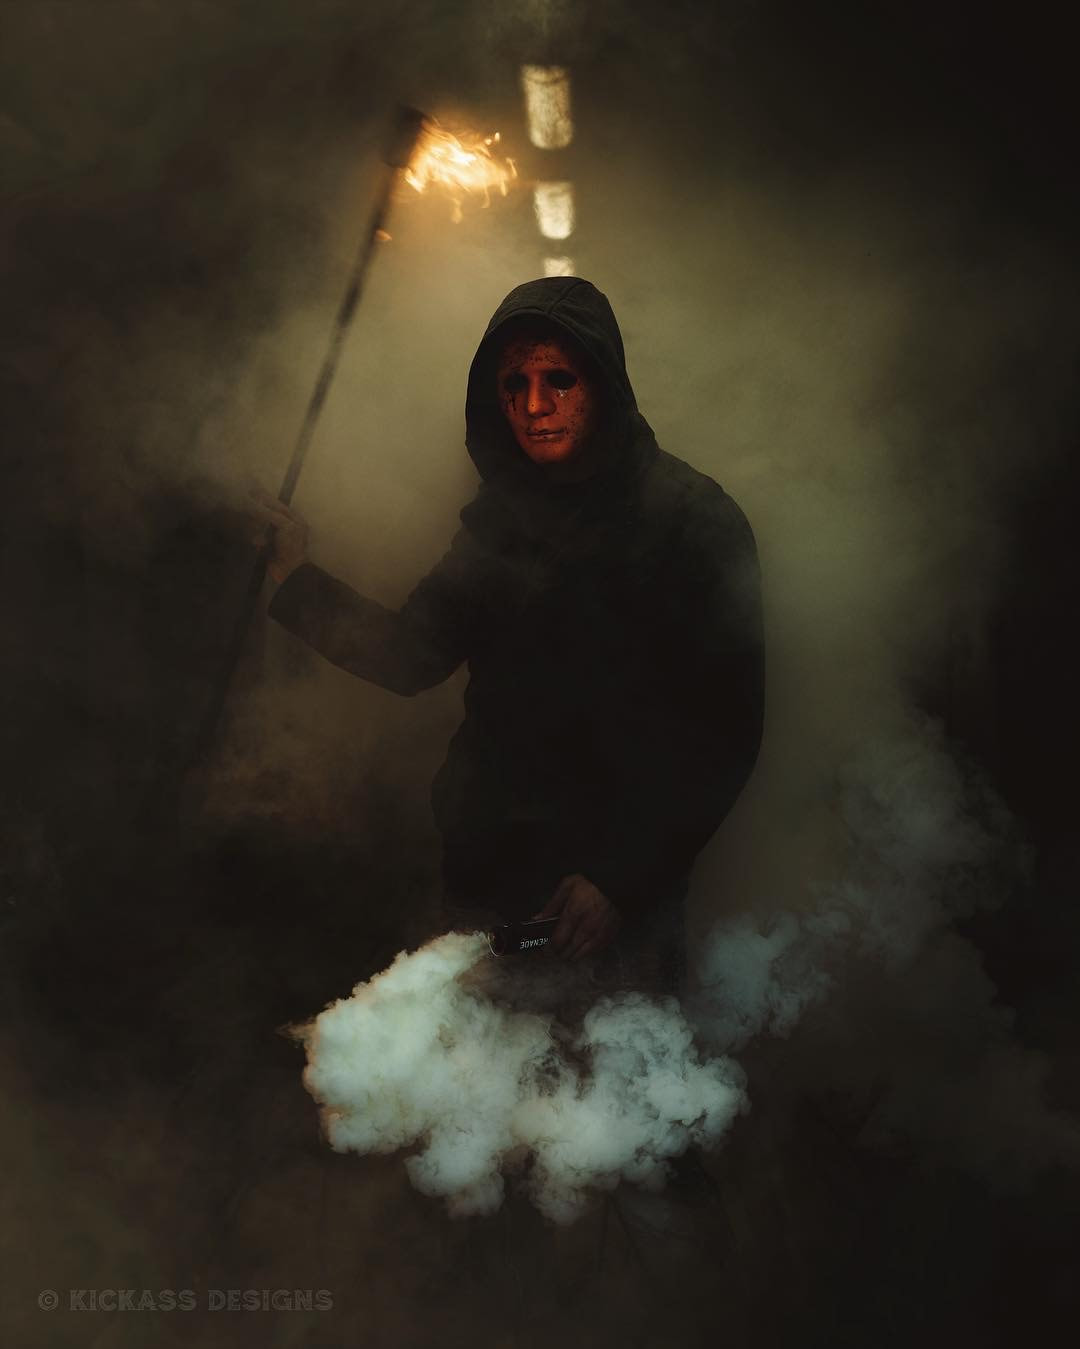 Model @jake.trenda on IG 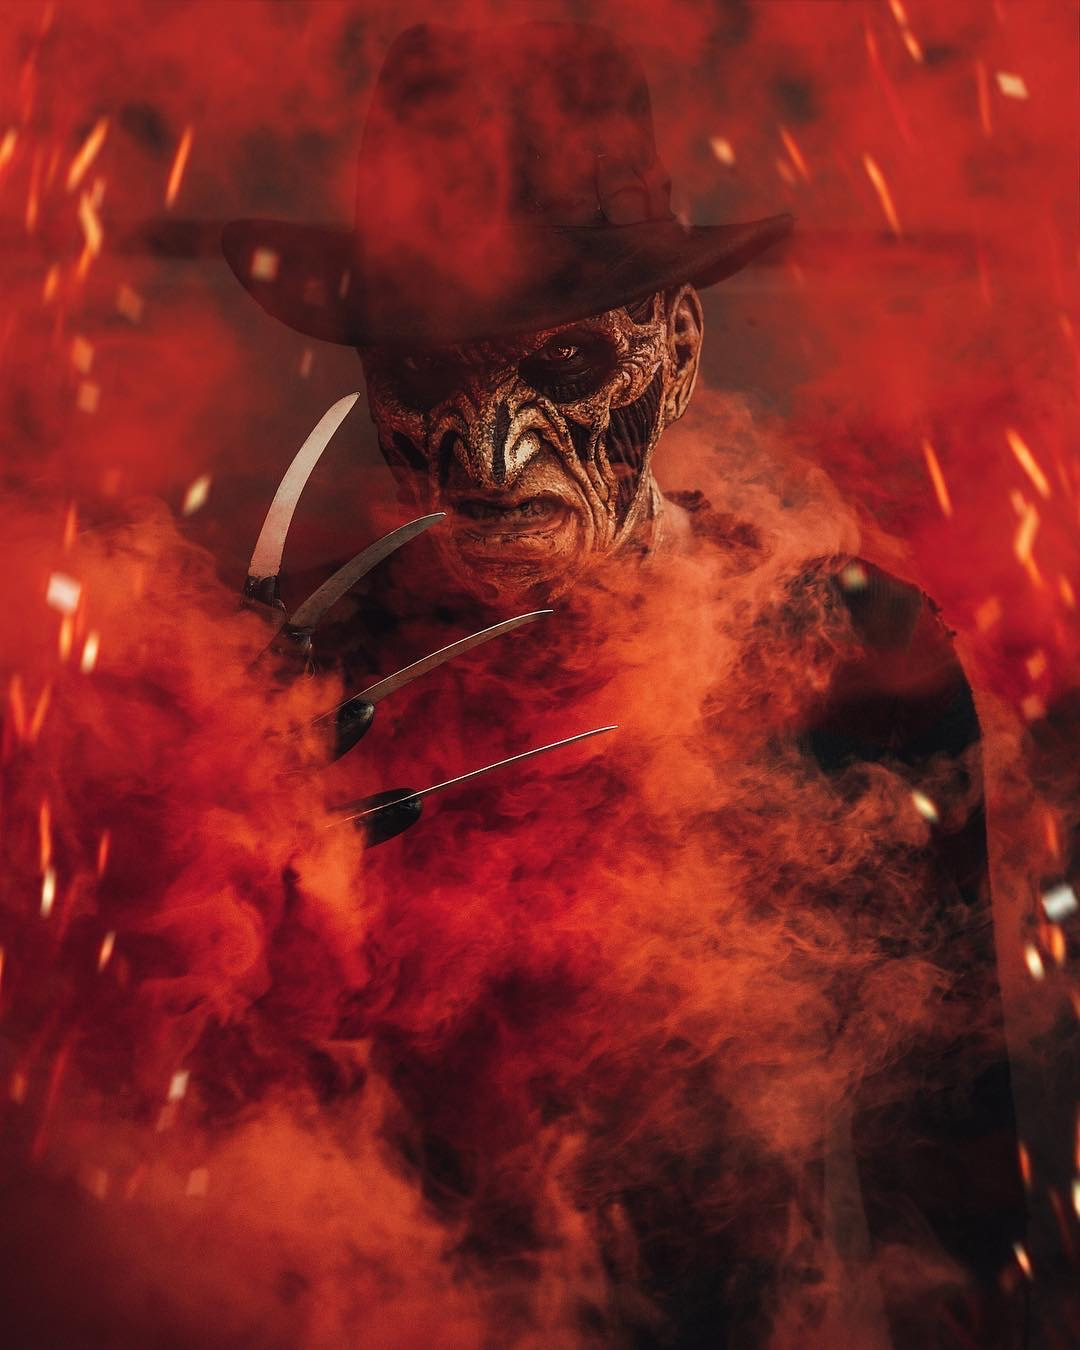 Model: @goblin_teeth on IG 2. Fog Machine What you need: Fog Machine, Fog Fluid, Generator for outdoor use. Advantages: User friendly, safe, thick smoke, no strong unpleasant odor, doesn't stain, inexpensive. Disadvantages: Needs power, only comes in one color. I love using a fog machine because it produces lots of thick smoke for an extended period of time however the biggest drawback is when using it outside where you don’t have a power source to plug it into you will need a mobile generator, something light weight enough to carry and yet powerful enough to power the fog machine. The fog machine itself and fog fluid aren’t that expensive but if you need a generator that will run you a couple hundred bucks. 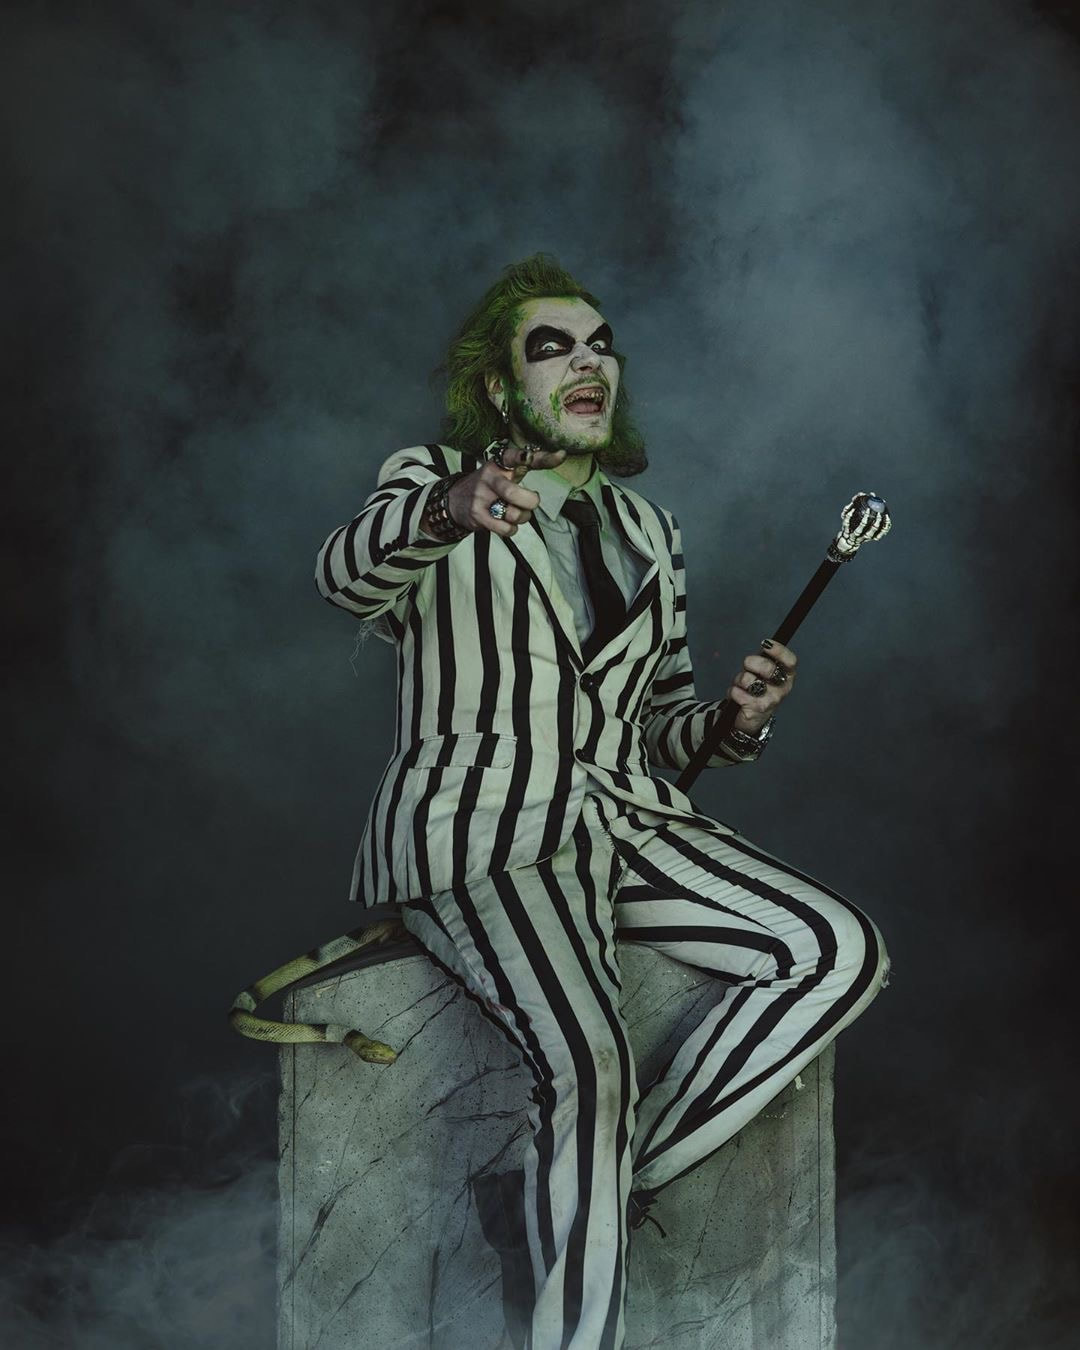 Model: @goblin_teeth on IG 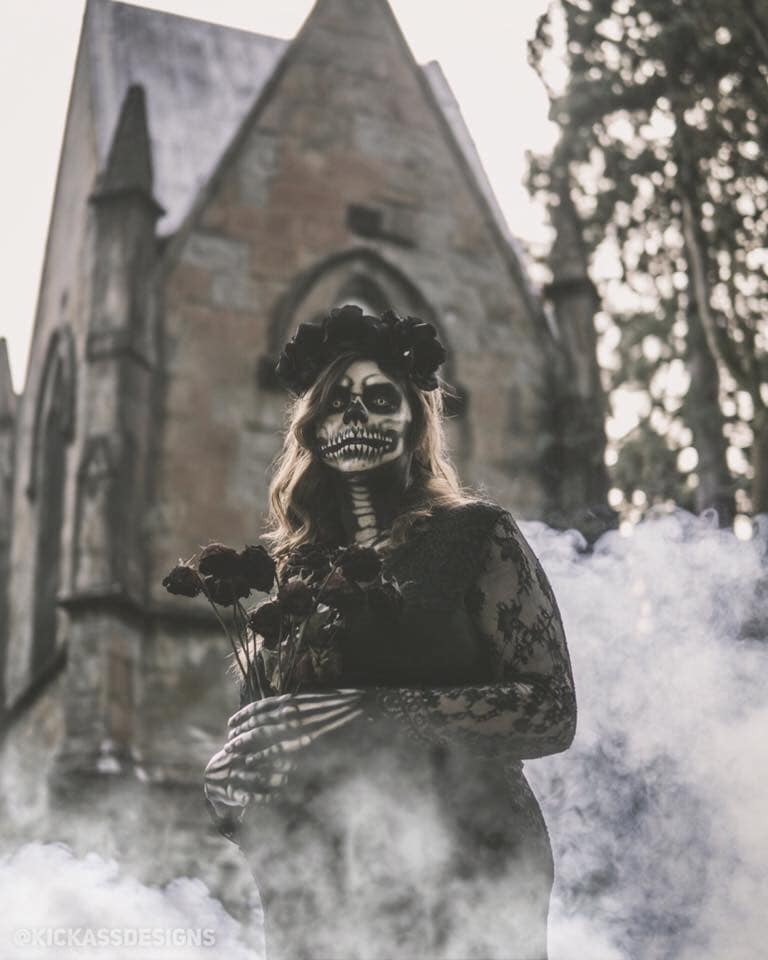 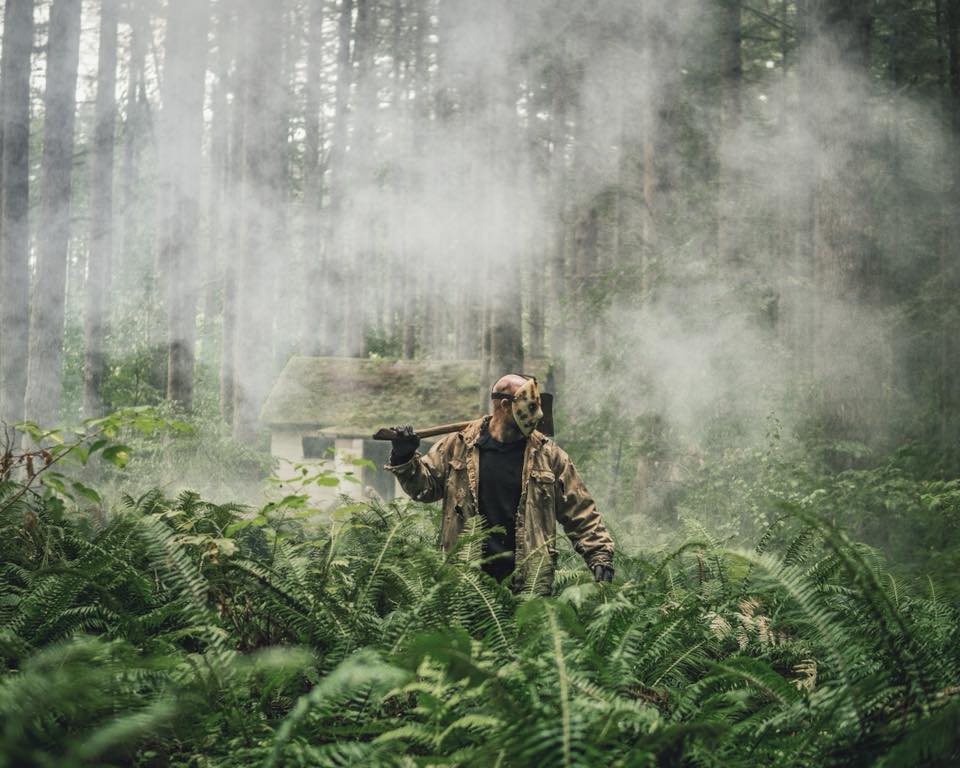 3. Dry Ice What you need: Dry Ice & Water Advantages: User friendly, no power required, can be used indoors and outdoors with water. Disadvantages: Won't work without water, stays low to the ground, hard to store. Dry ice is really fun to shoot with for a really cool creepy effect as it stays low to the ground unlike a fog machine or smoke grenade as you can see below. However most people can’t just store dry ice so you need to buy it not only the day of the shoot but right before because a block of dry ice will dissipate within a few hours unless stored in the right container. Nobody is going to carry around a massive container of water so in order to use it outdoors you will need a puddle of water or low creek. Dry ice can burn your hands so always wear gloves when handling it. The only places I have found who sell dry ice are Fred Meyer and a few Baskin Robbins but not all of them. 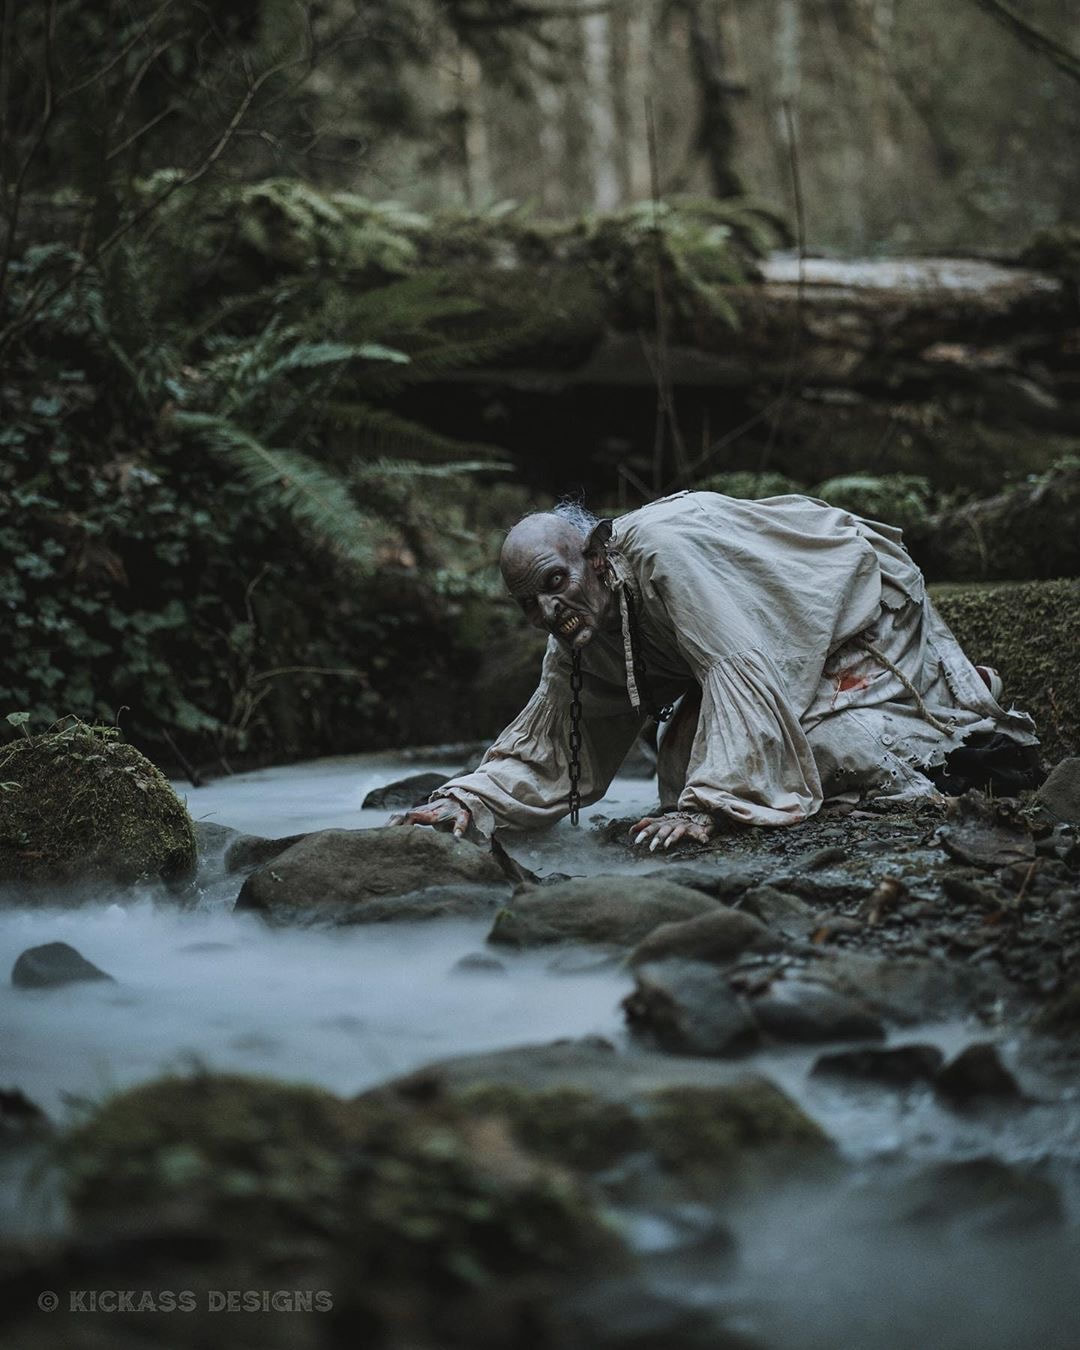 Model: @starbar_1 on IG 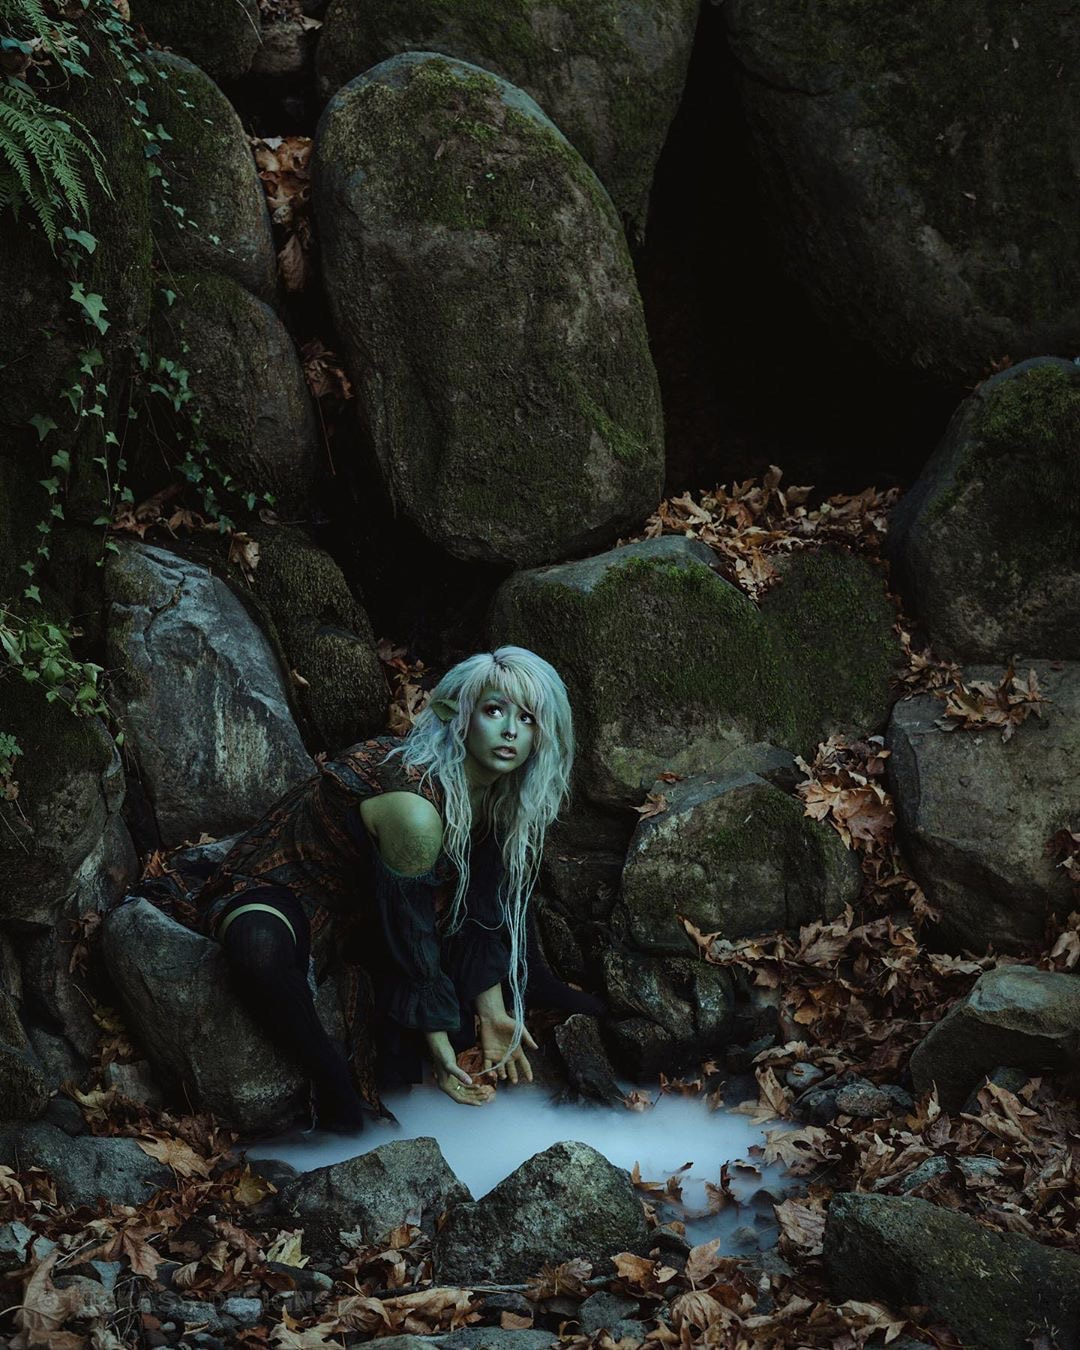 Model: @mythic.allure 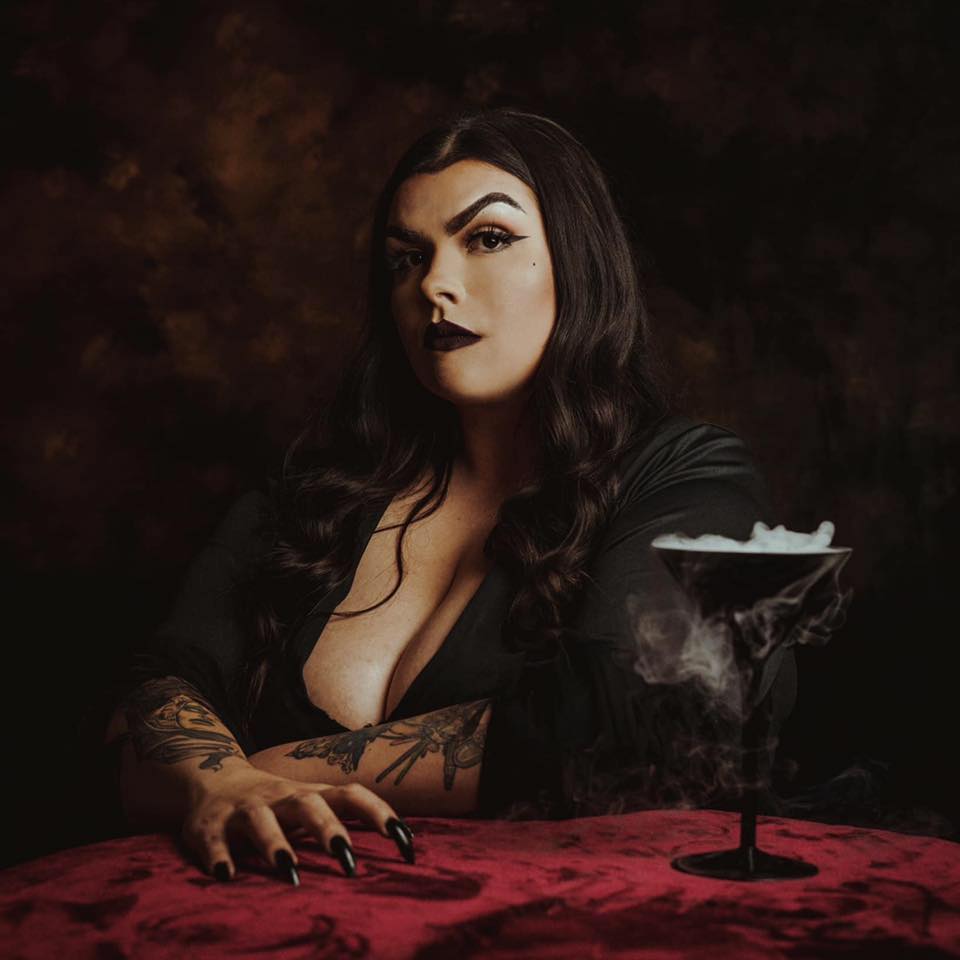 Model: @taelorfx on IG 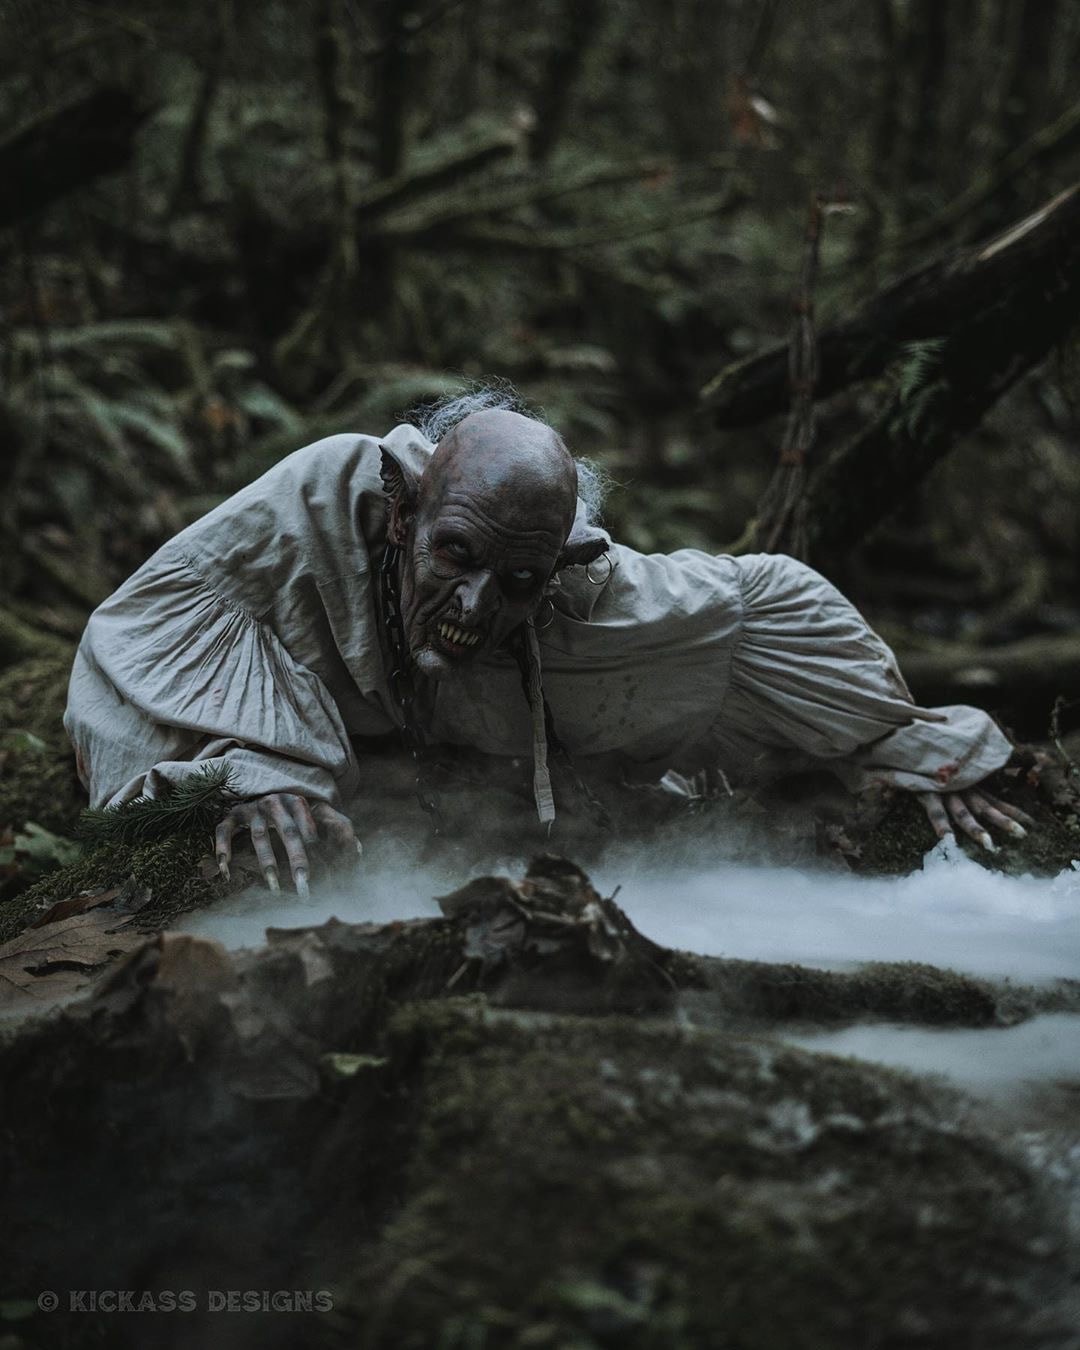 Model: @starbar_1 on IG 4. Atmosphere Aerosol What you need: A can of Atmosphere Aerosol Advantages: Safe, user friendly, no power required, can be used indoors and outdoors, no odor, mobile. Disadvantages: Gets expensive, low volume of smoke Atmosphere Aerosol is my got to for toy photography and will linger in the air for minutes and creates a dreamy effect if you have some nice sunlight coming in from a window. Back lighting is required though to see haze or fog. Position and amount of light will determine the look of the fog or haze. I dig this stuff, it's easy to carry with you, non toxic, and a bottle of spray will last you a while. Pro tip: Use a light wand to add a pop of color to the smoke. 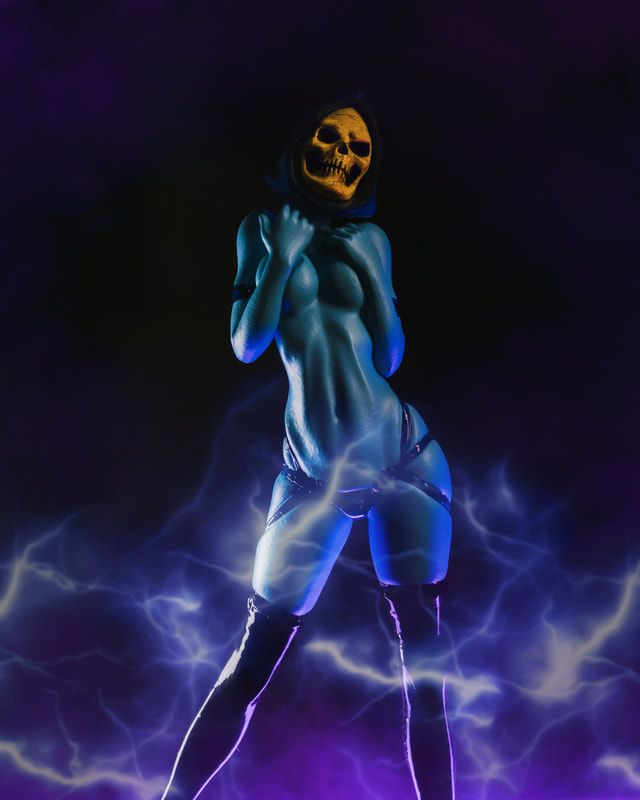 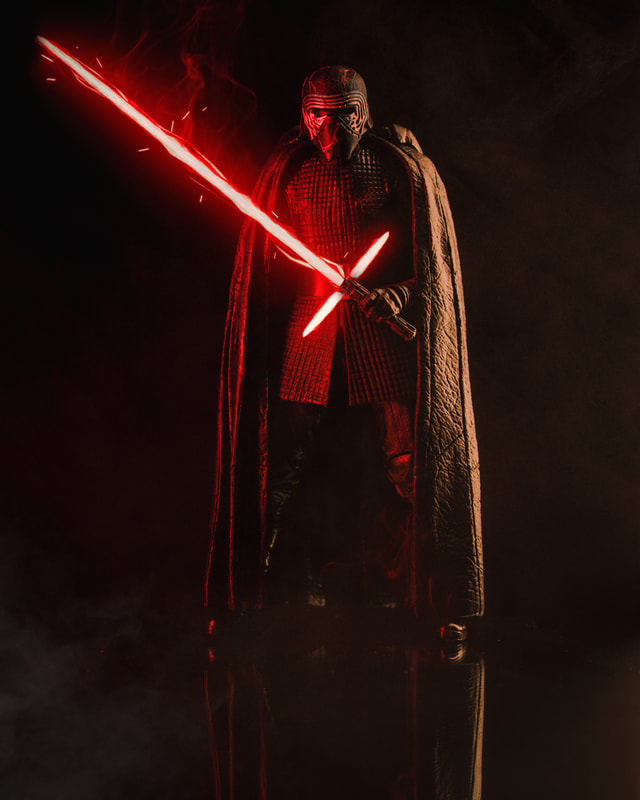 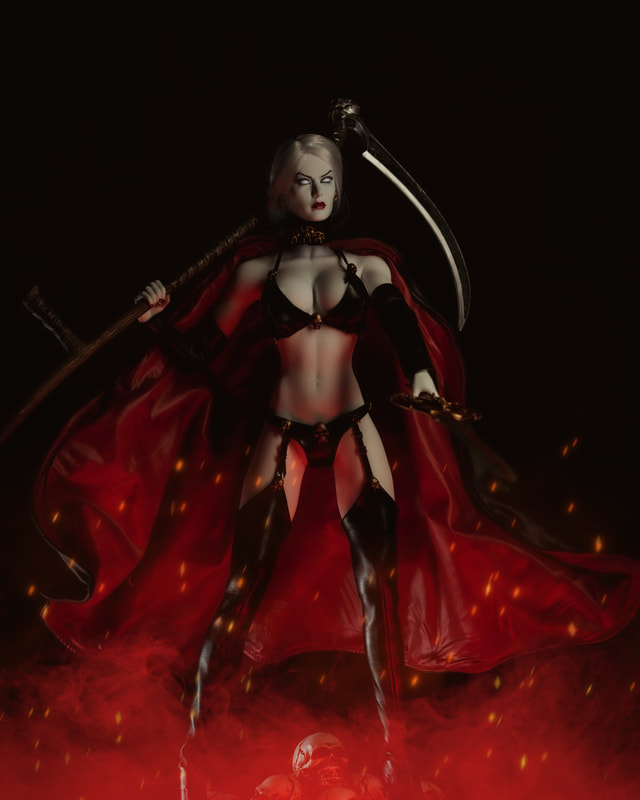 5. Smoke Cakes What you need: Smoke Cakes and Lighter. Advantages: No power required, easy to take on the go, small, cheap. Disadvantages: Low volume of smoke, fire hazard, not the best quality. Smoke cakes will be your cheapest option but also the most unreliable. They don’t put out the most smoke and don’t last long but if you’re on a budget these can work. They aren’t super easy to control so a little practice goes along way. I do like the multiple color options though. 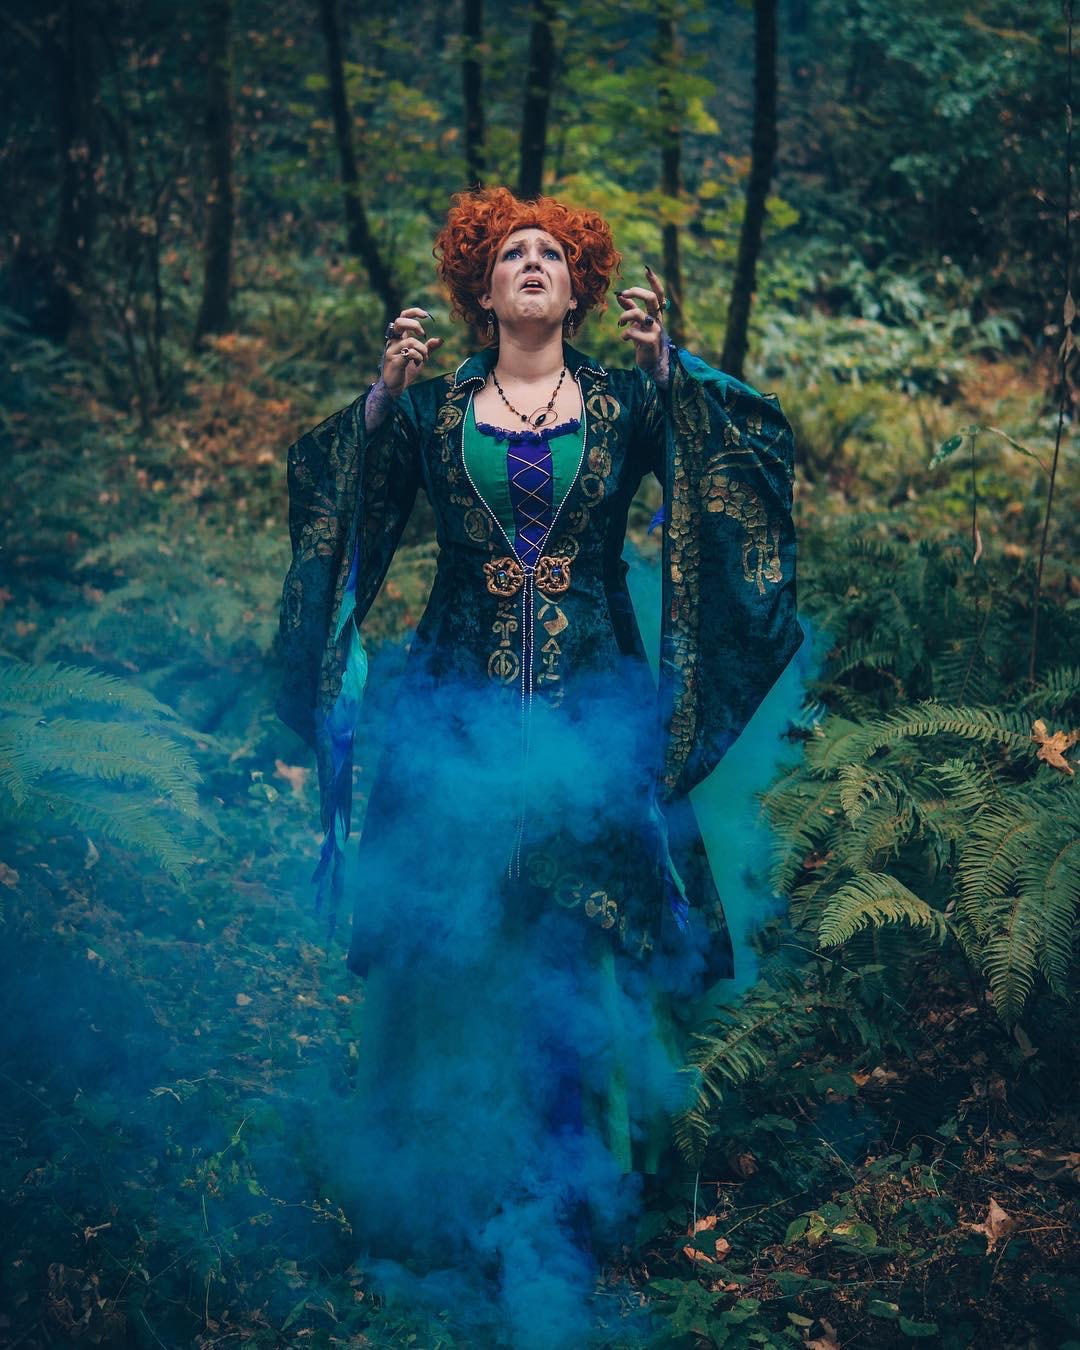 Model: @pdxsandersonsisters on IG 6. Propane Insect Fogger What you need: a Propane Insect Fogger Advantages: No power required, cheap, mobile, decent volume of smoke. Disadvantages: Gas powered, depending on brand can be noisy. Insect foggers are a great mobile alternative to fog machines. They are powered by butane gas cans which you can easily find at any supermarket. I shouldn’t have to say this but I will, make sure you use fog liquid not pesticide. Also where the smoke comes out of gets very hot so be careful when handling the fogger. 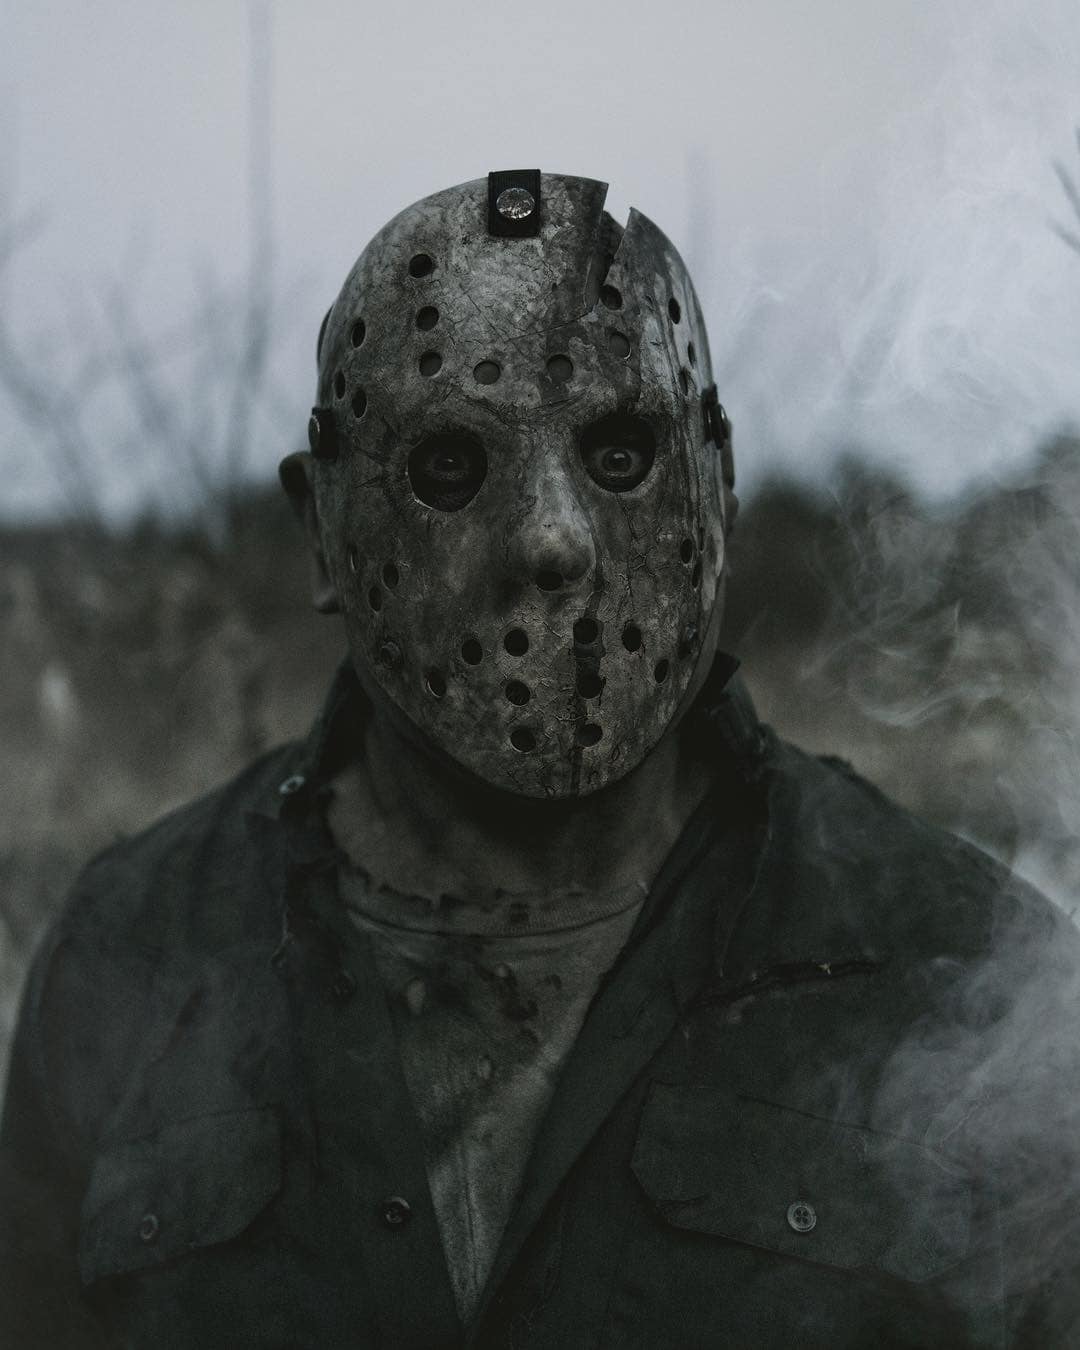 Model: @dan.c.kyle on IG 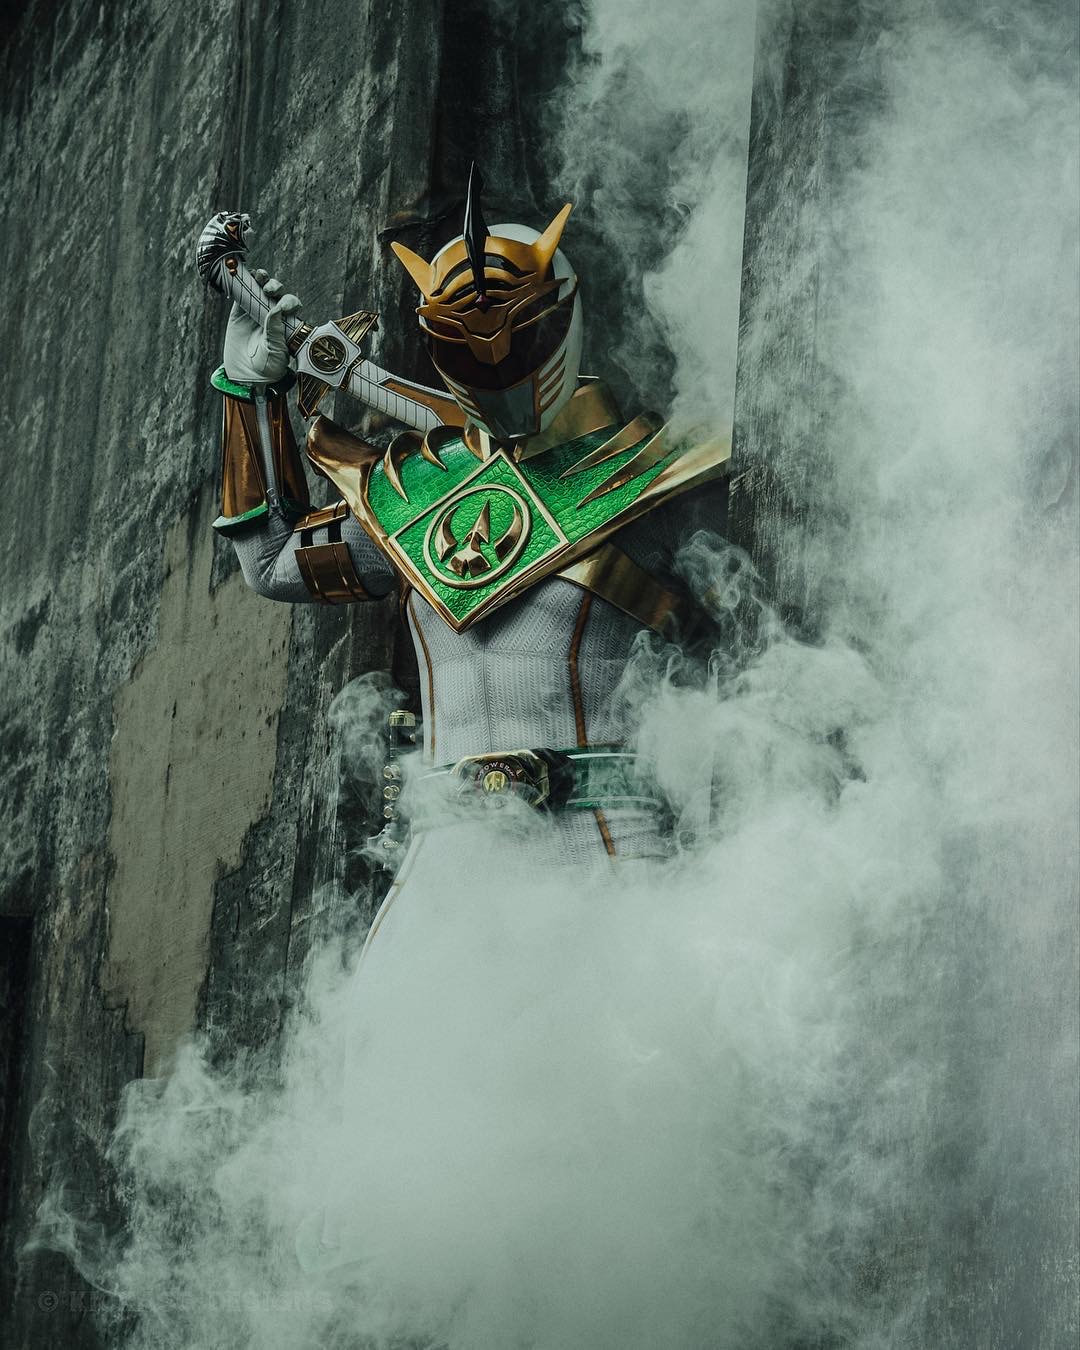 Model: @hoptownspidey on IG 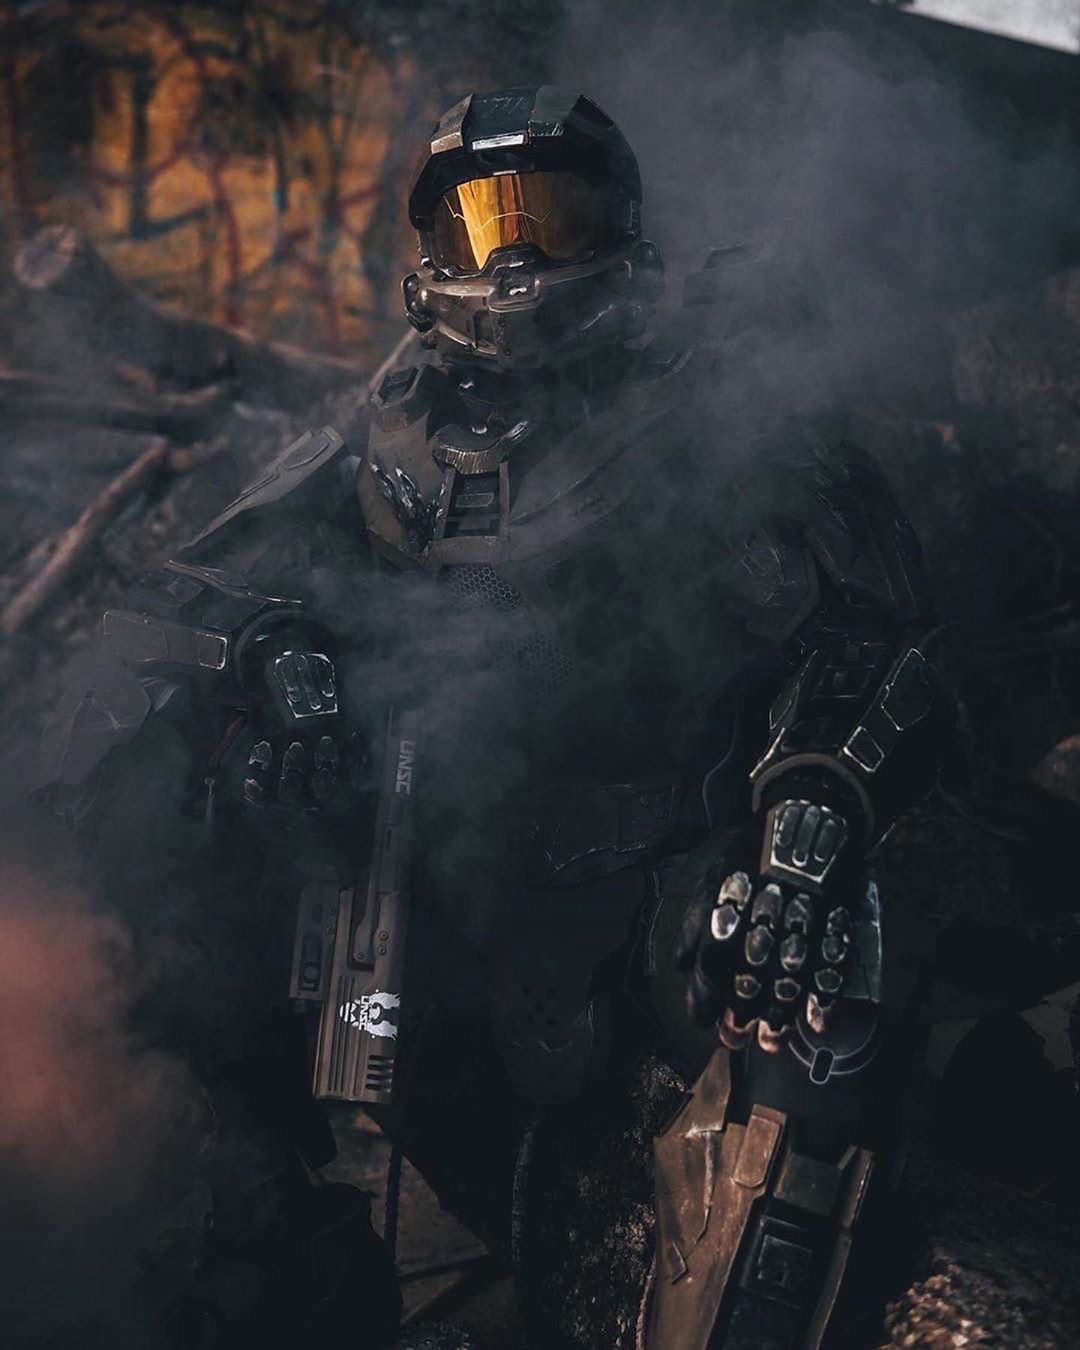 Model: @gliderx64 on IG 7. Photoshop What you need: Adobe Photoshop or another photo editing app Advantages: Complete control of how the smoke will look, nothing to cary or burn. Disadvantages: Takes skill and alot of time to add in post. Can’t get your hands on anything mentioned above? Well you’re still in luck because there’s always Photoshop. Photoshop is a great alternative if you can’t get real smoke, it just takes some time and skill. My favorite thing to do is combine the two, so I use the smoke during the shoot and add a little bit in Photoshop if I need to in Post. It’s not as hard as you think, all you really need is a good photo of smoke on a black background to overlay your image with. Freepik has many. If you need help I will show you how in the video below.  Model: @codename_batman on IG 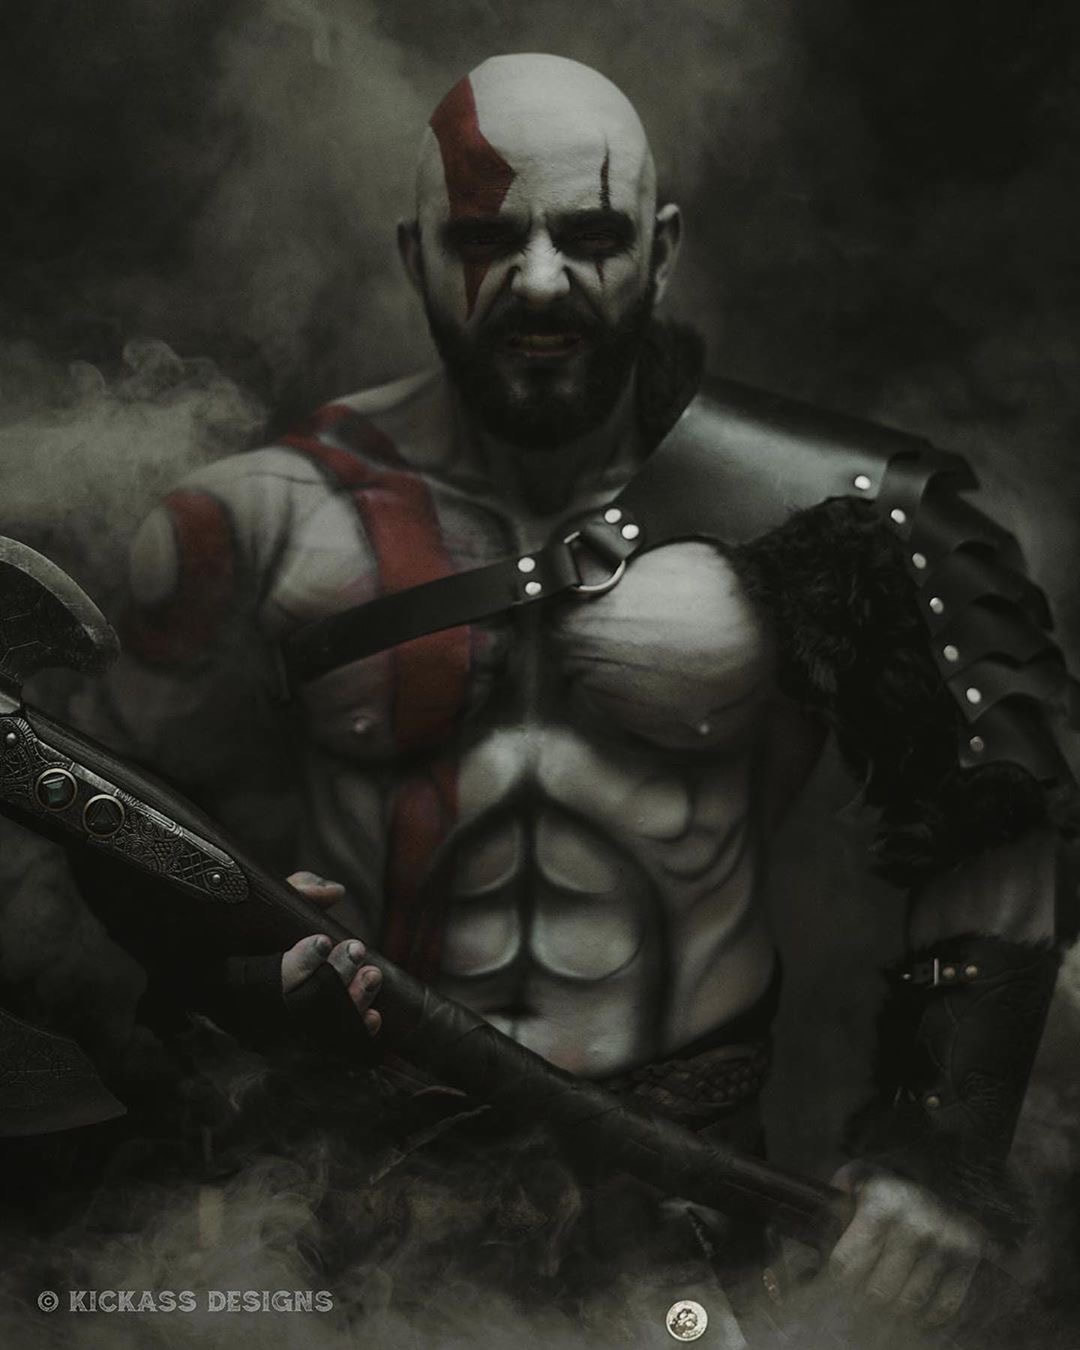 Model: @thepdxviking on IG 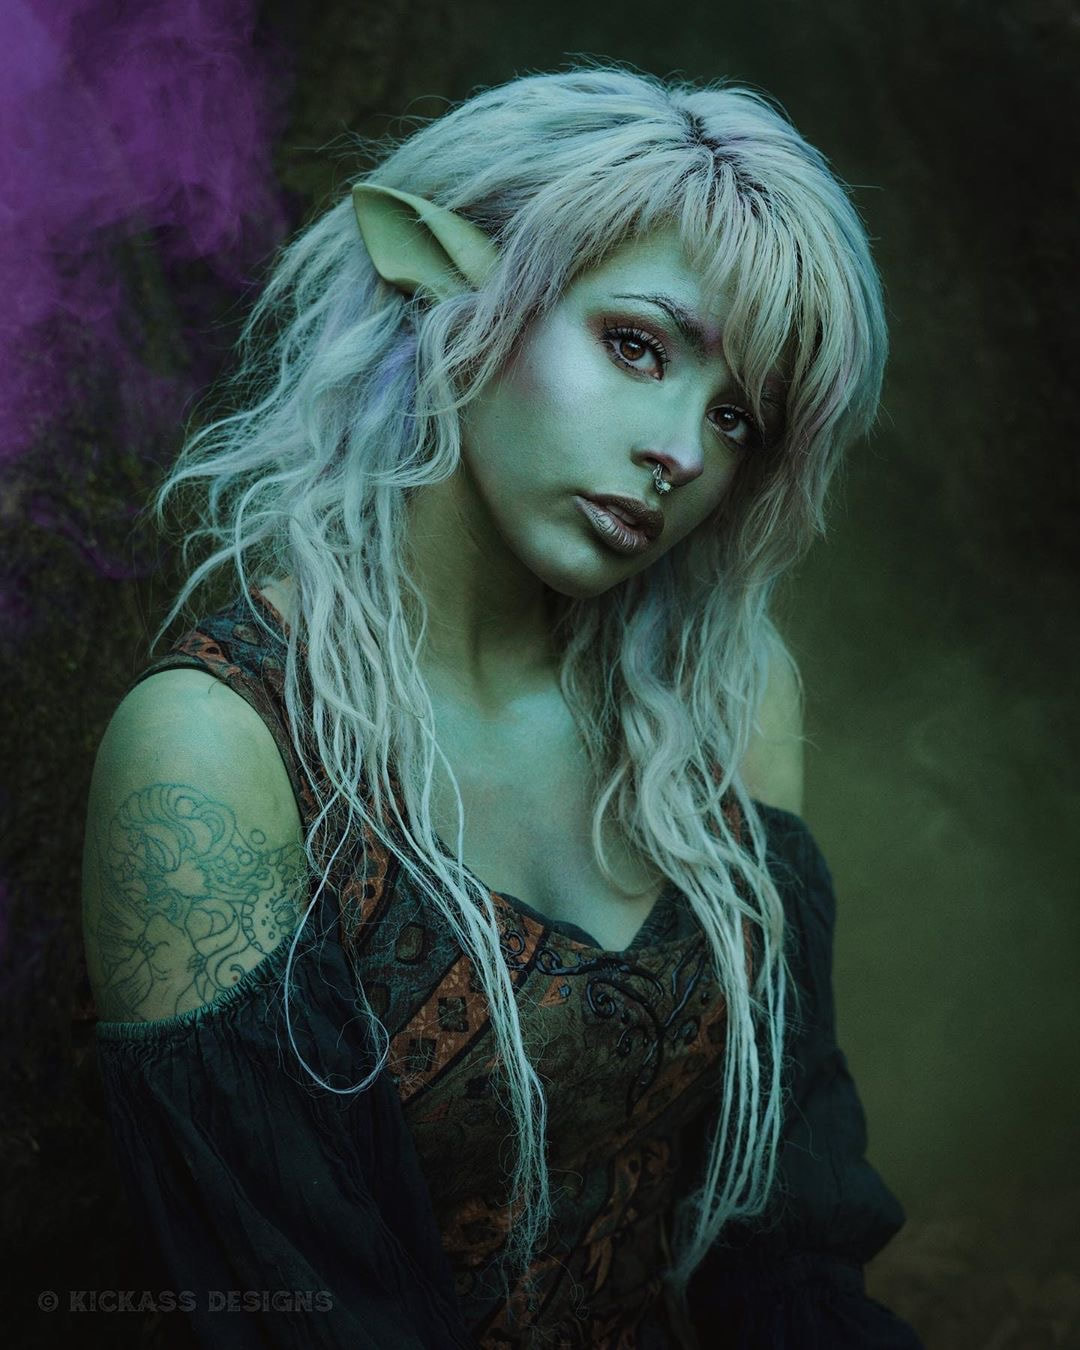 Model: @mythic.allure on IG
0 Comments
Your comment will be posted after it is approved.
Leave a Reply. |
Author Lance Reis

Most Popular Articles
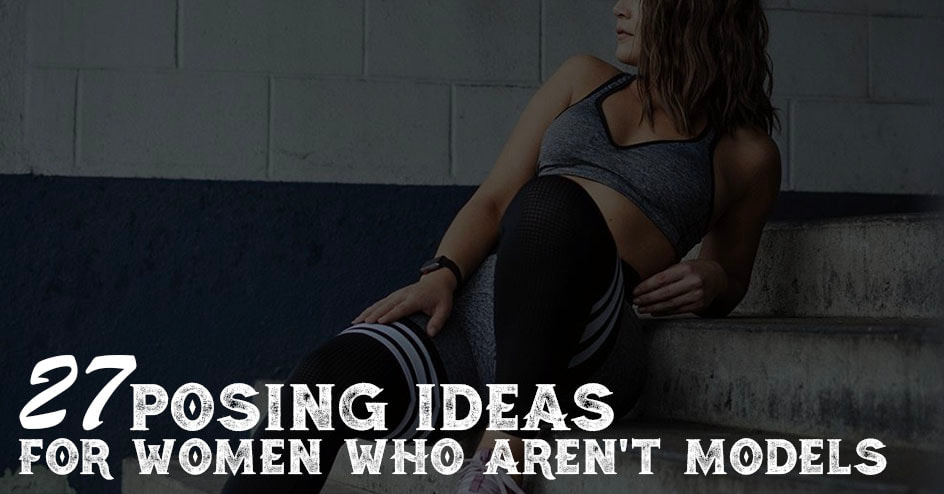
27 Posing ideas for women
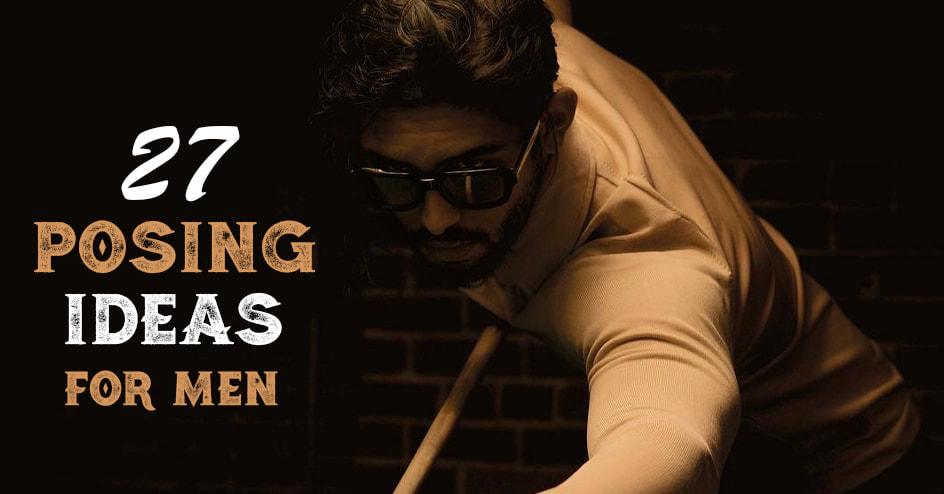
27 Posing Ideas for Men Location Scouting 33 Must See Castles in the US How to grow your Instagram Low Light Photography Tips Photography for Beginners Free Resources Take Better Cosplay Photos Categories
All

|
 RSS Feed