Most Popular Articles

Lighting is one of the most crucial aspects of photography. Good or bad lighting can make or break a shoot. However I believe there is a misconception in our industry that you're a better photographer if you own a great light setup and a studio. That's simply not true. 90% of my photos are done with natural light as in only using the light that is available to me. This could be the sun, fire, street lamp, arcade, or desk lamp in a hotel. No flash, no reflector, no diffuser. I will always prefer natural light and I get asked about lighting constantly so I thought I would share my tips on how you can improve your natural light photography skills.
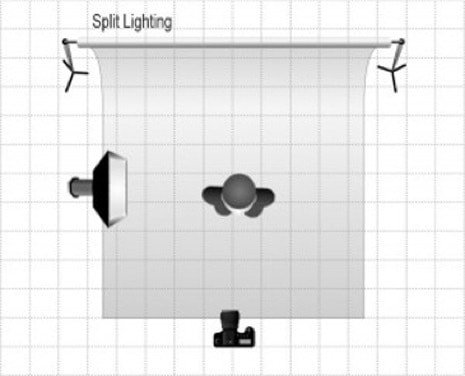
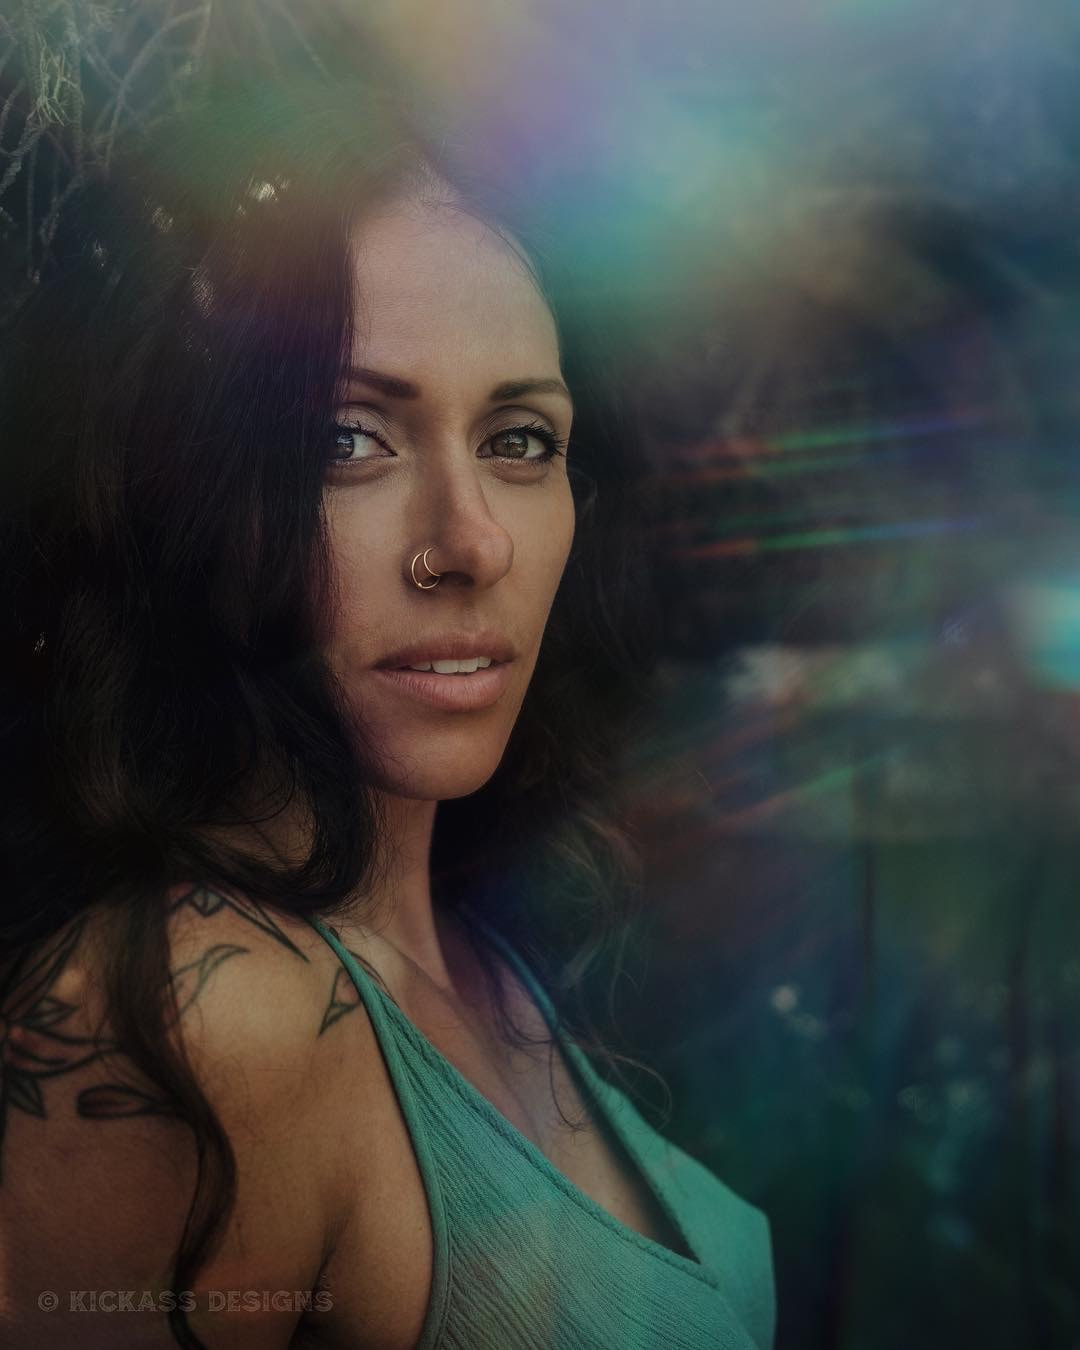
27 Posing Ideas for Women Who Aren't Models Let's start with Studio lighting. This may seem counter-intuitive, but learning the fundamentals of studio lighting has vastly improved my natural light photography skills, specifically for portraiture. Knowing where to position the subject in relation to the light in order to achieve a specific result is key to making excellent portraits no matter what your light source may be. I'll start with 5 examples of the most common studio lighting set-ups and how you can re-create them using natural light and I'll follow that up with some great examples of how I use natural light for different moods and scenarios. All the photos below were taken by me. Make sure to connect with me on Instagram HERE. How to Improve your photography with natural light: 1. Split lighting
Light is 90 degrees in relation to your model to the side at face-level. One side of the face is highlighted and the other is in shadow, half and half, for a dramatic effect.
Outdoors: Position your model so the sun is directly hitting one side of the face. It should be a sunny day, not too cloudy, and the sun will need to be relatively low in the sky. Indoors: Using natural light coming through a window, make sure your model is positioned parallel to the window with bright, even light directly hitting one side of the face. Example: 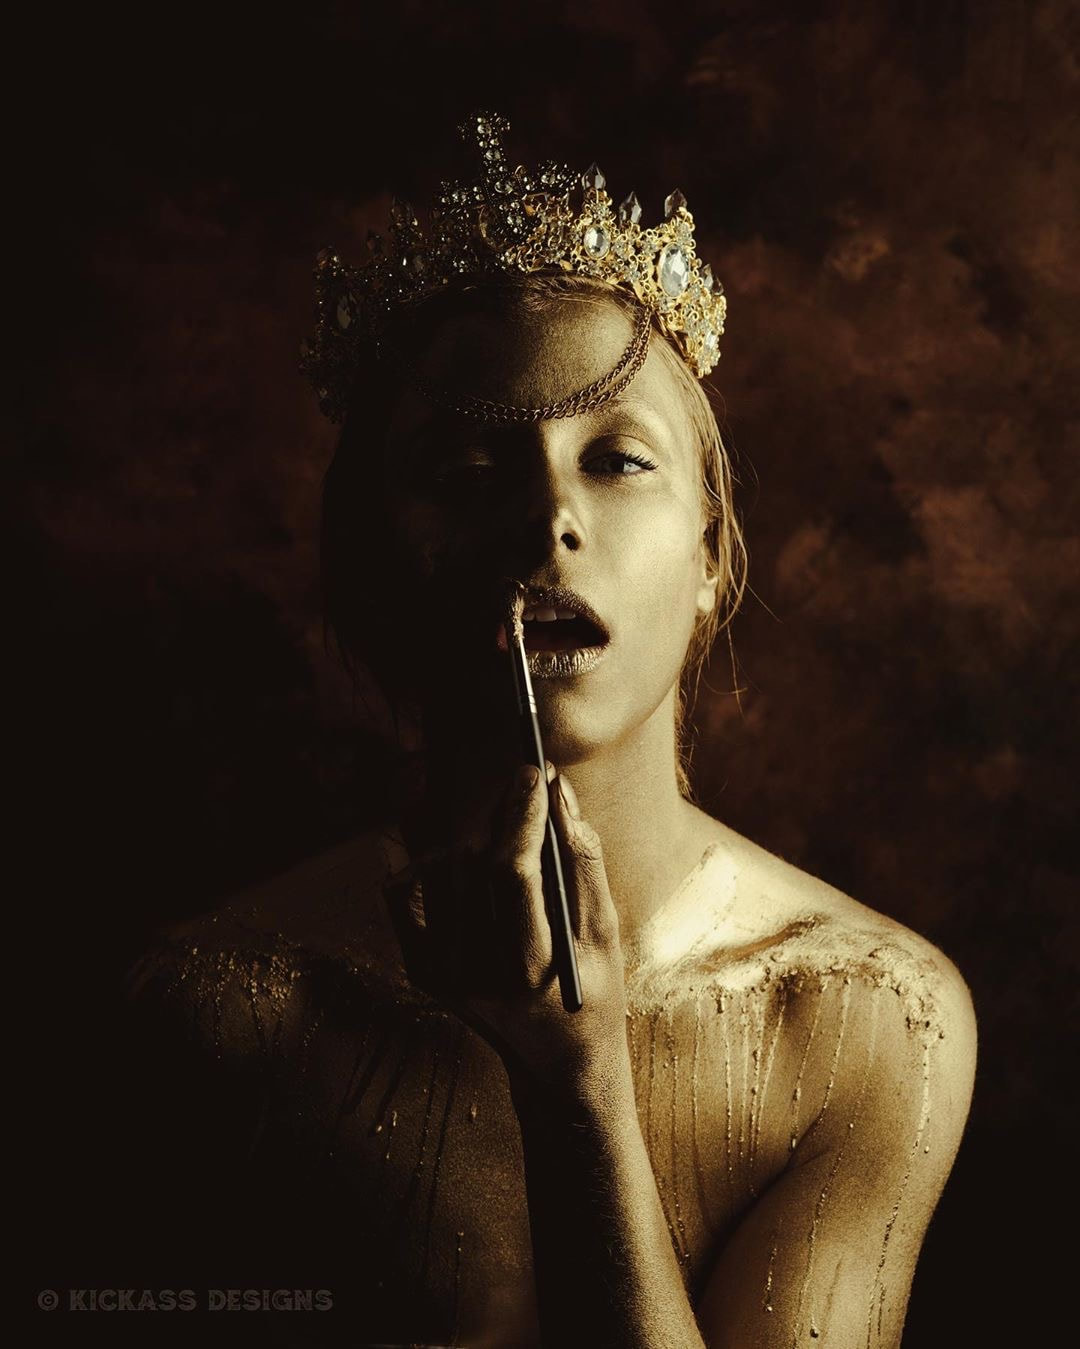
Model: @littylerouge on IG
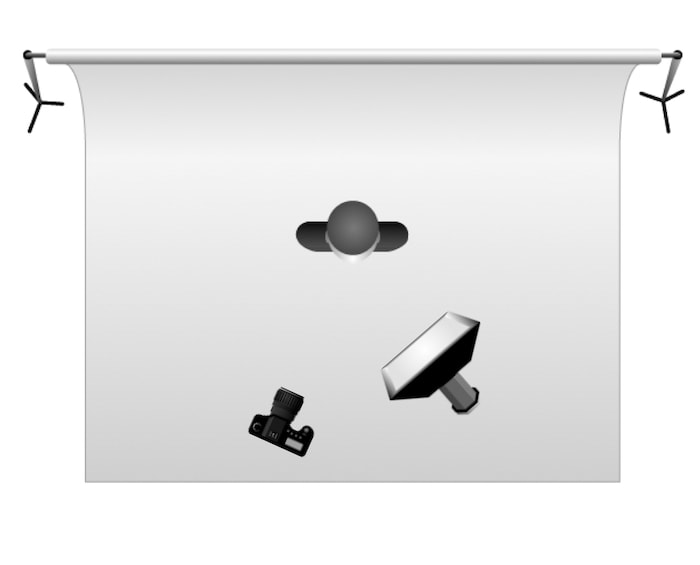
2. Rembrandt lighting
Light is 45 degrees in relation to your model slightly to the side coming down from an angle just above their head. One side of the face is highlighted with the other side in shadow, with the exception of a triangle-shaped highlight beneath the eye. This effect is a more dramatic version of loop lighting (see below) with the nose and cheek shadows merging.
Outdoors: Position your model so the sun is at a mid-to-high angle in the sky, with your model slightly facing towards the sun. For that dramatic and moody Rembrandt effect, a sunny or partially sunny day is best to create the deepest shadows. Indoors: Position your model to turn towards a window with bright, even lighting coming down just above the head. Example: 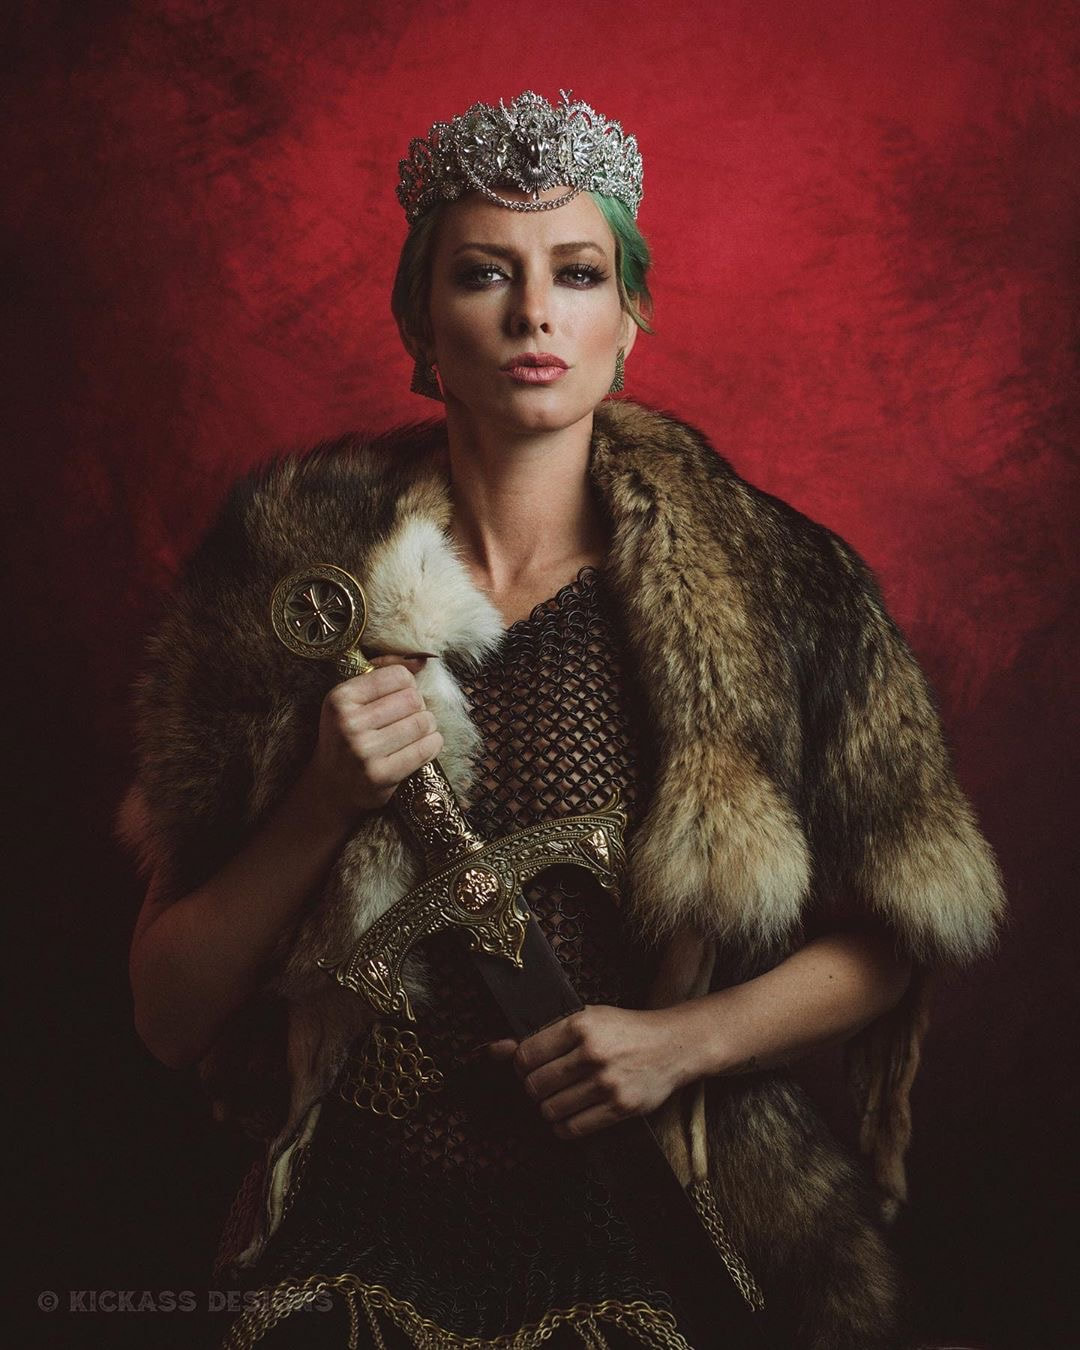
Model: @alyxandriamodel on IG
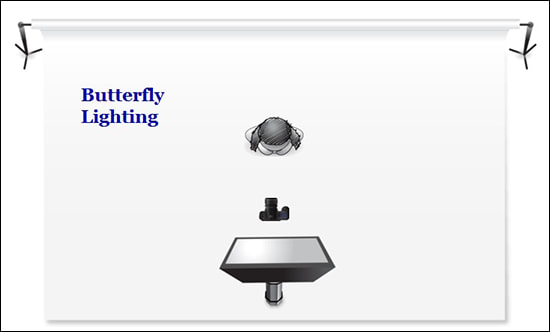
3. Butterfly lighting
Light is 0 degrees in relation to your model direct coming down from a high angle. A small butterfly shadow is created under the nose along with subtle shadows under the cheeks and chin for a very flattering effect.
Outdoors: Position your model so the sunlight is directly hitting the front of the face. The sun will need to be relatively high in the sky. You may want to have your model slightly tilt their head up towards the sun. A cloudy day will soften the shadows. Indoors: Position your model below and directly facing a window, ideally a high one, with light hitting the front of the face. You may need to get creative for example, covering/blocking the bottom portion of a large window so sunlight only shines down through the top to produce the right effect. Example: 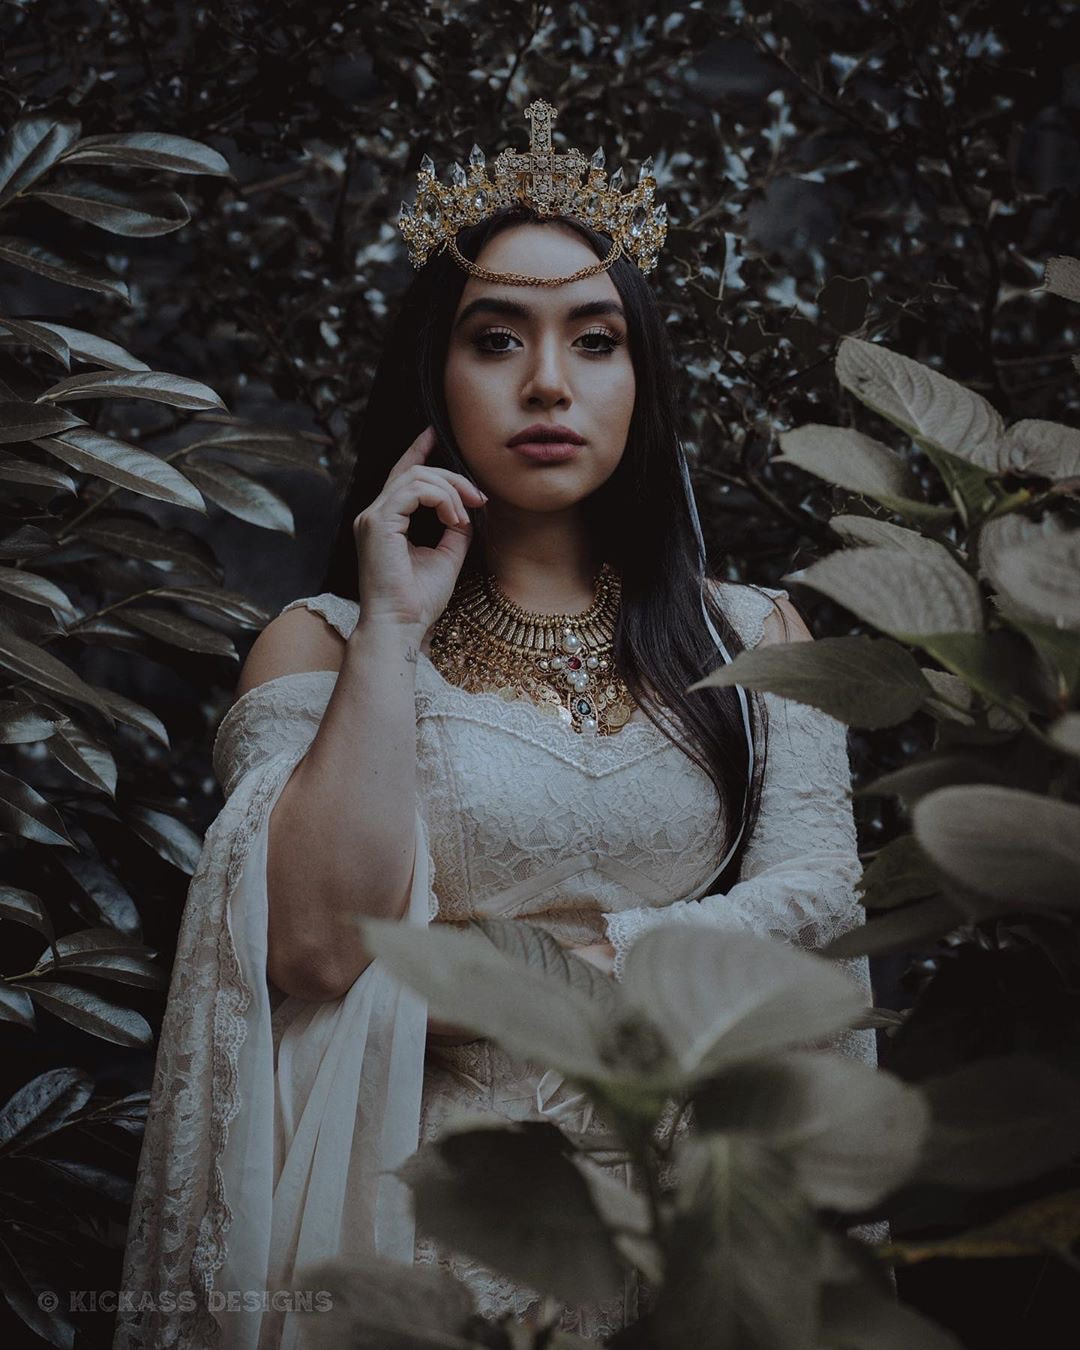
Model: @cristellin on IG
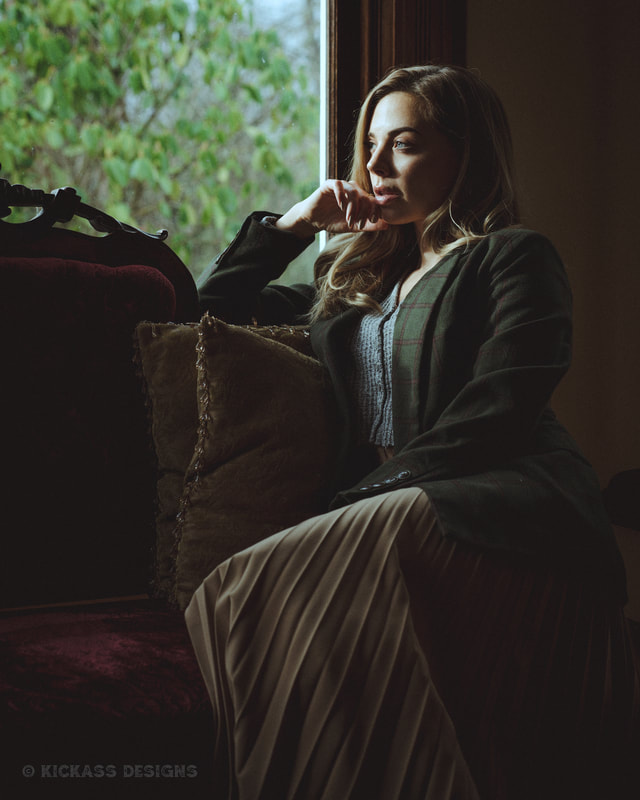
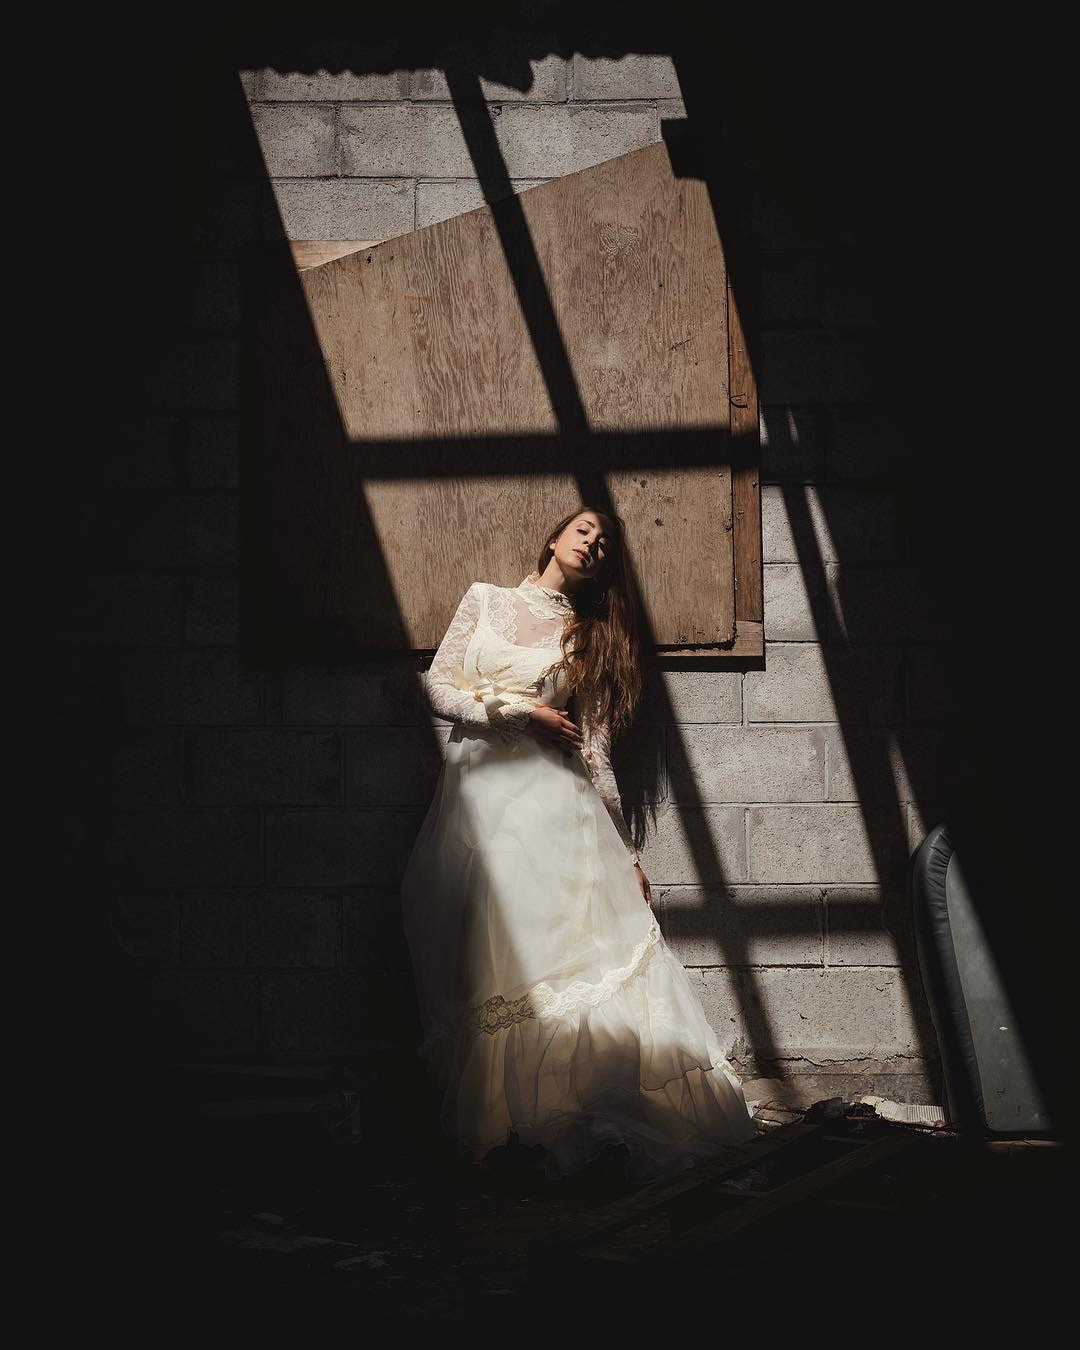
4. Flat lighting
Light is soft, even, and diffused. There are no/minimal shadows on the face.
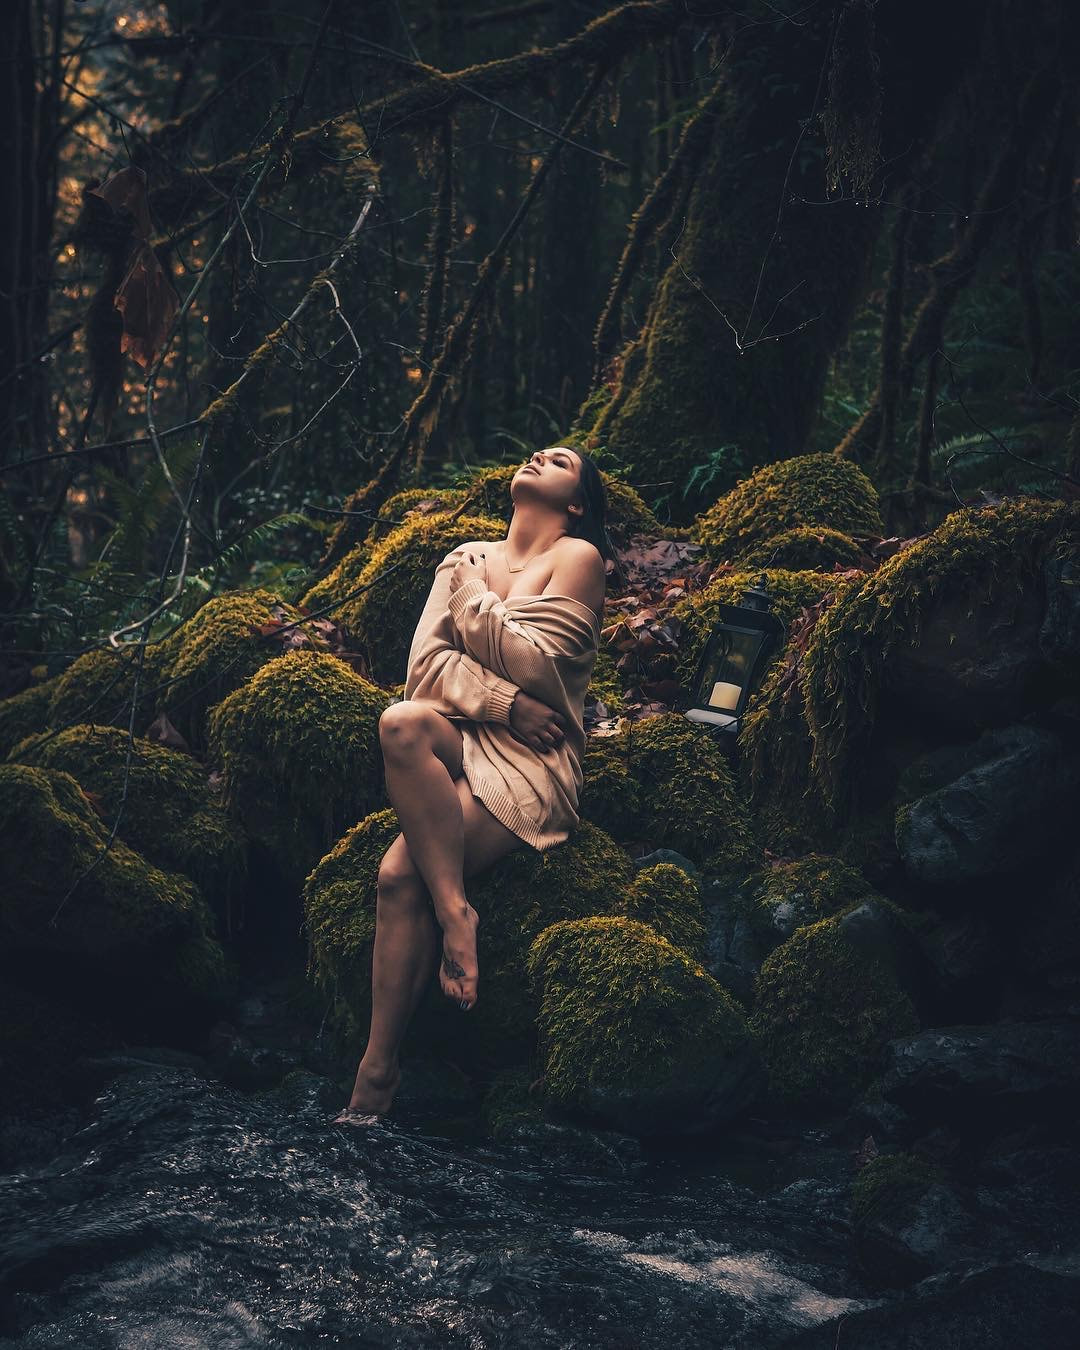
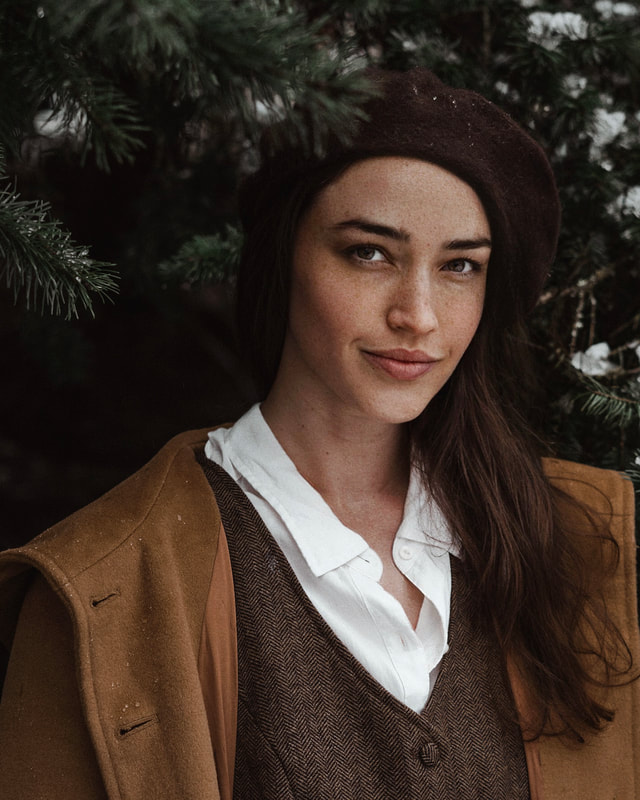
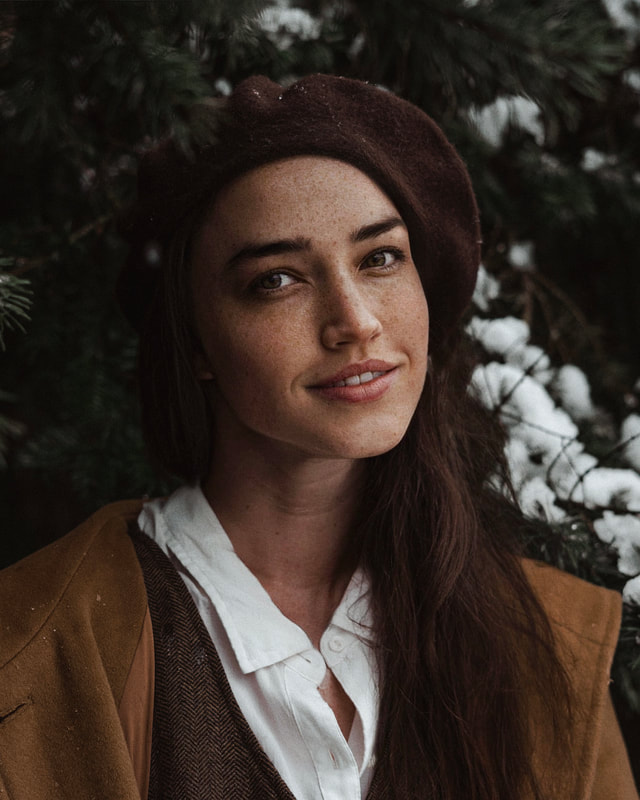
Outdoors: Ideally, it will be a completely overcast, cloudy day so you can position your model anywhere in the environment. However, if it is a sunny day, put your model in a shaded area for example, under a tree or beneath a building overhang. Indoors: Use a window that does not receive direct sunlight for example, a north-facing window or use white curtains over the window to diffuse bright light before facing your model directly towards it. Additionally, turn the model away from the window altogether this way the hair is backlit while soft, ambient light evenly highlights the face. Example: 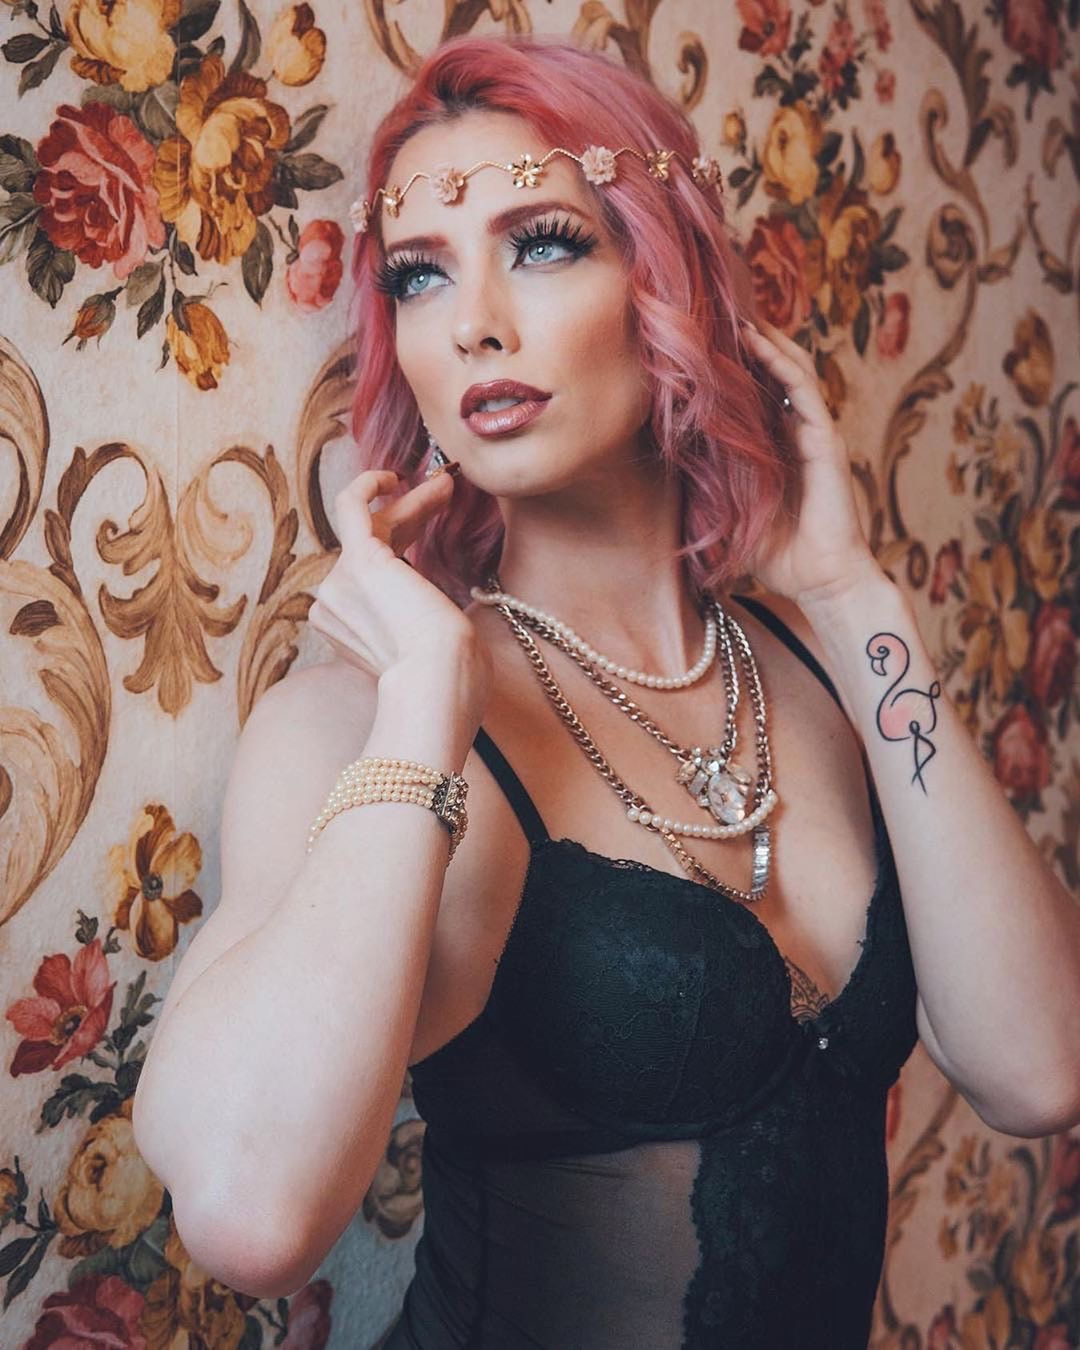
Model: @alyxandriamodel on IG
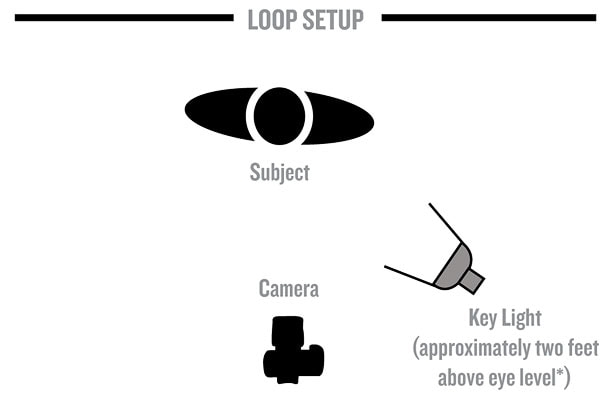
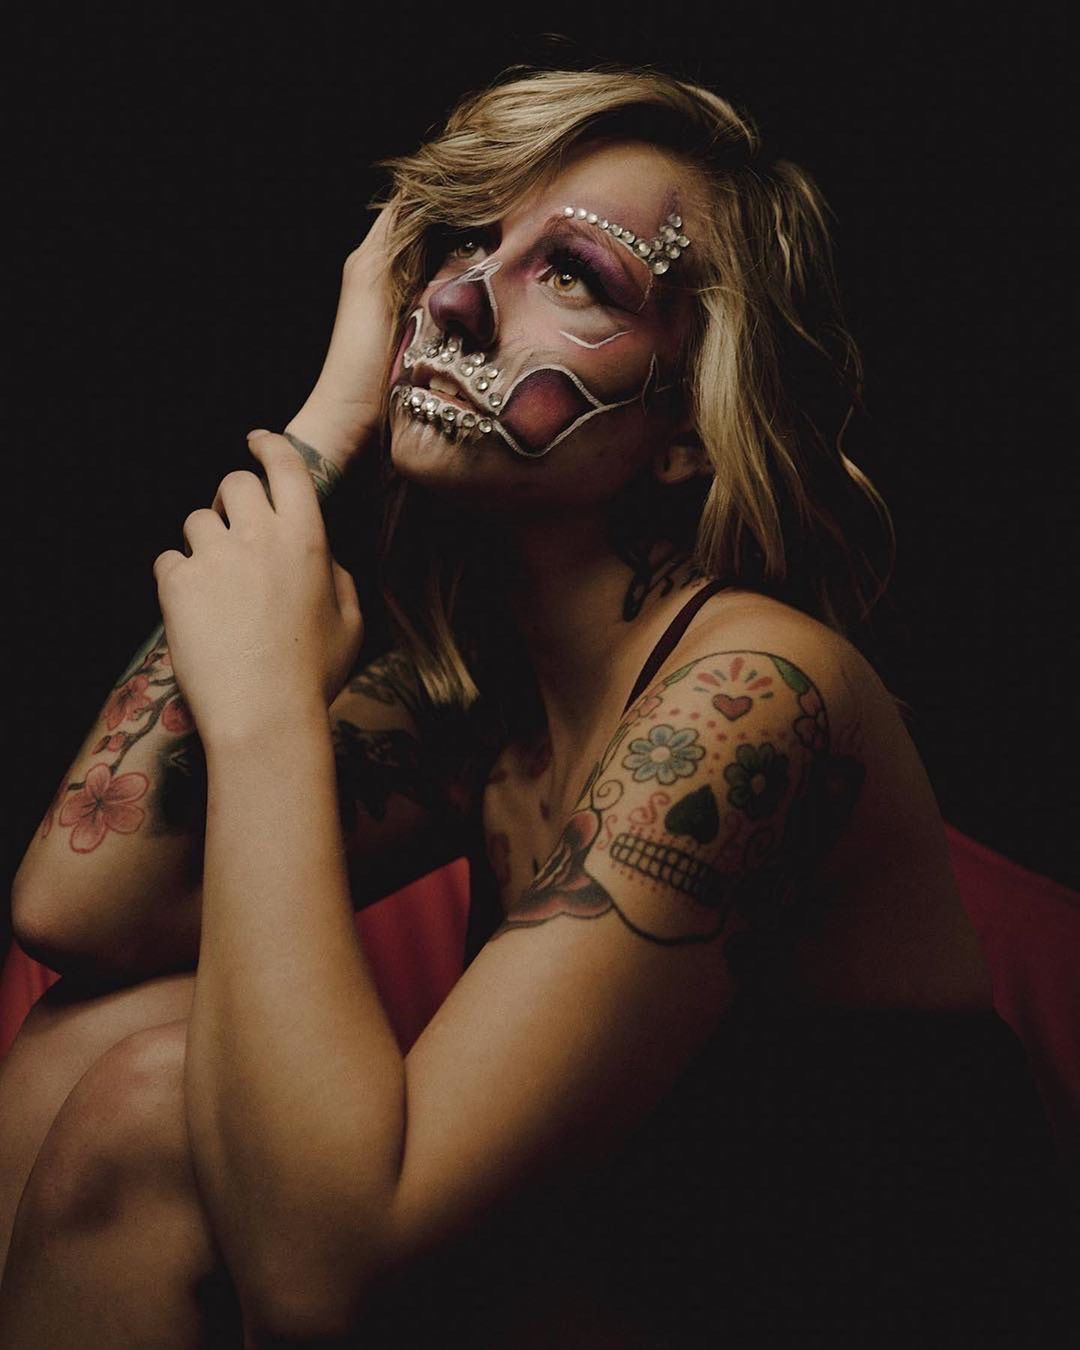
5. Loop lighting
Light is 30 to 45 degrees in relation to your model slightly to the side coming down from an angle slightly above eye-level. A small loop shadow is created beneath and to the side of the nose along with a soft shadow on the cheek of that same side. However, these two shadows do NOT touch, otherwise that would be considered Rembrandt lighting (see above.)
Outdoors: Position your model so the sun is at a mid-to-high angle in the sky, with the model slightly facing towards the sun. Indoors: Have your model turn a bit towards a window with diffused light coming in right above eye-level. Example: 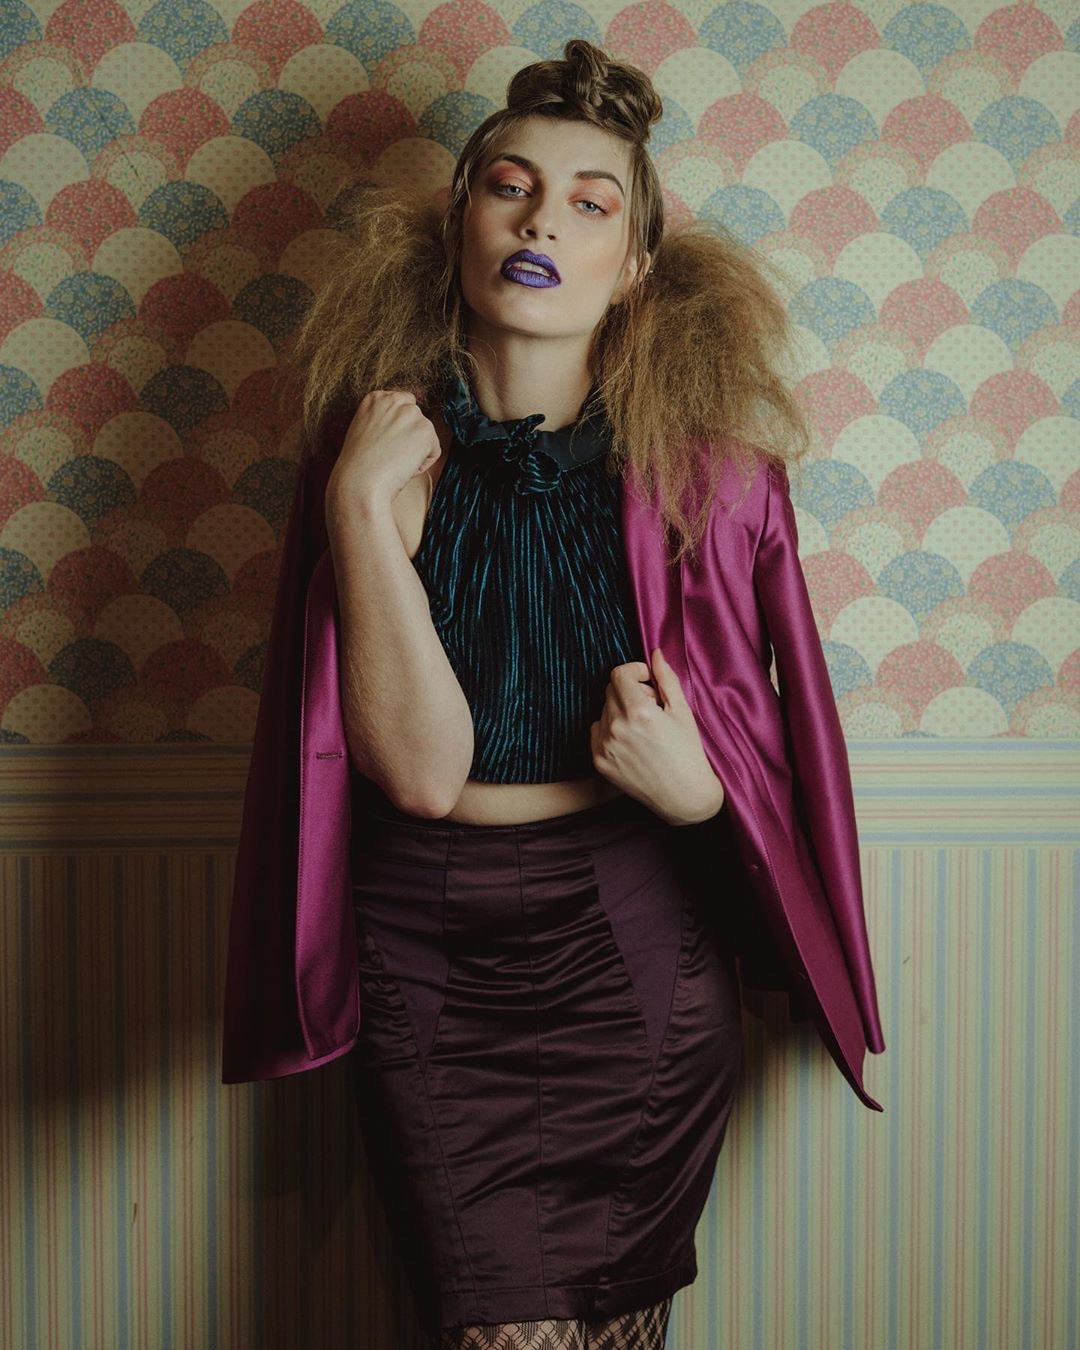
Model: @nihlisticmuse2.0 on IG
If you want to fill in shadows for a softer and less dramatic portrait a reflector can be a great asset when using only natural light. However a reflector takes up space and usually requires an assistant. Ever seen a senior portrait going on and the photographer will have a flash and someone holding a reflector. I just laugh every time I see it because it's just not necessary. You don't need all that to create a great photo.
Just remember when using natural light, you must continuously move, turn, and re-position your model to get the desired lighting effect. Never underestimate strong verbal communication skills. :) In addition, the infamous Golden Hours before sunrise and after sunset produce warm, rich light that can't quite be re-created in a studio. Experimenting during these times, particularly with backlighting, will also improve your skills and most likely produce beautiful photographs. That being said I rarely shoot at golden hour because it just feels over done to me but golden hour is still beautiful lighting.
Now that I've shown you examples of the most common studio lighting set-ups and how you can re-create them using natural light I'll show you some examples of how I use natural light for different moods and scenarios.
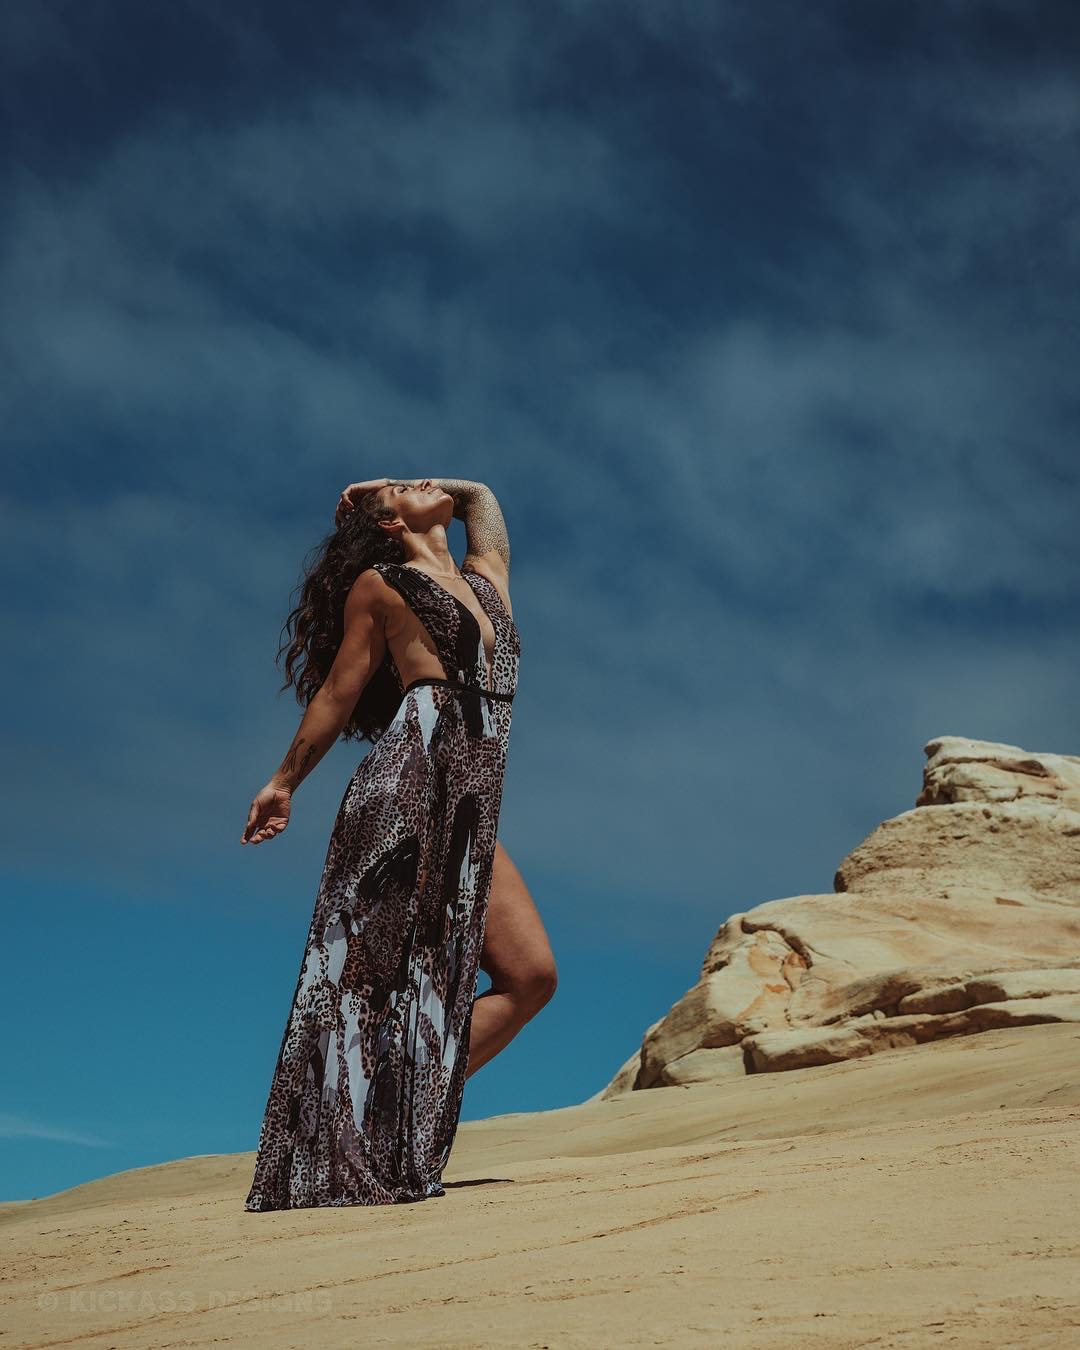
First scenario: Let's say you have no choice but to shoot at noon out in the open when the harsh sun is right over head. Try having your model look up to avoid any harsh shadows. I'll show 3 examples below. 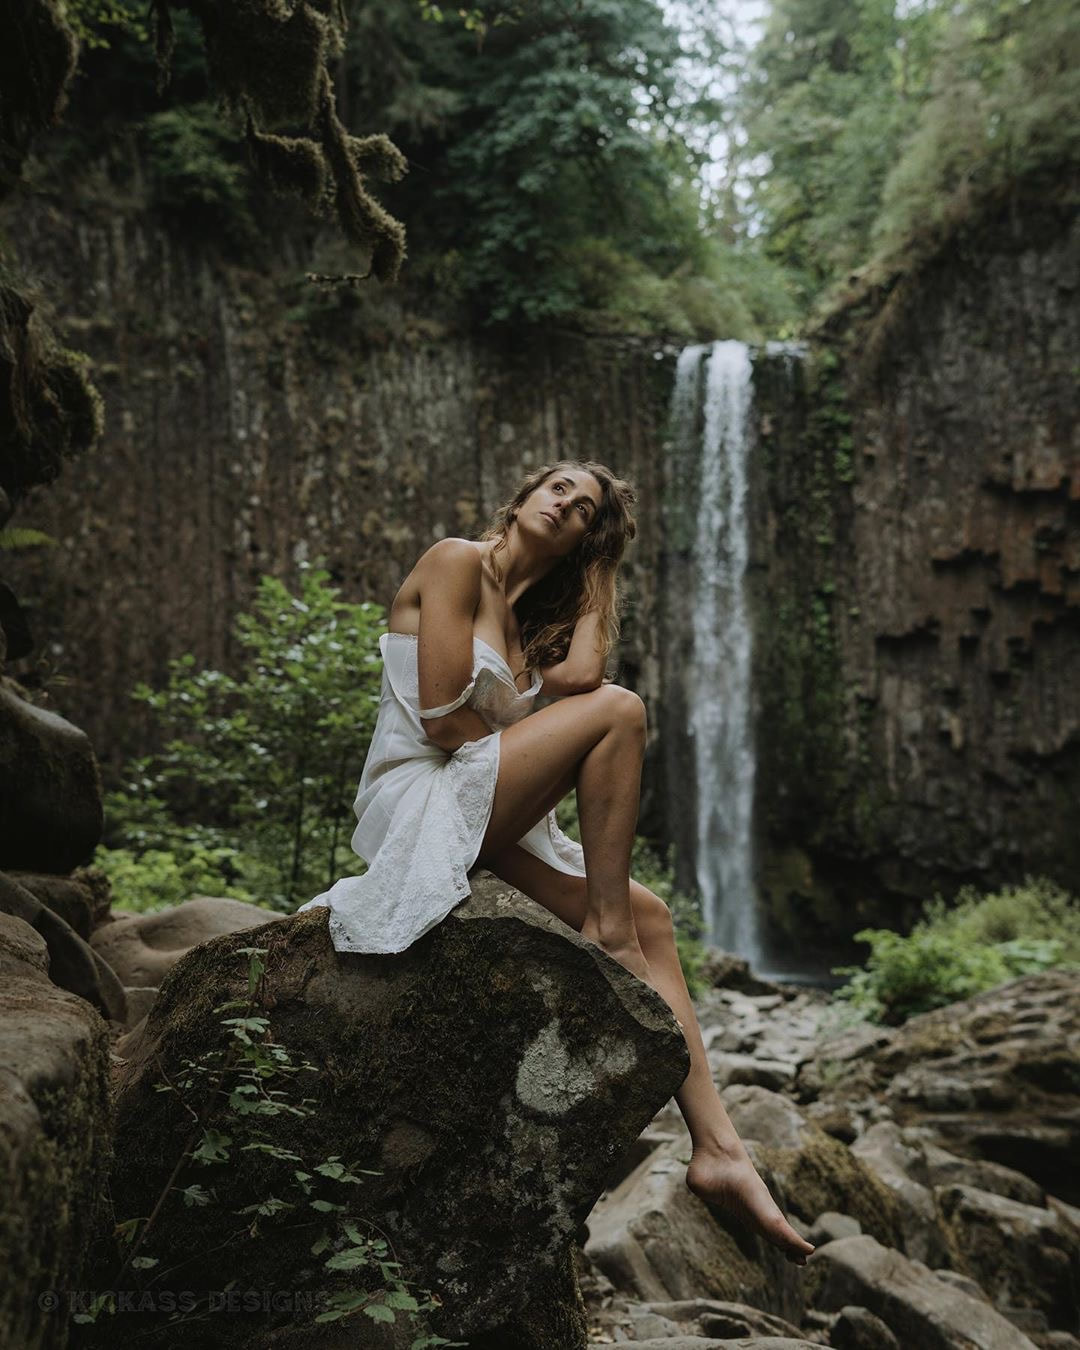
Model: @shawnna.lee on IG
Model: @becka.888 on IG
Model: @danillabean on IG
Now, same scenario except you have shade available to you. Any time you're shooting and the sun is harsh look for shade. This is crucial. You can almost always find some. For the example below we just used some shade from a few trees at the beach.
Model: @becka.888 on IG
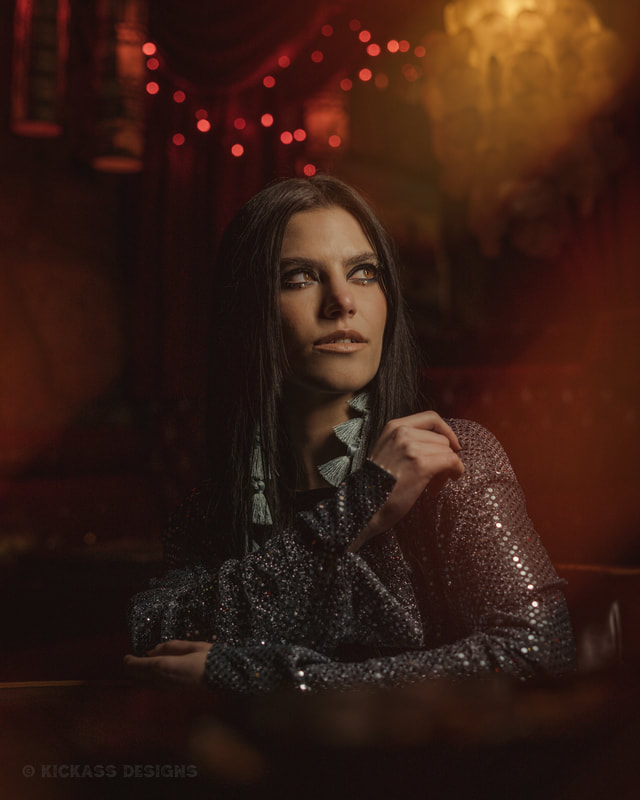
Let's say your shooting inside a bar with no flash. It's sure dark, what do you do? Use whats available. For the shot below we just used the light from above the pool table. Make sure your model is as close the the light as possible. My settings: 1/160 sec /// ISO 320 /// F2.2
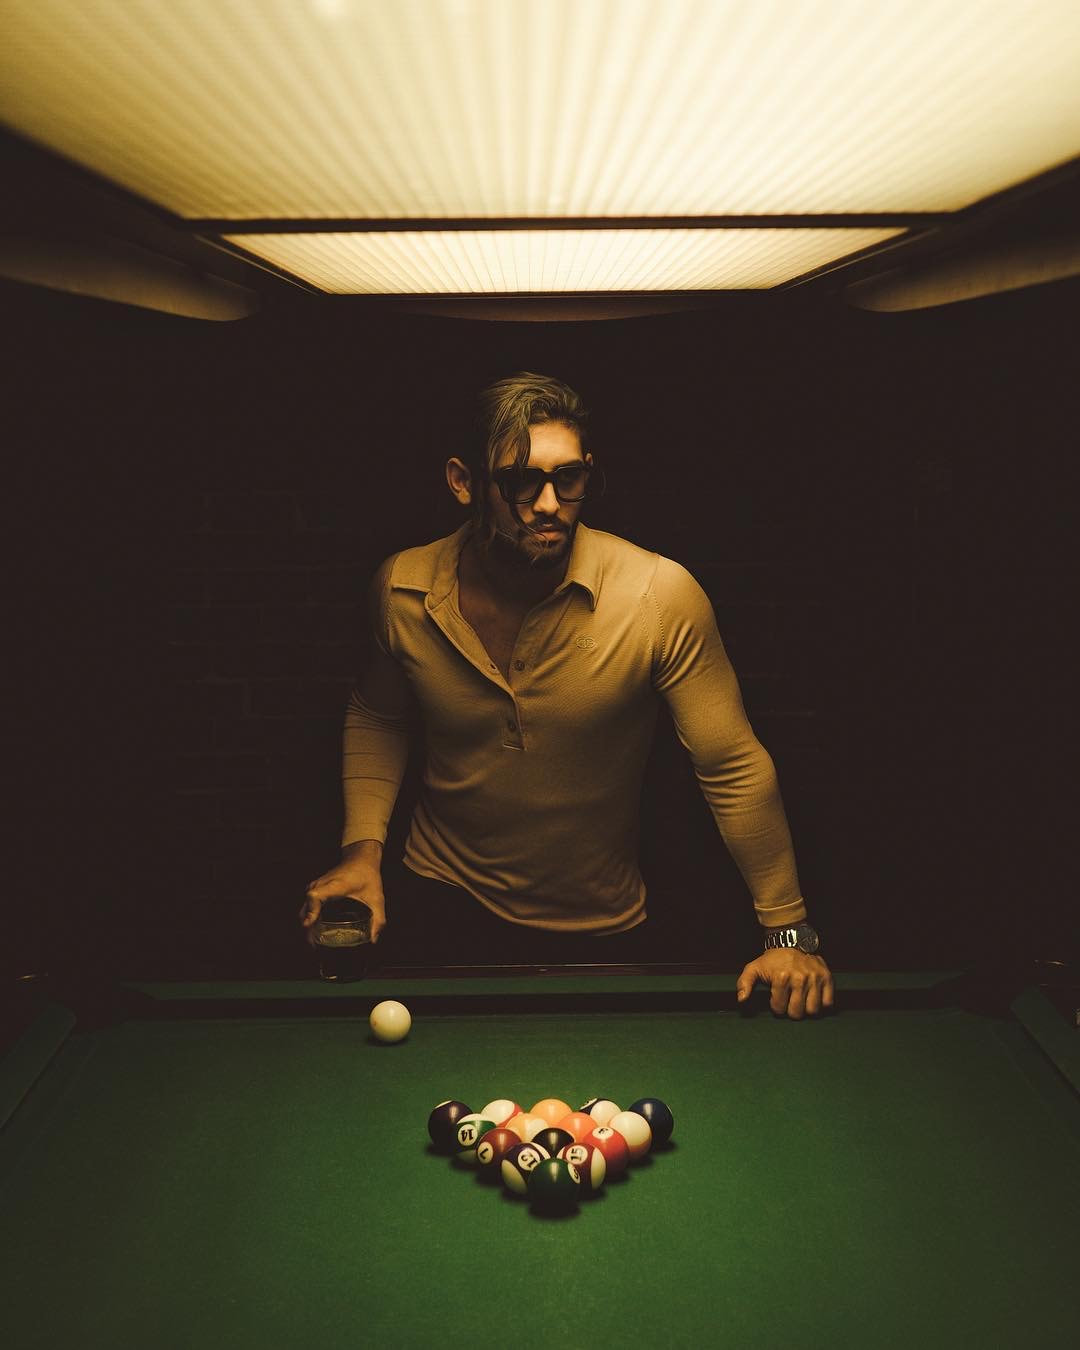
Model: @kamyar_jahan on IG
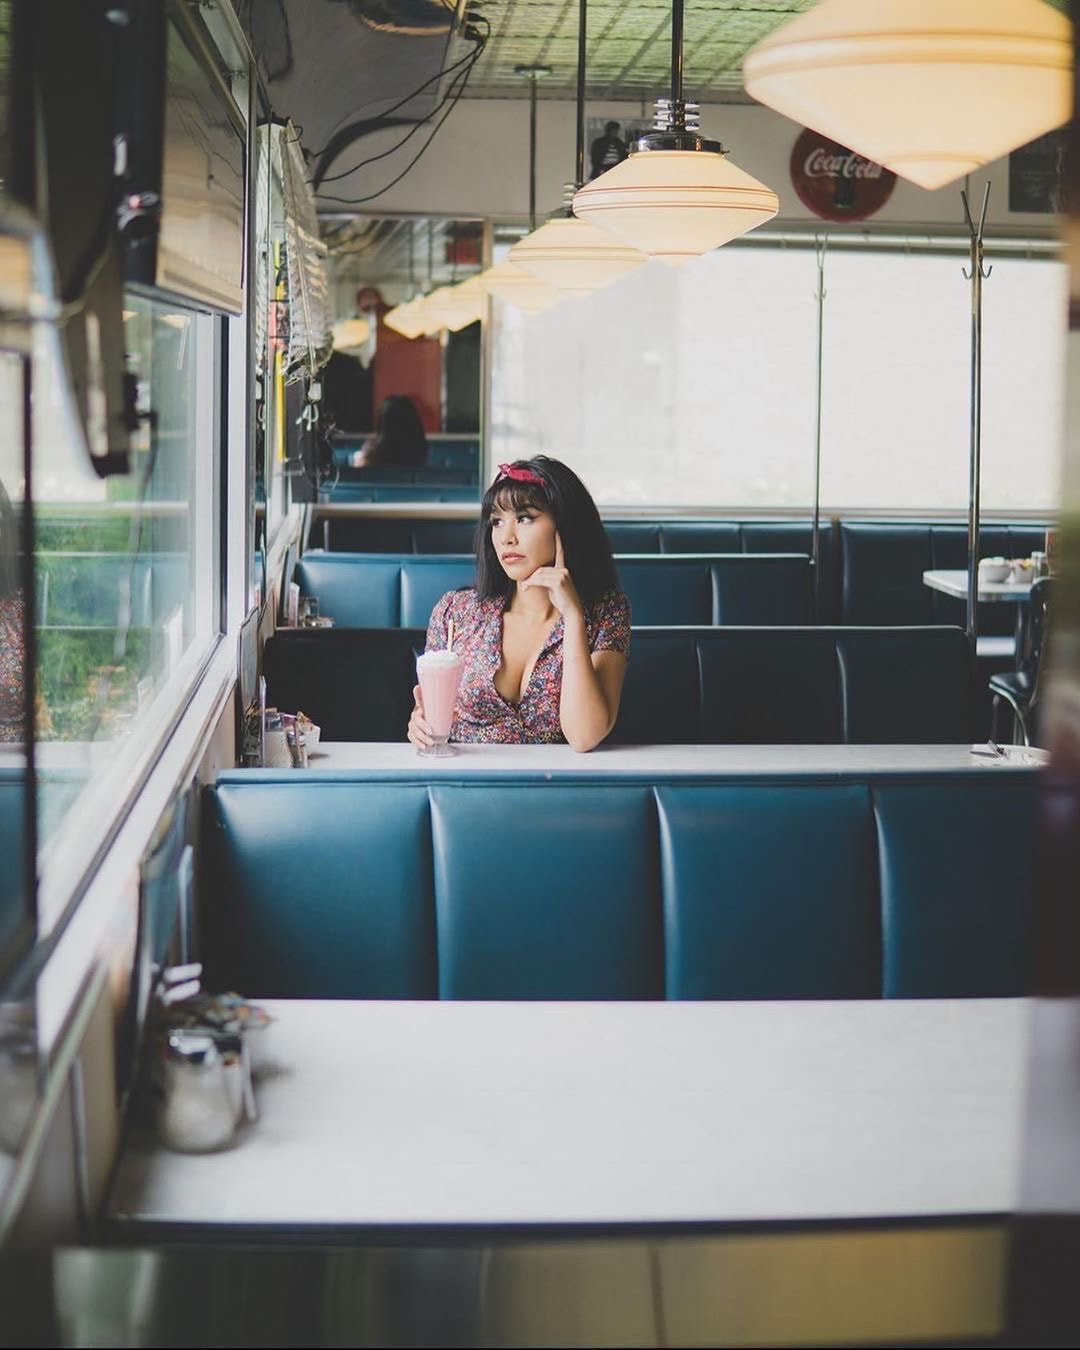
Let's say your shooting in a coffee shop. Take a look at these 4 examples of how to use the light coming in from the window and how the position of your model changes the mood.
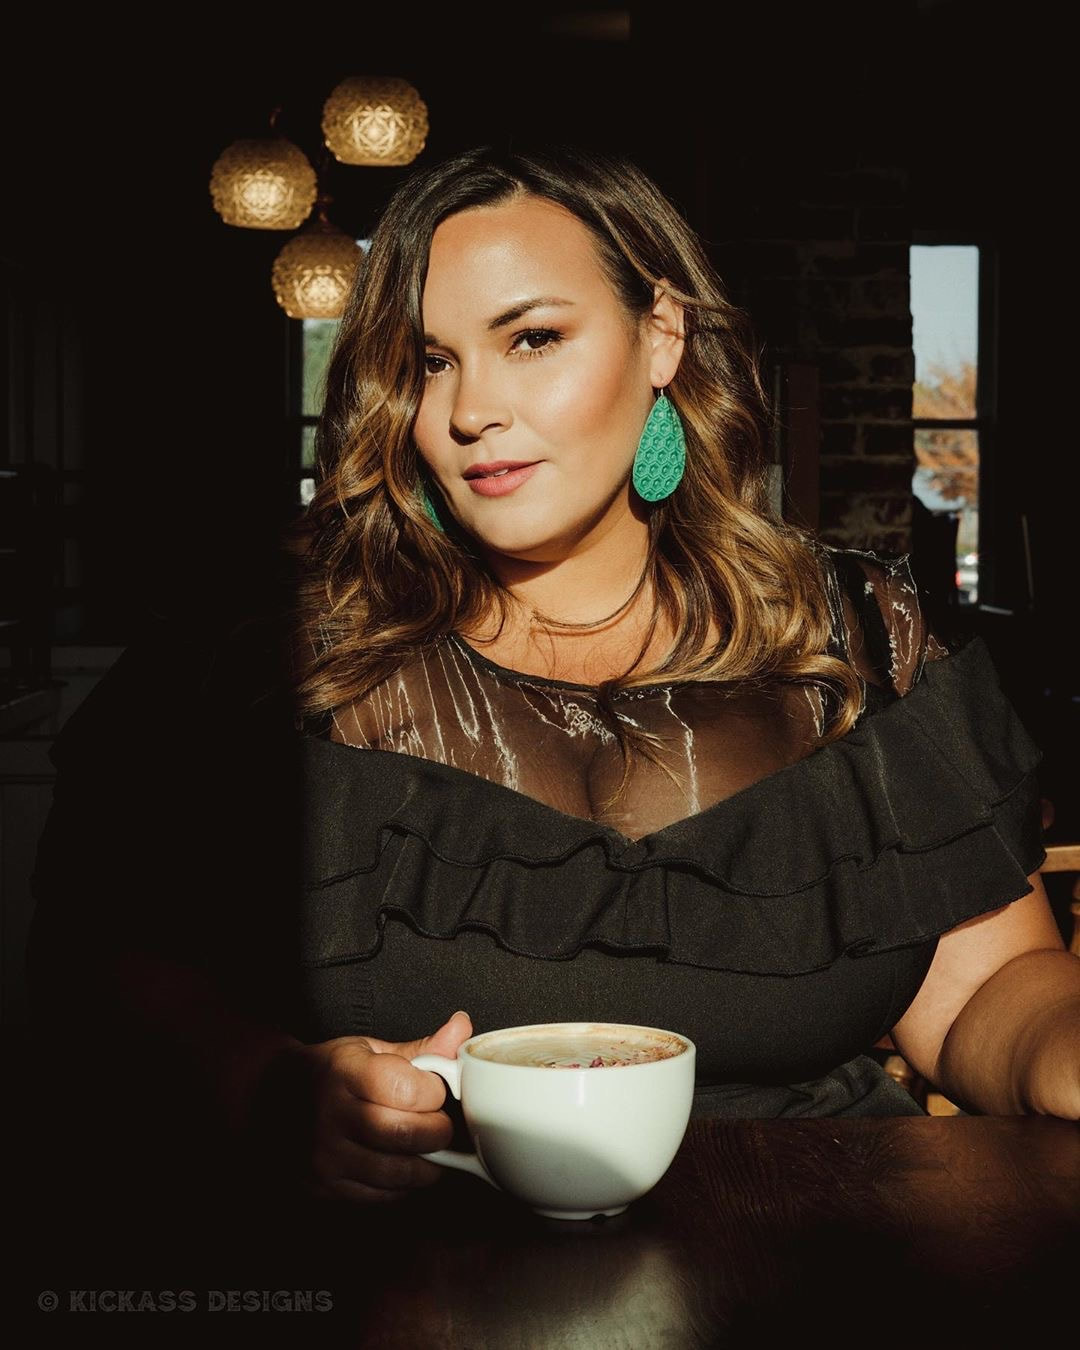
Model: @nicole.denise.johansson on IG
Model: @emmakateroberts on IG
Model: @dyllan.tattoos on IG
Model: @saaphiirre on IG
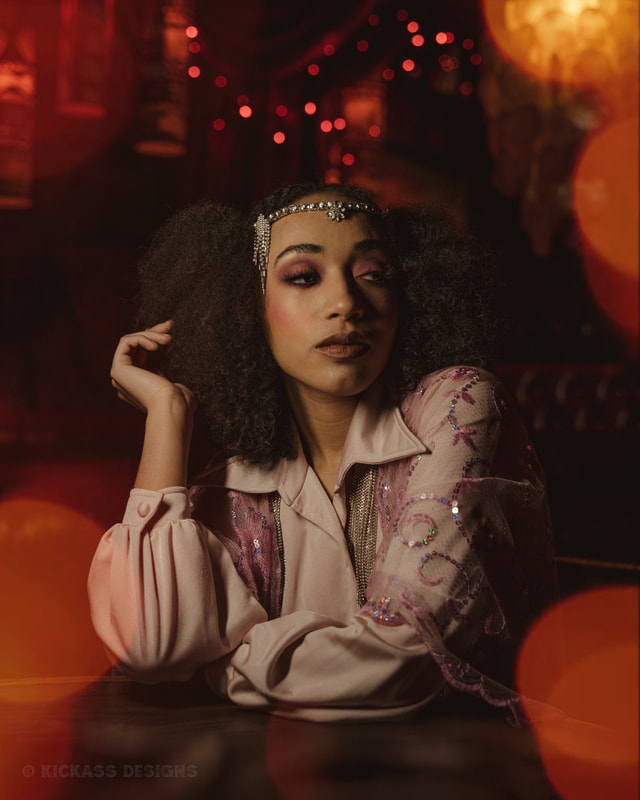
Now let's say you're shooting in an arcade. They are always dark but the neon makes for really fun photos. The key to shooting with neon is having your model as close to the neon as you can get. If you have the Neon behind them and nothing to light their face it will be too dark. For the example below I had my model stand as close as she could to the arcade screen because it was producing a good amount of light. Settings used were: 1/200Sec /// ISO 640 /// F3.2  Model: @thehannahhawkins on IG Model: @thehannahhawkins on IG
The example below was shot in a hotel room at night using the standing lamp next to the sofa. Just point it towards the model and make sure it's as close as possible.
Model: @shybbyshy on IG
Always keep an eye out for fun shadows when the sun is harsh. Especially if your in an urban area. Below are some example of how I used shadows on a wall to create a dramatic image. The key is to have your exposure correct in camera. Make sure you bring the exposure down so you don't blow out the highlights and crush those darks. We want the detail in the highlights and we want to make those darks pitch black.
Model: @shawnna.lee on IG
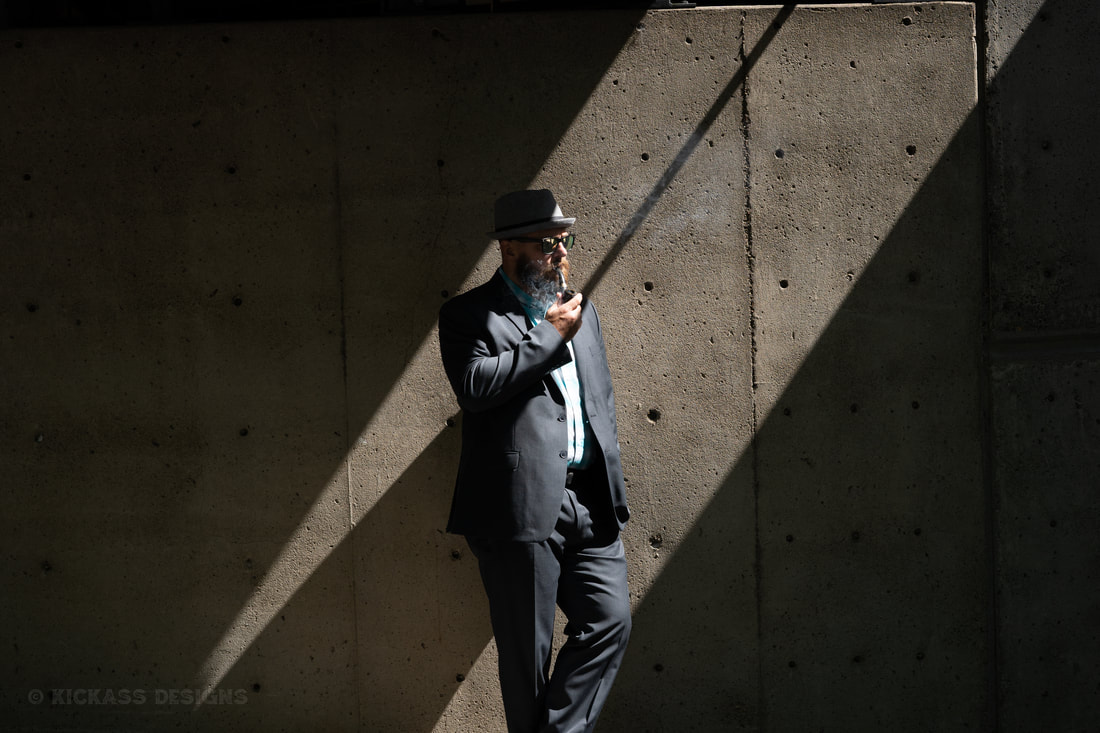
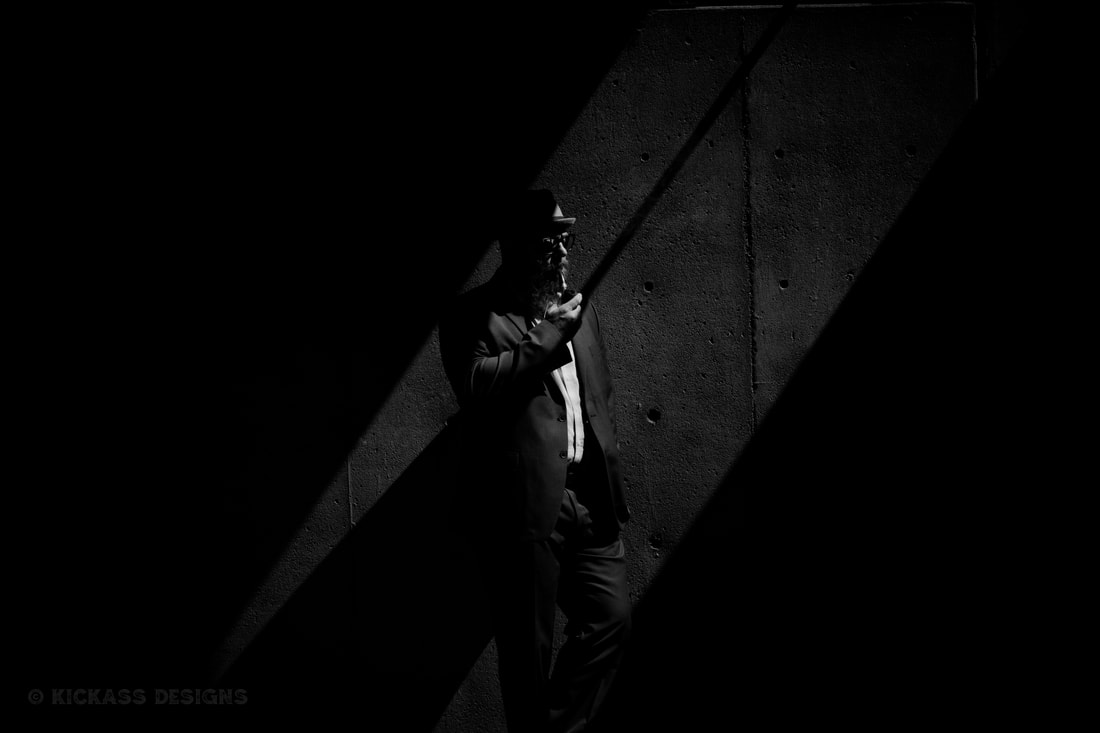
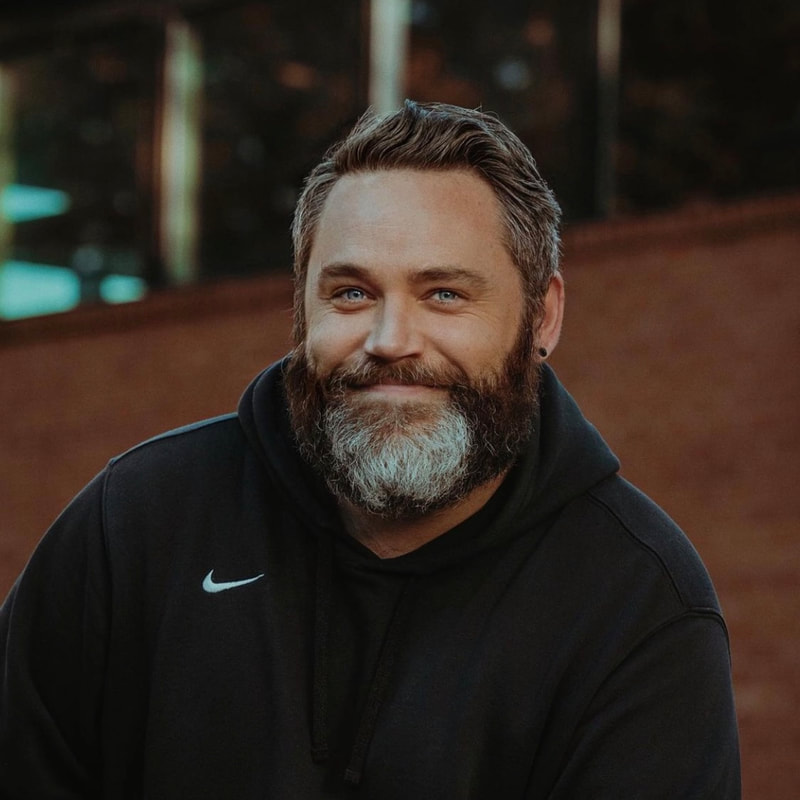
Model: Troy
Use whatever light is available, below is an example of using fire to light your subject.
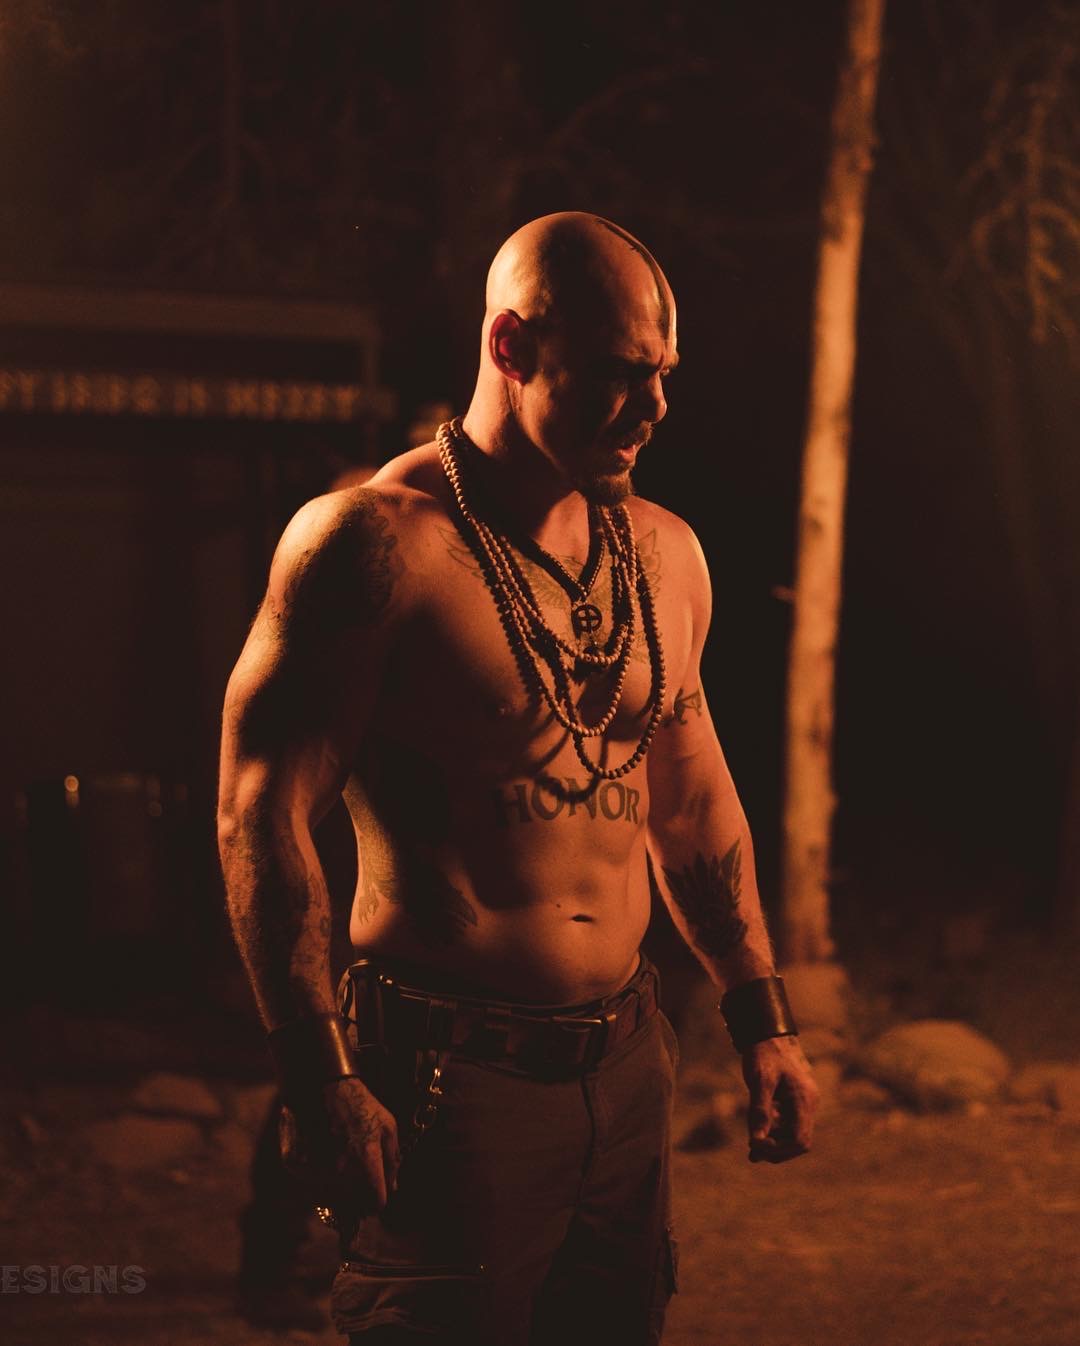
Model: @starttheworld on IG
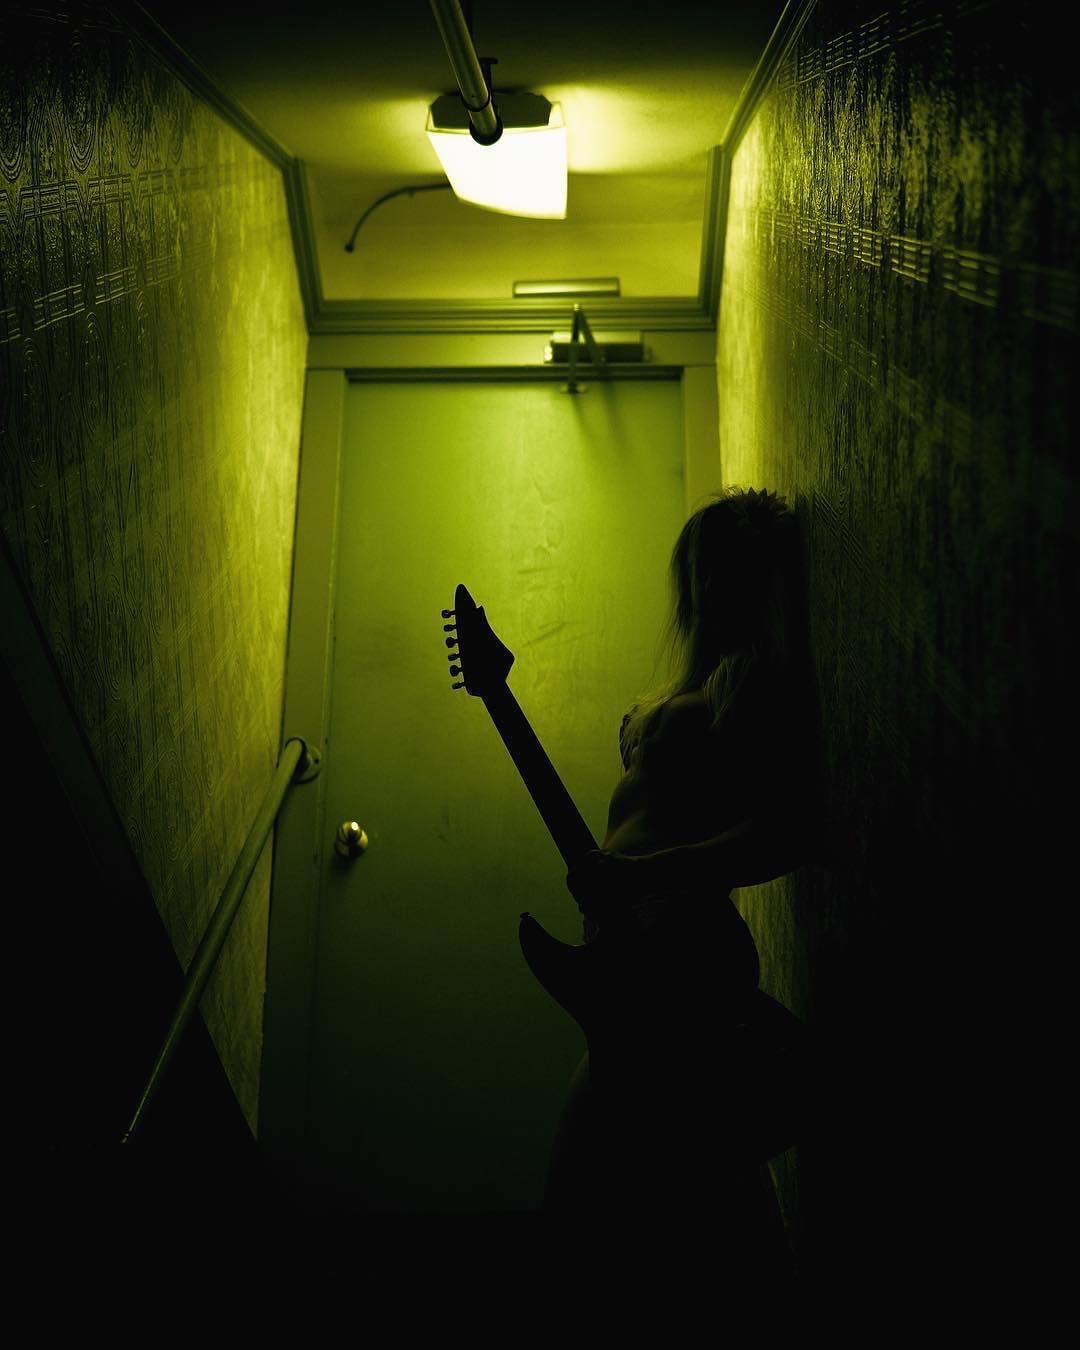
Try having the light source behind your model to create a fun silhouette like we did below.
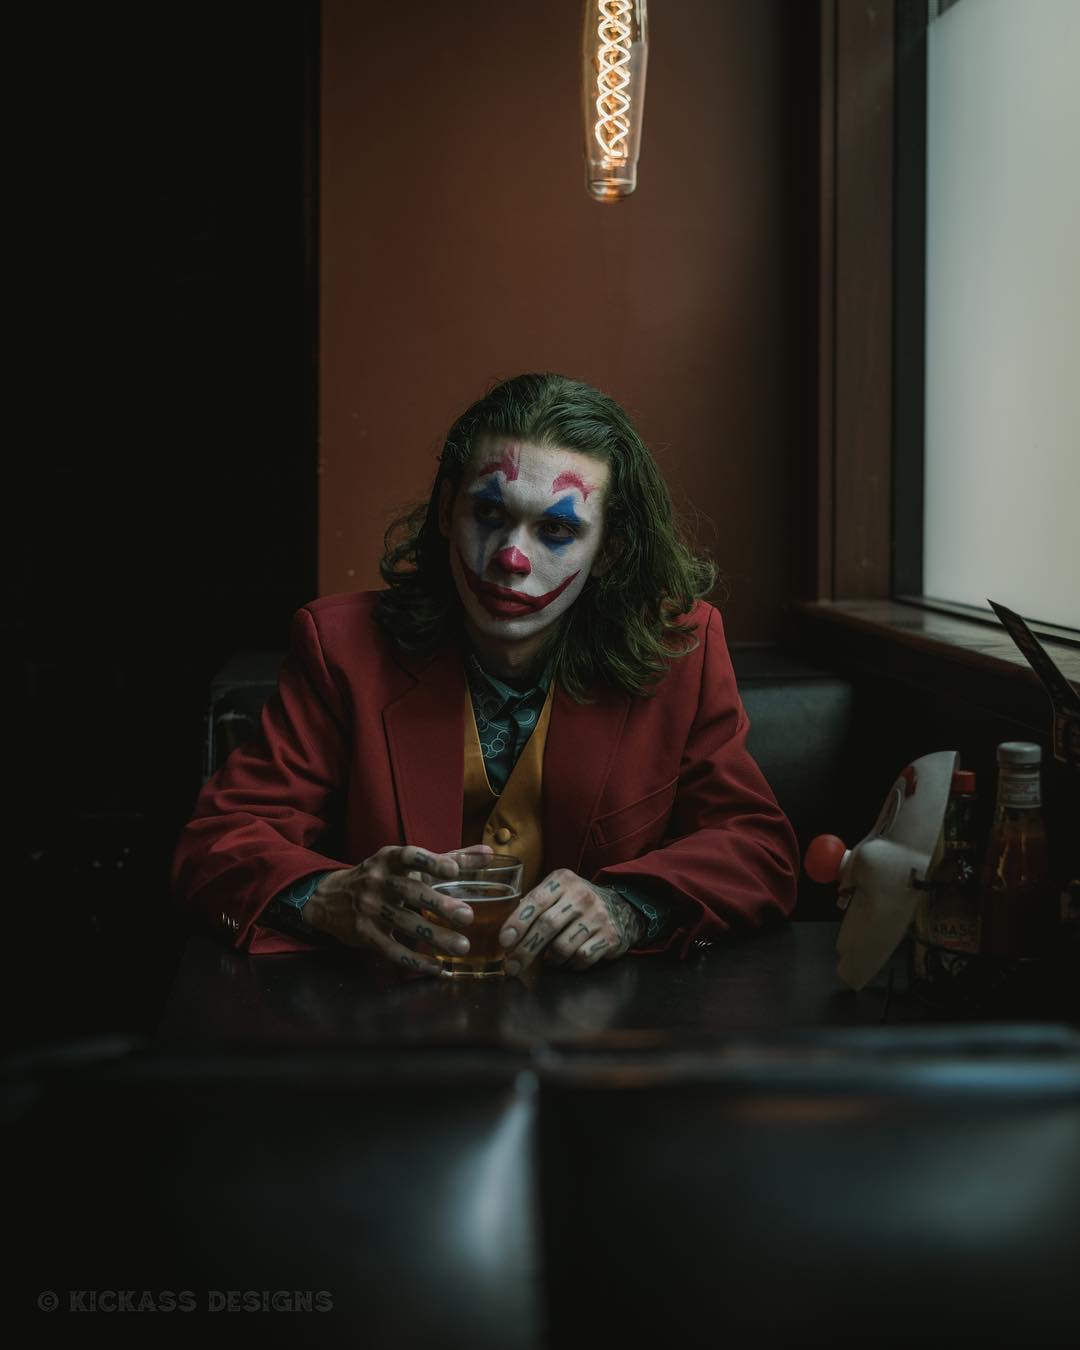
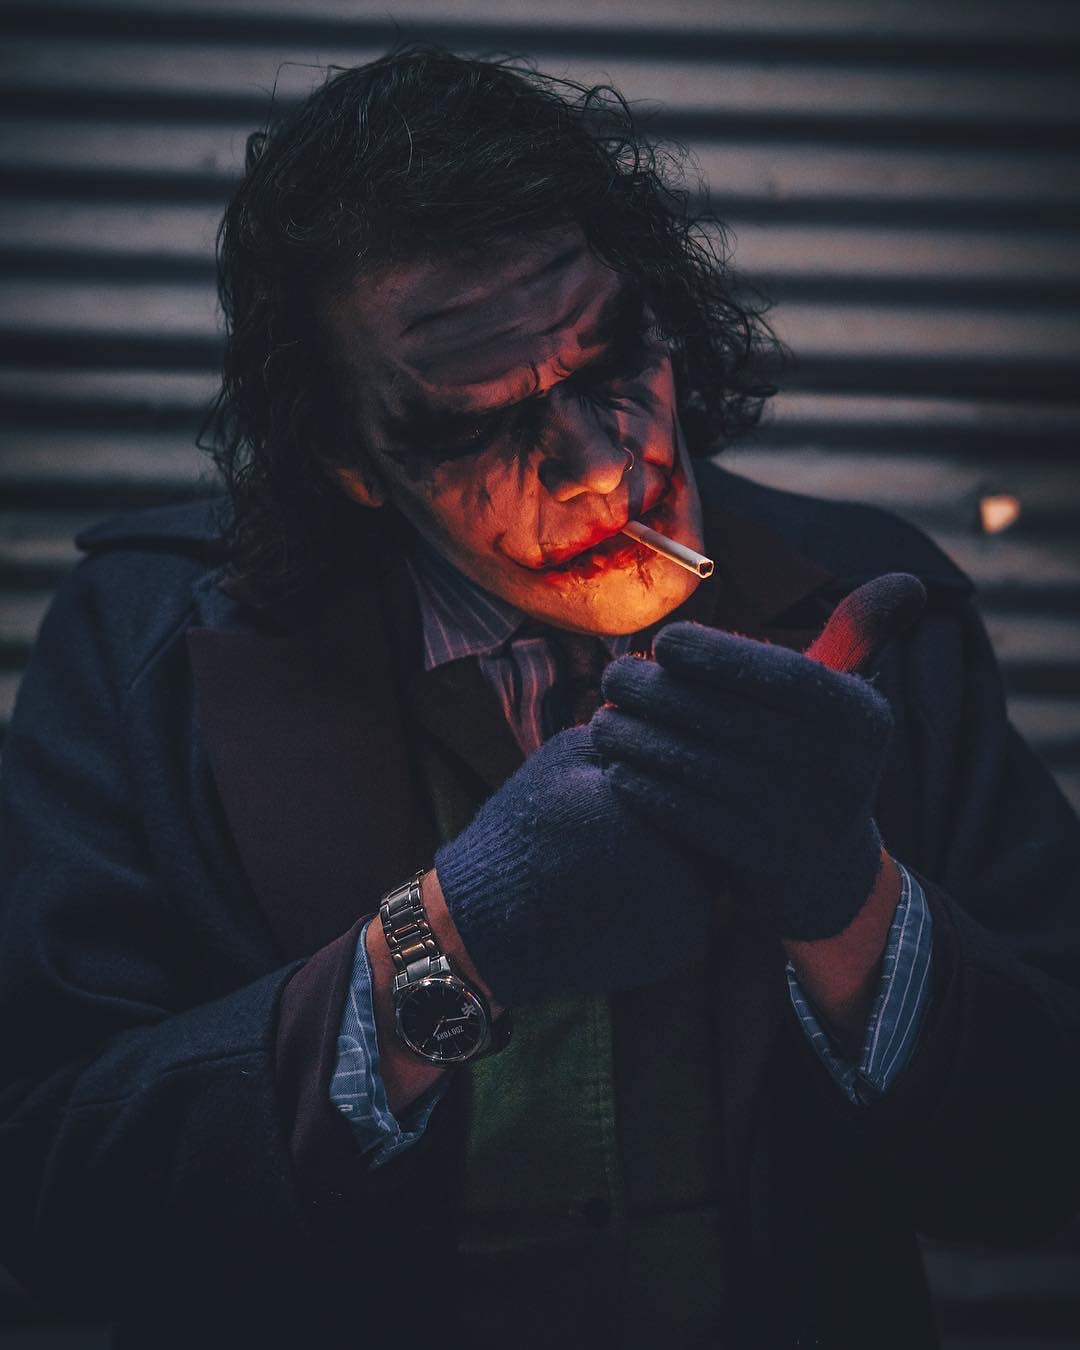
If you're shooting somewhere urban at sunset keep an eye out for street lamps, neon, or lit door ways. The image below was at sunset so we used a lit doorway to add some dramatic lighting.
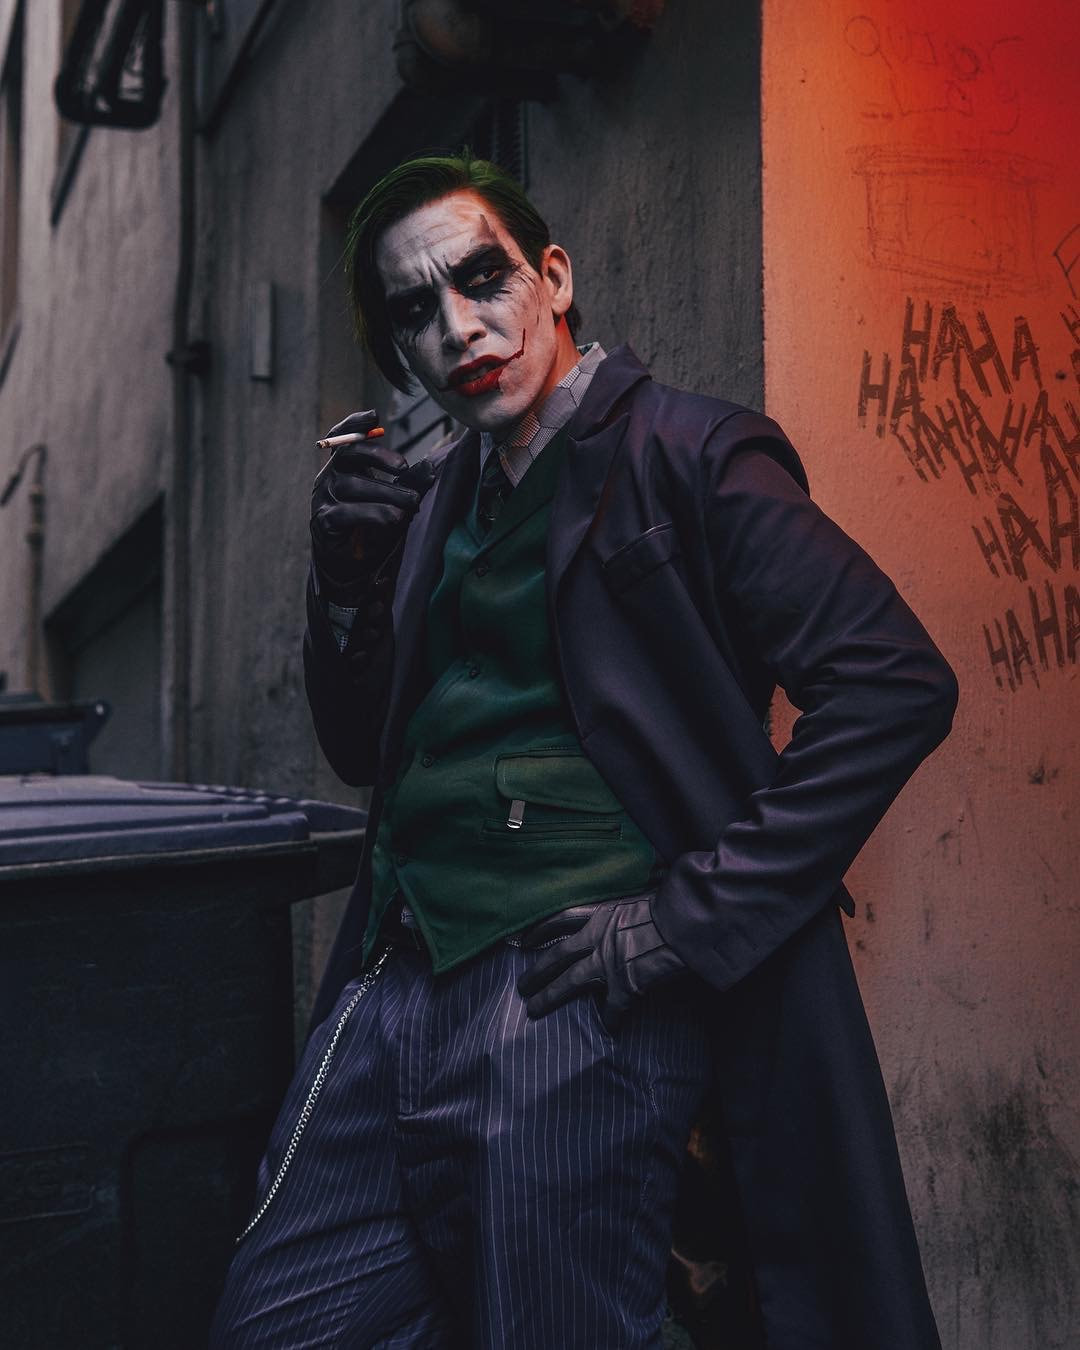
Model: @real_wade_wilson on IG
Maybe the sun has set so you're out of sunlight, use a lighter or street lamp for dramatic lighting as we did below.
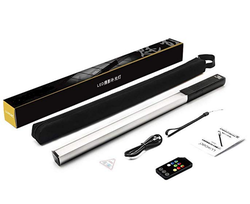
Now that you've seen some examples of using natural light here's an example of using a Portable Wand Handheld LED photography Light.

Models: @jacquelynnefaith & @ambernicotra on IG
Every now and then you'll be in a situation where you just don't have enough light. For emergency situations like these I like to have a light wand in my car just in case. It's about $80 on amazon, it's light, compact, easy to carry and use. These photos were taken in a bar with zero light to use so I used the wand to light the models.
All that being said. I'll leave you with this. As much as I love using natural light sometimes your clients requests will require a studio and a light setup. So do some research and become familiar with a studio you like best in your area. Some offer lighting some don't. Personally my favorite studio in Portland is Cobalt Studios. For only $75 an hour you get access to everything and that includes lighting! Not only that but the owners are amazing people and they take the time to help with lighting so its exactly how you want it. The staff is very knowledgeable and friendly.
If you found this article helpful I'd love to hear from you in the comments. 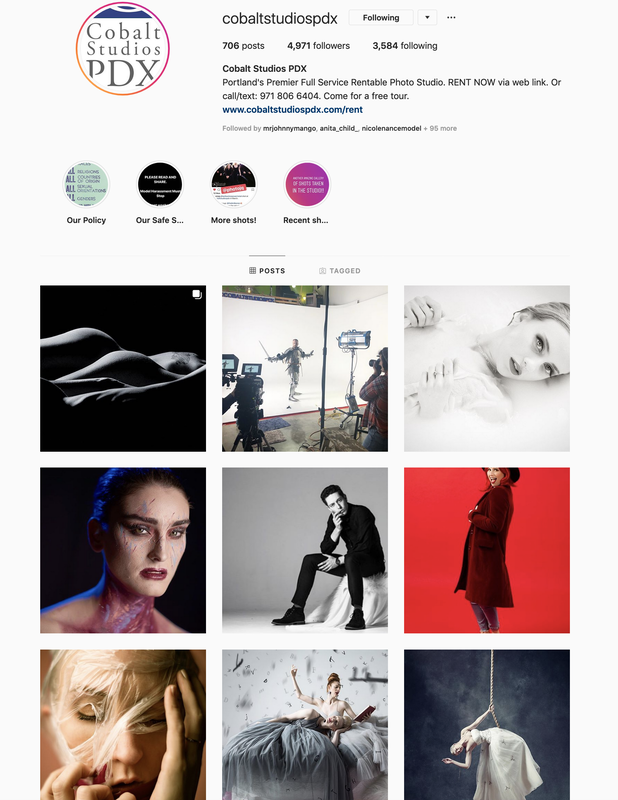
2 Comments
1/31/2020 09:58:37 pm
Great job Lance! You rule and yes, Cobalt is indeed amazing! Your comment will be posted after it is approved.
Leave a Reply. |
Author Lance Reis
Most Popular Articles
27 Posing ideas for women
27 Posing Ideas for Men Location Scouting 33 Must See Castles in the US How to grow your Instagram Low Light Photography Tips Photography for Beginners Free Resources Take Better Cosplay Photos Categories
All

|
 RSS Feed